At last, we tackled the annoying problem of fixing a leak in our new Hot Water Tank we constructed a few weeks ago. Just to recap the situation, we discovered that our mould we had made to shape the fibre glass resin on to, had little ripples in the release tape we had stuck on. These little ripples has create little grooves in the finished resin surface. One of these grooves was deep enough to breach the inner skin and this allowed the water to escape. That is the situation .. O Boy!
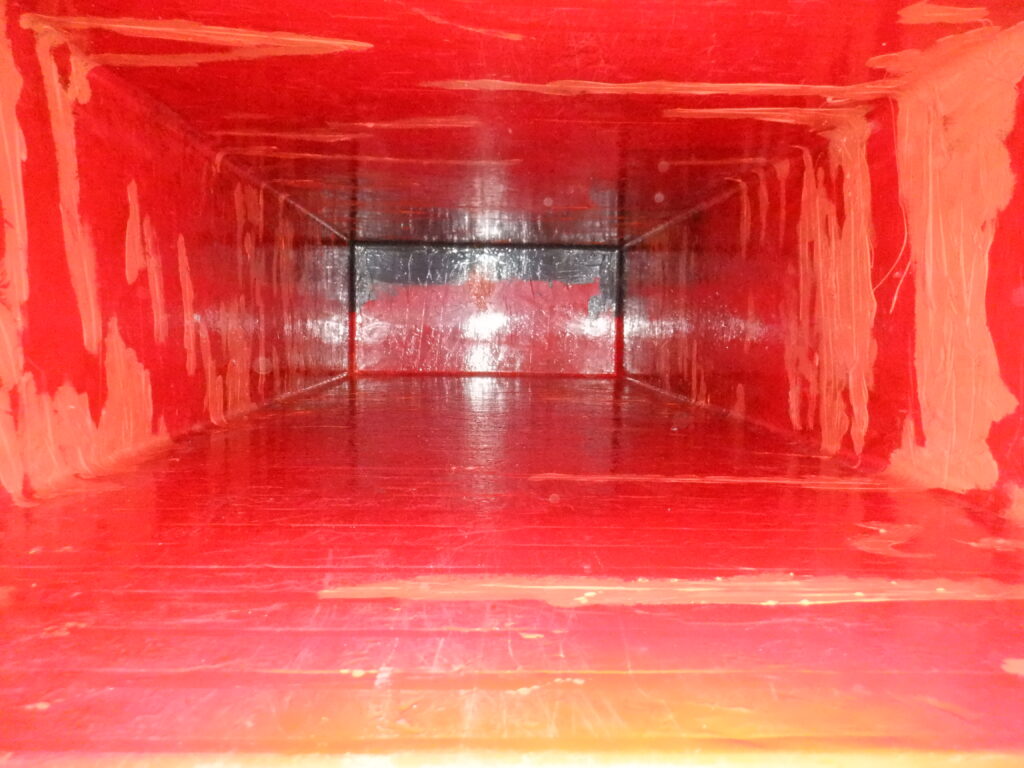
So, we tackled this problem by having to climb, or rather, crawl inside the tank which is lying on its side. We vacuumed the inside and then rigged up a fan to blow forced air into the tank, to make absolutely sure that we are getting fresh oxygen and removing the chemical vapours. We went through the whole tank and scrubbed all these grooves with acetone, to clean out them and prepare the surfaces ready for a fresh application of more resin. We have to do this work in two stages because we cannot turn ourselves over to work upwards, so, we had to rotate the tank over.
We mixed a small quantity of resin and added some yellow dye, which turned the red colour to an orange shade. This will give us a feedback to where we had applied the resin. While wearing our mask with the activated carbon filters, we proceeded to dab each of these grooves. We turned the tank over and did the other half as well.
Now, it is time to give it another leak test, we got out our garden hose again and started filling. .. In the meantime, while it was filling, we went to find a piece of 12mm cement board, traced the outline of the top of the tank and sliced it into a lid. This will sit on top, on a ring of rubber around the edge and keep the steam and hot air in the tank.
Oh No !! !!
We still have the same leak as last time !
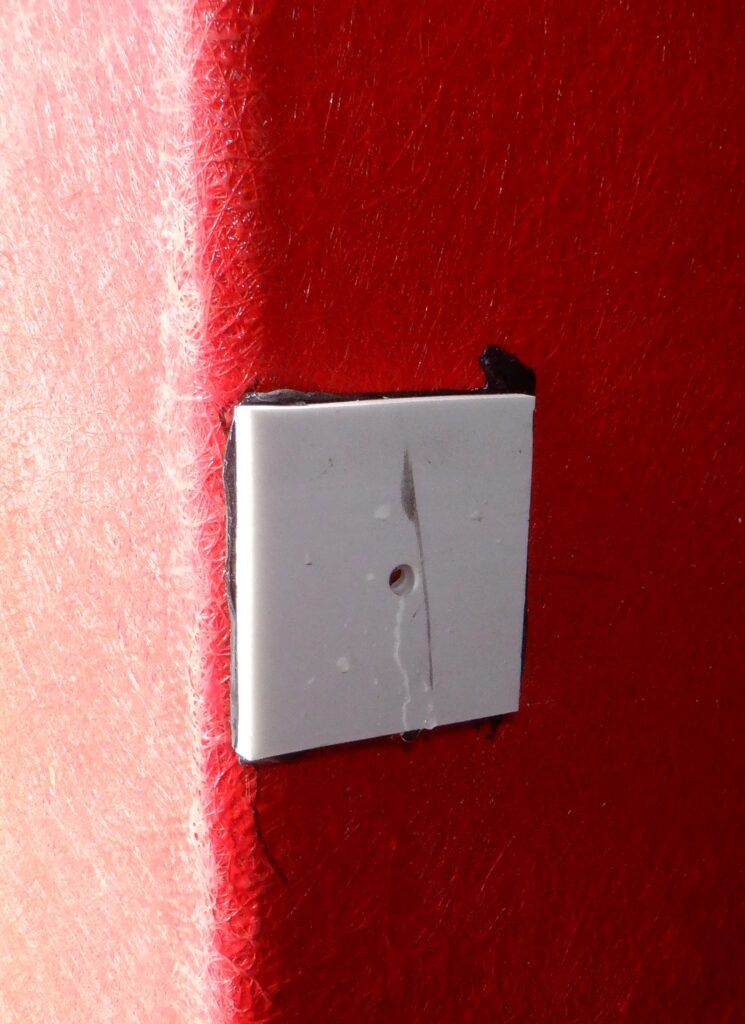
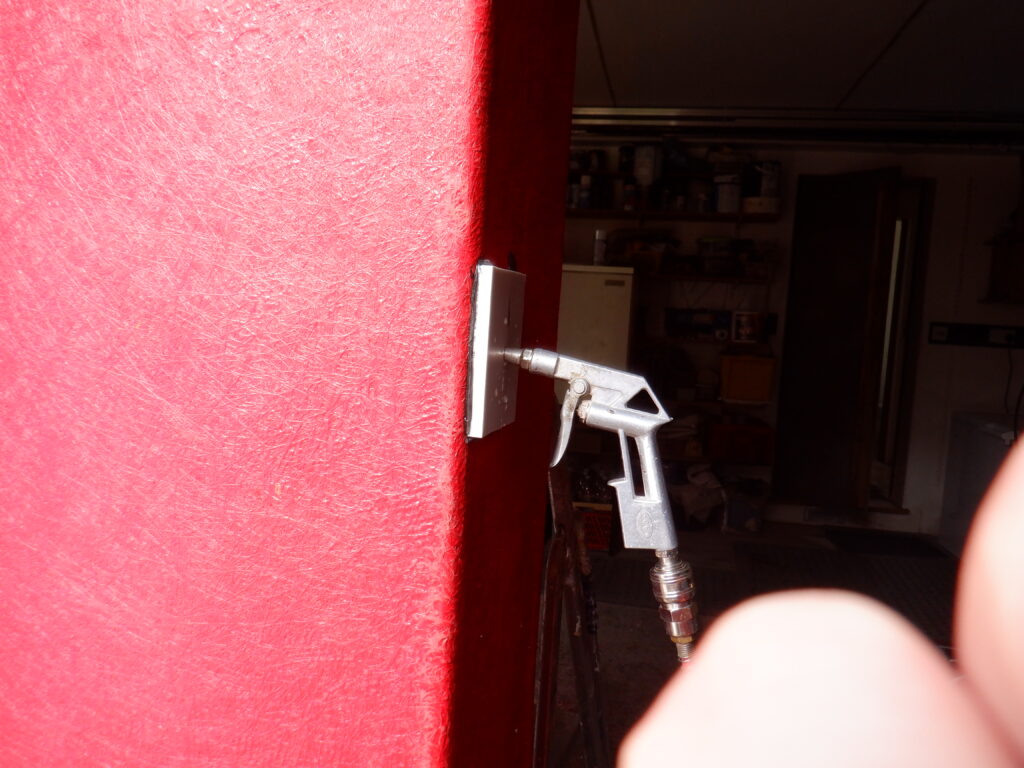
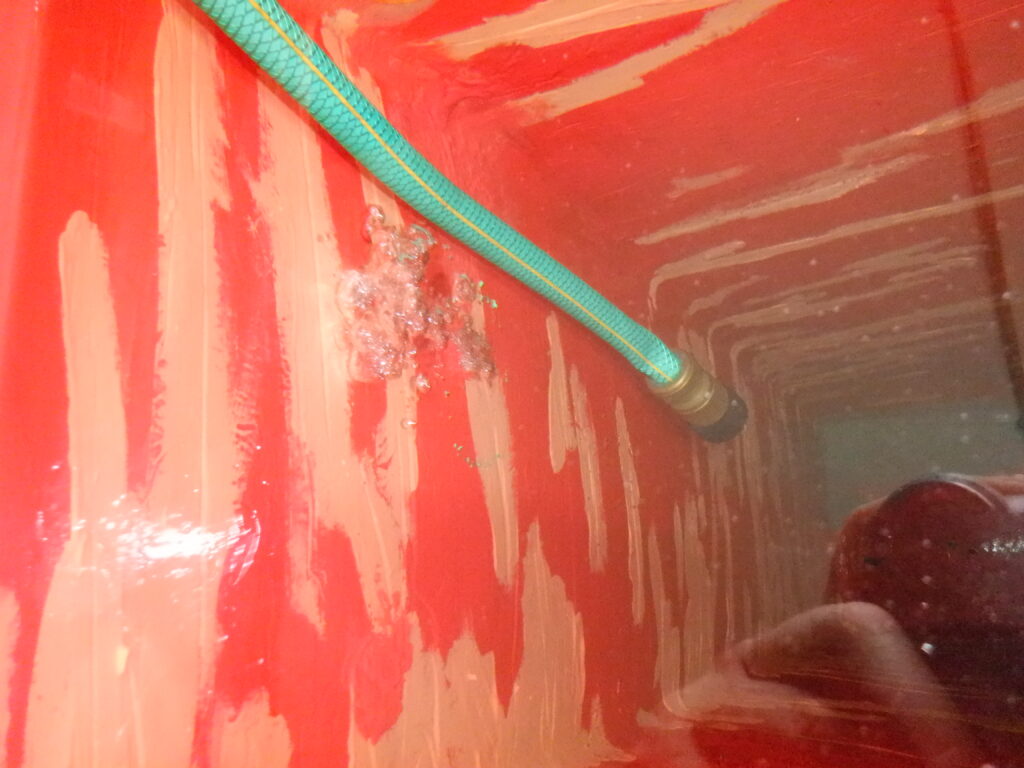
After trying to see where the hole is, on the inside of the tank, we had the idea of using compressed air to blow backwards from the spot where the water is steeping out and force air through the skin and hopefully make air bubbles appear on the inside. We eventually stuck on a 4inch square piece of thick plastic, with a ring of butyl thick glue around a circle and then clamped it on over the site. We carefully sent small burst of air into the white plastic pad, through a hole in the middle and .. we had a stream of air bubbles blowing into the water!
We got a dark wax crayons and drew a small circle around the site where the bubbles came out. It had to work underwater!!
Then, we drained the tank so that the level of the water was 6inches below the “hole” and then drew a wider circle using our marker pen. We sanded heavily this zone, to make sure that the surface is well “roughened”, to help stick the new layer of resin over that spot. We also heated up both sides with a hot air gun, set to 100°C maximum, to thoroughly dry the fibre glass and drive out any moisture trapped within the fibre glass itself. It needed to be as dry as possible so that the new resin will stick properly. We rubbed the entire zone with more acetone, to soften the resin and make it more attractive for the new liquid resin to stick better as well. We mixed a small amount and then applied it to the 4inch zone inside the tank. We had left-over so we painted the wall near the top of the tank, where we are planning to have various connections made to pipes etc.
Again, we left it overnight to allow the resin to cure fully, before refilling the tank back up to normal levels again. To see whether we have fixed the leak .. or not!!
..
No Leaks!! Hurray! Yippeeeee!
At last!
We left it full of water all day and it is looking good.
We now have a repaired Hot Water Tank! Ready for the next stage of fitting the connectors and the heat exchanger coils ..


