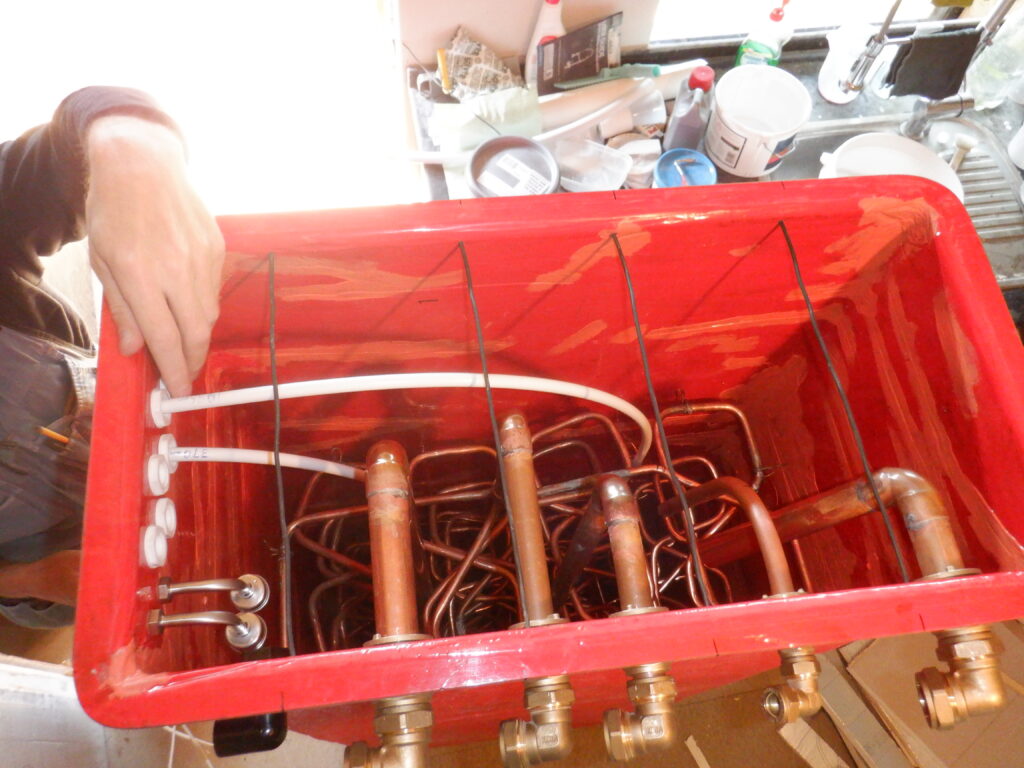
But, that is not the end of these tank connectors, we then did another one for a 15mm pipe, a piece of copper pipe which we put a 90degrees bend on it and that will be a cold water feed to top up the hot tank if necessary. The final water type tank connector we inserted, is for the overflow relief pipe, just in case the filling mechanism didn’t halt the filling when it should have done so.
All those connectors were mounted just under the flange at the top of the tank, on the long side, and they all have external right angle bends, ready for plastic pipes to be inserted in.So, on the short side of the tank, we then drilled a series of holes, this time, for the electrical types of connections going in and out of the tank. The first two were float switches, for controlling the cold water filling system. They are positioned so one will detect the water level dropping below the 100mm mark which will cause more cold water to be fed in. The second float switch is positioned just underneath the overflow outlet so we can detect a failure to halt the filling process and cut off the electric supply to the pump or valve etc.
Then, the next holes to drill out, were seven holes, to allow nylon glands to be fitted, which has a screw cap that tightens down on electrical wires (two of them actually have 10mm plastic microbore water pipes coming through as these are conduits for two temperature sensors to be inserted into the water). The other five glands will have a bunch of electrical wires going to a mixture of 50V DC heating elements and a couple of 230V AC Mains heating elements, to dangle down inside the tank near the bottom.
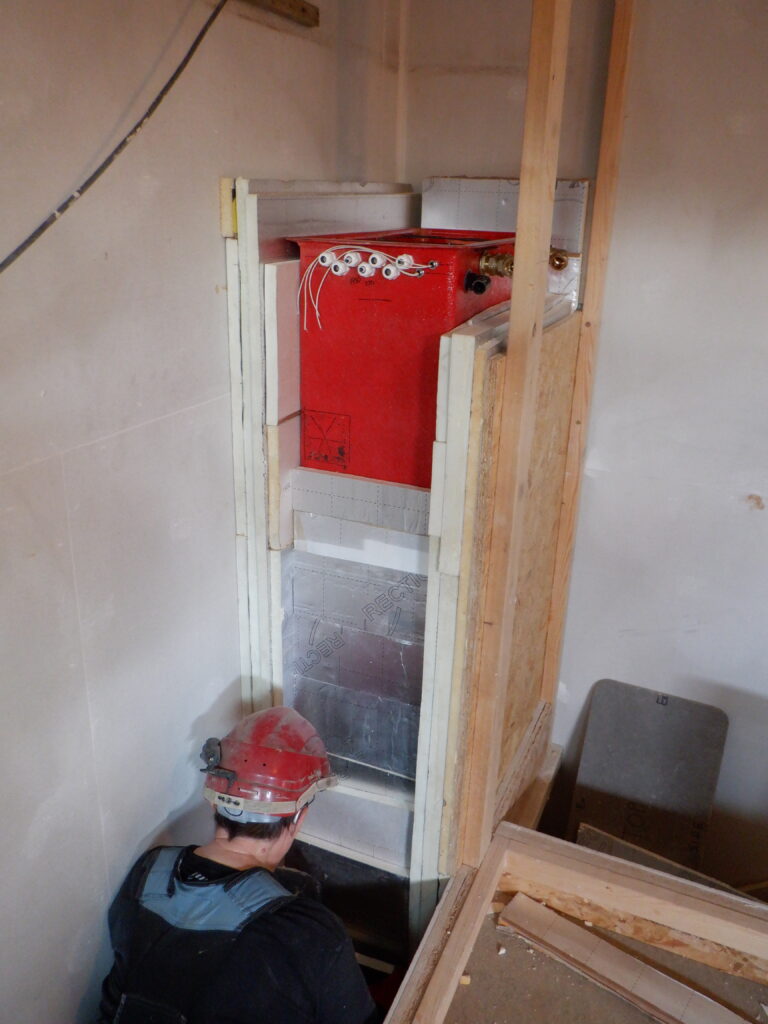
Now having fitted everything that will go inside the Hot Water Tank, we moved it into the Utility Cupboard, to end up in the corner, tucked out of the way.
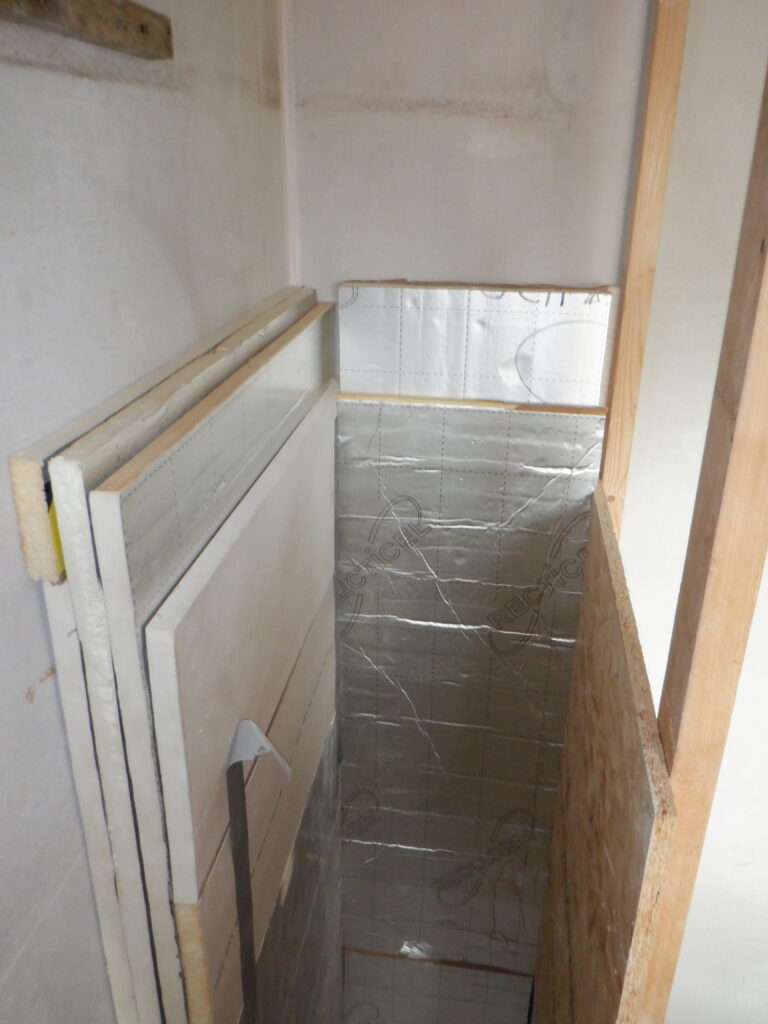
But first, we need to put in a solid block of PU insulation foam boards, to surround the tank, to insulate the tank, with a thickness of 100mm all around. We had a collection of 25mm thick sheets that were left-over from other jobs so we put in four layers on the bottom, measuring 800mm deep and 500mm wide. Then, we put in a piece of DPM plastic across the whole area, sandwiched between the third and fourth layers, to act as a captive water tight barrier, so we can detect any future leaks, using an electronic sensor. This is a last ditch detection system so that we are made aware that the tank is leaking somewhere and that we have to rescue the situation.
Next, we put in four more layers of the PU sheets, this time, the left-hand side of the tank. They are 800mm wide and went to a height of 1800mm for the first three layers and a slightly shorter 1700mm high piece for the final layer that is next to the tank and fits just under the flange.
The third block of insulation is the back wall, this time measuring 400mm wide and a similar height as the previous load. We jammed them in so it keeps the left side layers nice and tight.
We can now man-handle the tank into position, sitting on the block of insulation and shoved over so it is tight next the left block. We then resumed sliding in more sheets, this time, only measuring 700mm wide but we could only get 90mm of foam boards into the available gap, which we achieved by putting two layers of 25mm sheets and a single 40mm thick sheet. Also, we reduced the height by 100mm as well, because all the pipe connections are in this location. We will probably fill in this gap with glass wool insulation later on once we have fitted the various pipes into place. We are also likely to slide in an additional 40mm PU board that will fit in between two CLS wooden legs that are part of the cupboard framework. That will provide some extra insulation as well.
The final step in covering up the tank is the front and we put in two layers of 25mm sheets measuring just 300mm wide and 1600mm high, and a final 40mm thick one to finish off.
The final piece for the tank, the lid. We got a small left-over piece of 12mm cement board and cut it down to fit on the full dimension of the tank plus the flange around the top, and cut it to fit. We stuck a couple of layers of 40mm foam board on top as well.
That concludes the assembling of the Hot Water Tank and fitting it into the Utility Cupboard, with its insulation completely surrounding it. We will do another soak test and this time, rig up an electrical circuit and heat up the water to a good 90°C to test everything. This is a good time to do that as the electricity prices are very cheap during the night, plus also, we are getting lots of solar at the moment, which will help reduce the cost of heating up 288litres of water and then letting it cool down by natural means so we can find out how long it takes with the amount of insulation we have put on.


