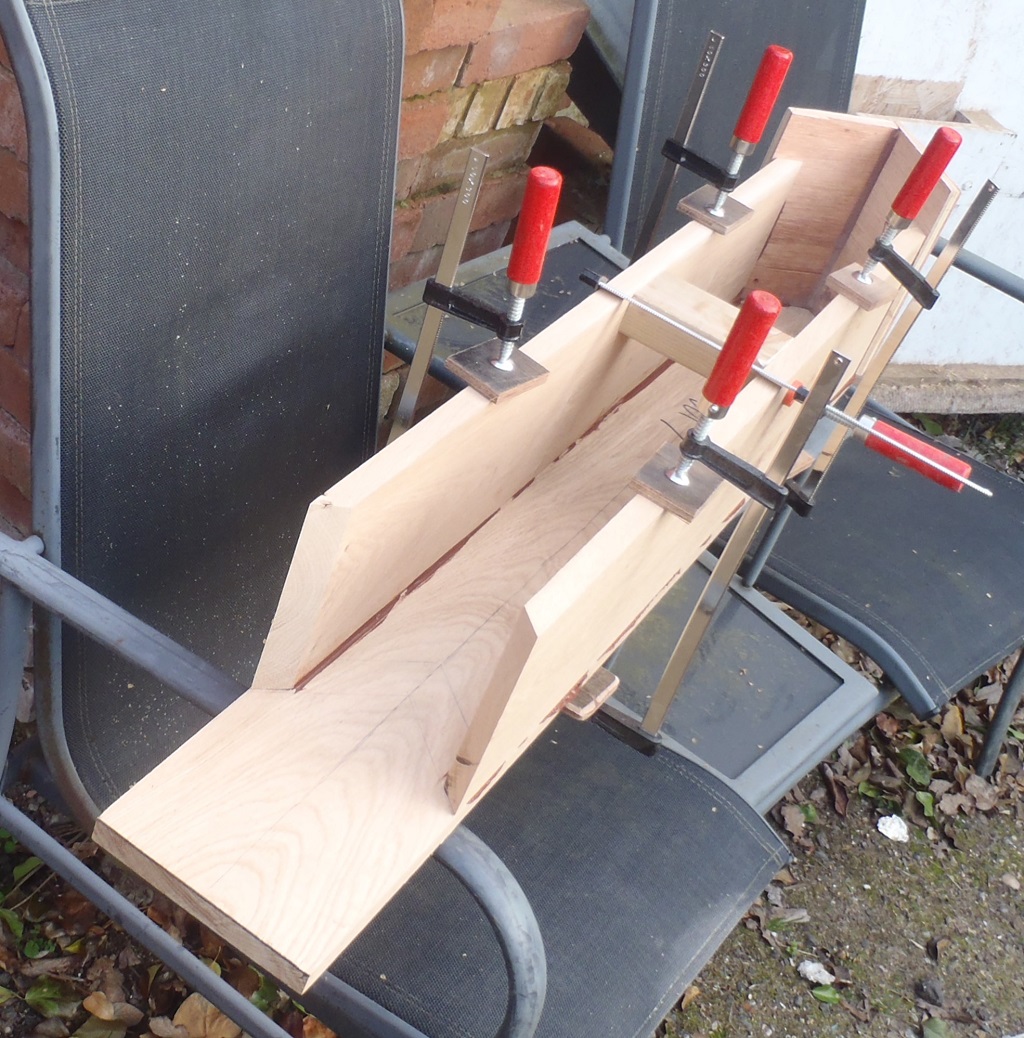
Today, we carried on with the creation of the Downpipe Channels by having a large 110mm diameter hole cut into the base boards at the bottom of the sloping drainage channels. We took some left-over plastic rain water underground pipes and cut them up into about 180mm long pieces so it will stick downwards underneath these chutes and connect to the main downpipe that is going down into the rain water collection pipework.
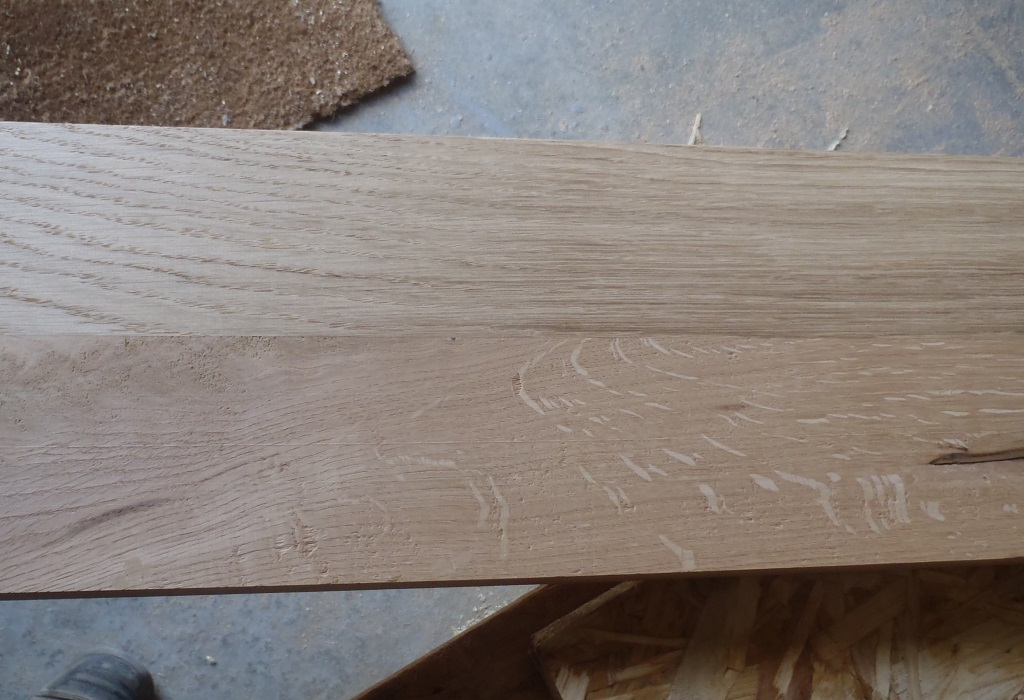
But we had to reinforce the surrounding area around the large hole (with another 20mm thick half circle of Oak) so the plastic pipe will be securely held by the glue and survive being push about when we connect all the pipes together.
We also got out some spare left-over rubber sheet and cut this up into two strips of 500mm wide by 3metres in length. Using a spare smaller piece, we tested to how small a hole in the rubber we could go down to and still push in a modified plastic ring (cut from more of the same 110mm plastic pipe but also a vertical chunk missing so it becomes like a springy C clip) which allows us to squeeze the rubber down inside the main pipe and securely hold (with friction and glue) into the top of the downpipe.
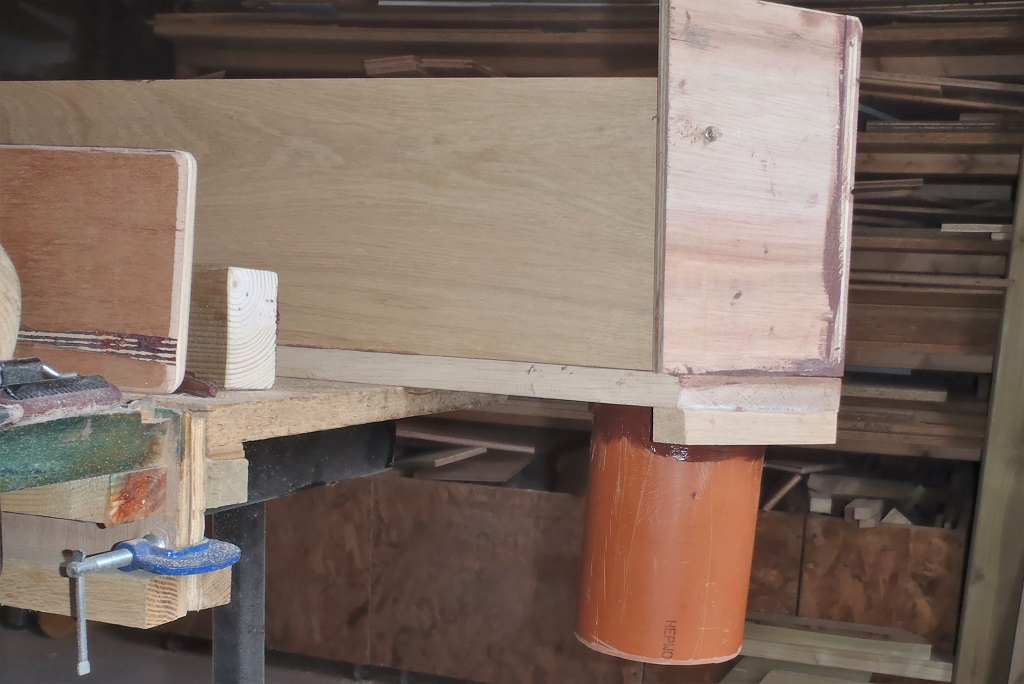
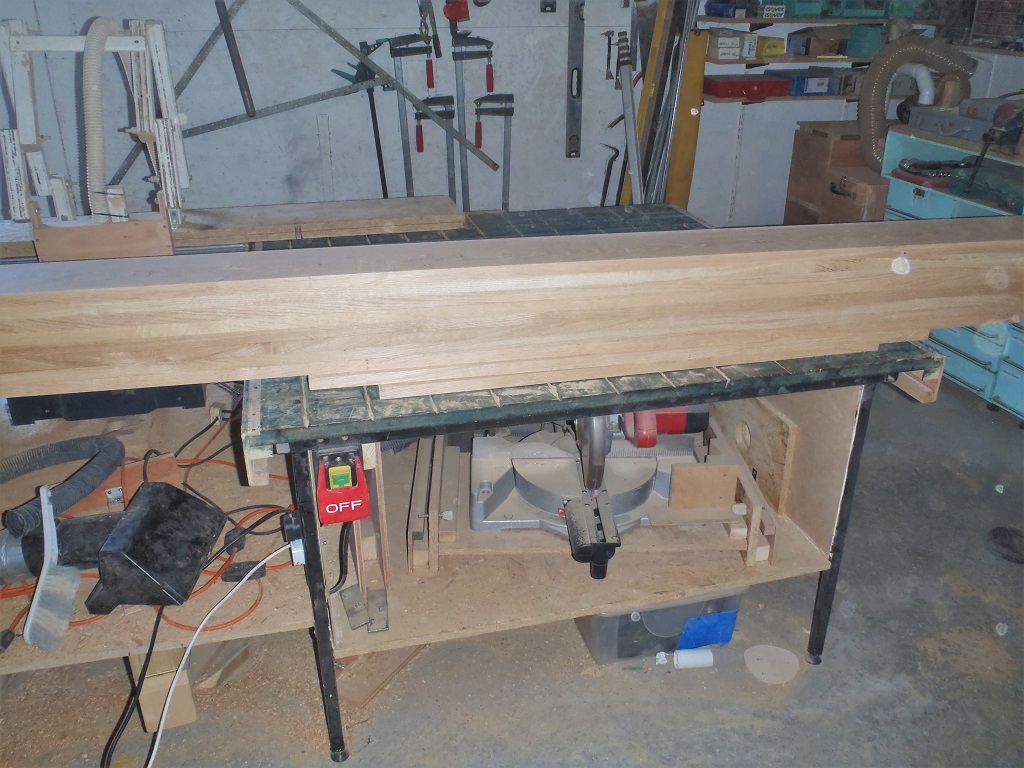
Pipe-sticking-down-out-the-channel
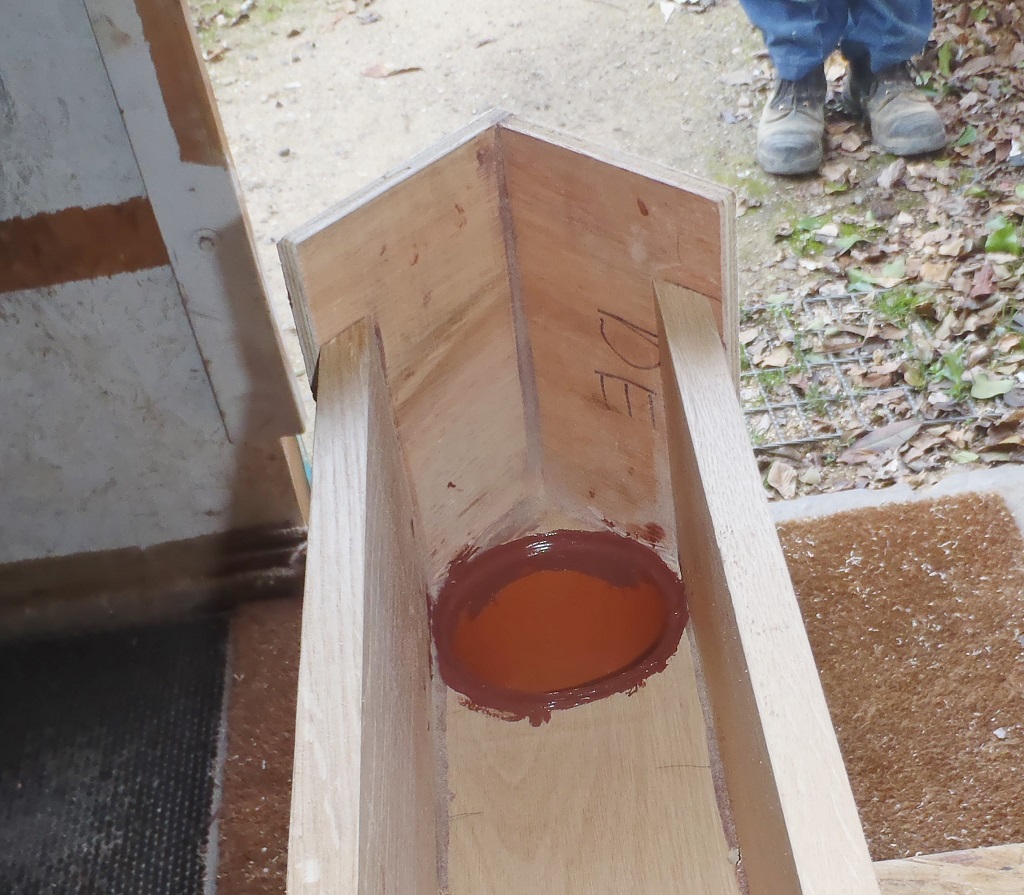
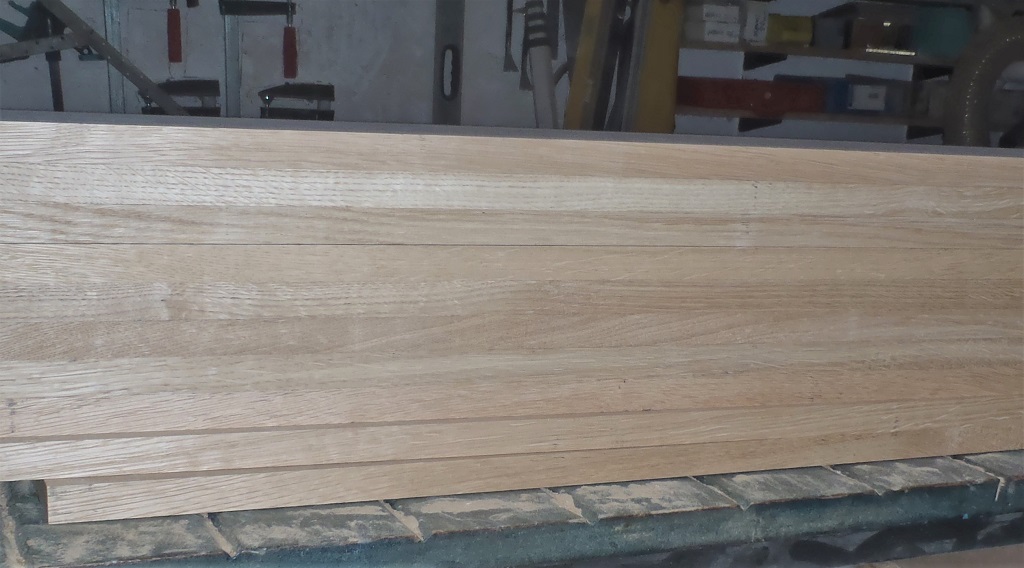
The-hole-is-as-far-into-the-end-as-possible
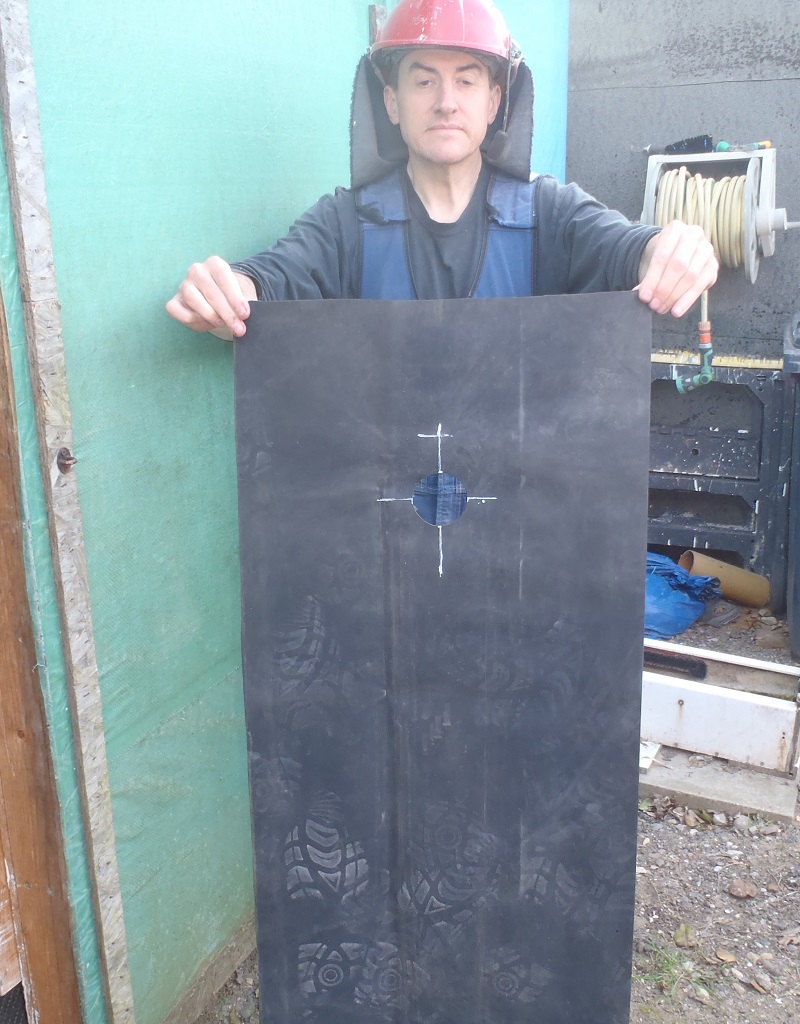
Rubber-lining-with-Hole
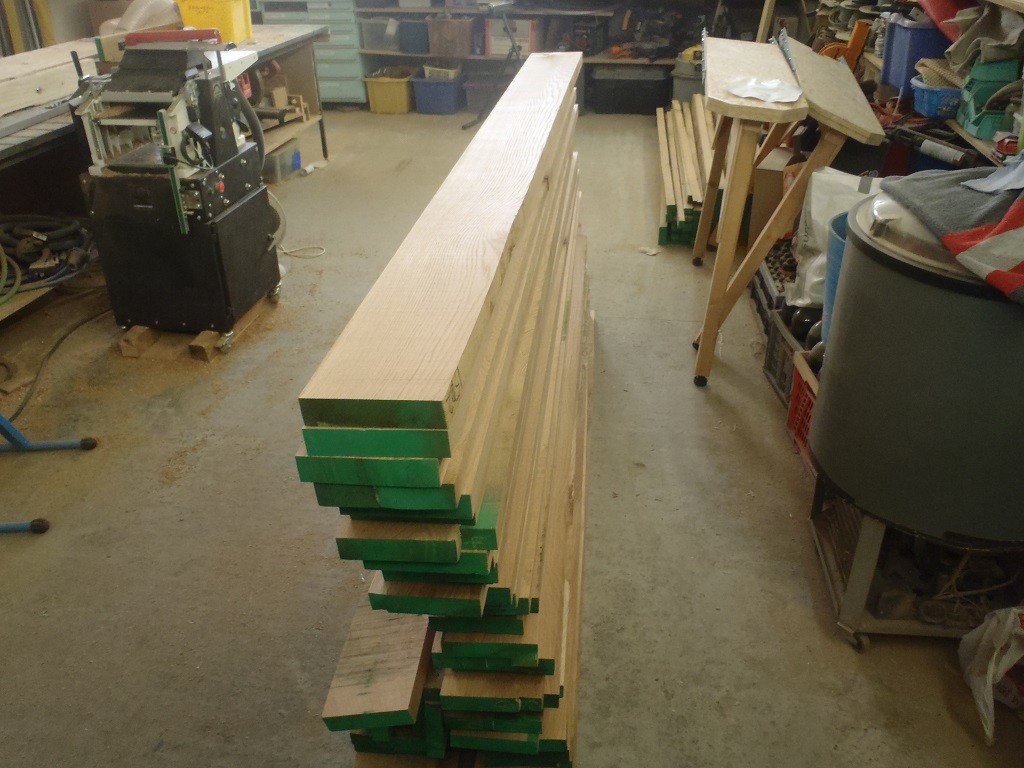
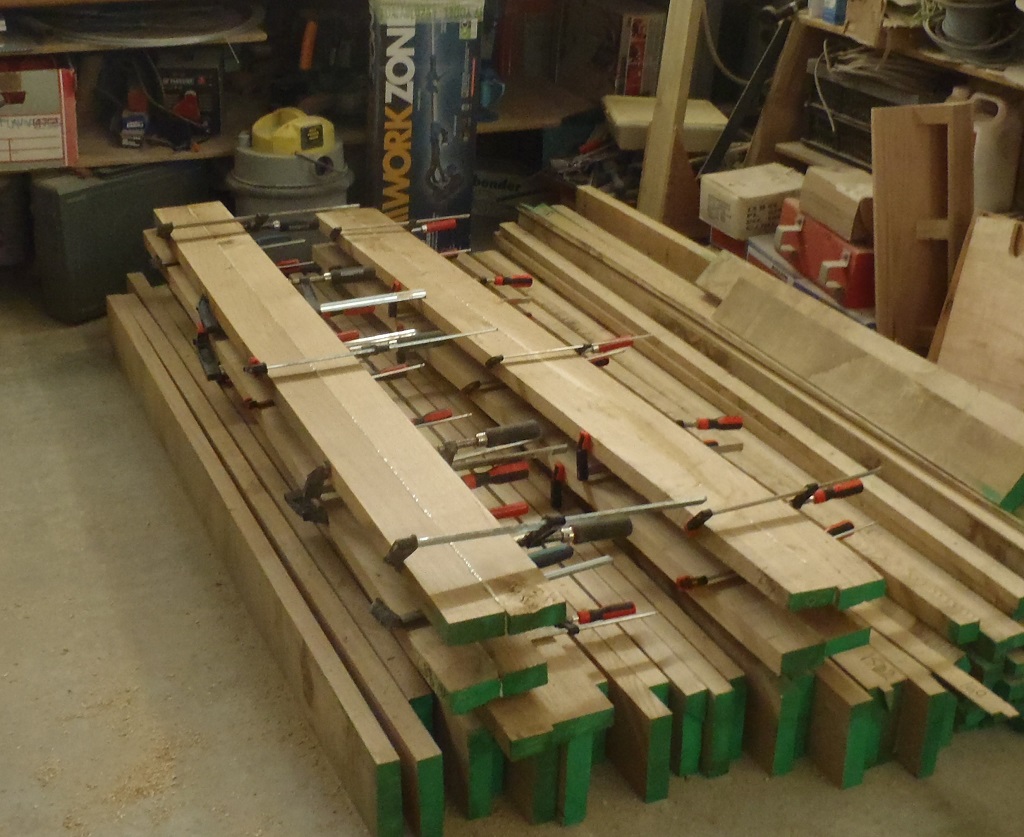
We finished off the day by having all four of our wooden Oak channels fitted with their little plastic pipe segments.
And tomorrow, we will stick down the rubber membrane inside these channels and that will be that!