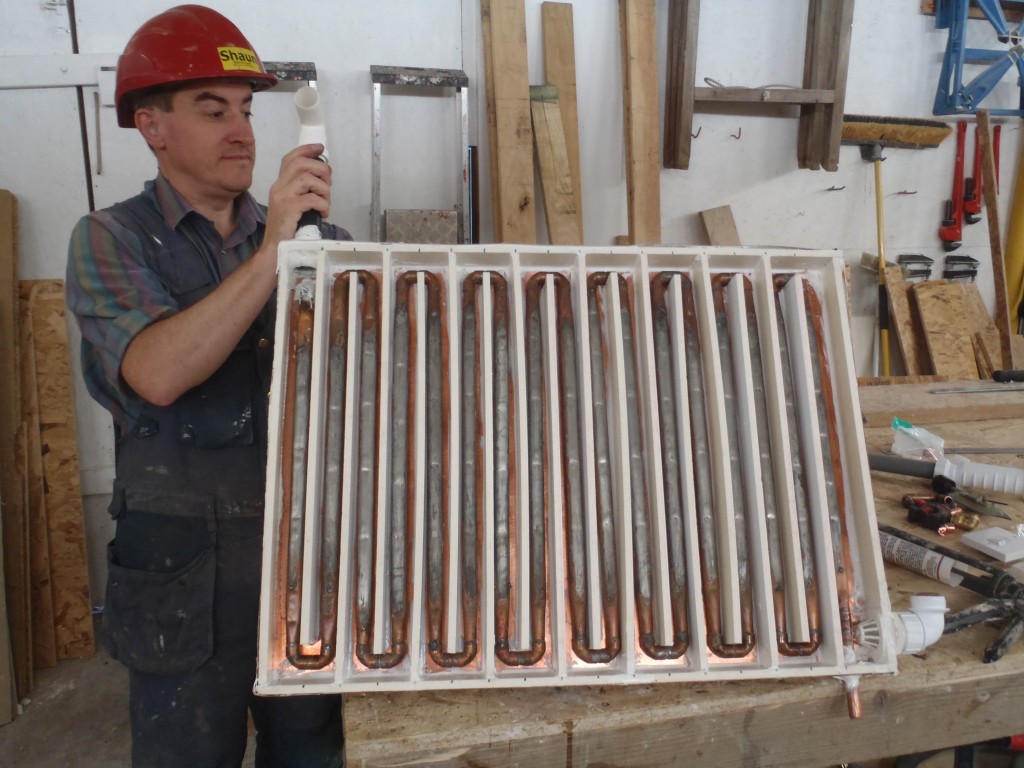
The water test was performed on the heat exchanger module outside using the garden hose! The “maze” slowed down the water that it took well over a minute (nearer two) for the water to travel from start to finish! It did build up inside the channels but didn’t reach the top and overflow!
The waste trap did struggle to start letting the water through as it was in the horizontal position but after wetting it, it got going! There wasn’t enough head of pressure to bend the rubber seals apart and being brand new and dry, it was probably sticking together!
We increased the angle to see how much the flow changed and reduced the water level but in conclusion not a great deal! We were only changing it from a 1 in 75 slope to 1 in 40 slope .. 10mm drop to 18mm over the length (750mm) of the module.
= = =
The Copper powder arrived and we mixed some together with some polyester resin and spread it out on a test piece of wood. After lunch it was not as conductive as we had hoped! It wasn’t the magic cure we were looking for to solve the problem with making a good thermal connection between the copper sheet and the copper pipes.
So throwing off our thinking caps, we decided, with the results of the water test in the morning, putting the copper pipe directly in the water flow inside the “maze” was the best solution at this time and place!
So we adapted the input and output pipes, drilled two holes in the copper sheet and threaded everything together, sealed all the new joints back up with the usual PU sealant and we wait (again)!
In the meantime we carefully lowered the drain pipe in the garden room’s floor to its lowest point to allow us the maximum range of tilt (up to a drop of 40mm) of the heat exchanger. Then we fitted the shower pump control box on the inner wall of the shower cubicle, connecting the electric and data cables through holes in the wall (sealed up!) and fitted short plastic pipes to the shower’s cold and hot water inputs, also going through the wall (also sealed up!).
