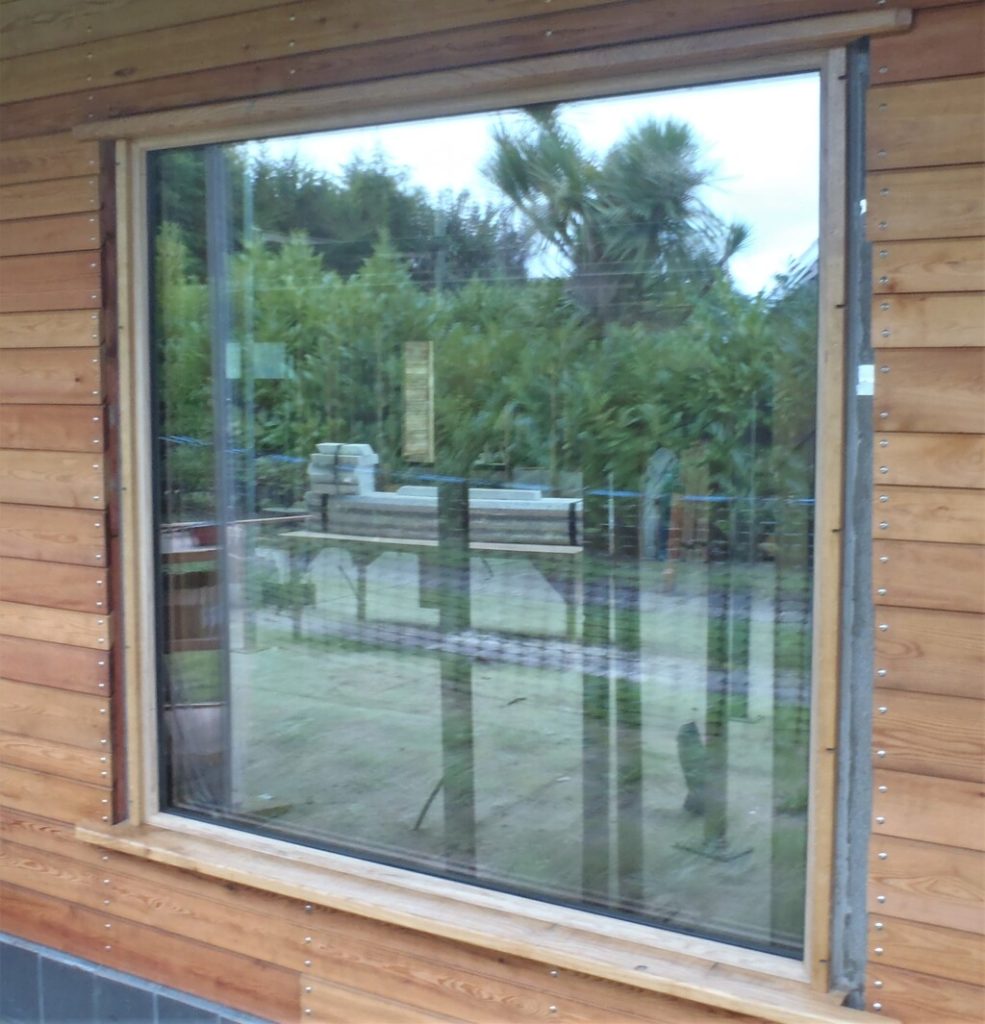
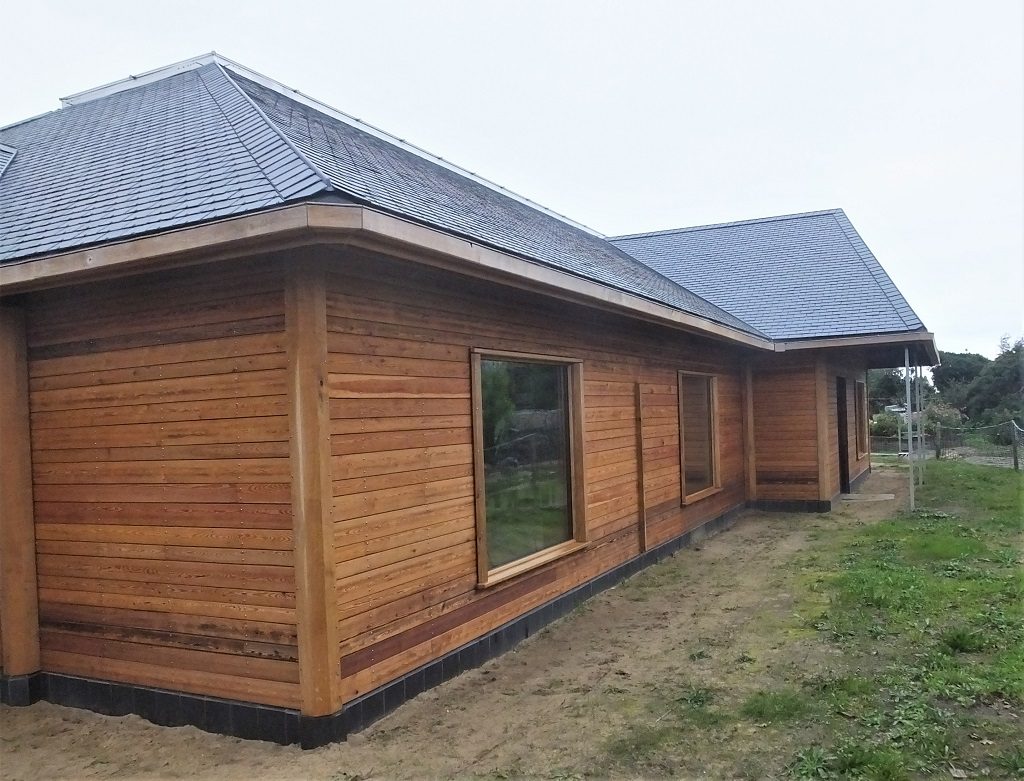
After the glass was installed into the twelve windows, we spent the next two weeks putting on the Oak Beadings and Wings to finish off each window.
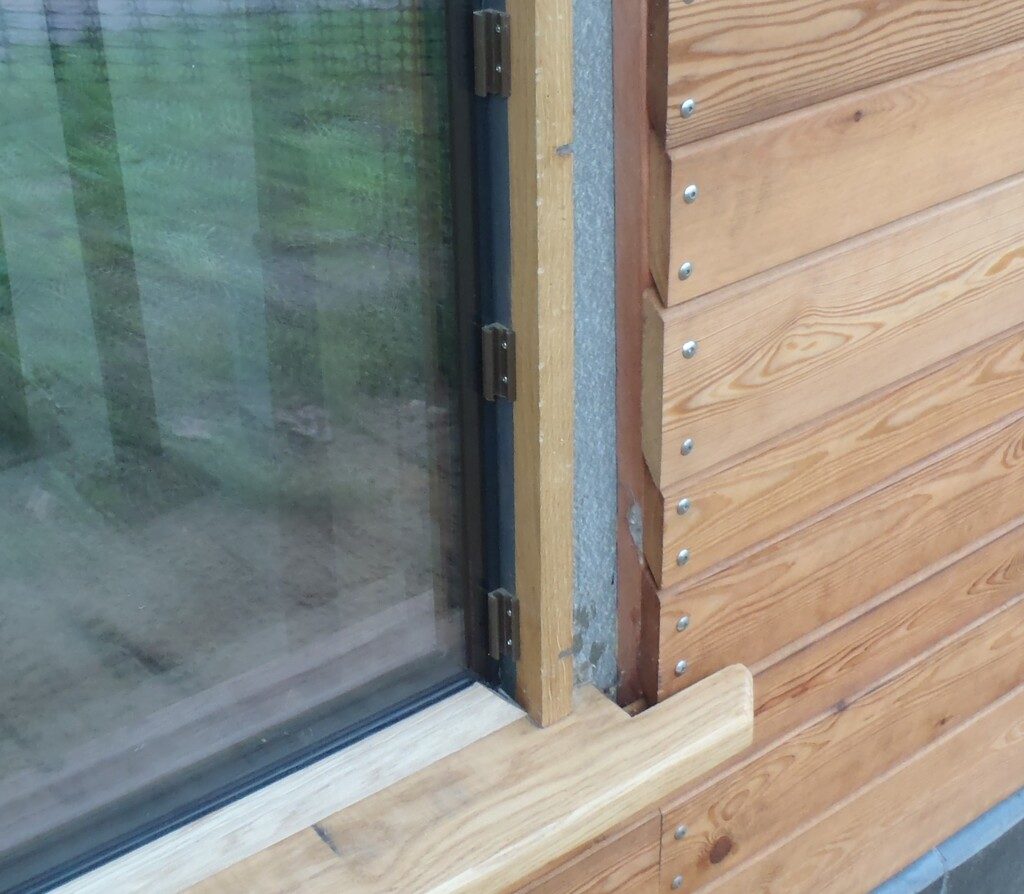
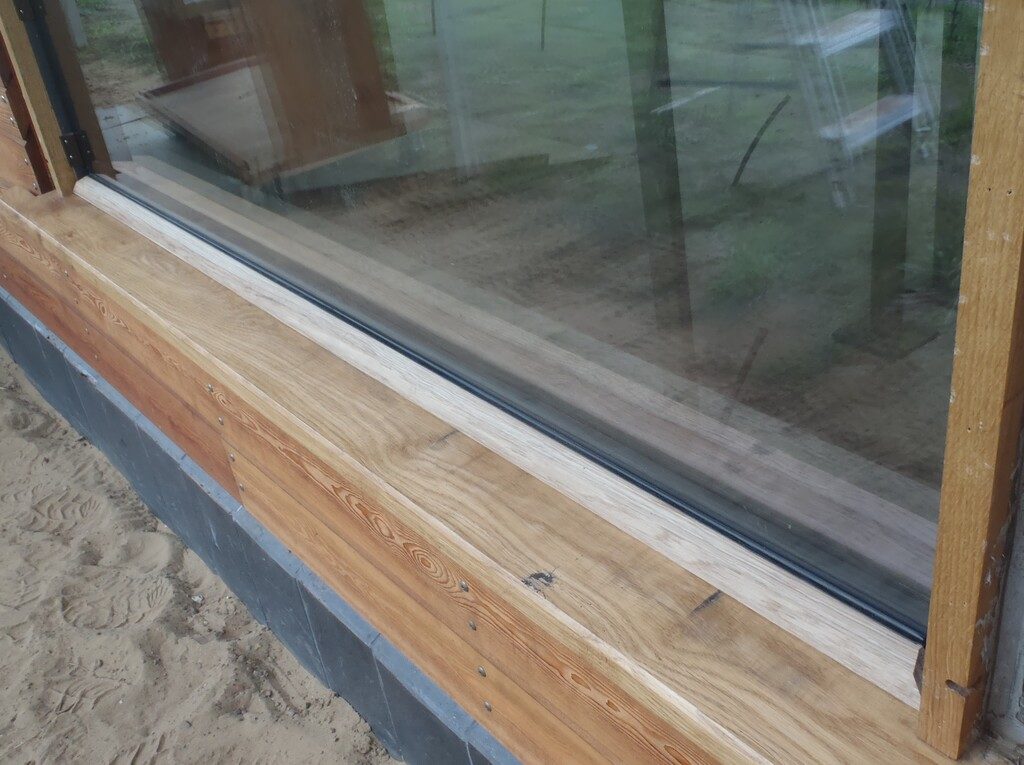
Each window has the normal four Oak Beadings (see Oak Beading Created) and each piece is held into place by a collection of special plastic clips. There are eight clips for each beading, plenty enough to rigidly hold the wooden finishing decorative strip in place against the glazing unit, squeezing the rubber seal up to the glass surface itself. We did have to do a little bit of trimming first, removing the excess sticking out bit of the glazing pad we 3D printed (see Manufacture of Glazing Support Pads) beyond the triple glazing units because they interfered with the Oak Beadings or would have done so if we hadn’t done anything. We just used a chisel to cut the plastic off next to the glass. The brown ones are the straight 90 degree regular clips and the black ones had the extra 6degree angle added to accommodate the slope of the sill. There were, in total, just under 400 clips to screw into place, using up nearly 800 stainless steel round headed screws.
Then each Oak Beading was trimmed to fit exactly each window in turn, using our chop saw and then our very sharp guillotine to slice off very thin slivers at exactly 45degree angles until each beading fitted in, nice and tight. The range of lengths were from 1613mm to 1616mm high and, for the larger windows, 1650mm to 1648mm in length. The narrower windows were pretty consistent at 1040mm and 830mm wide. We had to carefully hammer each strip down tight (using a shaped piece of oak with a rubber sheet material stapled to it) and work each beading down to the glass. The rubber seal was carefully teased straight before applying the final tap home.
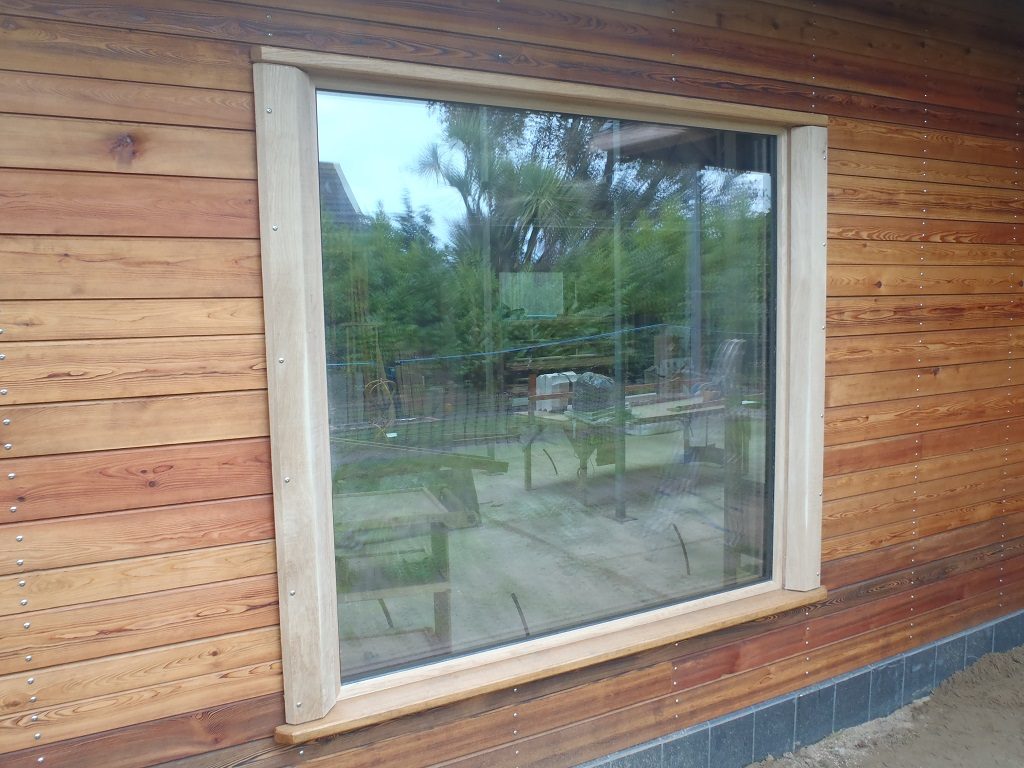
In our second week, we tackled the Oak Wings that goes on either sides of each window itself, to cover up the Larch cut ends. We had made them over the last twelve months during disruptions to other tasks and they have stood ready for a while since February this year. So at last, we proceeded to finish off the last stages of creating these Wings, by setting up the chop saw with the 6degree angle to slice the bottoms of each piece, making sure we had a set of “left” and “right” handed ones. We swopped around several pieces to select the best looking ones and finally arrived with a set of 12 pairs. The left over pieces (three of them) were bundled together, along with the remaining Oak Beading strips and stored away for any future needs like doing repairs.
Then we went around to each window in turn, and measured the precise height of the vertical sides, recording the left and right numbers. Using this data, we carefully sliced the length on each wing (after confirming the method on the first piece and testing outside on a window). Finally, we bevelled a small 45degree chamfer on the ends to clean up any splinters and also soften the visual joint when the Oak Wings are installed. The whole lot was vigorously sanded smooth.
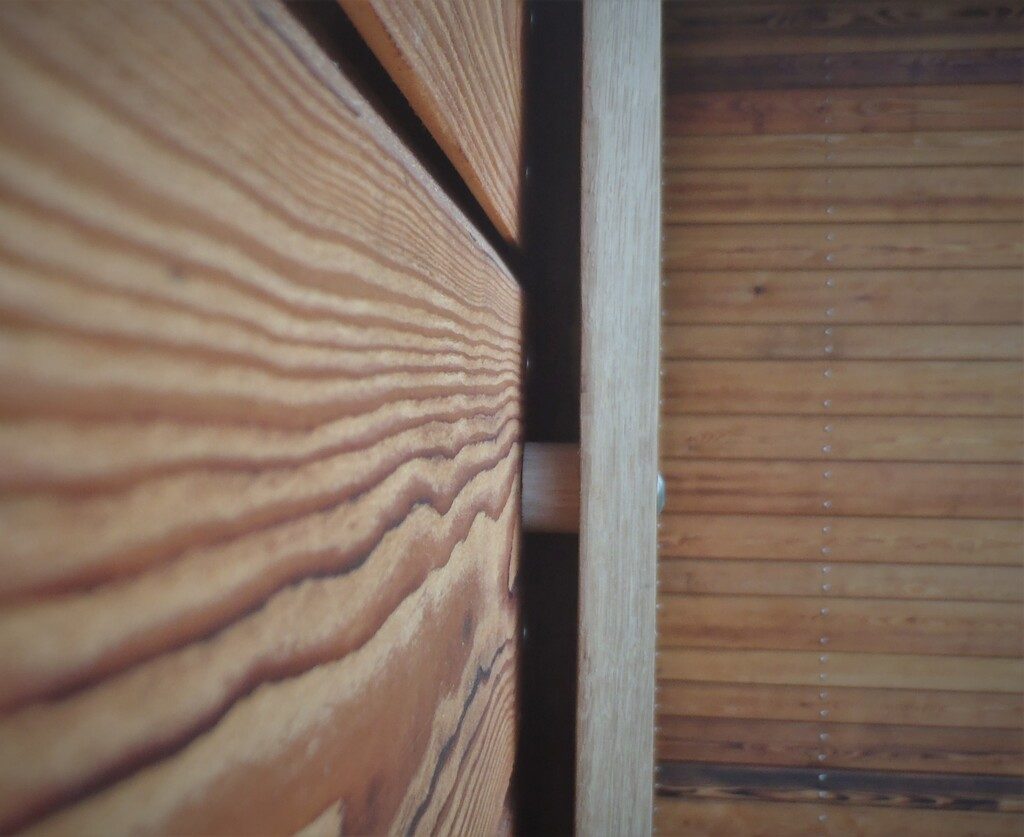
The next task, a tricky one, was to place each piece into our template for making the T-slots we got in our window frames, and this time, using a router with a small 3mm diameter cutter, proceeded to make pilot holes for the locking stainless steel countersink headed screws. These screws provides the “key” to slide into the T-slot “holes” to lock each wing onto our window frames to form sideway flaring wings, shaped in the octagon scheme we got around the whole house.
The tests went well, making slight adjustments to our template and making lots of test pieces (short 6inch ones) and checking them outside on a window frame, before committed ourselves to doing all the other 24 pieces. That done, we could finally take each pair outside and install them to the eleven windows. The only one we didn’t do is the Q window that is in our Conservatory. In that room, the walls are left uncovered, no cladding etc. as we wanted to build the whole Conservatory first before deciding on the final wall coverings. So that pair of Oak Wings have been also stored away.
The wings were fixed into place with mushroom headed stainless screws, just like all the other screws fixing down the cladding and Oak Corners. We had to slice up lots of 25mm dowel pieces to fill in the gap between the wings and the Larch cladding, to make the whole thing very rigid and have plenty of air circulating around behind the timber pieces to keep them dry and free from wet rot.
The last task was to smooth off the joint, that is overlapping with the frame of the window, using a mini planer and our new battery powered orbital palm held sander and then giving everything a good dose of timber oil, the first of many coats, to protect the timber from aging in the Sun and weather.
That pretty much finishes everything we have to do to our exterior of our house (at last!!) and we can move on to starting to building the interior structure etc. The first job is to do the Entertainment Room, putting up its concrete sound-proofing shell.
