This week was a chop and change kind of week, working on lots of different elements that needed to be done before we can continue in laying down the floorboards across the first floor joists. One of the last remaining tasks from last week was to glue and and nail the final four long I-Beams into place (these are going down the long hallway from the central part of the house and heading rightwards to the Utility and Bedroom 3 rooms) and put in the noggings to secure them at the ends. Talking about noggings, we looked at the structure of the first floor and counted how many more noggings we would need which came to some where around of figure of 60 individuals. We had 16 still left over from the last grand nogging creation so we sliced up three I-Beam left-overs, about 3metres each and then sliced up one complete 10metre I-Beam, to generate additional 44 noggings.
With this done, our slicing machine have mostly finished all the bulk work so we dismantled the working area under our Front Door Porch, tidied away all the equipment and moved the slicing machine into Bedroom 1 for any odd jobs. Then we moved the final two 10metre I-Beams over to our Swimming Lane storage area for the long term (we will find something for them we have no doubts!!), folded up the tarpaulin, moved twelve concrete blocks and tidied away the wooden bearers. The front of our house is all clear again – hurray – Smile!
So having done that, we could resume laying down floorboards but only a couple of rows. It took us almost an entire afternoon just to do one row, because it was the transition of entering into the larger space plus also there was two metal legs of the Skylight to navigate around too and we reached the next challenge. This is where we needed to install additional hidden elements that lives inside the joist space as follows ..
The Cold Water Header tank Support lintel being the first one, we had made provisions during the construction of the walls by putting triple posts in the location where the ends of the steel lintel will sit so we just needed to hoist up the steel lintel. This steel object is another one of our left-over piece, this time, it is a 2.1metre large fat steel leg measuring 160mm wide by 80mm thick. These steel elements are supporting the Skylight hanging over the Great Room and we got three of them lying around in the Garage so it is ideal to be used as a lintel to support the large header tank and transfer the weight down directly to the concrete floor and not into the first floor structure. It weighed about 60kg so it took a bit of lifting from both of us to haul it up to the first floor. We then chopped eight pieces from a 2by6 timber to form short stumpy legs to lift the steel tube up so it is flush with the tops of the joists and the floorboards when it finally get laid. These stumpy support posts were 160mm tall and after slicing tiny bits off to get everything level, we glued the two set of four to form the two pillars and we stuck down the freshly scrubbed steel lintel into place. Finally, then we put small pieces of noggings down on either sides of the steel to make sure it is locked into place and won’t fall over or twist under the load of the header tank.
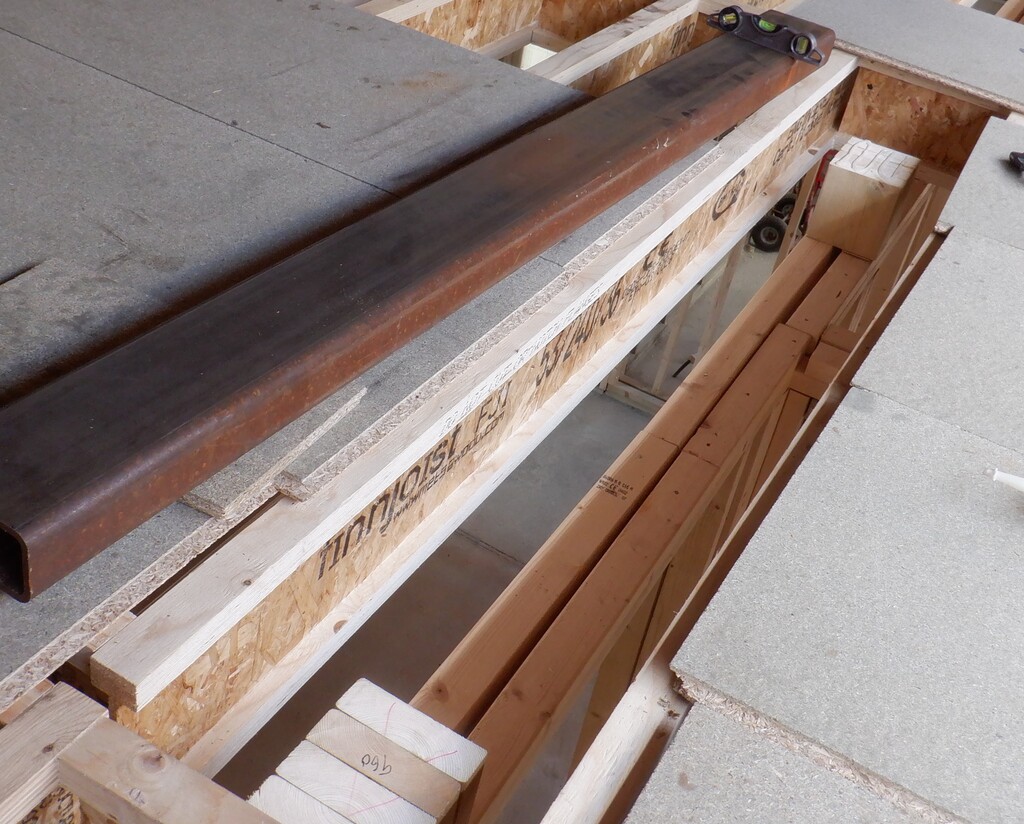
Water-tank-support-supports
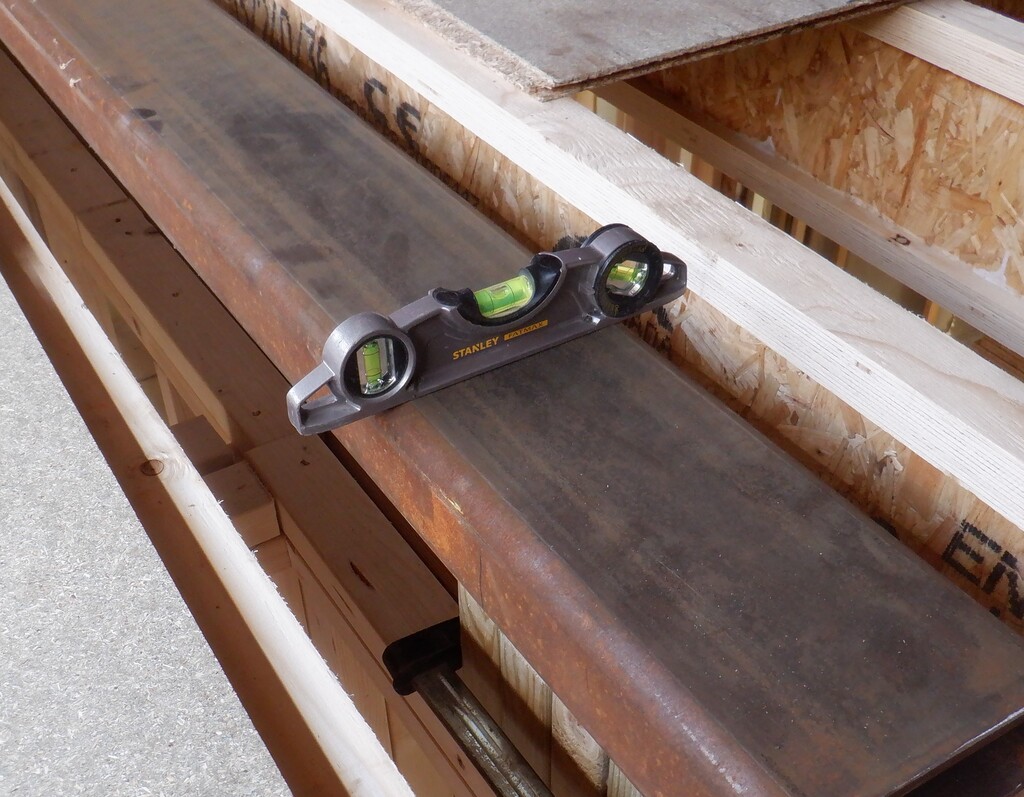
Water-tank-support-all-level
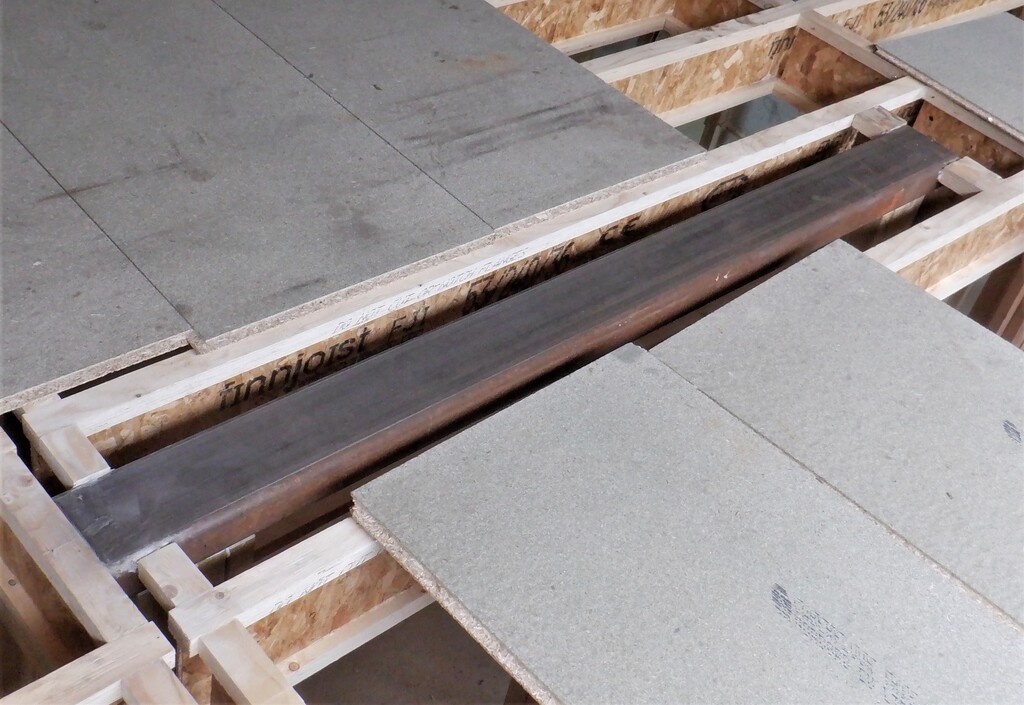
Water-tank-support-installed
The next job was to connect a waste water pipe that we will need for the upstairs bathroom’s basin and shower. But we discovered that the boss adapter we had already previously connected together into the large diameter waste pipework was a different size hole and we didn’t have any fittings that would fit reliably. It looked like a 50mm diameter boss socket but it was a case of a different manufacturer and their idea of what standards to adhere to. We tried all sorts of different solutions, rubber adapters and the like but O Boy we failed to get anything to work. So we had to block off the hole by making a circular disc of plastic and use PU sealant to stick this disc into the boss connector and seal it up. We fortunately had the luck to use another pipework piece, a right angle element that had more of these boss connectors but manufactured by someone else so we moved over to use that one instead. we had a particular adapter that fitted very well so we solvent welded the 40mm water pipe diameter adapter into the boss socket, after we had drilled a 40mm hole and then slide in a two and a half metre length of white pipe, ready for further connections to the basin and shower units later on.
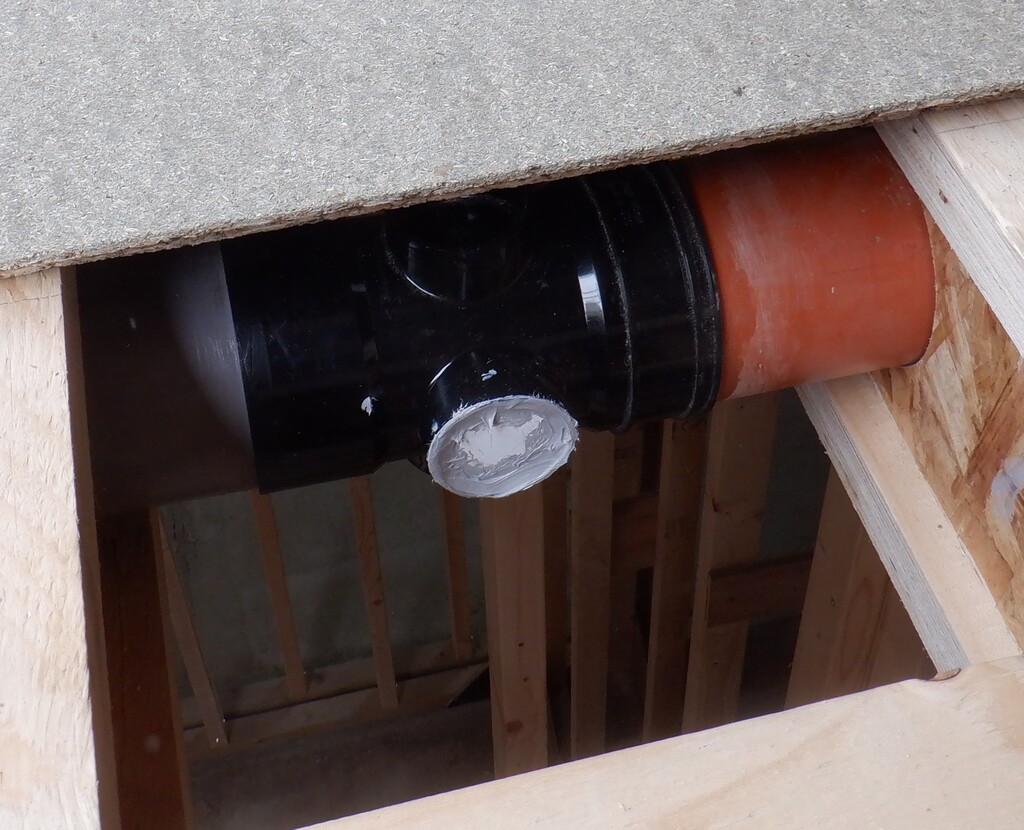
Plugged-up-waste-boss
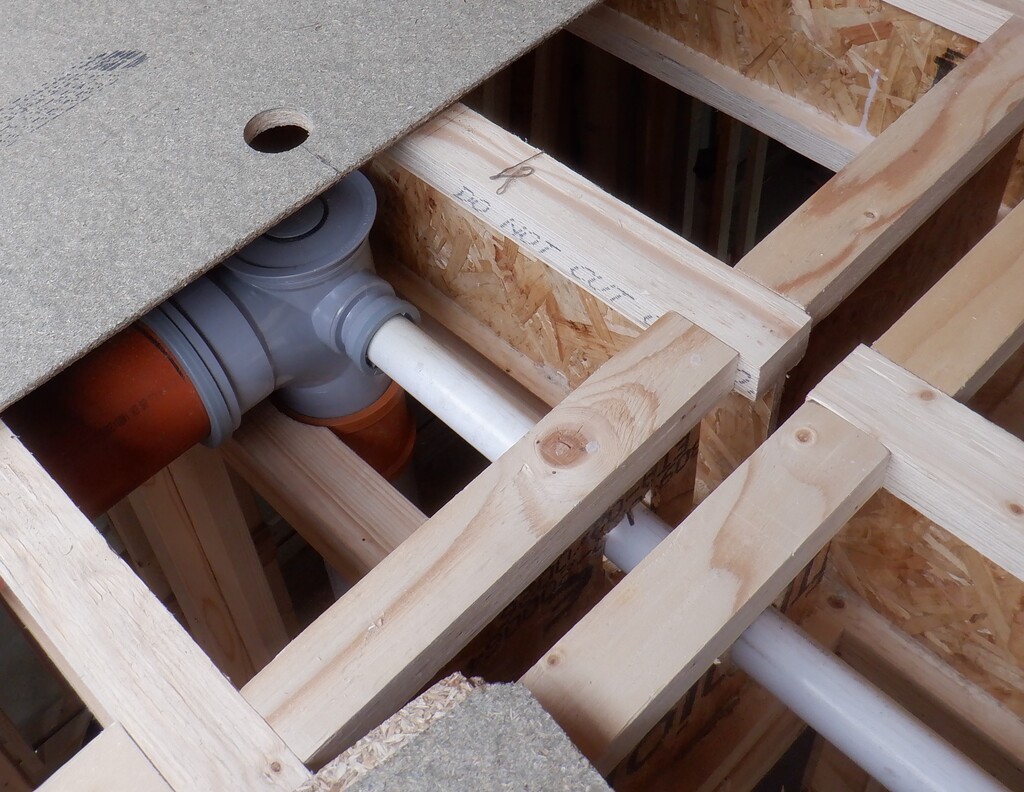
Watepipe-for-shower-and-basin
After all that palaver, we moved over to the front of the house over the Entertainment room to design and build a air ducting channel that fits in between two joists so it can run underneath the upstairs Study room. This air channel is the waste air being collected by all the ground floor rooms at the front of the house like the Kitchen, Entertainment room and the Great Room and the Conservatory too. Normally, our waste air ducting will run on top of the floorboards on the first floor running around inside the triangular void spaces but we didn’t want to have to introduce four sharp bends in the air flow to just avoid crossing the upstairs Study and also have a permanent square boxing running around this room too. So, we routed the air ducting downwards to squeeze in between two joists for a short distance before rising again and heading off to the Utility Room for processing. We used a mixture of 30mm and 35mm thick PU foam boards that has the shiny aluminium paper coated all over them. It is quite smooth so will provide very low air resistance and it has two gentle slopes to avoid the sudden change of direction. The pieces were hooked and glued into place to create a square channel. The rest of it will be done later on when we build the remaining waste air channels.

Air-duct-over-entertainment-room
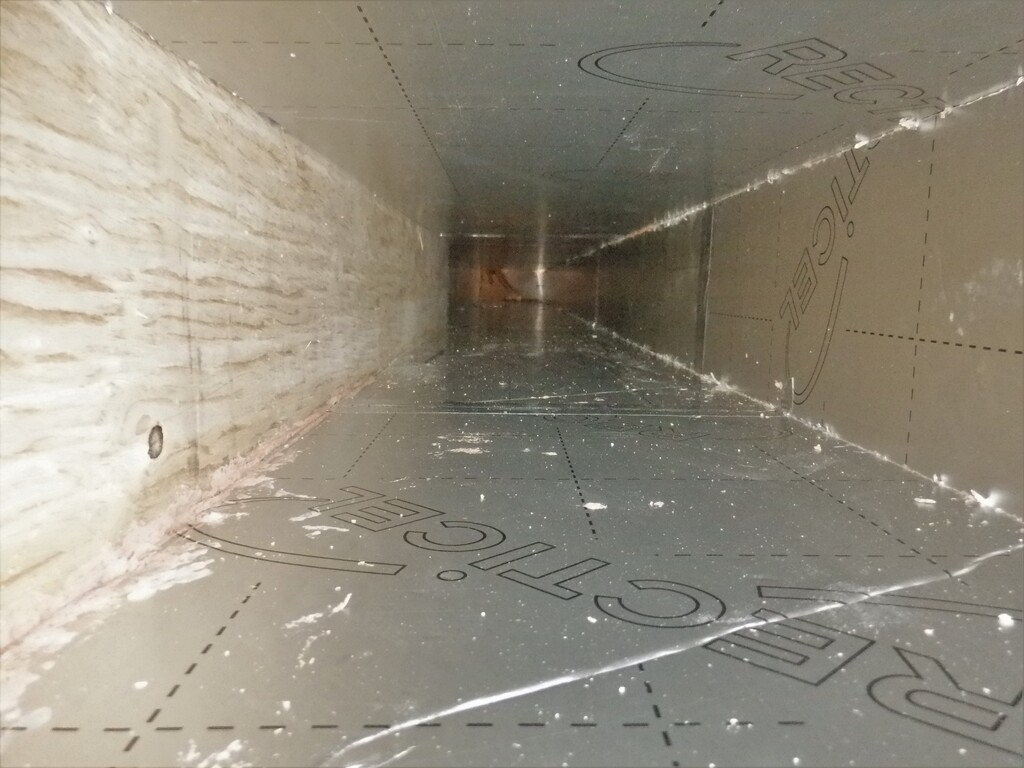
Air-duct-inside
The final piece of work that we needed to do before the floorboards were laid, cutting off our access to this joist space (because the Entertainment room has the concrete ceiling, cutting off access from below. This was to install the air extraction pipework for the aforementioned Entertainment room. All the extraction pipework will be 100mm metal ducting with metal sweep corner pieces etc. and we connected together one 90degree bend to a short straight piece, then a 45degree bend to raise the ducting above the floorboard and left a short length sticking out. All this is done inside the space between the joists that lined up with the hole we left behind in the concrete block ceiling but we didn’t leave it at that point. We wanted to make sure that any sound waves being generated inside the Entertainment room were dampened and not leak out through the air ducting pipework and infect the Study sitting over the top. To this goal, we built a box out of left over pieces of chipboard floorboard pieces and glued this box down to the concrete surface and laid the metal pipe along inside and glued this in too.
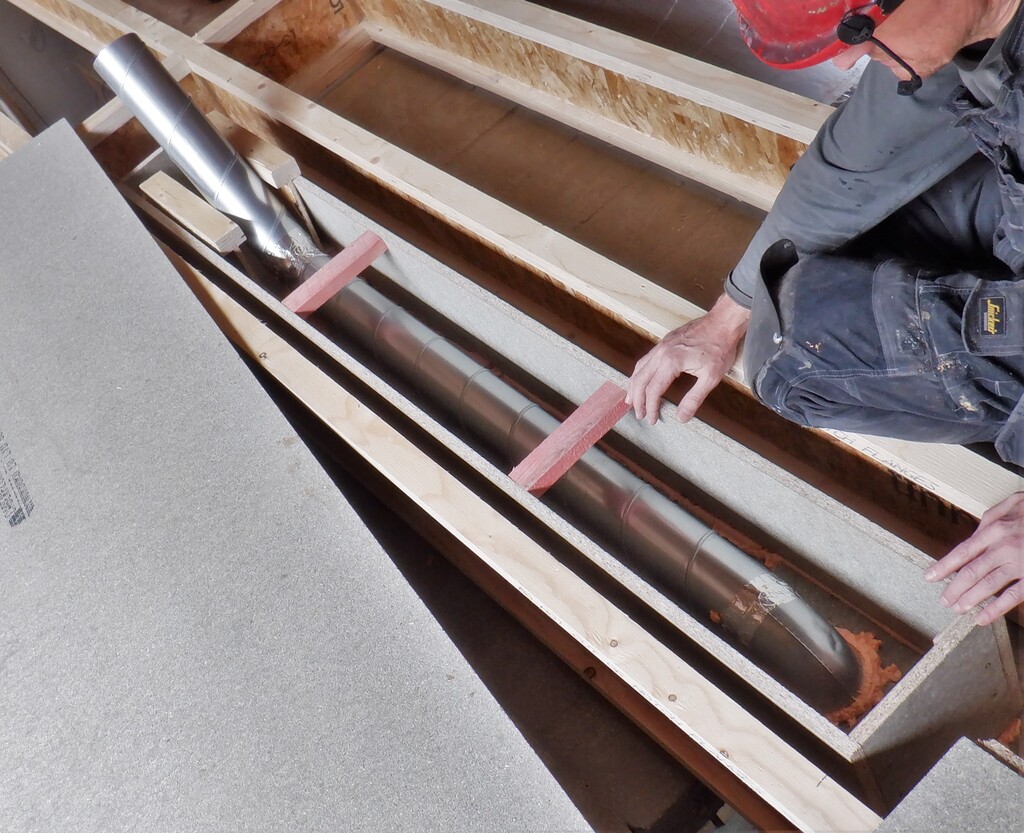
Sound-resistant-box-for-entertainment-room-duct-installed
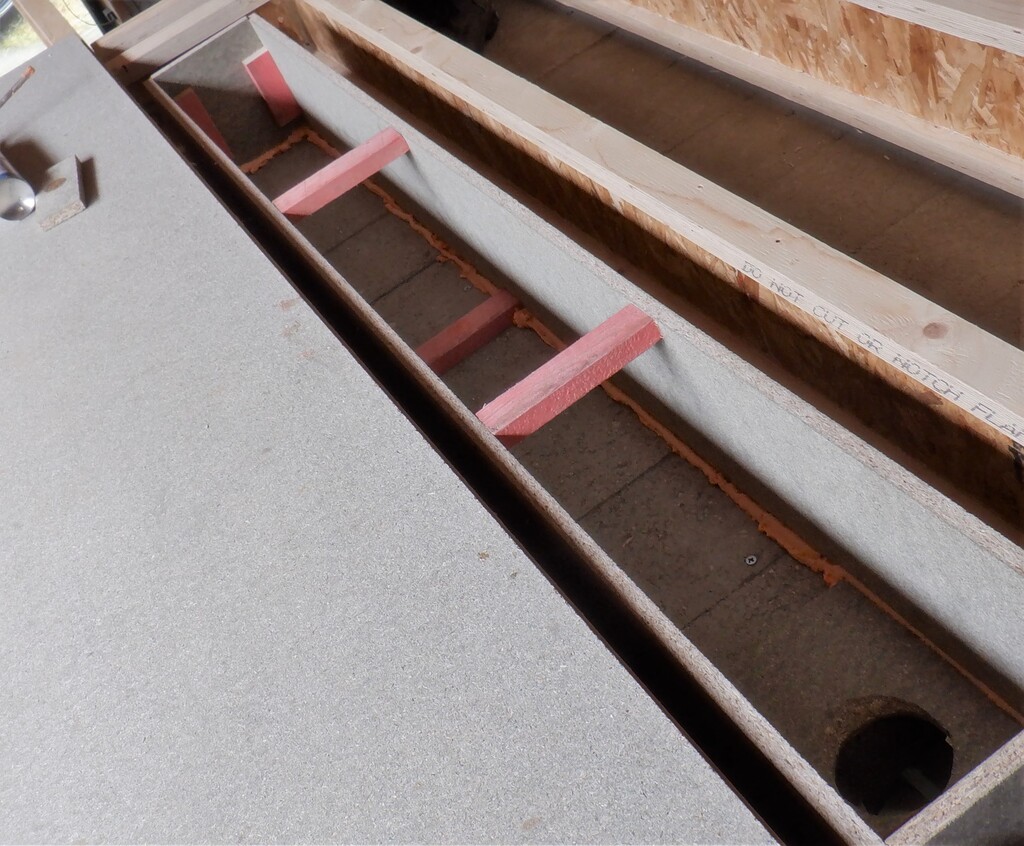
Sound-resistant-box-for-entertainment-room-glued-in
We will fill this box up with sand but it needed to be dry first so we filled three trugs full of sand from our sand bank outside our conservatory and spread it all over the kitchen floor to dry off, blowing our giant fan over the top to assist this process.
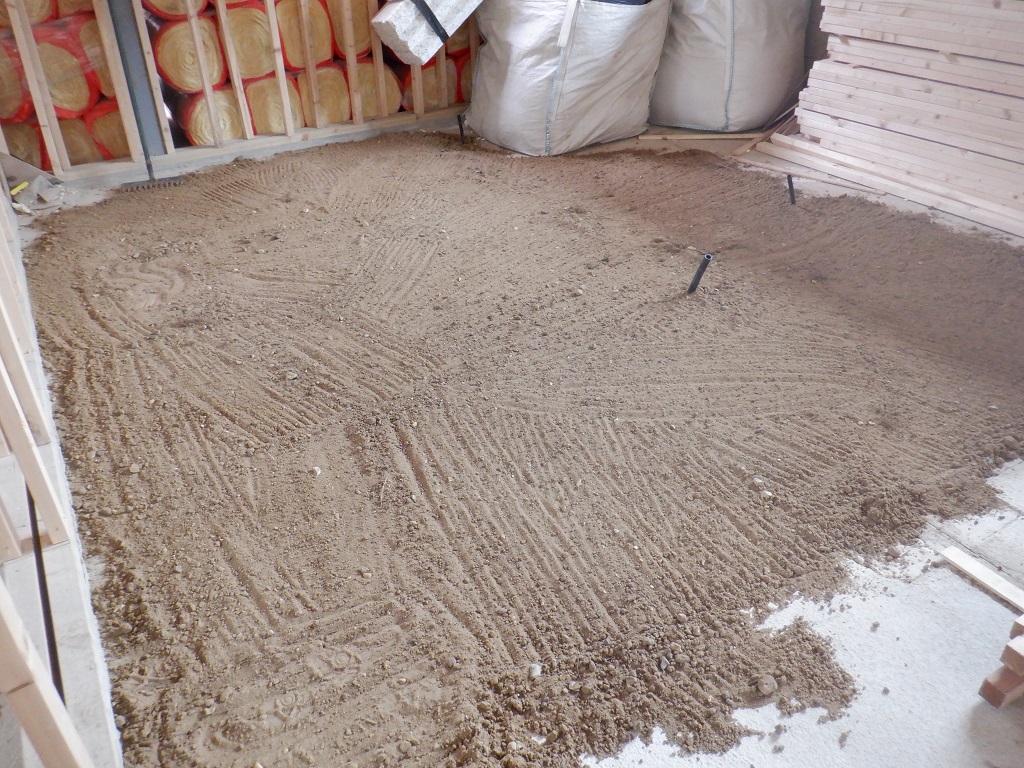
Drying-sand
One of the last things we were doing towards the end of the week, was putting more noggings across various collections of joists, some over the Entertainment room, some over Bedroom 3, some over hallway outside the Cloakroom, all to anchor the first floor support joists and stiffen them up.
By the end of the week, we had done lots of different “little” tasks, had only put down two more rows of floorboards but that building a house for you. There are certain jobs that depends on the completion of other jobs. it is very important to do each one in order .. or else!
Here is a picture of our first floor with all the piles of chipboard boards waiting, a table of tools and working area.
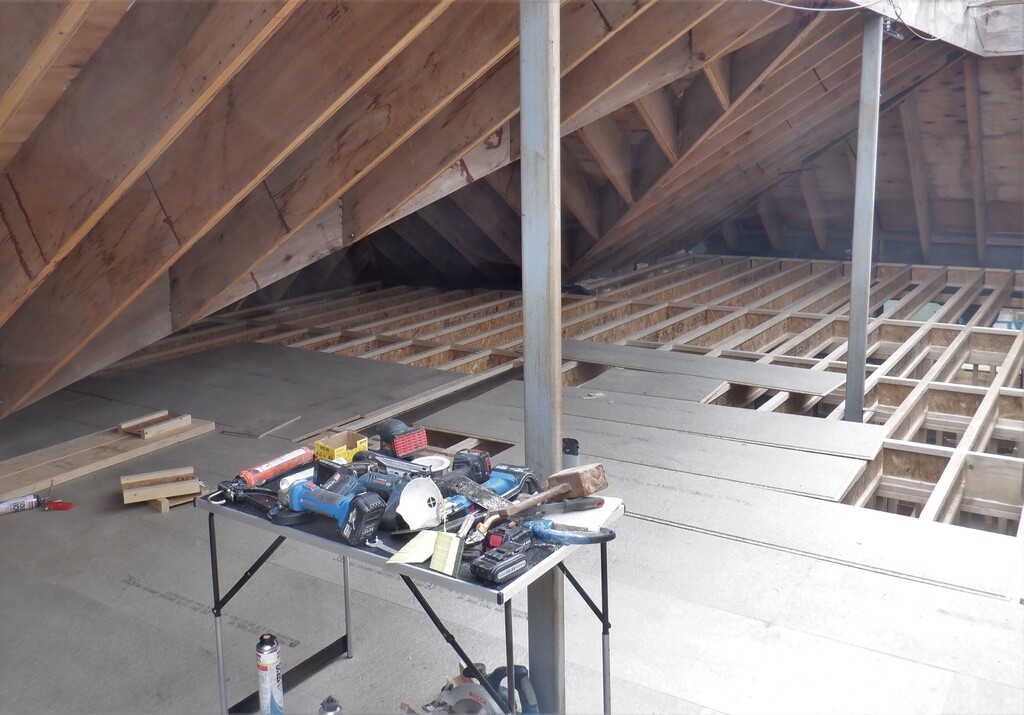
First-floor-end-of-week-3-1
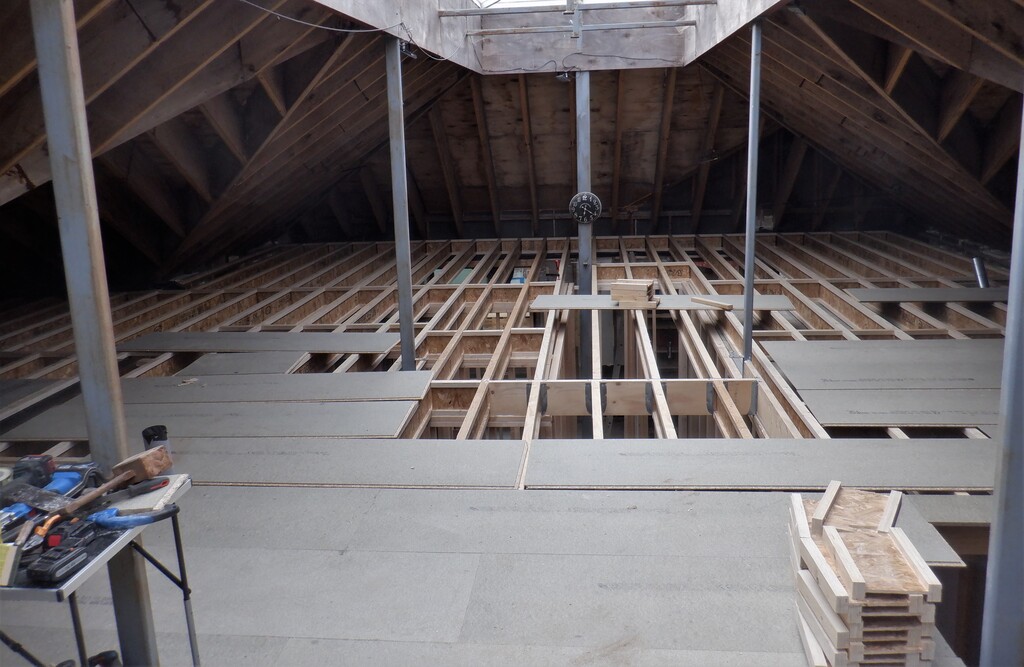
First-floor-end-of-week-3-2
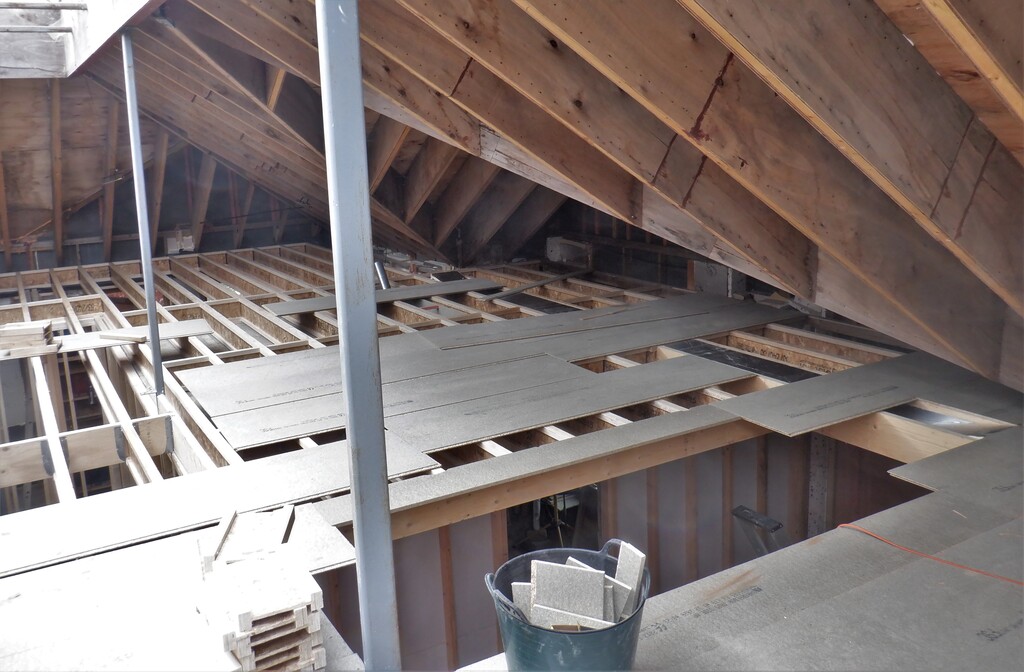
First-floor-end-of-week-3-3
We resume on Monday with these little jobs!! Phew!
Leave a Reply
You must be logged in to post a comment.