We have now completed the construction of the basic shell that is our Kitchen. The floor and walls are now created to form the first stage of what will be the Kitchen later on.
The usual steps were executed in building this room, just like the others, building the floor support framework and all the utility rails up on the walls.
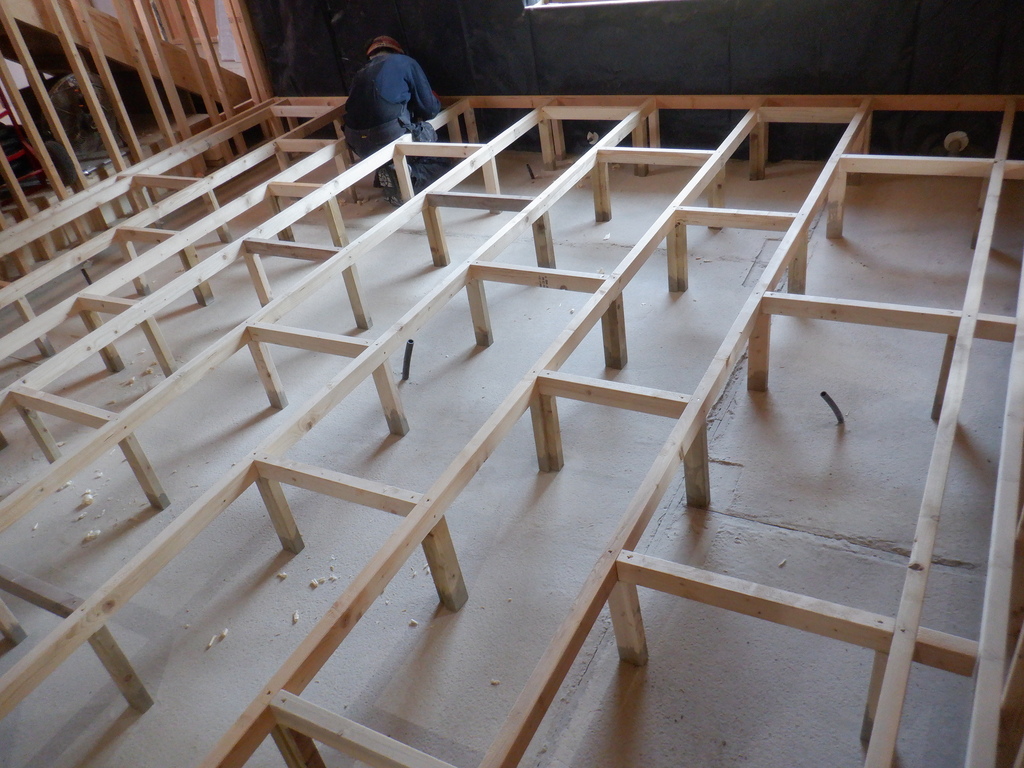
Kitchen-Floor-framing
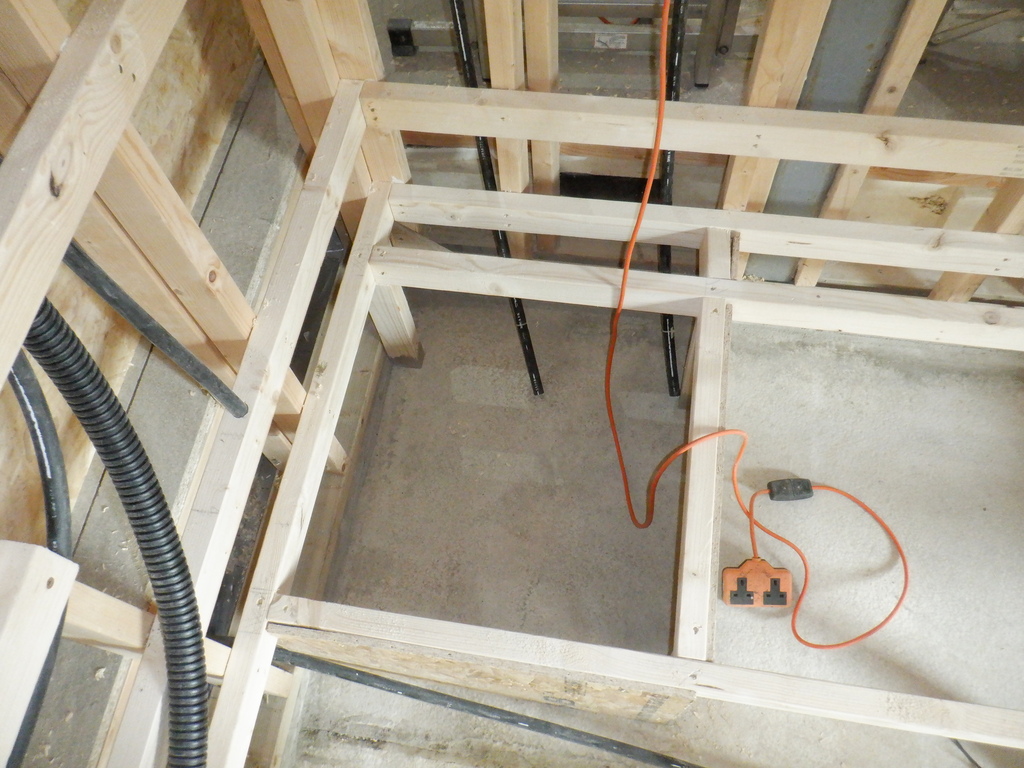
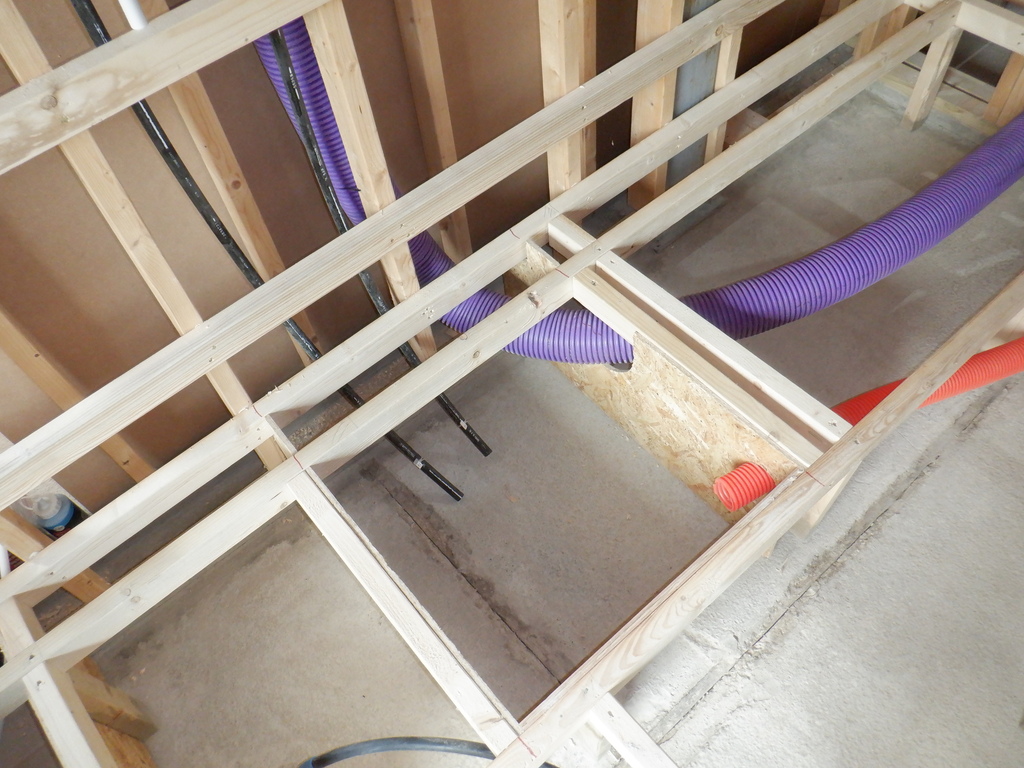
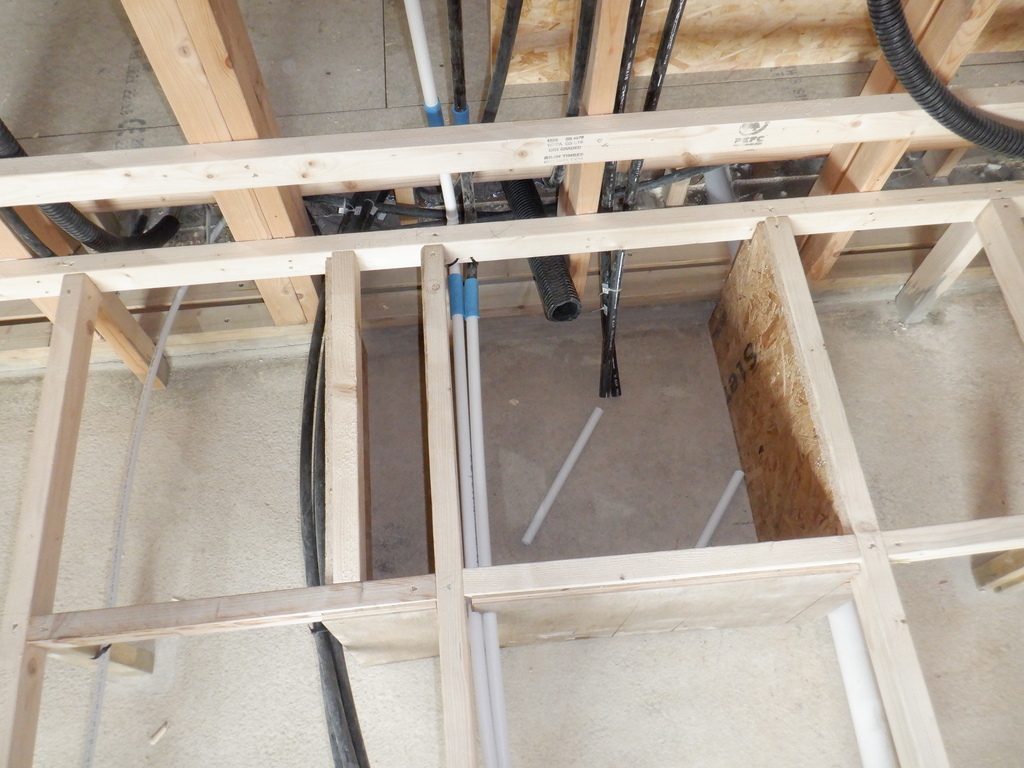
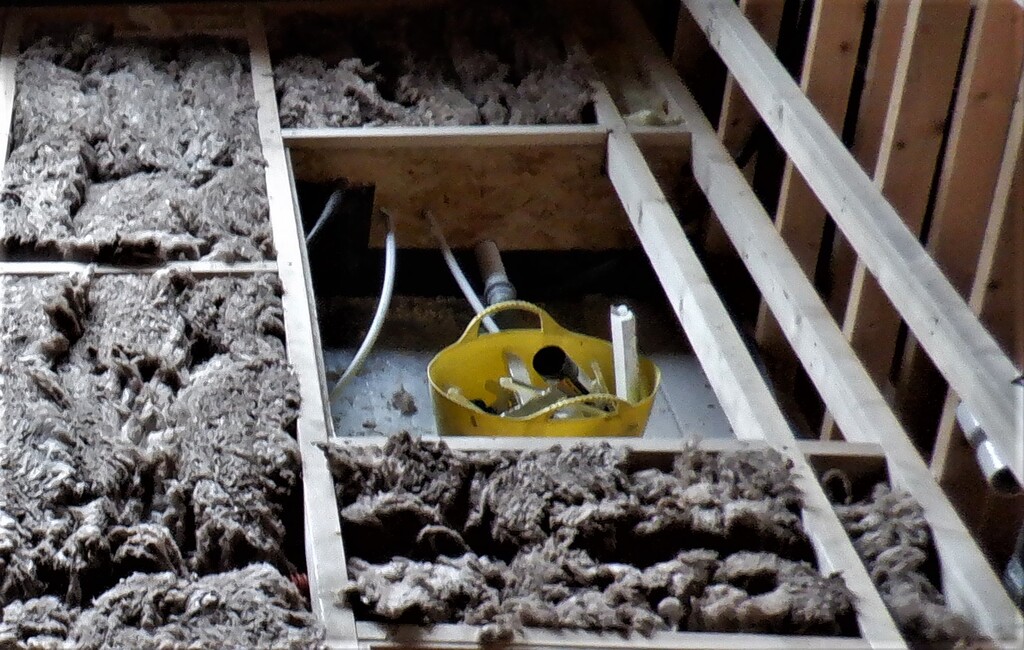
But, the major different in here was the sheer number of conduits that we needed to have installed to provide various planned and future electrical, air and water provision. It is a busy room with lots of appliances and we had mapped out our design and layout of where these individual items will go, including providing space below the floors for custom refrigeration systems and not forgetting putting in a larger control box to enable us to have a larger display screen for showing recipes and other information. We even put in a vacuum “port” in the middle of the floor that will become part of the central spur of more worktop and work table coming out from the wall facing the hallway.
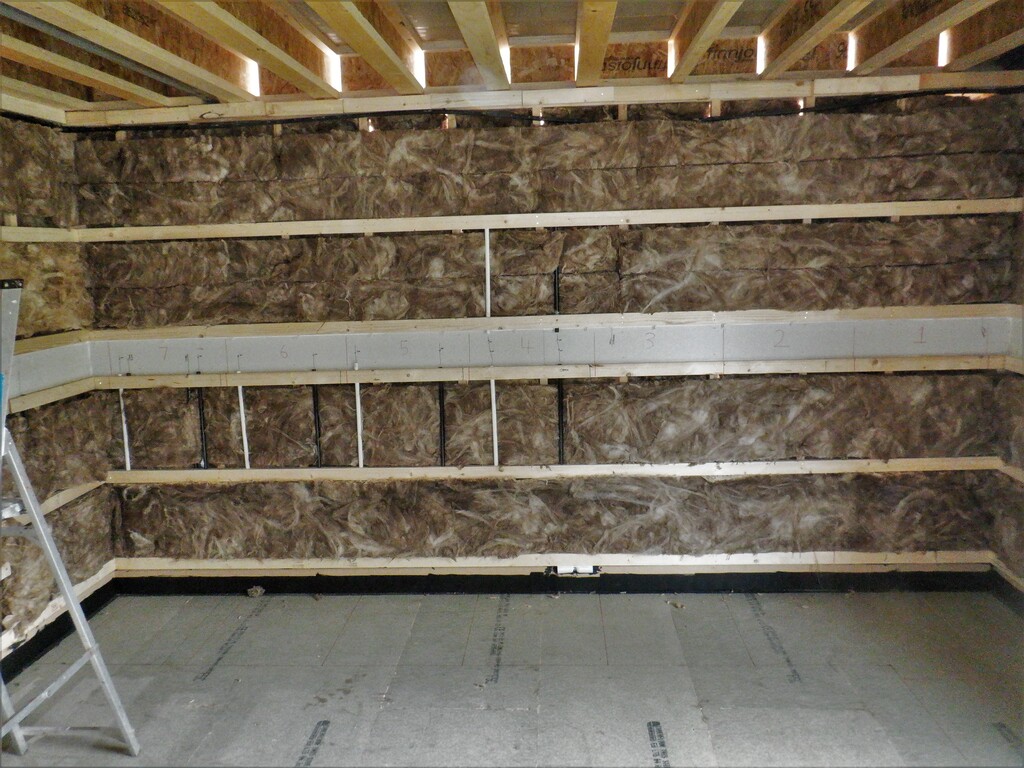
Kitchen-Refigeration-Zone-1
Kitchen-Refigeration-Zone-2
Kitchen-Refigeration-Zone-3
Kitchen-sink-zone
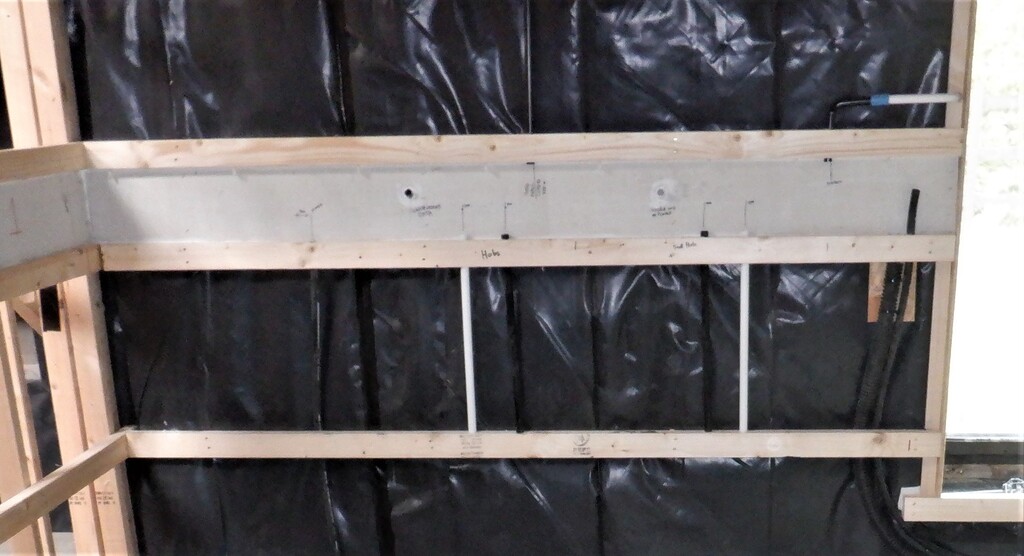
Kitchen-Hall-side-wall
Kitchen-wall-Left-of-window
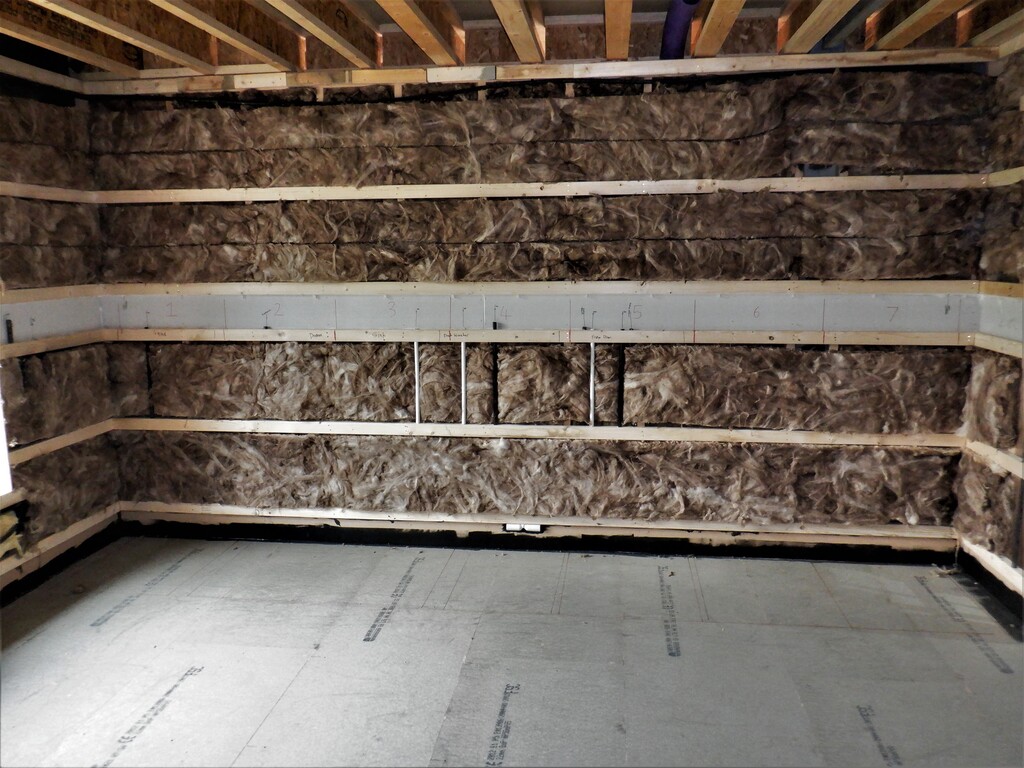
Kitchwn-Great-room-side-wall
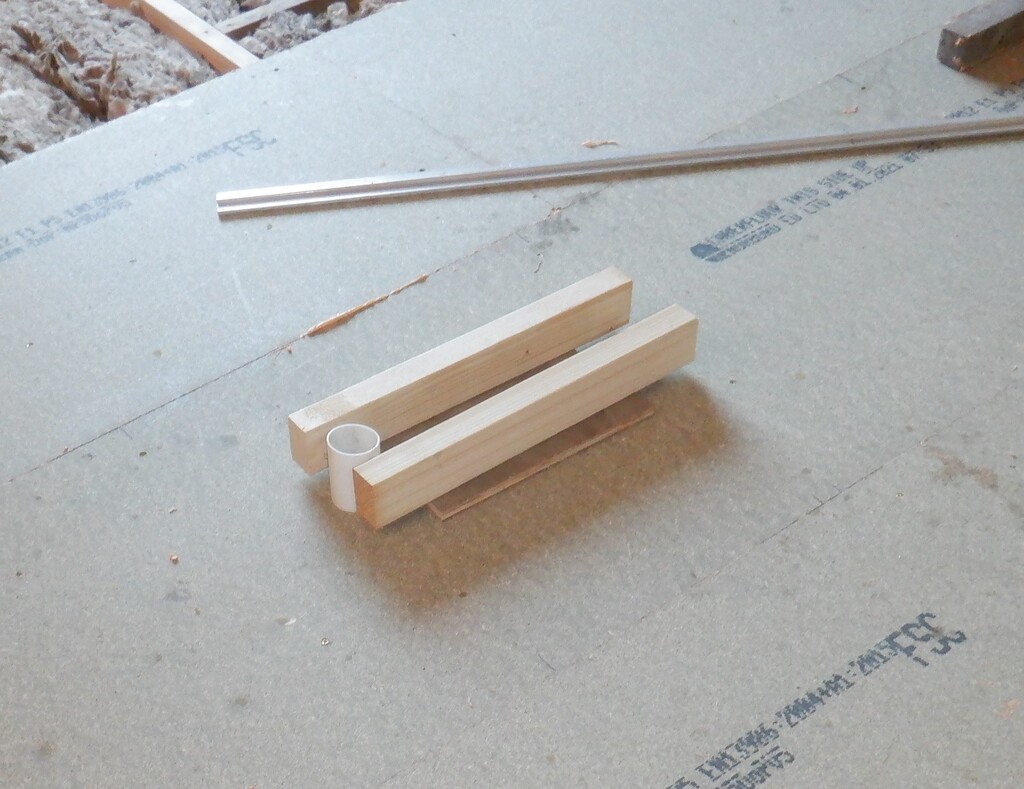
Vacuum-pipe-coming-up-through-the-floor
That pretty much concludes the main rooms on the ground floor, apart from the Great Room which we cannot do until we have used up the majority of the CLS timber upstairs and we cannot do that task until we have filled in the roof rafters with insulation and sealed it up with a vapour barrier plastic membrane. So, while we wait for more insulation to arrive, we will now work on the Hallways and build up the basic walls, putting in the Utility Channel and inserting many conduits etc. including lots of glass wool to aid sound insulation between the rooms. It will look very good when that is done!
Leave a Reply
You must be logged in to post a comment.