Since we had finished building the basic shell of all our downstairs hallways, we needed to get on with something else while we are waiting for a particular type of building material to arrive. So we decided to work on building the framework for the floor in our Great Room and also put up most of the horizontal rails up on the walls too. But, we had to empty the room out as it is full of timber, well over 400 x 4.8m long planks, plus a large bench saw table double module and a long chop saw module as well, as well as a standalone planer and other pieces of equipment, all needed to be moved out. But, first of all, we looked ahead to see what we needed in terms of cut down strips of fermacell plasterboard pieces (to go in the back of the Utility Channels) and MDF strips for the Air Channels too, both uses the saw bench table module. So, we sliced up two more fermacell boards into 12 more strips which should be enough to complete the Great Room and also slice two more MDF sheets to make 16 more strips, again enough to do the job. Then, we calculated that we needed 221 legs to support the entire flooring framework at every 600mm point in both directions and 85 horizontal pieces that hold and space out the long floor joists. We used our big chop saw with an end-stop to rapidly chop up 27 lengths of our 63mm CLS timber to produce the required numbers.
Then, the 221 legs were then dipped, one end only, in timber preservative solution.
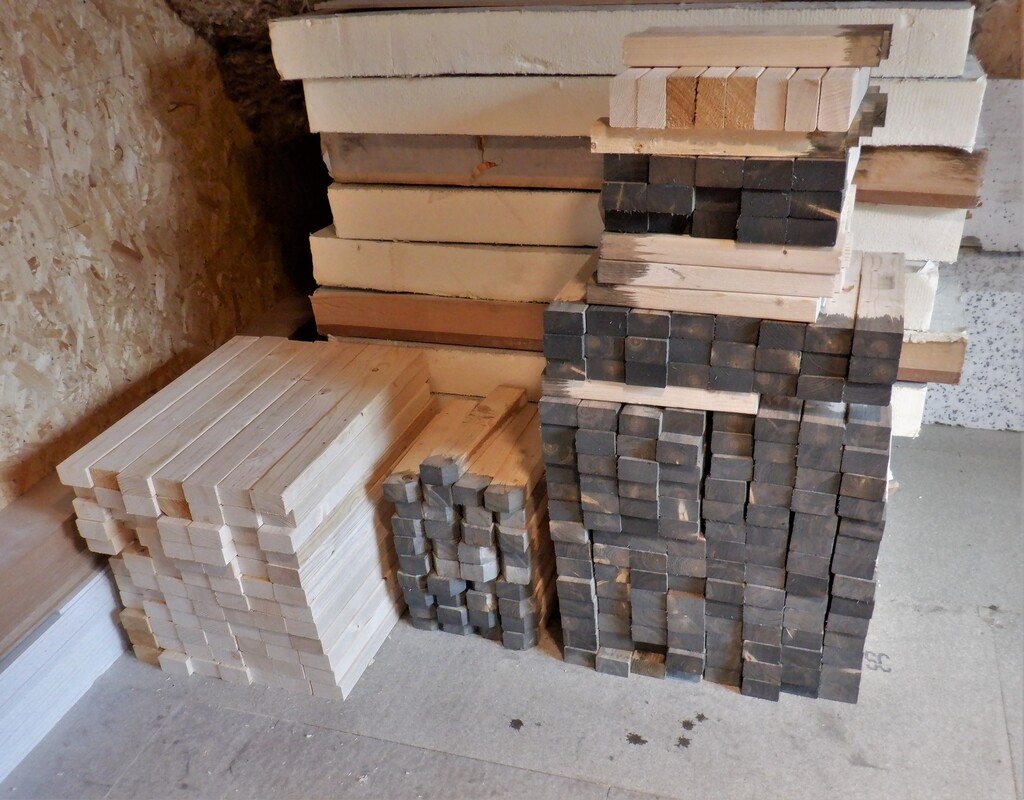
Lots-of-legs
Only after this, we proceeded to dismantle these pieces of equipment and move them out of the Great Room. The last big job was to move the huge stack of the CLS timber upstairs as most of it is earmarked for building the upstairs walls etc. We needed to leave behind about 50 planks which meant that we had to move everything else. in the end, we moved 414 planks to the middle of the space upstairs, running down the middle under the Skylight.
We moved the 50 planks into the middle of the room so we can work around the edges doing the walls but also we could do one half of the floor at a time etc.
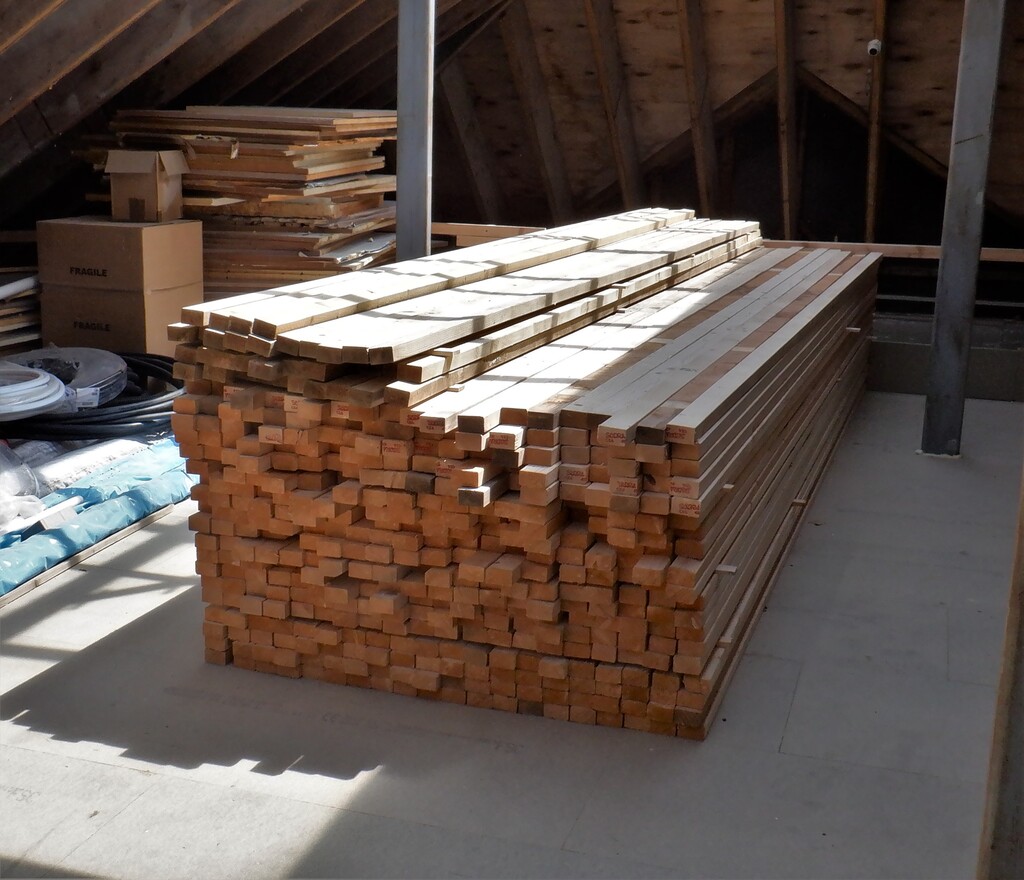
2-Tons-of-wood-upstairs
We had to tidy up several years of dust and sand that has crept under the timber pile, plus a large heap of left-over timber pieces which will turn into something useful we thought but after this long, perhaps not! Actually, some of it will be used later on but quite a lot only ended up outside in our rubbish bag, ready for the next bonfire, or hand it over to our neighbours for their own wood burner.
We had to put back outside 15 homemade concrete blocks that were used to support our timber pile, back when we even didn’t have a roof on our house! We now have one empty Great Room for the first time in years!
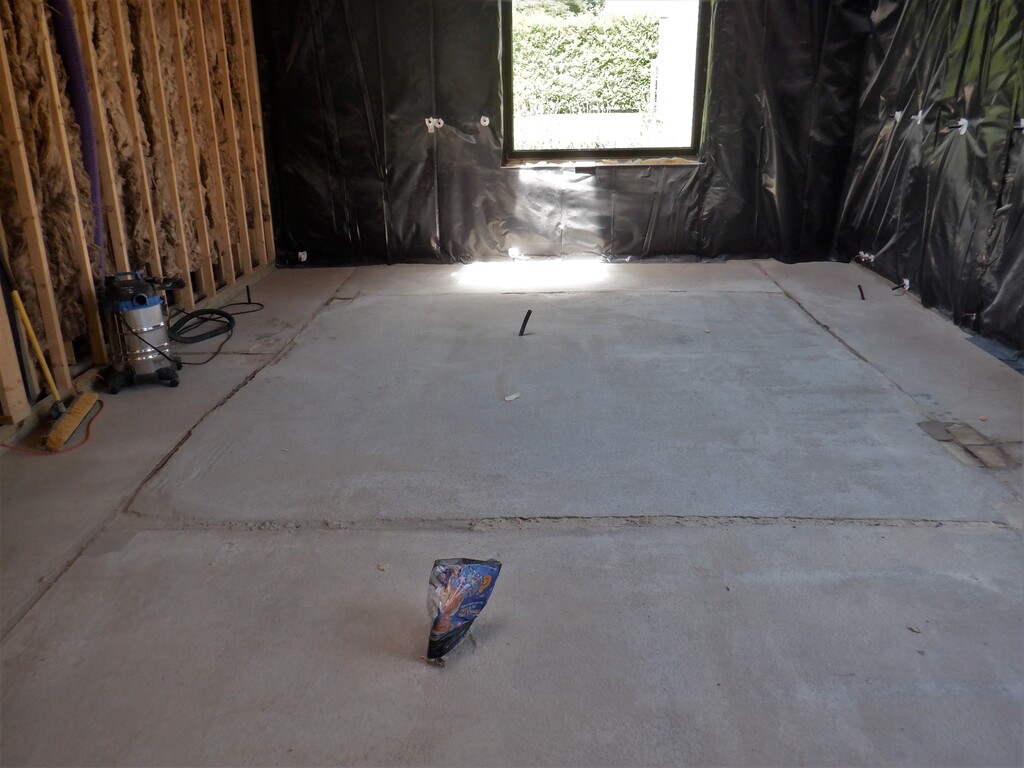
Great-room-empty-and-clean-1
Great-room-empty-and-clean-2
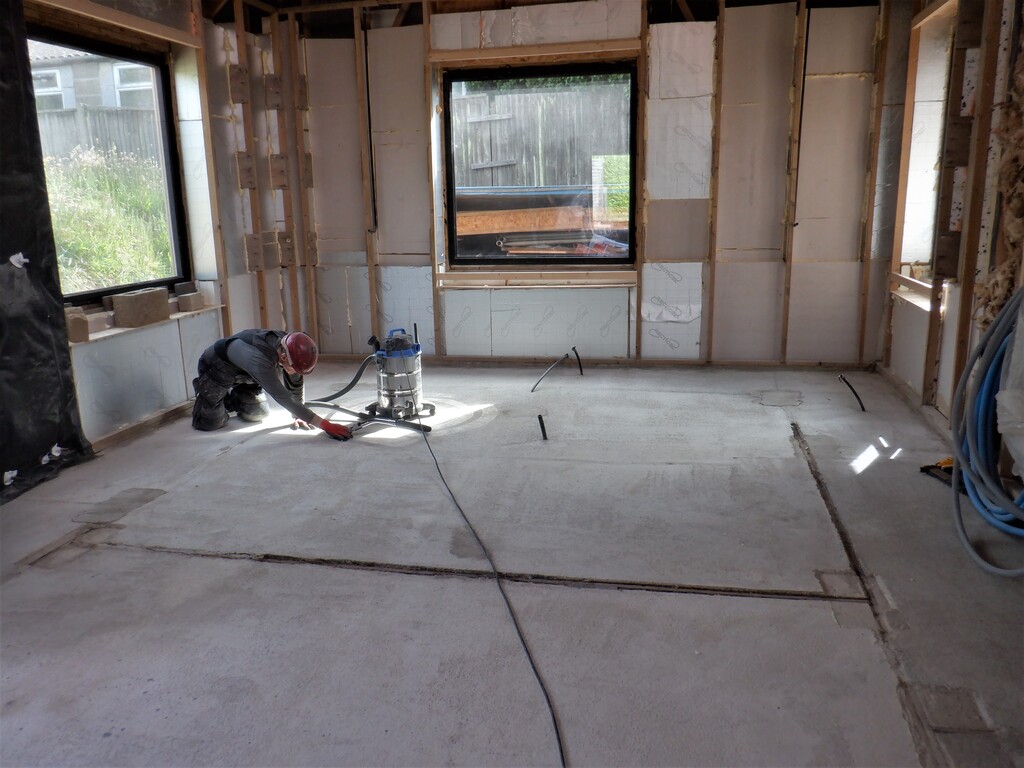
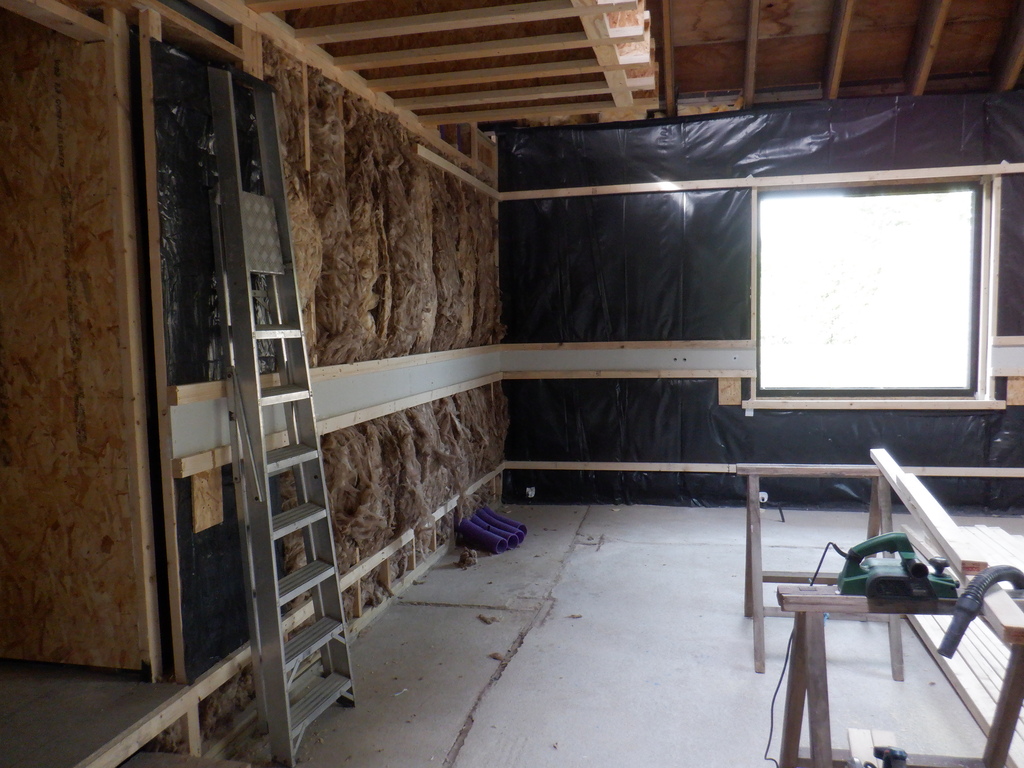
The next job was to encapsulate the last exposed bit of the concrete block walls under each of the five windows, and also glue in a sheet of 12mm plywood in the bottom of the window sill.
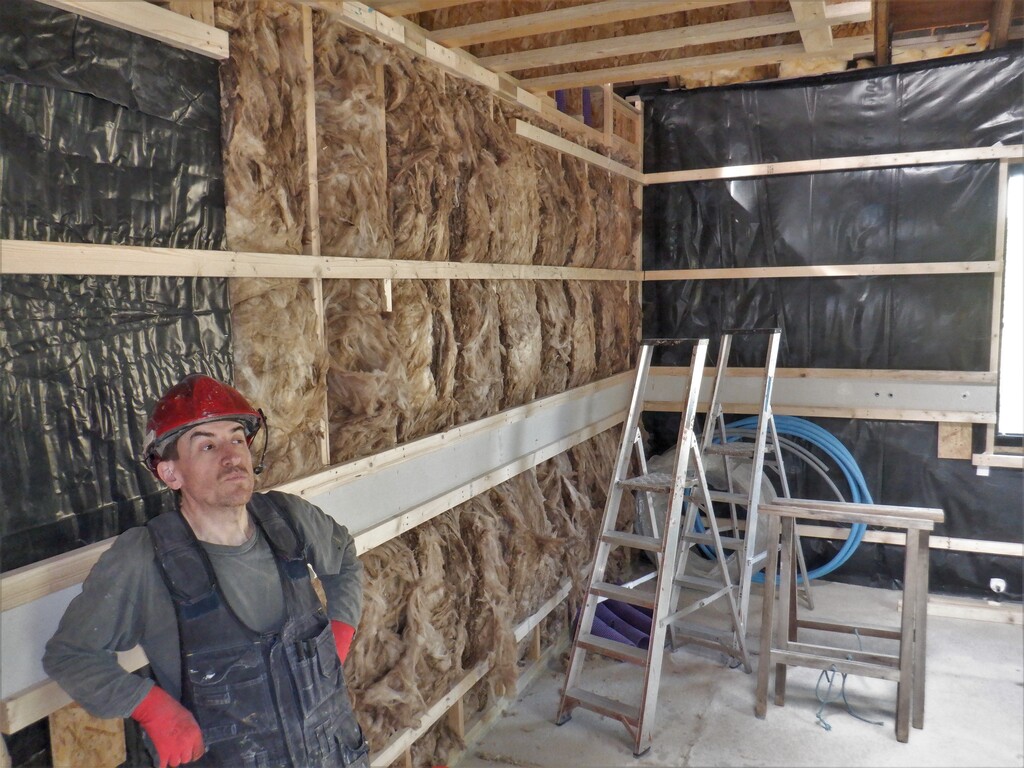
Then insert four rolls of glass wool insulation into ten wall segments, one roll of 150mm thick stuffed in the lower 900mm section, followed by a 2400mm piece of the 200mm thick stuffed in the upper section, going all the way to the roof rafters.
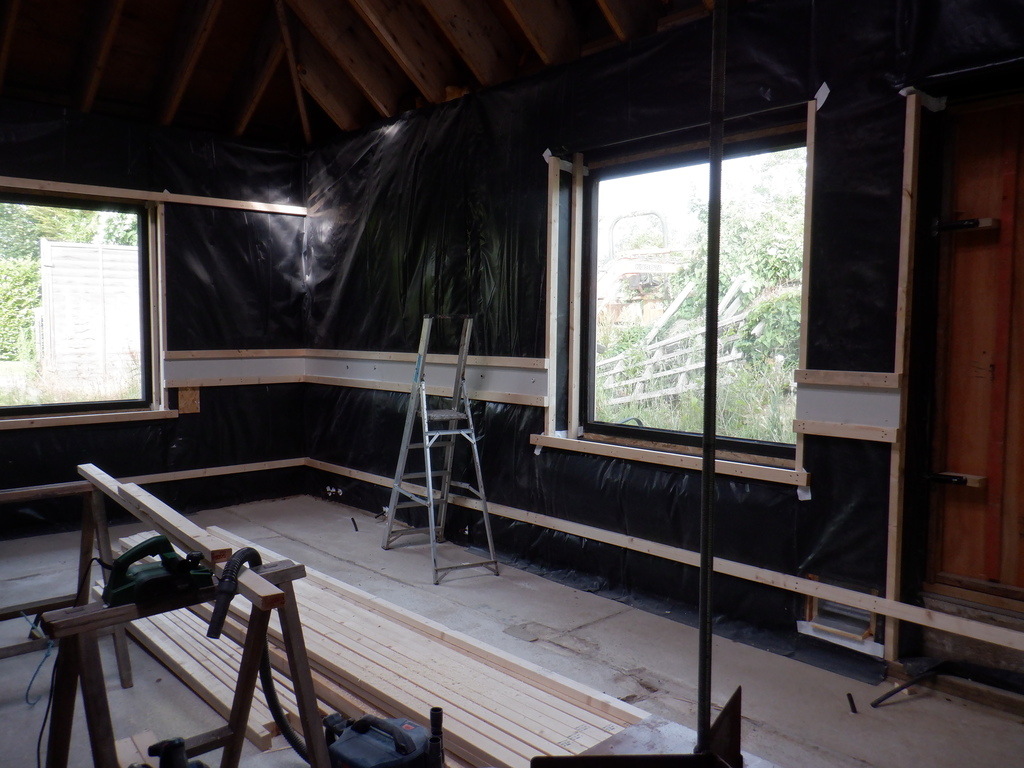
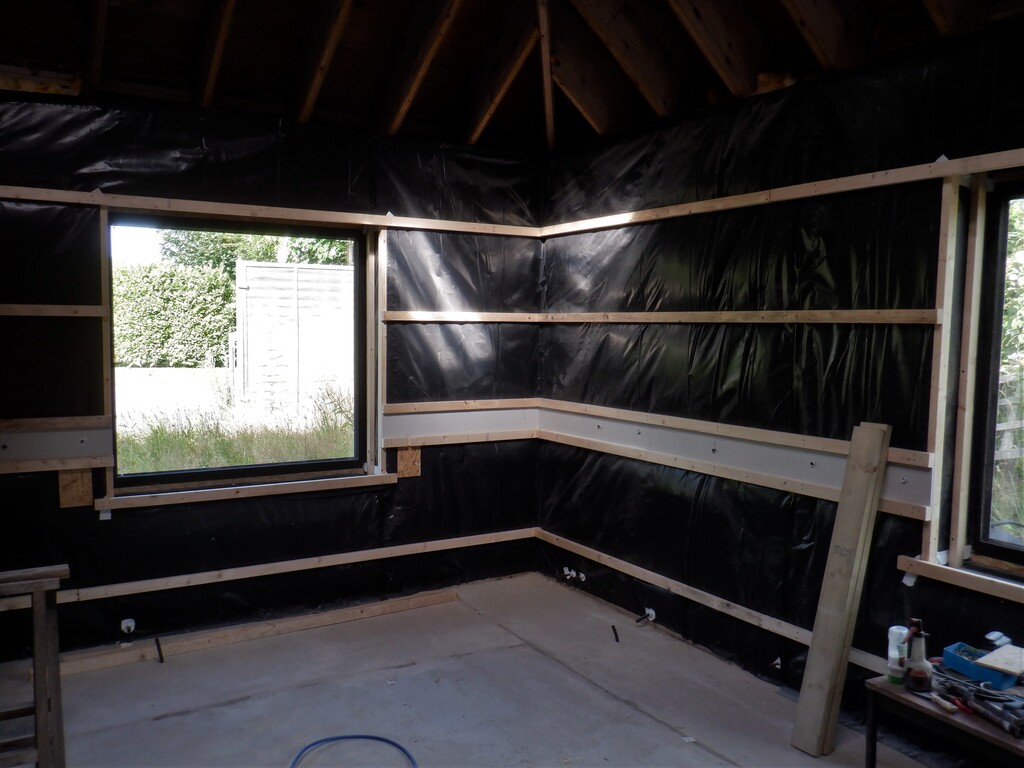
Then, the vapour membrane barrier was placed all over the walls, to seal the wooden structure from moisture generated by us humans inside the building. The black DPM plastic was stretched along the wall, joining to existing vapour membrane. We put up three 4metres pieces to complete the job. The windows were trimmed and wrapped back to the glass. We then continued with this task of wrapping the sections below and above each window in the same plastic material, encapsulating the pocket spaces so they are sealed too, these chambers to put our electronic and mechanical bits and pieces to drive the automatic blinds to help give shade from the sun or privacy at night time. We did four larger, and one smaller window. Plus also the section above the Conservatory Door too.
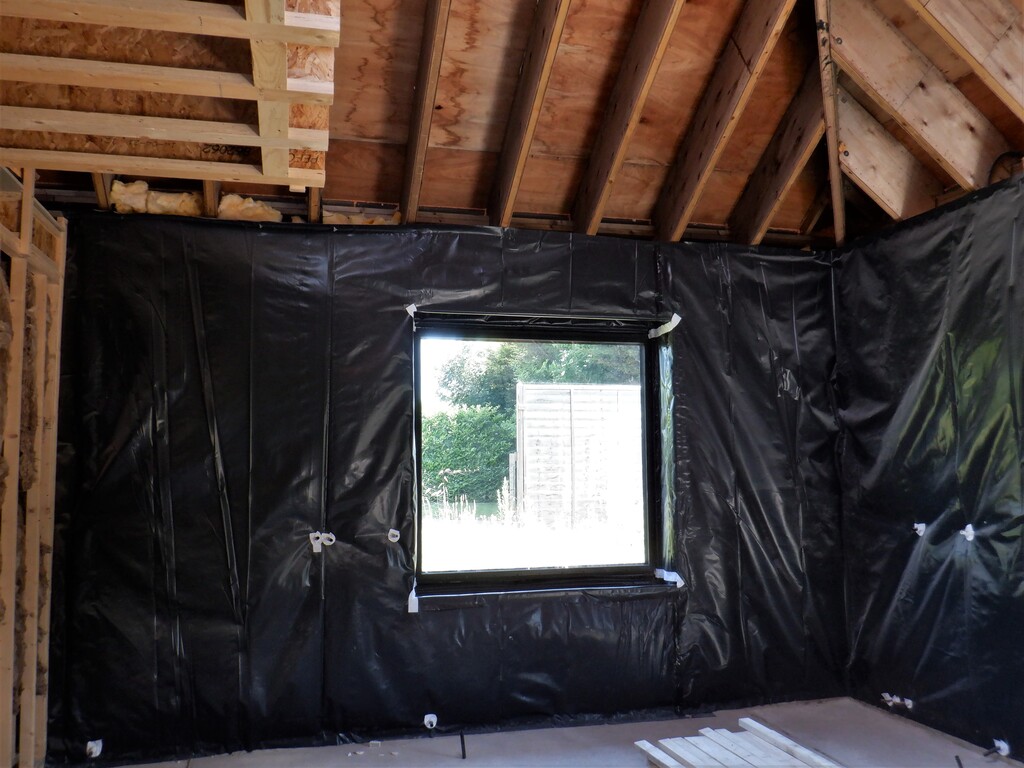
GR-Vapour-barrier-all-fitted-1
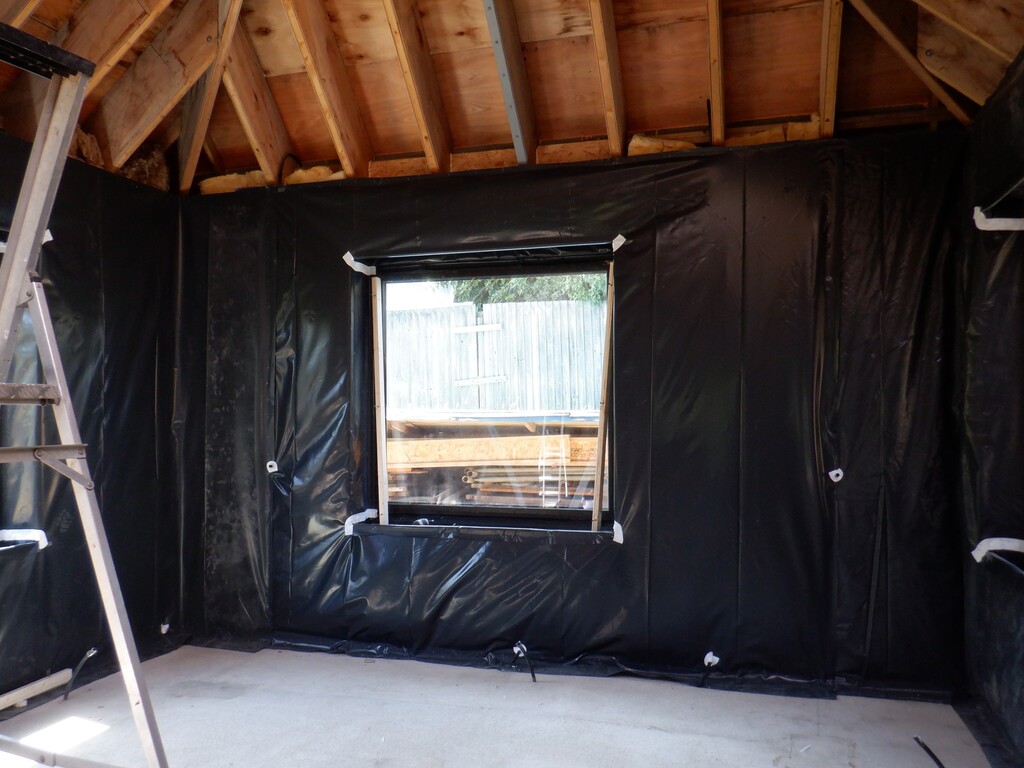
GR-Vapour-barrier-all-fitted-2
Talking about the Conservatory, we modified the temporary door by slicing off 60mm off the bottom of it and mounting a new door sill onto the concrete blocks. This is in readiness for when we laid down the floorboards across the room. We didn’t have to slice an additional small piece off the top of the door after all.
Another thing that got done was the insertion of a vertical CLS timber piece on either sides of the windows and also a similar pair mounted at the front of the window opening, which was adjusted so that the side walls of the windows are a proper 90degrees right angles to the glass. We put in plastic spacers to make sure the front leg lines up with the window leg perfectly.
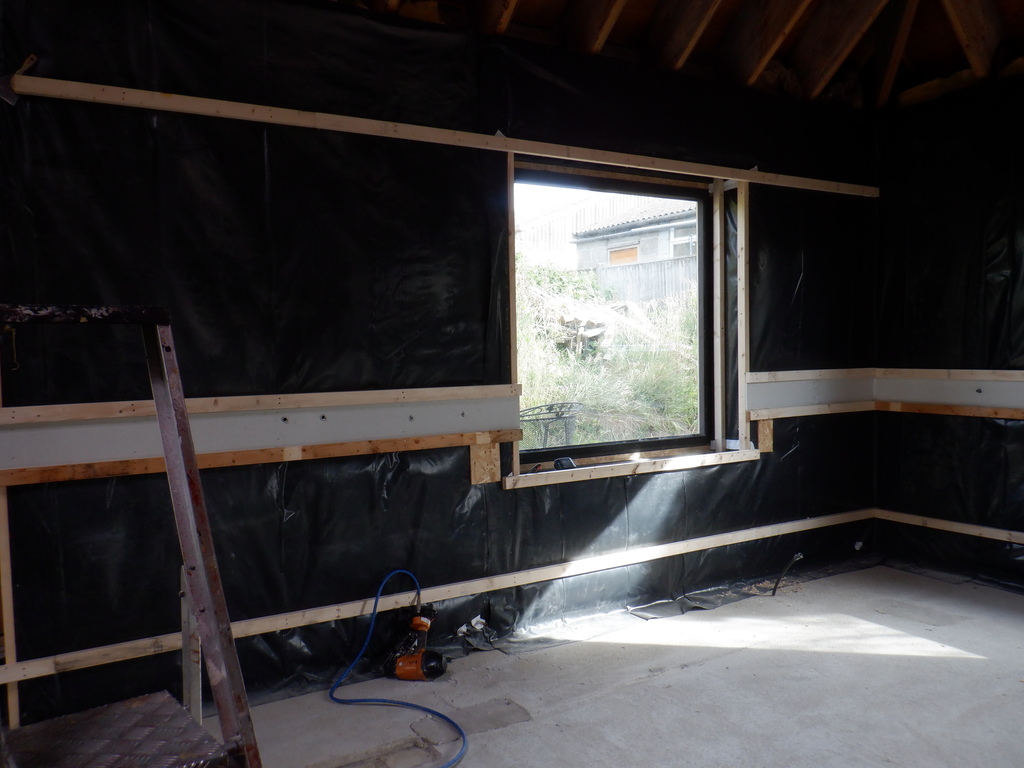
Now, we have started putting up the horizontal rails on the walls, starting at the bottom doing the floor support first, running right around the whole room.
But, then we thought we had better put in the four 100mm flexible air ducts up inside the Kitchen wall that will connect to the pipework running across the room, from the Conservatory so we can take the waste air out. It was so much easier to install these conduits before we put up any more wooden rails!
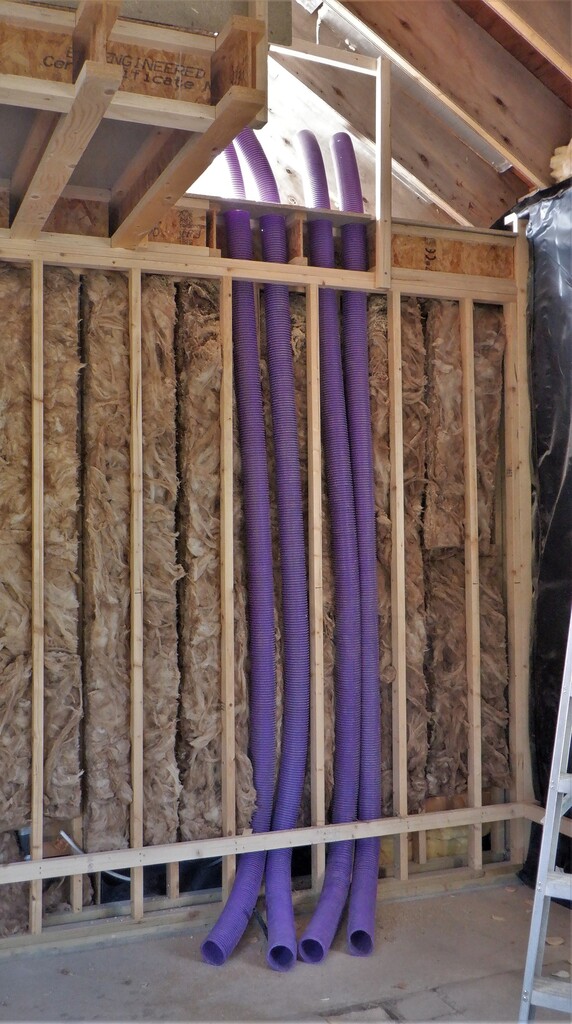
Conservatory-waste-air-going-up-the-wall
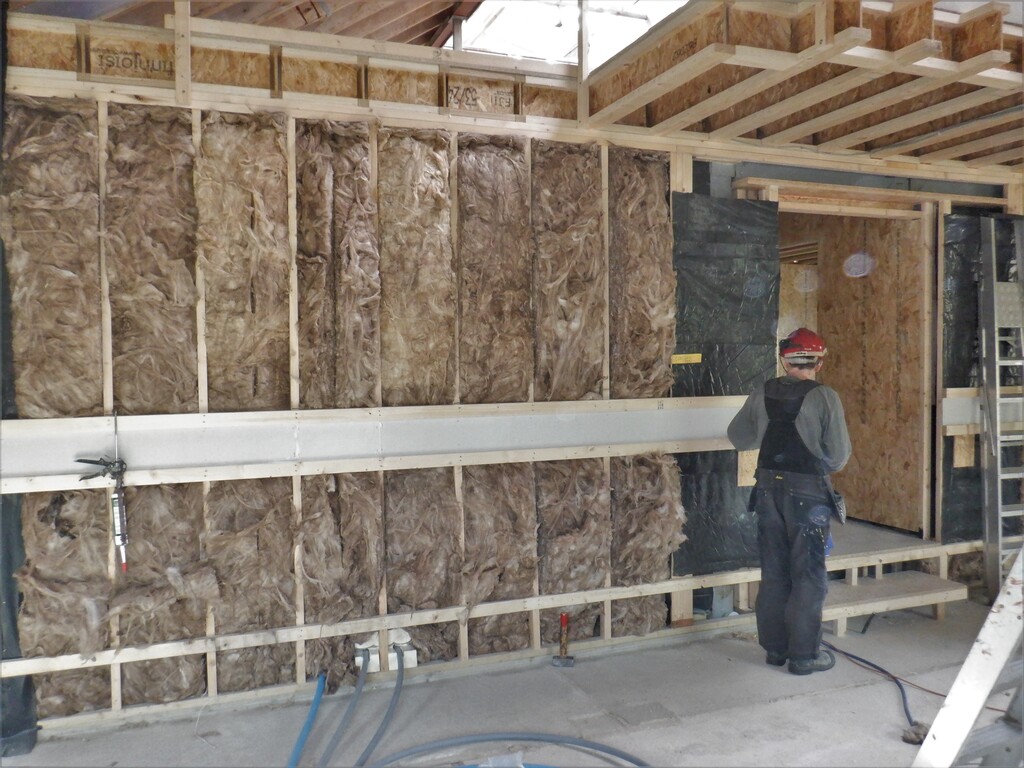
And, we put in 18 strips of 200mm thick glass wool, split into 400mm wide pieces and stuffed into all the columns in the Kitchen and Bedroom One walls, to provide as much sound deadening as possible.
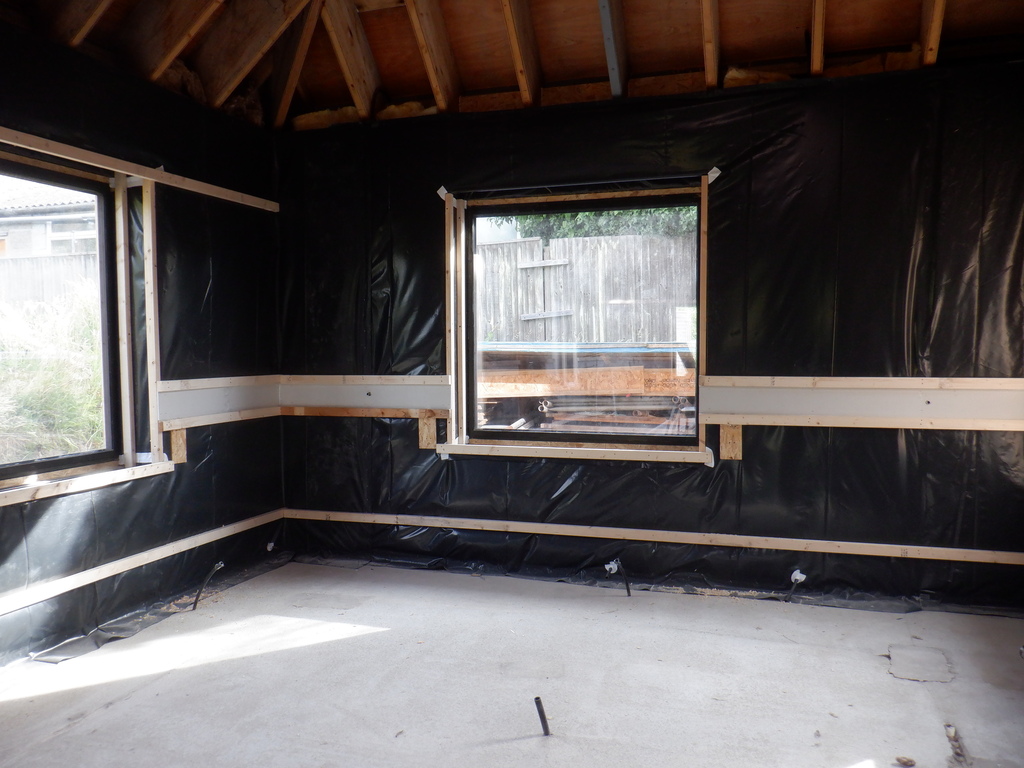
Next, we built our Utility Channel that runs right around the whole room at the 800mm to 900mm height level, skipping pass the five windows and two doors. The Channel is lined with a strip of fermacell plasterboard material which provides both a surface to screw hooks or electrical modules somewhere around the room, but also it is fire rated to provide 30 minutes protection and hence keep that slim chance of an electrical fire contains while the alert is raised. We put in the usual holes for both a 32mm and 20mm conduits to be connected later on, to route around these aforementioned windows and doors, but we also put in extra 20mm holes for plumbing in additional lighting at the top of the walls where it meets the roof rafters.
Gr-Utility-Channel-installed-1
Gr-Utility-Channel-installed-2
Gr-Utility-Channel-installed-3
Gr-Utility-Channel-installed-4
Gr-Utility-Channel-installed-5
We also discussed putting in hanging lamps of some sort, down the middle of the room to provide a “feature” for the room but also plenty of illumination too. We need to install an empty 20mm conduit from that high point and terminates inside the triangle voids up on the First Floor.
We completed as much as we could do for this moment in our building of the wall utility rails, doing the two middle rails going up the wall, including the one that lines up with the top of all windows and outside door, and then completed the loop underneath the Gallery with a rail over the door and tight underneath the joists.
GR-wall-rails-1
GR-wall-rails-2
Now we make a start on building the floor structure by extending the framework that supports the main Air Ducting that is coming down the hall, and duplicated the structure across the Great Room and arrived at the Conservatory doorway. As it entered the Great Room from the hallway, it bent at about a 15degrees angle to the right and travelled for about 3400mm before straighten up and going 1900mm towards the Conservatory. This section will have the usual liftable panels, three in the first angled segment and a further two in the straight segment. This will allow us to service the plumbing bits and pieces including a fair number that are going to the outside world and Conservatory, plus also the air duct connection points, four of them to distribute fresh air for the whole of the Great Room and also further air connections going off to the Conservatory as well.
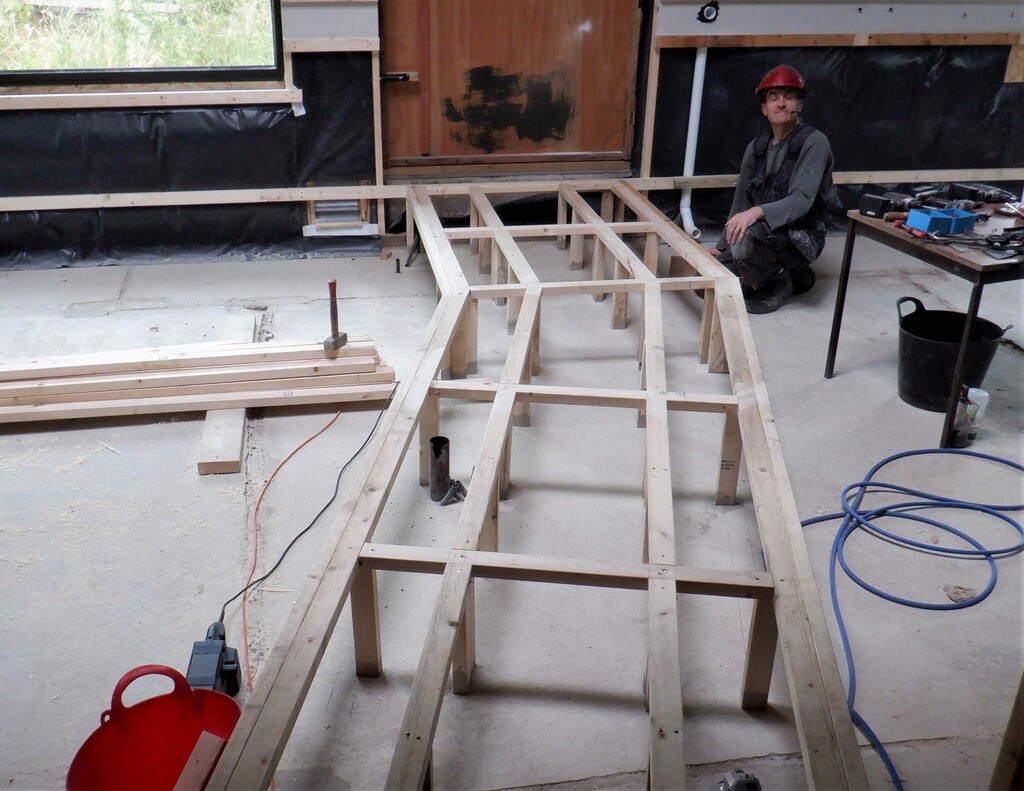
Air-Duct-Framing-across-GR
Now we got the room divided into two areas, we started building the structure for the rest of the flooring. We did the back of the Great Room first, the area to the right side as you walk in from the Hall. We marked off all the 600mm spacing and make sure that we could still insert all the air output vents and its pipework into the wall without hitting a support leg etc. It took a couple of days to do this first section.
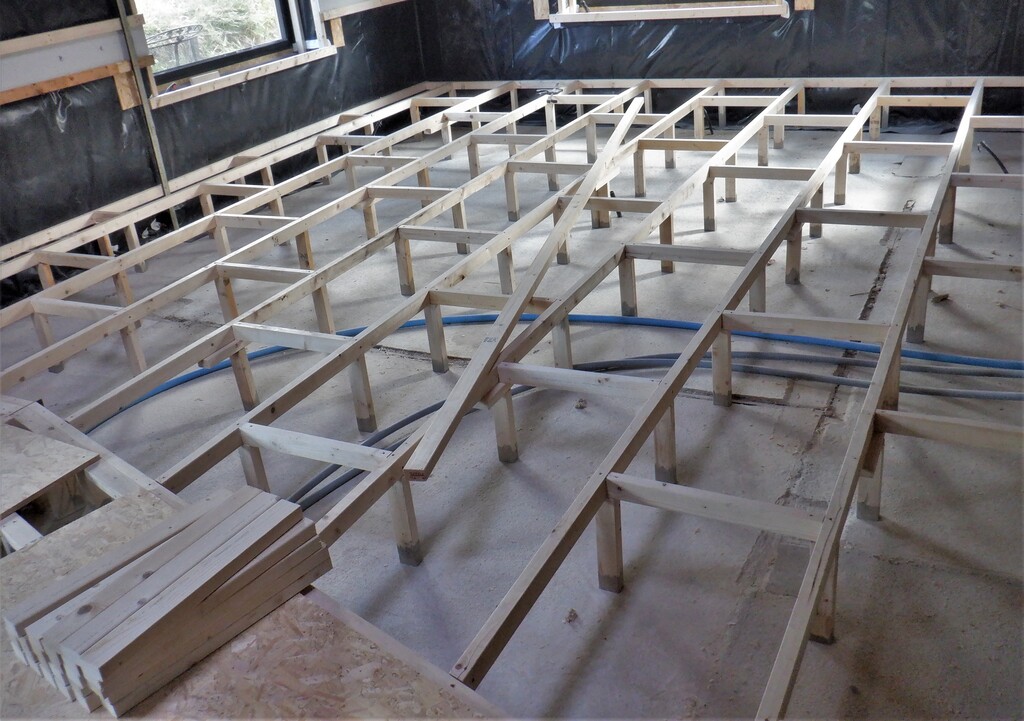
One-half-of-GR-floor-framing-done
That concludes this stage of the work so we can publish our progress. We got another couple of weeks of work to go to get the second half of the flooring done, as well as installing the hot water pipes in their insulation, lots of cold water pipes, dozens of electrical conduits and sixteen air pipes distributed around the room. We will laid down the proper chipboard floorboards but it won’t be glued down, just lightly screwed in a couple of places. We need to lift it again so we can “throw” away all the left-over PU foam pieces that will be generated when we fill in all the roof rafters when our long-awaited supply of PU rejected foam boards arrive!
Leave a Reply
You must be logged in to post a comment.