We resumed work on the Skylight on Monday after the Christmas break and we got on with filling all the little staple holes all over the fermacell boards with a gypsum-based filler which has extra additives to make it extra sticky and shrink proof. One of the things we thought that would make a better job of sticking this filler into these tiny holes, is to air blast them clean of any crushed fermacell material when the staple was fired in. This will provide a longer term finish.
We also ran a bead along the joints and also the corners as well. We then ran all over the woodwork and filled in the tiny little nail holes in the beading that holds up the double glazing glass units, filling in knots holes and the various joints along the ridge beam and metal work.
All these fillings were sanded down and where discovered, refilled any holes that did actually shrink after all. This is a bit strange since the filler boast that it doesn’t shrink so we concluded that the water is being struck out into the dryer fermacell material (which is gypsum and newspaper mix) before the gypsum has the chance to form the lattice work during the curing process. Another job we did was to trim the bottom edge of the vertical sections of the walls and then rounded it gently to soften the edges plus also to protect against being bashed and having little chunks fly off.
The next job is to paint the wood framework with universal combined primer and undercoat white paint, and a metal white paint for the steel cross tie. We had a little issue with one of the Skylight rafters where a knot hole kept on “leaking” colour when it got painted so we got out our oil-based primer and dabbed that area which did the trick. We repeated the undercoat for the second time all over to make sure that everything has a good strong whiteness.
We, while waiting for the woodwork to dry between coats, applied a coats of white emulsion on the walls, using a regular bulk white emulsion and then finishing off with a high quality brilliant white paint.
At this point, everything that we needed our mobile working platform to reach high up is finished so we moved it away to the other end of the first floor, ready for some future task like building the boxing that will hide the backs of the solar panels and the air ducting etc.
We can now finish constructing the rest of the gable wall going across the Gallery, putting in the doorway etc and shelving units, blocking off the gap between the two steel posts holding up the Skylight.
We also ran a bead along the joints and also the corners as well. We then ran all over the woodwork and filled in the tiny little nail holes in the beading that holds up the double glazing glass units, filling in knots holes and the various joints along the ridge beam and metal work.
All these fillings were sanded down and where discovered, refilled any holes that did actually shrink after all. This is a bit strange since the filler boast that it doesn’t shrink so we concluded that the water is being struck out into the dryer fermacell material (which is gypsum and newspaper mix) before the gypsum has the chance to form the lattice work during the curing process. Another job we did was to trim the bottom edge of the vertical sections of the walls and then rounded it gently to soften the edges plus also to protect against being bashed and having little chunks fly off.
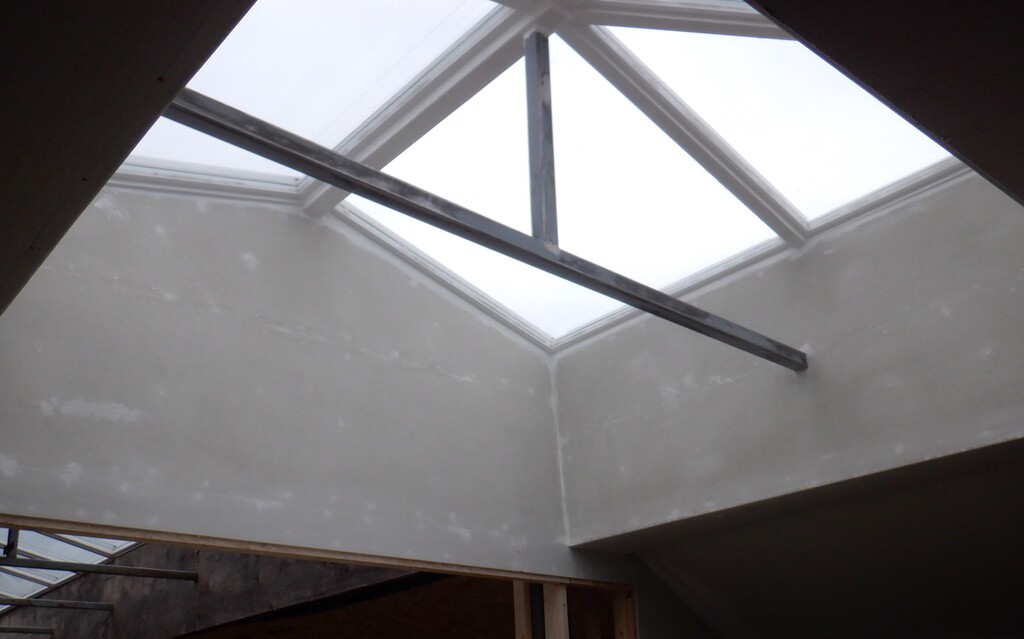
Starting to decorate skylight
The next job is to paint the wood framework with universal combined primer and undercoat white paint, and a metal white paint for the steel cross tie. We had a little issue with one of the Skylight rafters where a knot hole kept on “leaking” colour when it got painted so we got out our oil-based primer and dabbed that area which did the trick. We repeated the undercoat for the second time all over to make sure that everything has a good strong whiteness.
We, while waiting for the woodwork to dry between coats, applied a coats of white emulsion on the walls, using a regular bulk white emulsion and then finishing off with a high quality brilliant white paint.
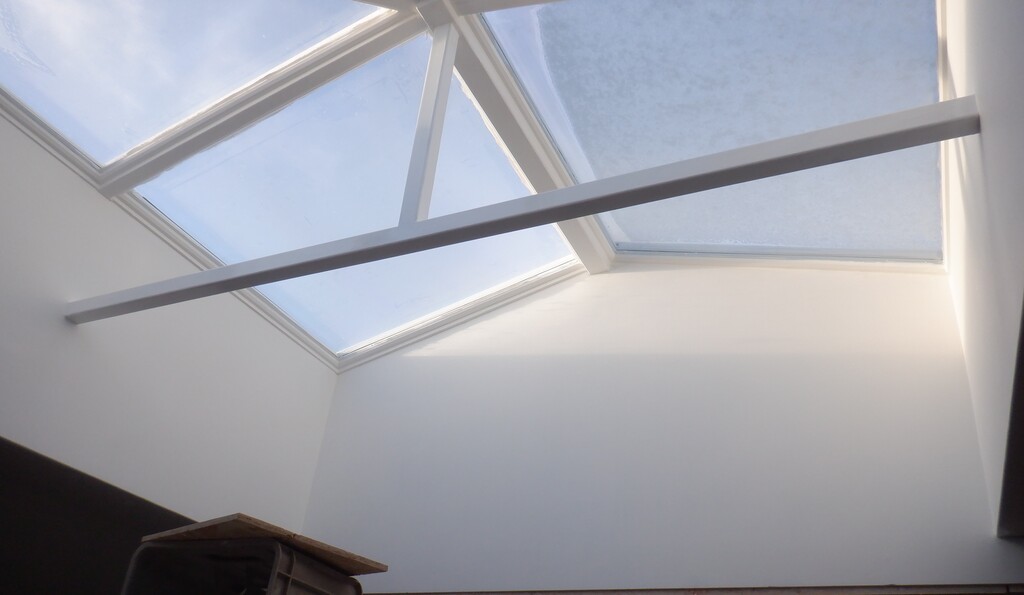
GR Skylight Decorated! (1)
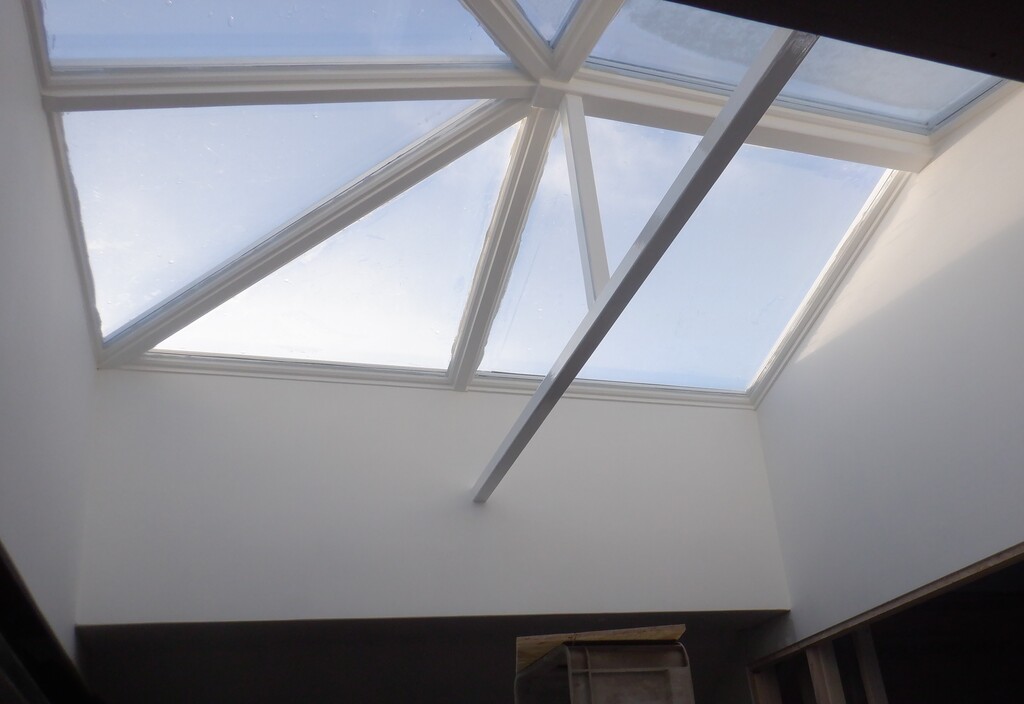
GR Skylight Decorated! (2)
At this point, everything that we needed our mobile working platform to reach high up is finished so we moved it away to the other end of the first floor, ready for some future task like building the boxing that will hide the backs of the solar panels and the air ducting etc.
We can now finish constructing the rest of the gable wall going across the Gallery, putting in the doorway etc and shelving units, blocking off the gap between the two steel posts holding up the Skylight.