Category: Mini Digger

  • Broken Window!

    While out cutting our jungle, oops, I mean, grass, we discovered that one of our windows on our mini-digger is broken. It is the lower window on the front. It could have been broken for a few weeks as we rarely go past the digger. It is safety glass so it has shattered into lots of small pieces. There is no evidence of vandalism so perhaps a bird strike. Poor bird.
    We picked up most of the broken glass and have measured the gap so we can order a plexiglass replacement. It measures 795mm wide and 530mm high. We also will try and find a rubber seal that will join between this fixed section of glass, and the moving window above it.
    In the meantime, we covered up the poor old mini-digger in tarpaulin, to minimise the rain from getting inside.
    The new window came a few days later and we cleaned up the seals and installed the new plastic, we applied some sealant where necessary.
    Digger front window got broken

    Digger front window got broken

    And replaced with Polycarbonate

    And replaced with Polycarbonate


  • A Thorough Overhaul of our Mini-Digger With Major Replaced Parts

    We have been examining our mini-digger these last few days, tracking down the reason to why it won’t work. There is no noises, just a silent nothing of no engine turning over etc.
    We checked the battery and it is showing signs of being old, not holding it voltage when we turn the key to ignition mode. The voltage just falls very quickly below 12V which is not good. So we decided that we ought to buy a new lead-acid battery replacement. That duly arrived (on Saturday) but unfortunately, it didn’t solve the problem.

    A Thorough Overhaul of our Mini-Digger With Major Replaced Parts

    Digger-New-Battery-Aug-22

    The starter motor still wouldn’t want to turn over. We had always had a problem with our starter motor, and quite often, we had to hit it with a hammer to ‘jolt’ something to make it work, but, it seems that it decided that it had enough .. permanently!!
    So we had to dismantle the back-end of the digger, taking off four very heavy pieces of body work, in order to reach the starter motor and its two bolts!! Some of those bodywork bolts were very awkward to reach and for one set of two giant bolts, we had to put an old scaffolding pole over the handle of the wrench to get enough leverage to crack the bolt! We started testing the motor, it was getting electricity to it, but nothing was happening, so out it came.
    So we surfed the web and found the starter motor part number and then found a replacement spare part. The cost wasn’t too bad @ £150, and so we ordered it.
    It came today and we fitted it this morning and .. hey presto .. it worked! Every time!!

    A Thorough Overhaul of our Mini-Digger With Major Replaced Parts

    Digger-Old-Starter-Motor

    A Thorough Overhaul of our Mini-Digger With Major Replaced Parts

    Digger-New-Starter-Motor


    We cleaned up various parts, checked the engine oil and put some more in and then re-assemble the body work back into place again.
    We greased all the joints all over the digger, filled it up with more diesel and put grease on various handles and window latches etc. All a bit better now, for a 2002 vintage machine! We have only added 366 hours of run time since we bought it back in May 2009, on top of the 2953 hours already on the clock.

  • Pallet Fork Attachment for our Mini-Digger

    We decided that we needed to construct our own Pallet Forks to enable us to unload the load of Pallets that would be arriving soon, full of PU foam boards. We had plenty of left-over pieces of steel, both a large and medium sized C channel bars, some rectangular box bars and angle iron pieces too.
    We took an old 4foot pallet and measured the spacing so we could design a particular size and spacing of the prongs, of course it had to be a compromise and a slight gamble against the unknown shape and size of the forty pallets coming.

    All the pieces were cut using our plasma cutter and then welded together using our MIG welder. Then an angle grinder with various cutting and grinding discs to clean up the ends and edges.

    Then, it was time to practice using this new piece of equipment attached on the mini-digger, using a suitable pallet, loaded with 10 concrete blocks to emulate what the weight would be like and getting the movement of the digger’s two arms to work in a way that lifted and moved the pallet in a horizontal manner without tilting too far forward or backwards.

    Pallet Fork Attachment for our Mini-Digger

    Pallet-forks-fabricobbled-1

    Pallet Fork Attachment for our Mini-Digger

    Pallet-forks-fabricobbled-2


    We are ready!

  • Replaced Caterpillar Tracks on mini Digger

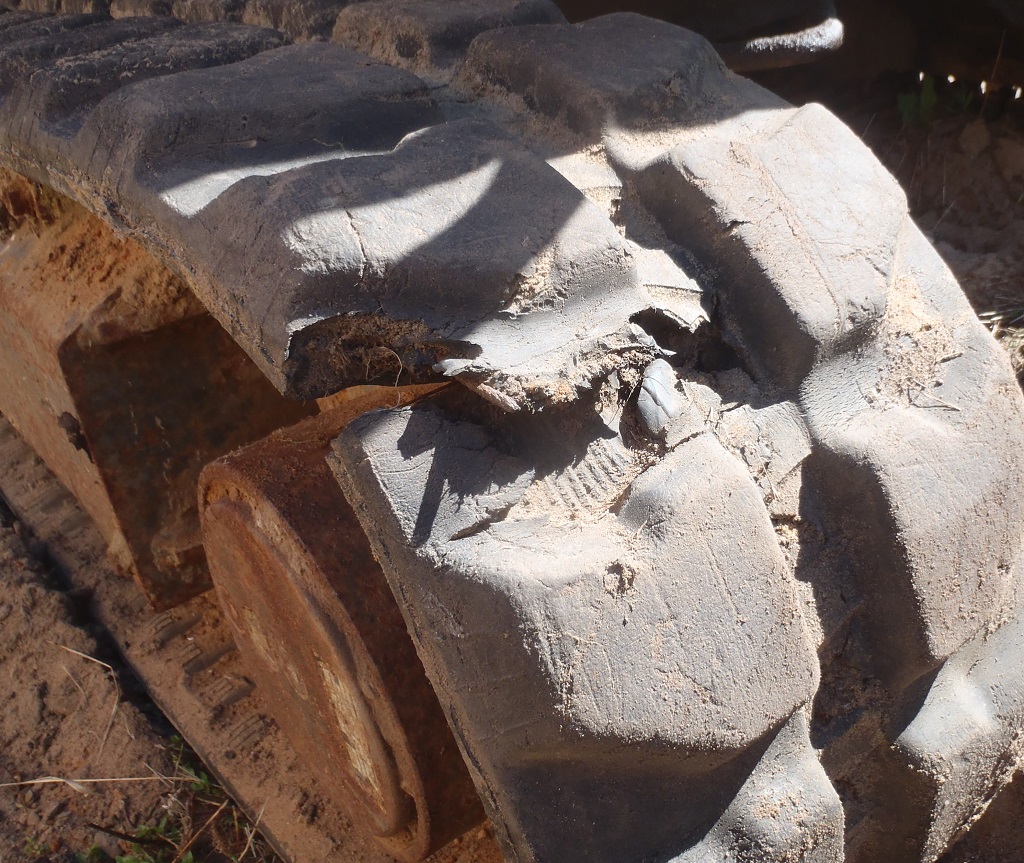
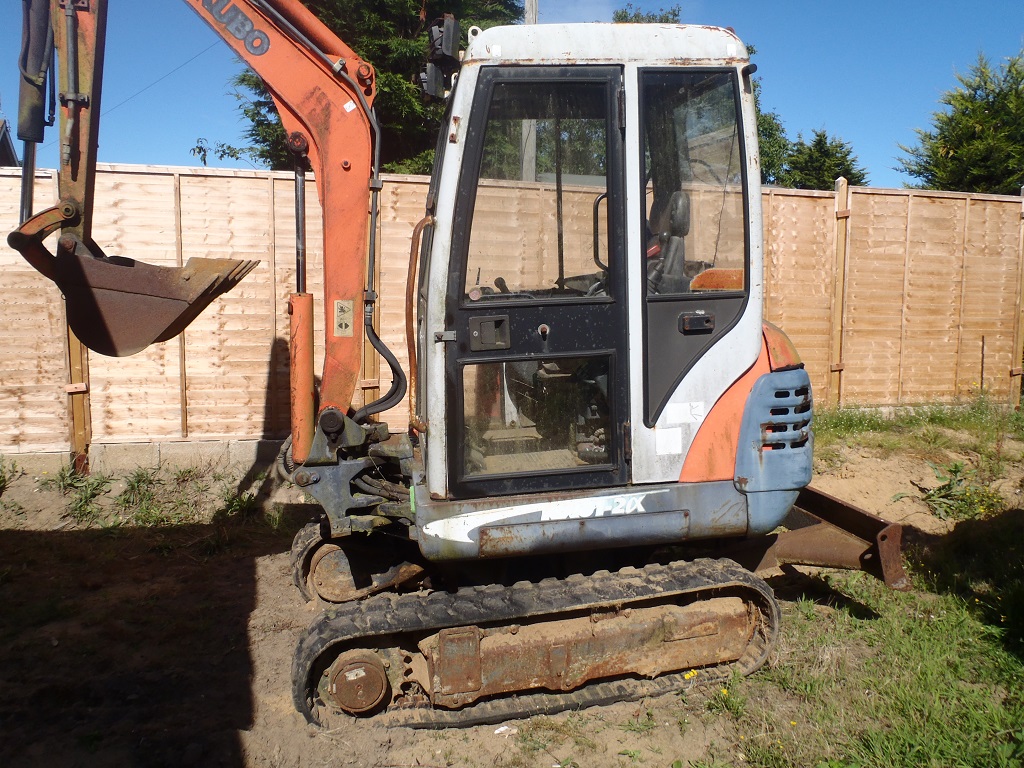
    We discovered a couple of days ago, at the weekend, that one of the caterpillar tracks had split and ripped half way across. We can see rusty steel wires sticking out of the rubber material.

    Replaced Caterpillar Tracks on mini Digger

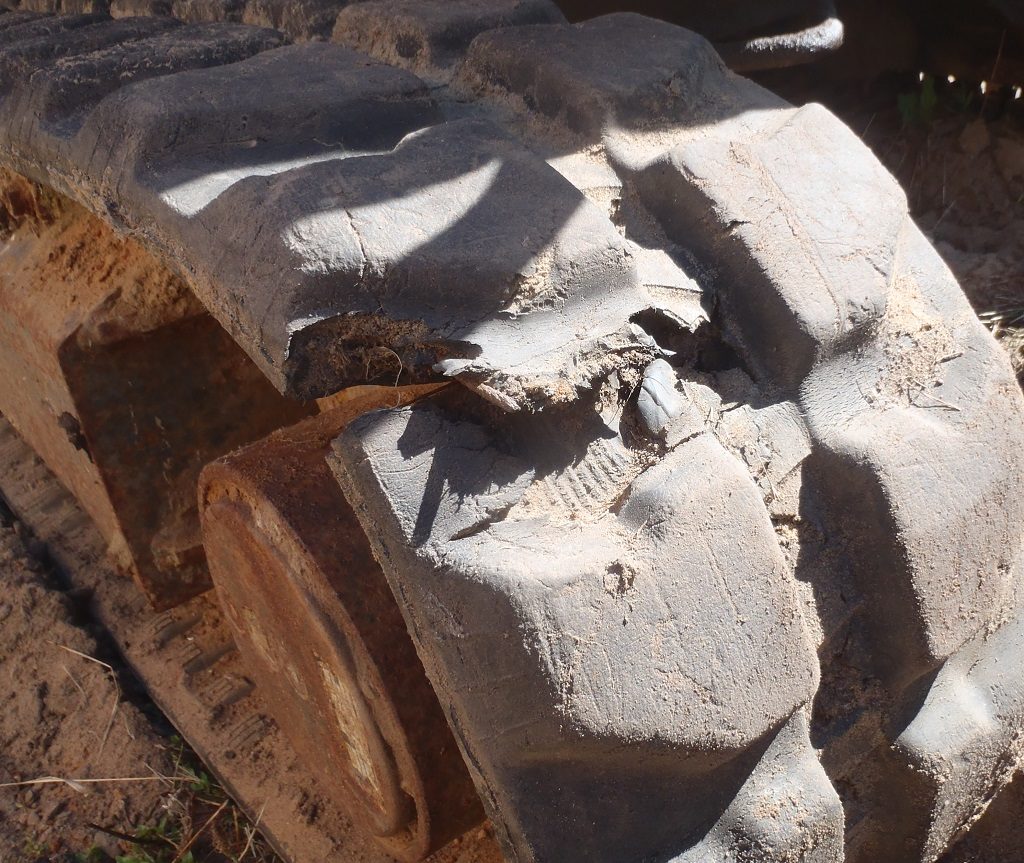
    The-tear-in-the-old-track


    The mini digger has been idle for several years and we think the whole machine has been slowly sinking into the sandy dirty soil every time we had heavy rain showers. This probably meant that the tracks had been “under water” for longer periods of time and there must have been a initial split in the rubber material to allow the water access to the tensile steel wires that runs around the circumference of the track and converted the high carbon steel into iron oxide!
    So we ordered a pair of new rubber belts online and they came yesterday (Tuesday), amazing considering that we only placed the order at the beginning of the week!! Wow!
    All very clean, very black and smelling of strong rubber.
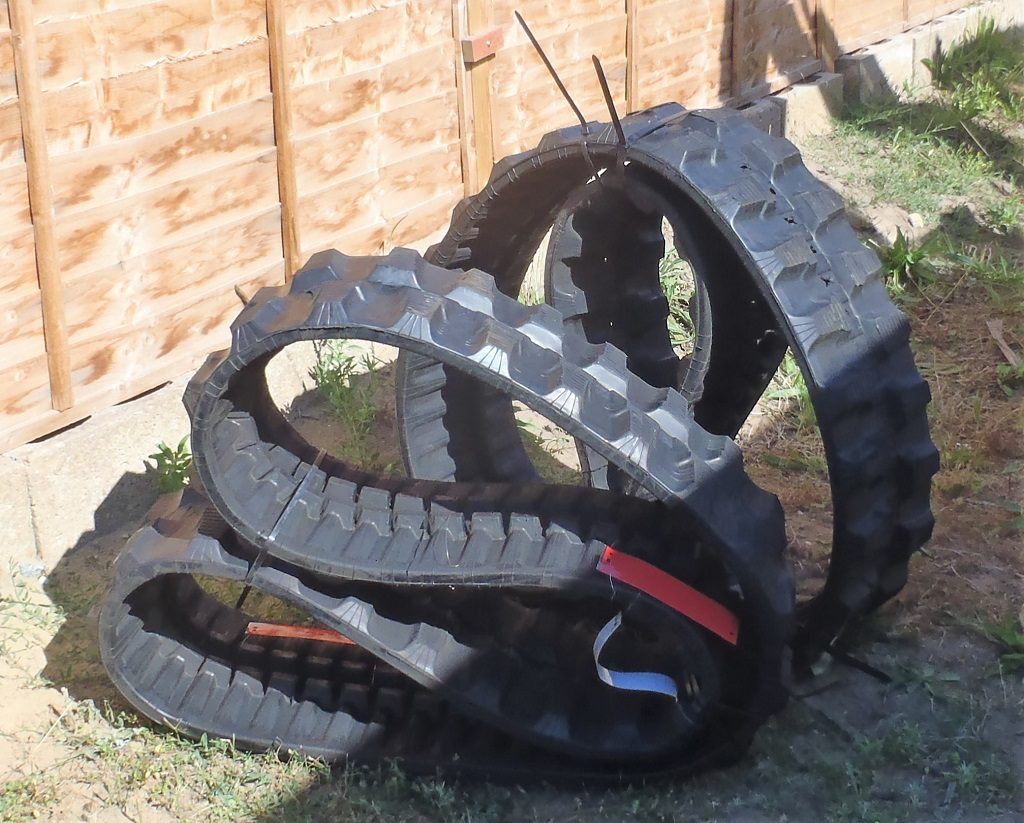
    Replaced Caterpillar Tracks on mini Digger

    The-new-tracks


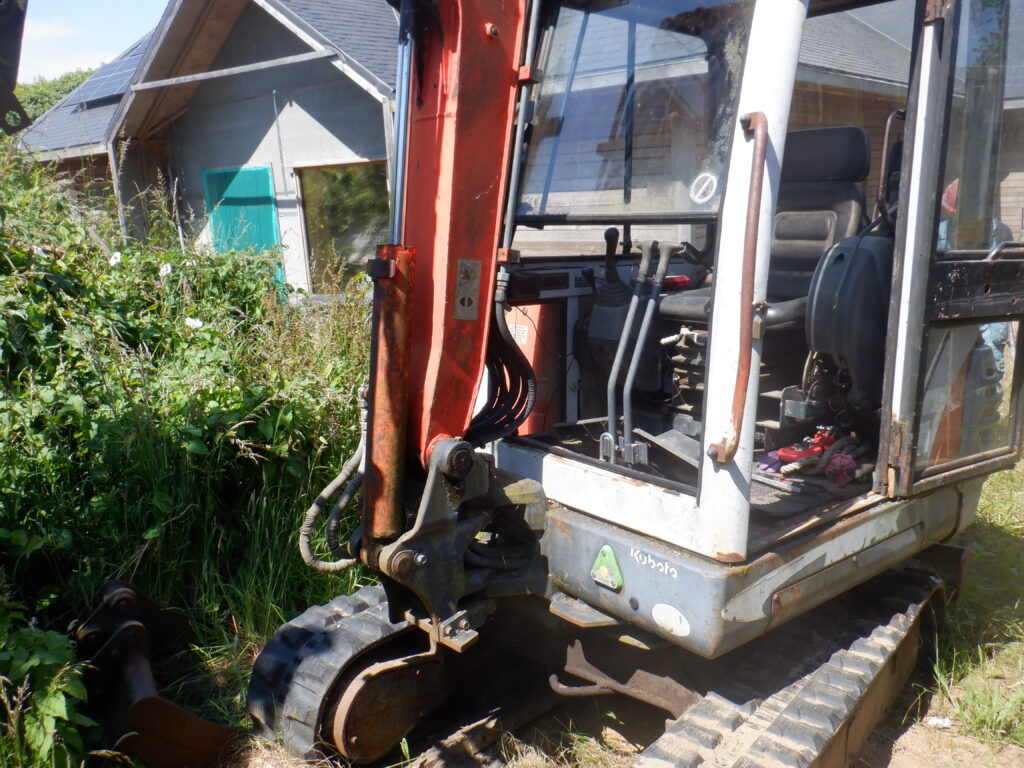
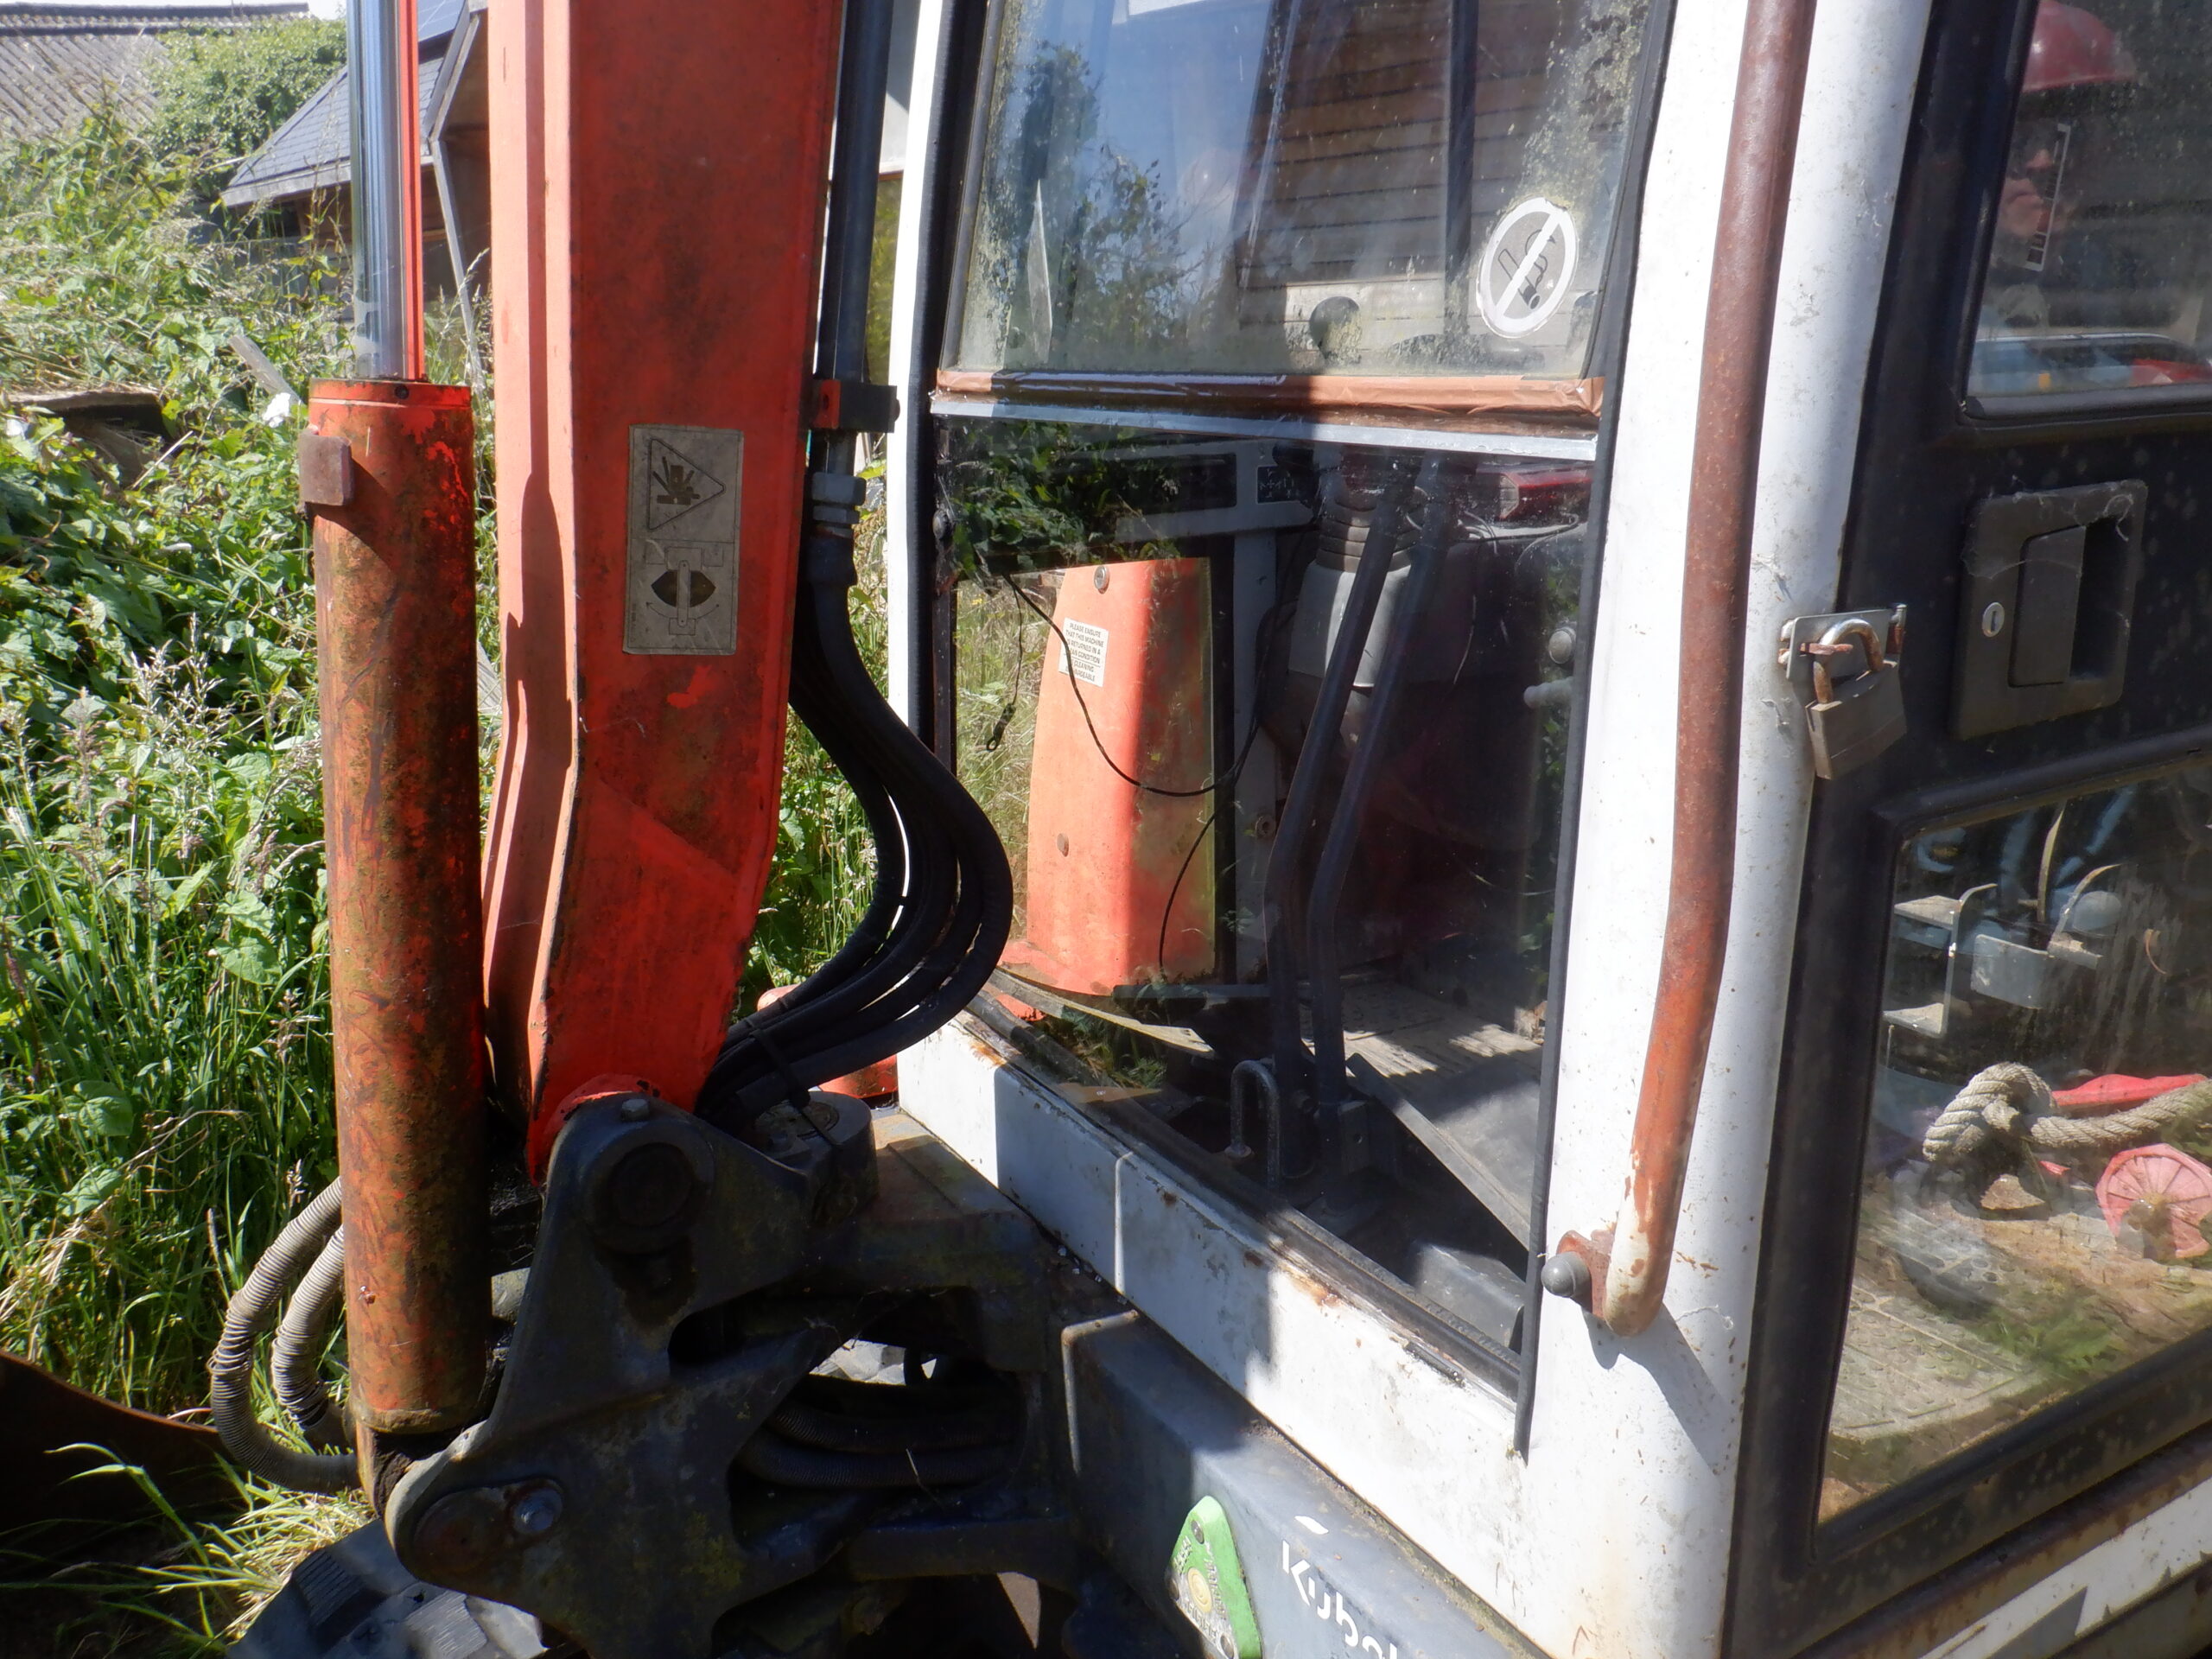
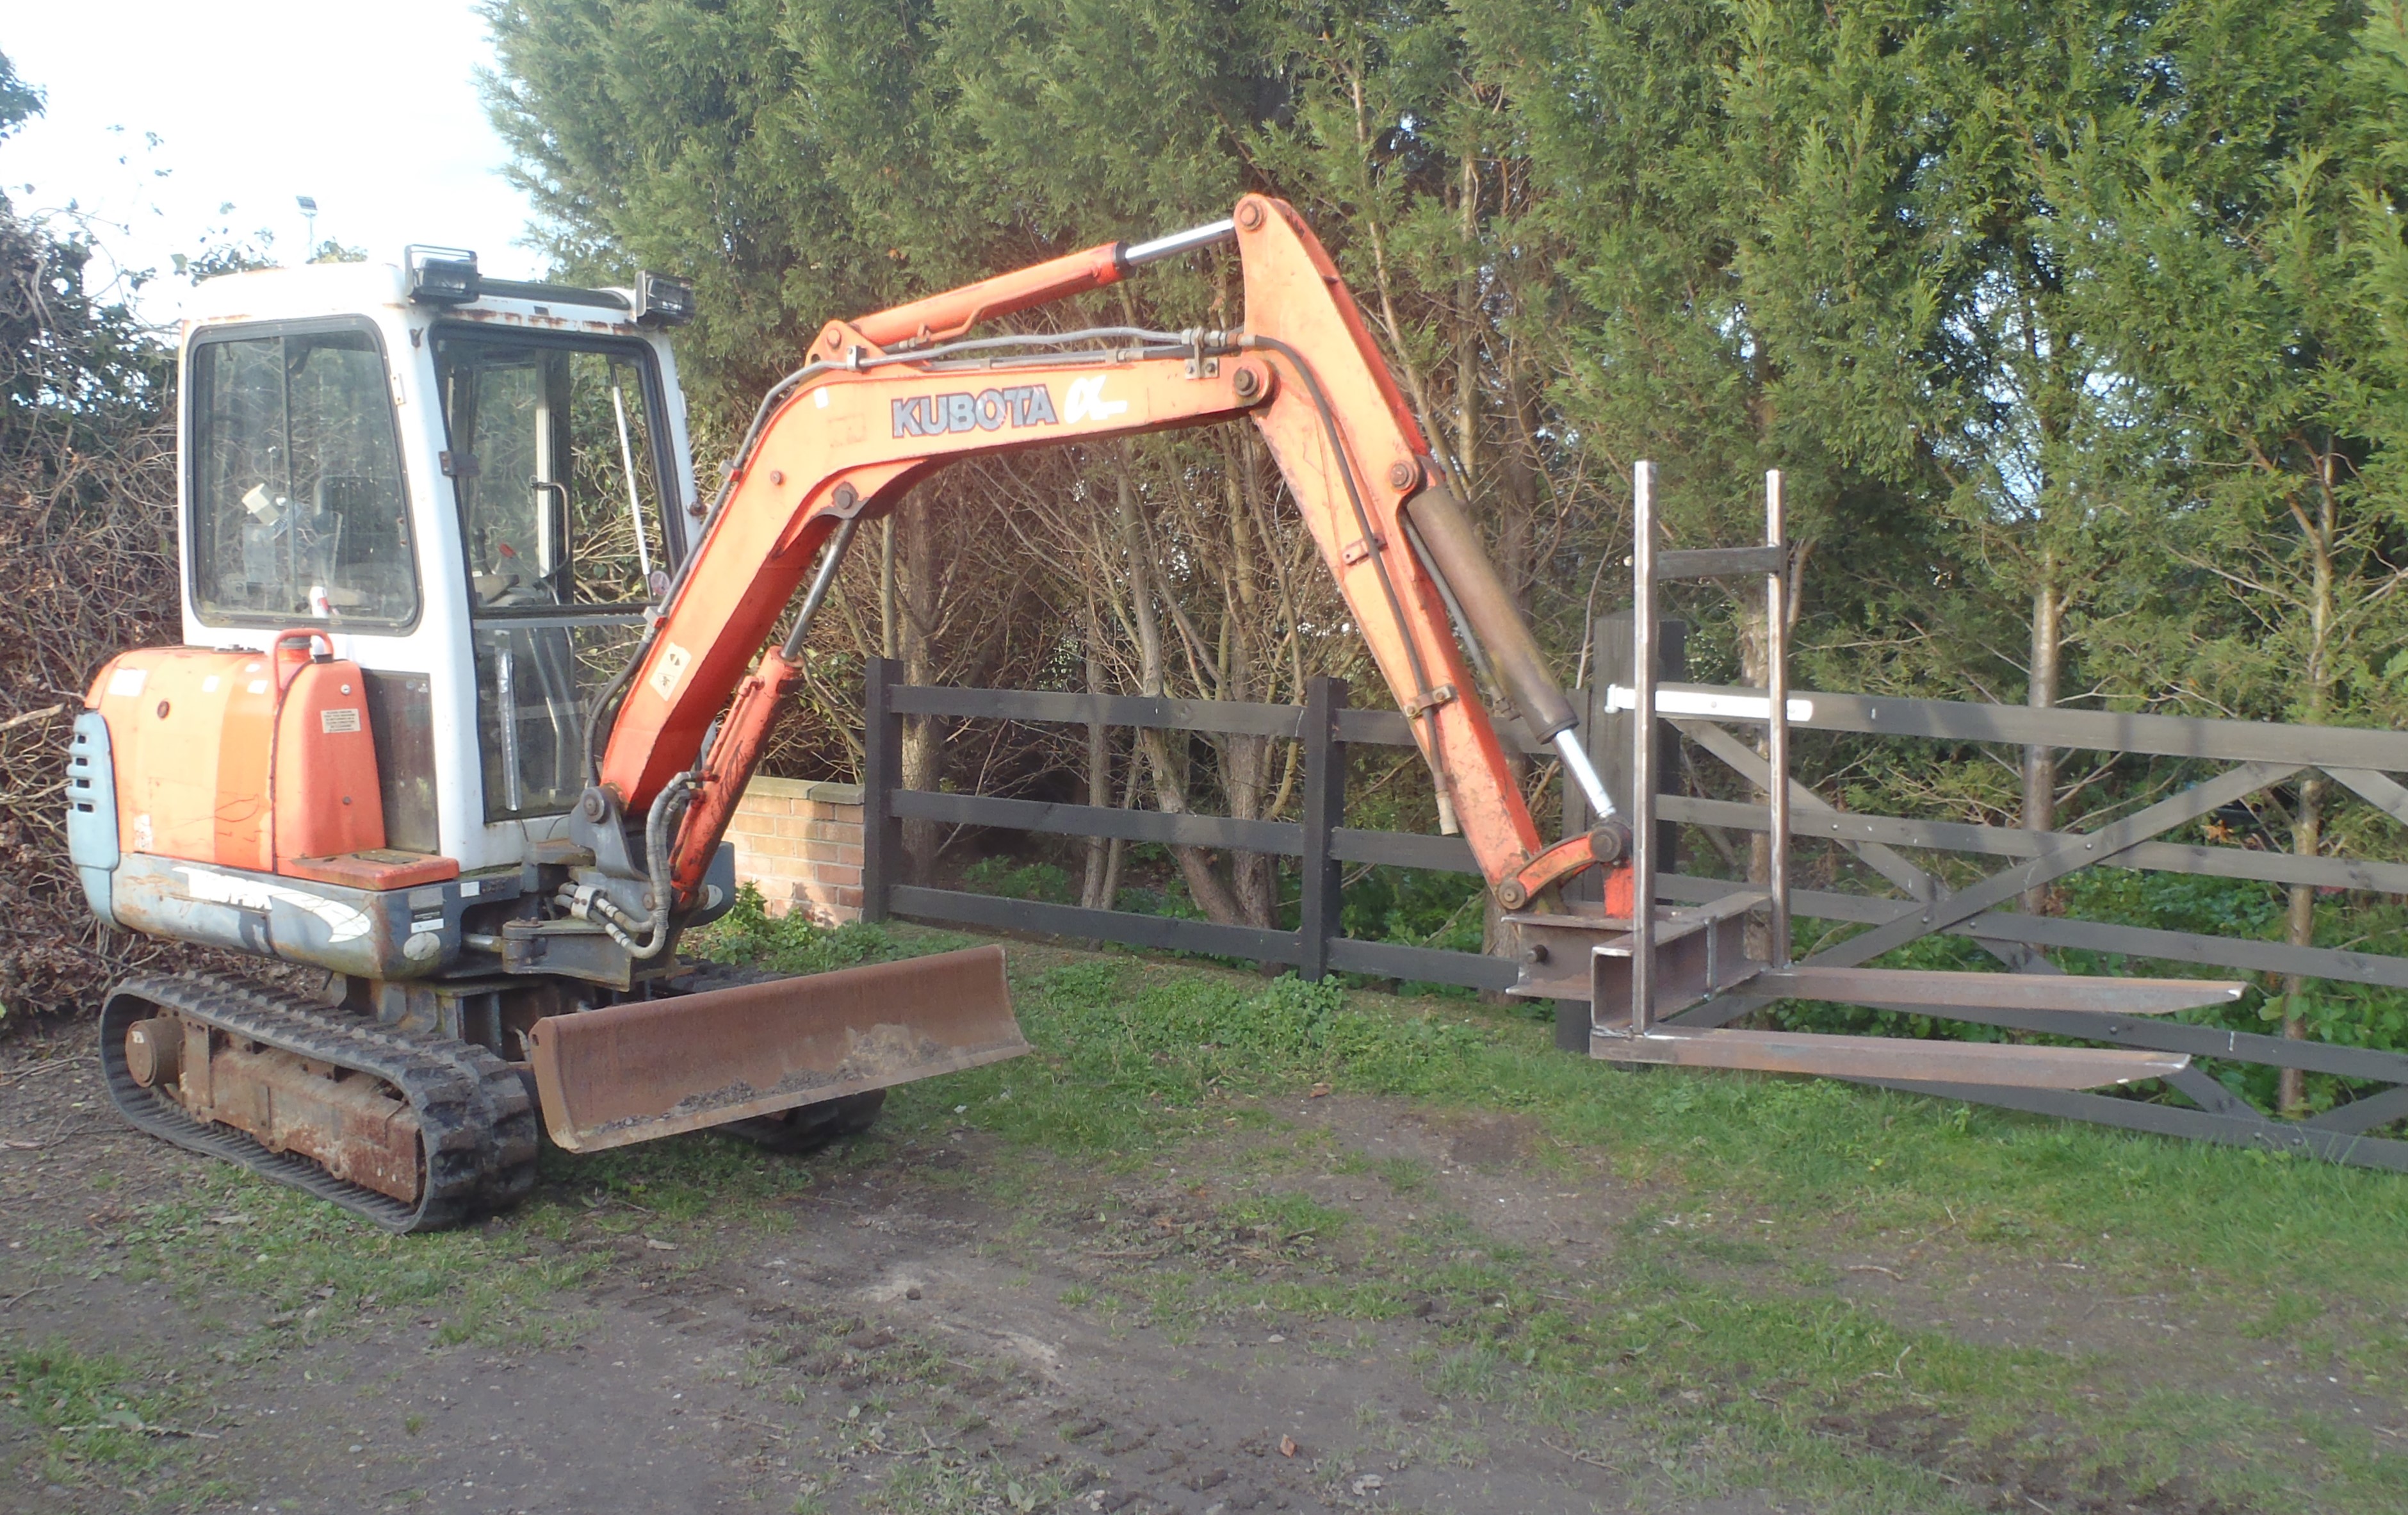
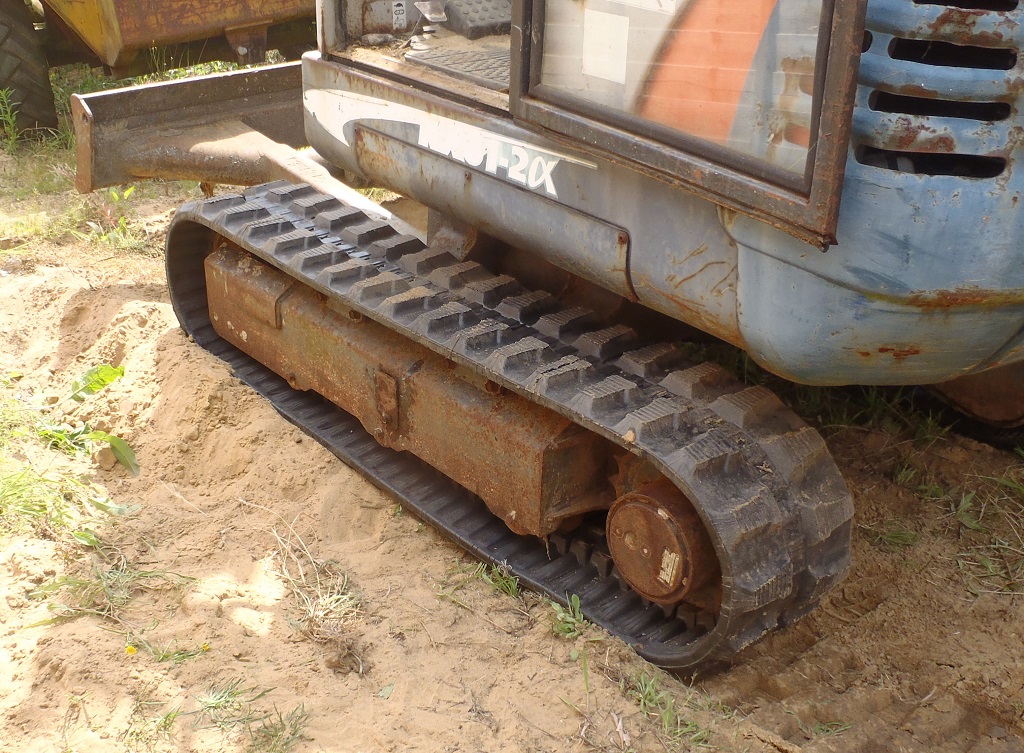
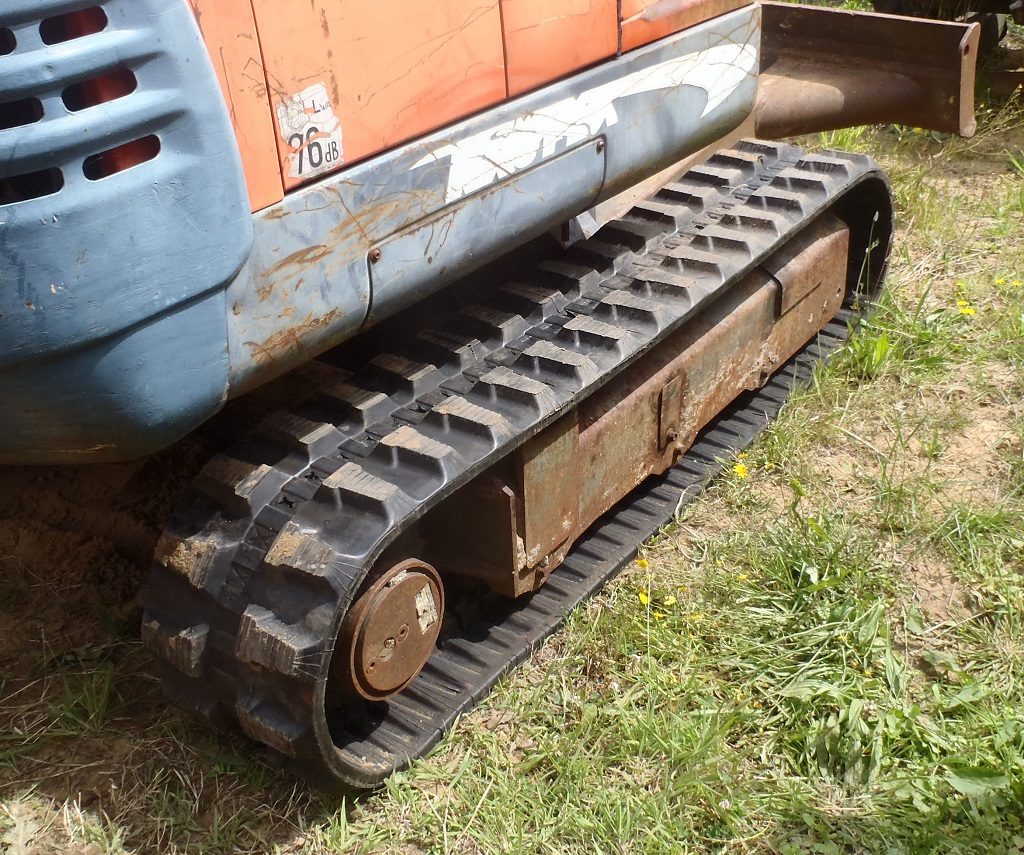
    After we had completed putting up the Larch cladding on the “I” section of the house, in the late afternoon of Tuesday, we came over with our pressure washer and jet blasted all the lower portion of the digger to remove as much as possible the sand and dirt in and around the caterpillar tracks and cog wheels. We also gave the cabin a quick blast to see if the dirt and green algae would come off and it does seem so. We were wondering whether to give it a fresh coat of paint!
    Replaced Caterpillar Tracks on mini Digger

    A-very-dirty-digger-1

    Replaced Caterpillar Tracks on mini Digger

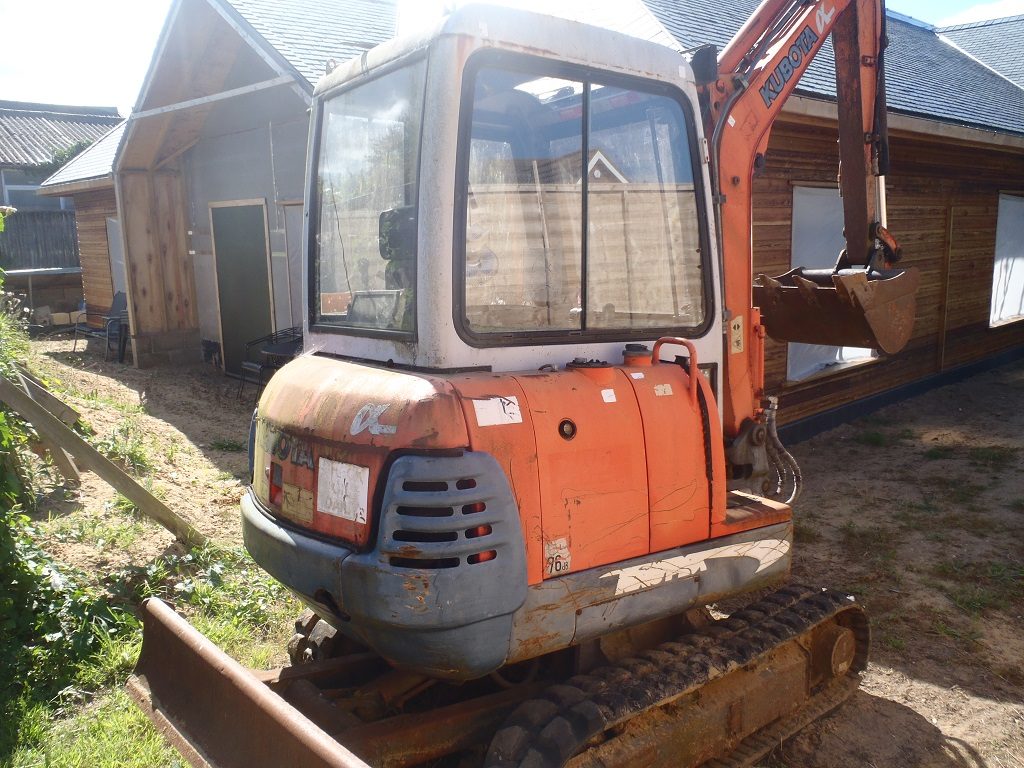
    A-very-dirty-digger-2


    So on Wednesday, the big day, of taking off the old tracks and sliding on the new ones! These belts are very very heavy! There are 76 rubber coated heavy steel metal bars (one inch diameter with heavy flanges sticking up to ensure positive engagement with the drive cog wheel), spaced apart by 52.5mm, the track being 300mm wide and the tread depth of 20mm deep. We estimated that the weight of one of these track is about 100kg each!!

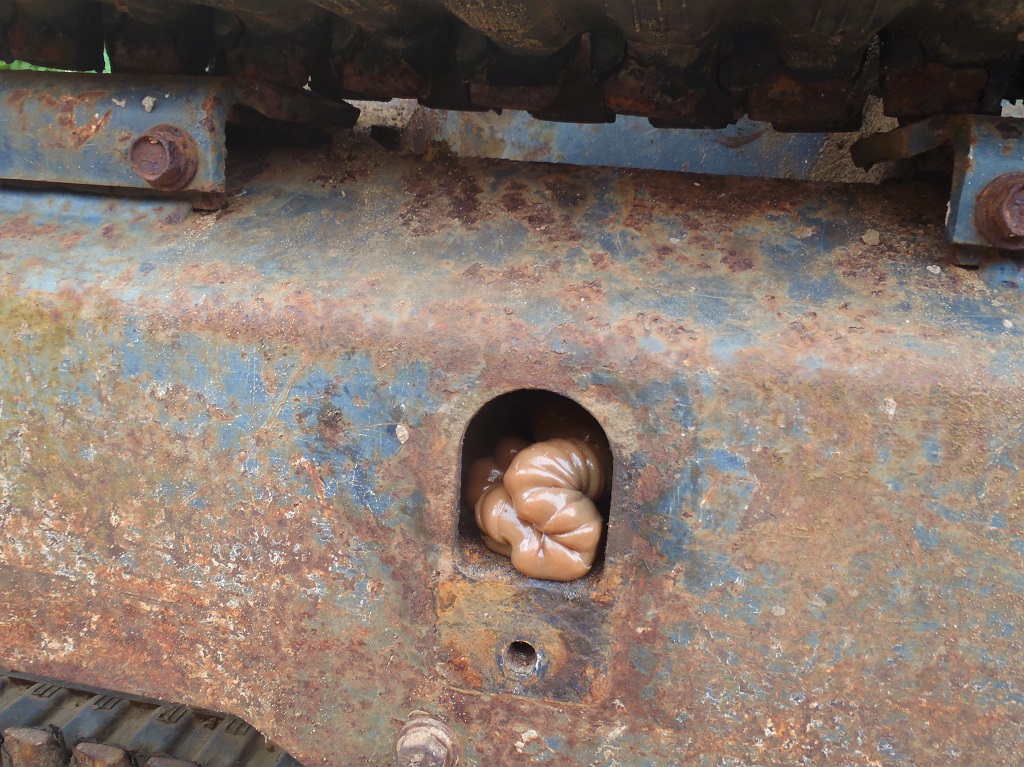
    The first job was to push the whole digger over to lift one track entirely off the ground and then open up the cover to access the static hydraulic ram that lies inside the structure that holds the caterpillar track. There is one screwed in plug that has a grease nipple point in the middle. We undid the plug to allow the grease to escape when we thump the end of the track in. we used a sledge hammer to knock the ram backwards, this in turn ejects a small blob of grease.

    Replaced Caterpillar Tracks on mini Digger

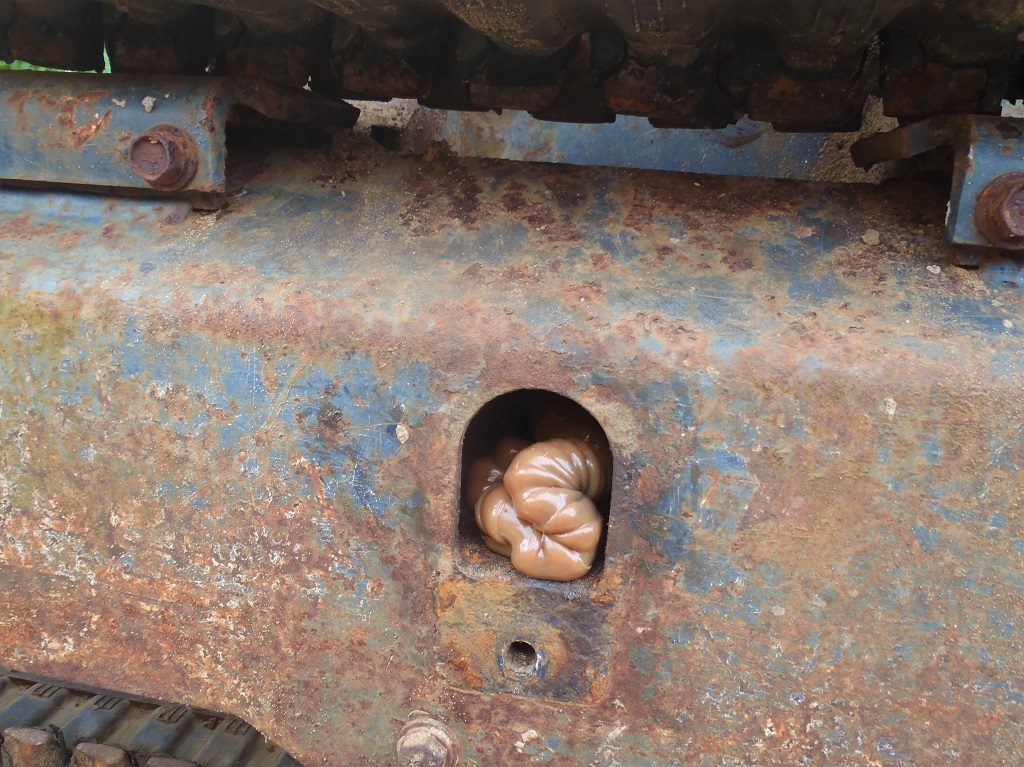
    Grease-comes-out-like-a-pile-of-


    The distance between the two internal “cog” wheels at each end, is shortened by about 25mm and that is enough for the rubber track to slip off (with a bit of an assistance by lowering the digger down to flatten the track and extend its length), to disengage off the front wheel (the non-drive non-sprocket wheel) and we could then drag the old track away.
    After inspecting the various parts, most especially the main front wheel and three smaller solid metal wheels, to make sure that they weren’t loose and still easy to move, which they were very nicely smooth and tight.

    Next, is to drag into place the new tracks and sort of hook it on the back cog wheel and lay the rubber track out alongside the digger and lowering down the digger again, to extend the length just enough to squeeze it over the front wheel using a crow bar. Then the hard work starts .. by pumping grease back into the static hydraulic ram to push the front wheel back out to its fully extended position to tighten the track up. The instructions says that the droop in the track underneath the middle small cog wheel should be about 2cm so it is not too tight and not too loose.
    Our grease gun is a manually operated device, using a pumping handle and it was awkward in trying to get the gun’s outlet to engage to the nipple on the digger and put  thousands of PSI pressure to force the ram outwards and tighten the track.

    Replaced Caterpillar Tracks on mini Digger

    All-new-and-shiny-1

    Replaced Caterpillar Tracks on mini Digger

    All-new-and-shiny-2


    We repeated the whole exercise for the other track and just before lunch time, we got both changed over and we now have a fully working mini-digger again.

    The final job after lunch was to make sure that all the joints all over the digger was fully charged with grease. The log book was updated with today’s work and the last entry was back in 2016!! The old tracks were folded in half and carted around to the back behind the temporary living quarters for storage and we will decide to what to do with them later on. We even may use them as a raised flower beds!!

  • Ripped Up Neighbour’s Hedge!

    After lunch today, we helped out our neighbour by driving our Mini Digger up the Loke and then proceeded to rip and grub out their Hedge fronting the Loke.

    Neighbors-Hedge-grubbed-up

    Neighbors-Hedge-grubbed-up


    It was very rewarding for us, especially for the fact that we haven’t used the mini digger for months and months, but the machine started first time! It took only about 30 minutes to do the job!

  • Grease Loaded into All Joints!

     This afternoon, Stephen performed some basic maintenance tasks on the mini-digger and loaded grease into all the joints and moving parts. The digger needs re-greasing fairly regularly, every 20 “clock” hours approximately.

  • Digger drips oil

    While digging the hole for the first energy module today, we noticed that there were splashes of oil on the digger’s tracks and the ground nearby. It looks like we have sprung a leak somewhere in the hydraulic system!
    After lunch whilst Shaun was removing the excess sand from the bottom of the hole, Stephen started investigated the source of the leak.
    The oil was coming from a hole under the right rear of the machine and after removing a couple of body plates you could see some pipes covered in oil. After cleaning them the digger was started and operated for a short while and the pipes were inspected again and there was no new oil! Further investigation revealed one of the pipes was the overflow from the hydraulic oil tank (which we has topped up a week ago). So we think the oil drips were just the tank being filled too much and overflowing!

  • Removing foundations and paths

    Shauns been beavering away between the rain!

  • Mini Digger & Dumper truck Maintenance

    Stephen spend the morning doing the regular maintenance, pumping grease into the joints and bearings including doing the dumper truck as well. But Stephen decided to tackle the longer running non working sideways control of the arm which we will need when we start digging the trenches. He traced the wiring from the switch on top of the joystick and to the solenoid that operates the pump that controls the rotation of the arm side to side. It was another similar problem with a power interruption to the switch so he repaired it with a clean new wire. It now works!!