We finished creating the new Lifting Support Framework for the winch, with some more welding of reinforcing struts at the top and handles at the bottom to allow us twisting control and something to pull on when we need to take down the arm.
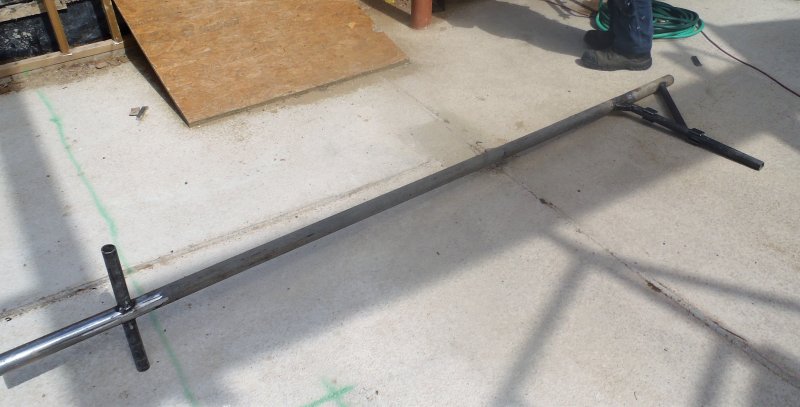
Strong-new-winch-bracket
We took out our new support arm to the tower, mounted the motor to it and heaved it up and plugged it into the corner of the tower. We then hooked up this rafter (the DE valley Rafter) with both winches and started winding it up again. this time, it went all well and we managed to get the rafter fully into place correctly – at last! This was only a test run as we needed to get the DE leg in place too and glue it all together!
We trimmed this corner leg to exactly 2385 mm long and smoothed it off with the belt sander until it just fitted nice and smoothly. We then did another dry run with our rafter to make sure it fitted in, this time with the leg there too. Yes is the answer and phew!
So we went ahead to glued all the joints at the bottom of the rafter, and the top too and all the internal surfaces of the vertical leg. The rafter then came back and slid into place, even easier this time with the lubricant of the glue there to help us.
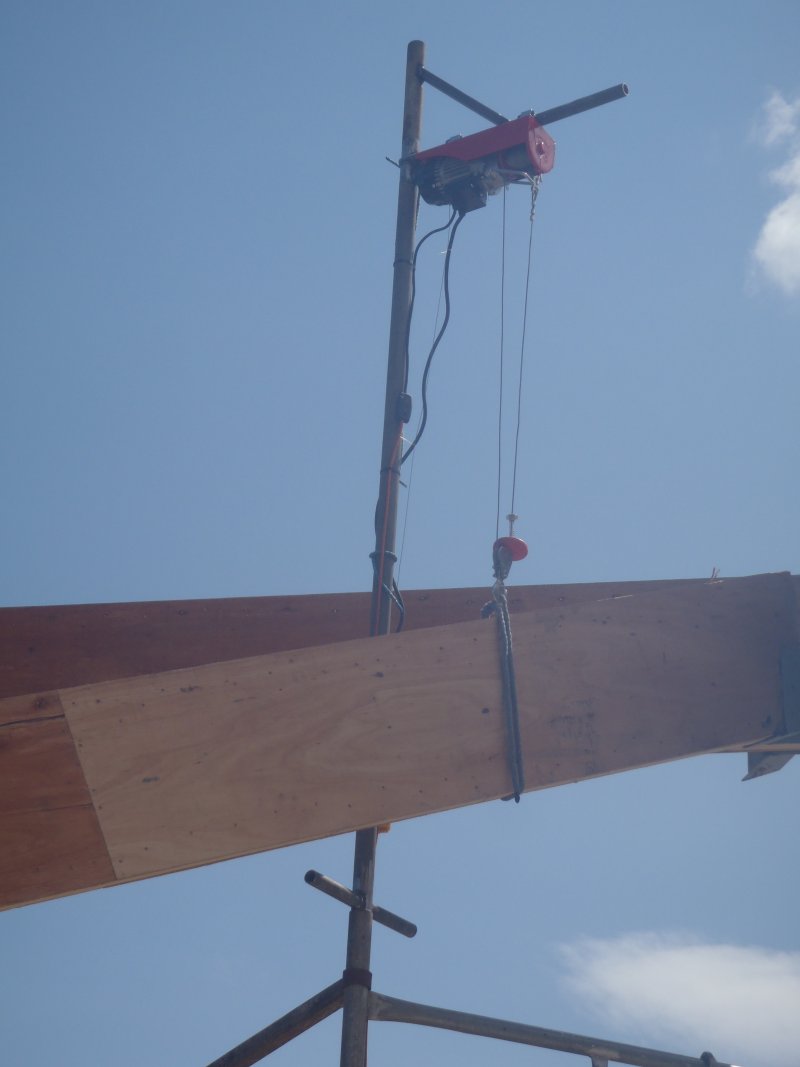
Strong-new-winch-bracket-in-use
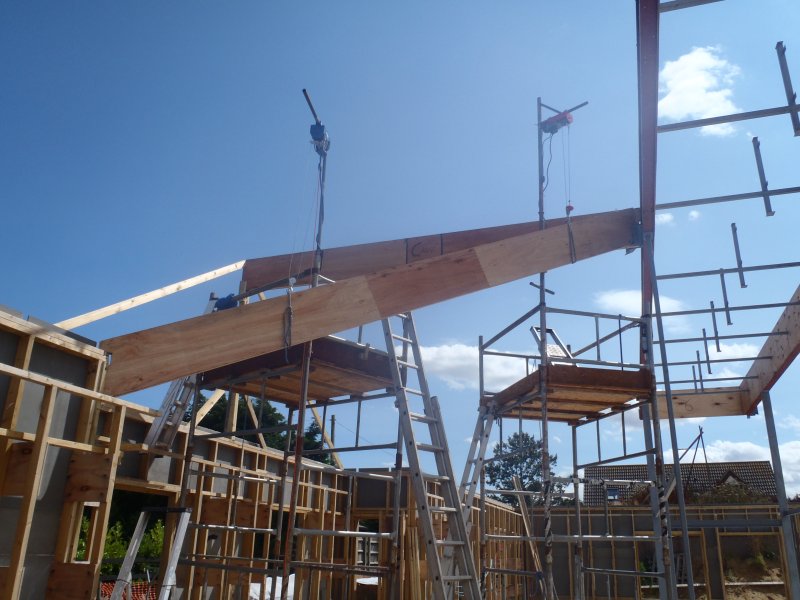
DE-Lvl-rafter-in-place
We then fixed a couple of nails into the bracket at the top and screws into the wooden leg and rafter at the bottom to keep it held in place while the glue sets.
This concludes the very long saga of getting this one rafter into place and thanks goodness at last, it is there – Grin!
On Monday, we can move over to do the second rafter we have ready, this one being the AB LVL valley rafter on the other side of the C Ridge beam and it will go so much faster after all what we have learnt these last few days! We Hope So! Grin!
Leave a Reply
You must be logged in to post a comment.