For the start of the week, under a damp chilly sky, we gave our nail gun a inspection and discovered that it needed oiling in the drive piston chamber. It was rather dry and sticky with old oil. But the air line should be supplying a tiny amount of oil every time the gun is fired but the device is not apparently working. But at least after cleaning and oiling it , we now have a fully working gun back again!
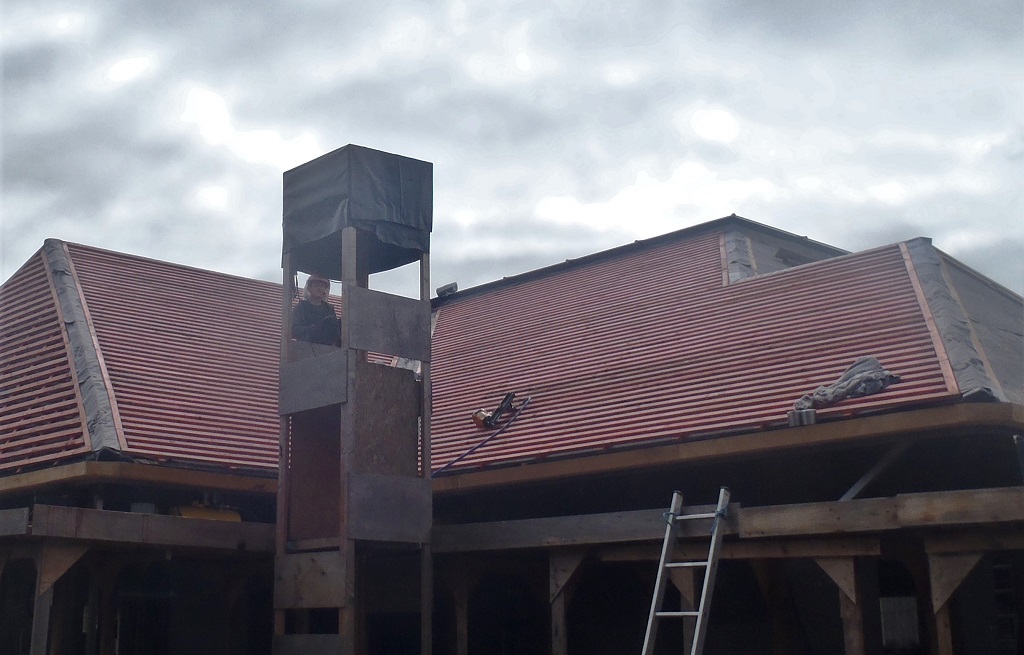
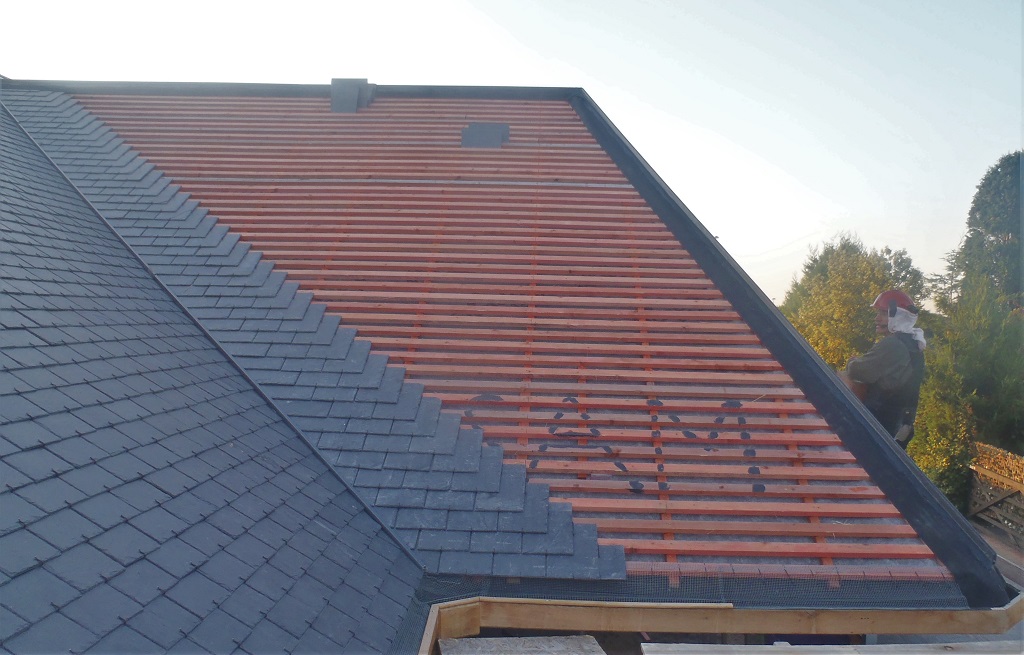
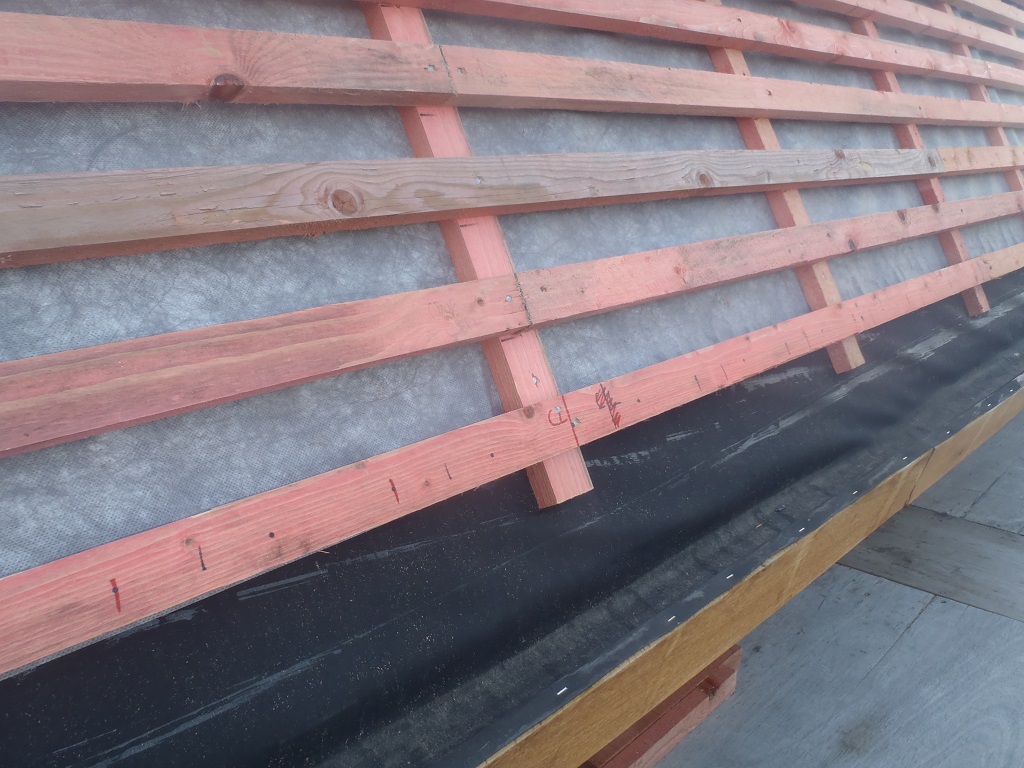
We proceeded to cover the “D” and “E” sections of the roof with the breathable membrane and put on all the wooden tile battens which makes it now waterproof and ready for slates to be mounted. This took the whole day Monday, the mornings of Tuesday and Wednesday plus morning of Thursday to complete.

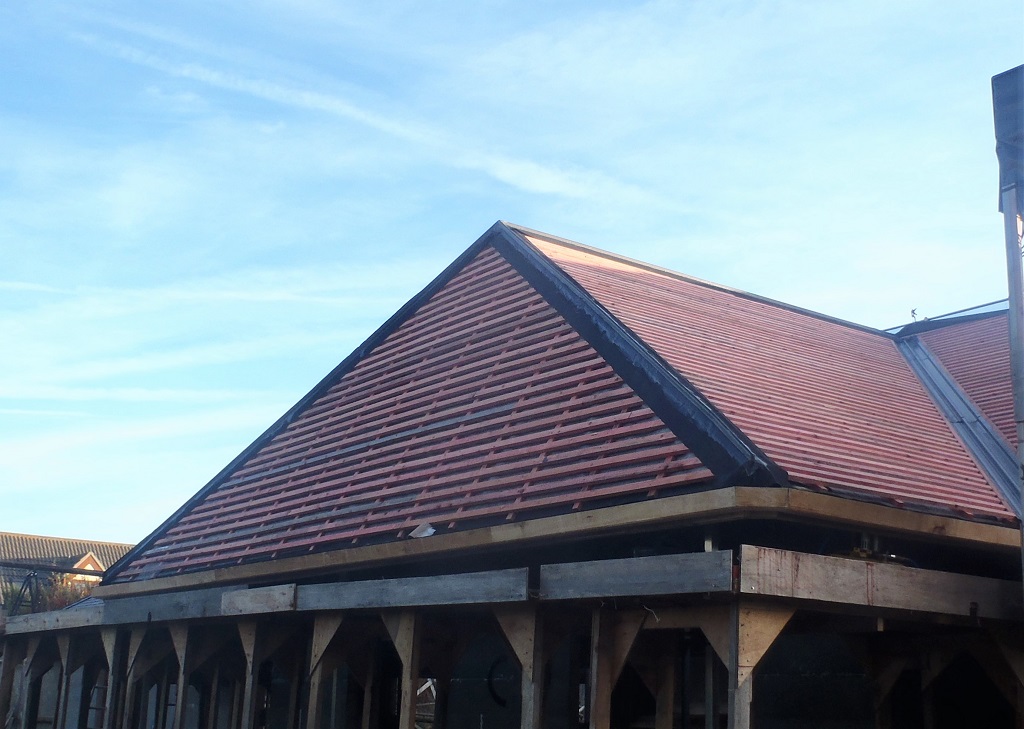
D-E-partially-battened
D-E-fully-battened
The latter half of Tuesday was spent making the third aluminium support arm for holding up the Side Porch. The new length of the 2inch square tube arrived last week and we were able to complete this task of reinforcing the roof of the Side Porch.
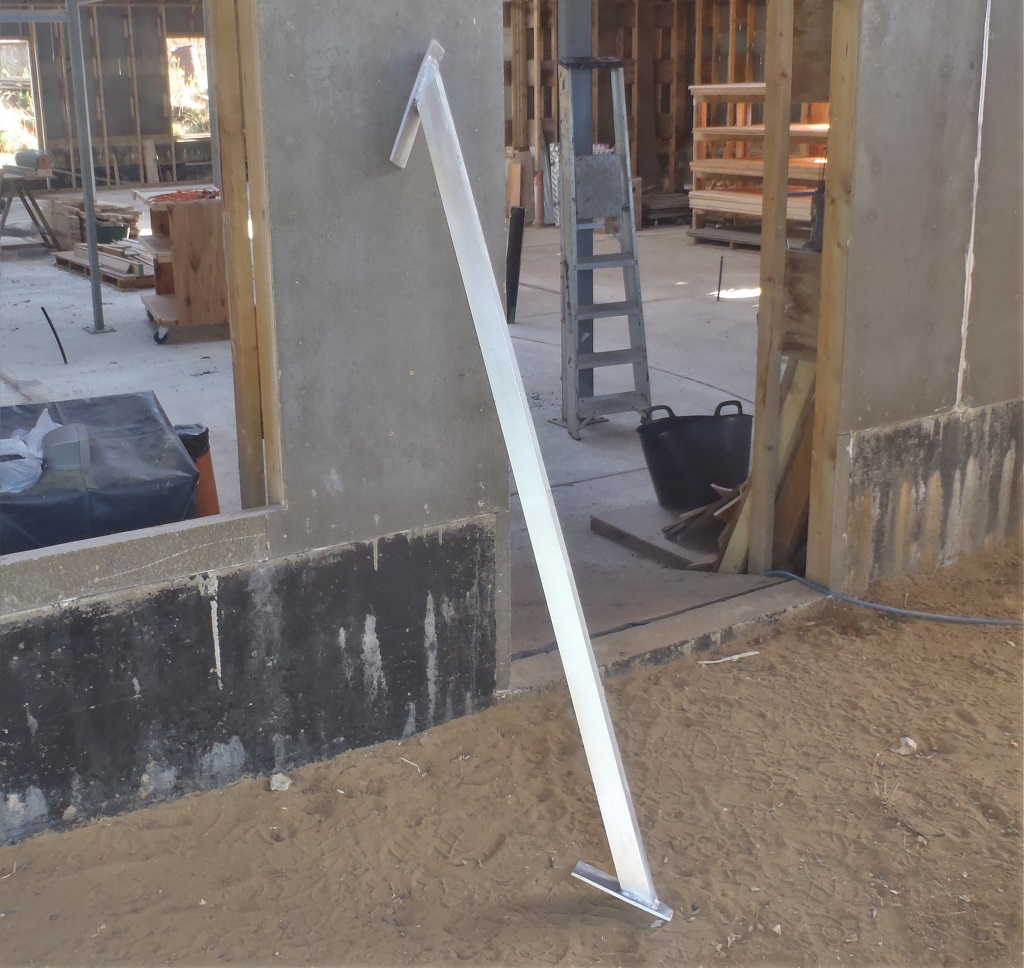
Center-porch-support-made
And the latter half of Wednesday was spent making stainless steel support posts for our skylight to attach a hook wire around for safety and ladders. We needed one more pillar post as we seemed to have mislaid one or miscounted when we made the original set.
We continued on Thursday afternoon and also most of Friday, putting up more wooden battens that forms the structure for holding the flashing slates. We used the string to maintain a straight line, but the right hip has a slight curve in it so we had to follow this curve. It probably wouldn’t be noticeable unless one looks very carefully. We had to skip the remainder of Thursday afternoon so we resumed Friday (and took most of the day) putting on the rubber membrane band and the bull-nose wooden strip which was then covered in the fibre-glass + dark grey resin coating.
Rubber-and-bullnose-on-BCD-hips-and-ridge-
For late Thursday afternoon, we needed to do the valley trough, installing two full lengths and a specially modified shorter piece that fits right up where the ridge and the skylight meets together. The modifications were done late in the workshop after 6pm so that would be ready in the morning.
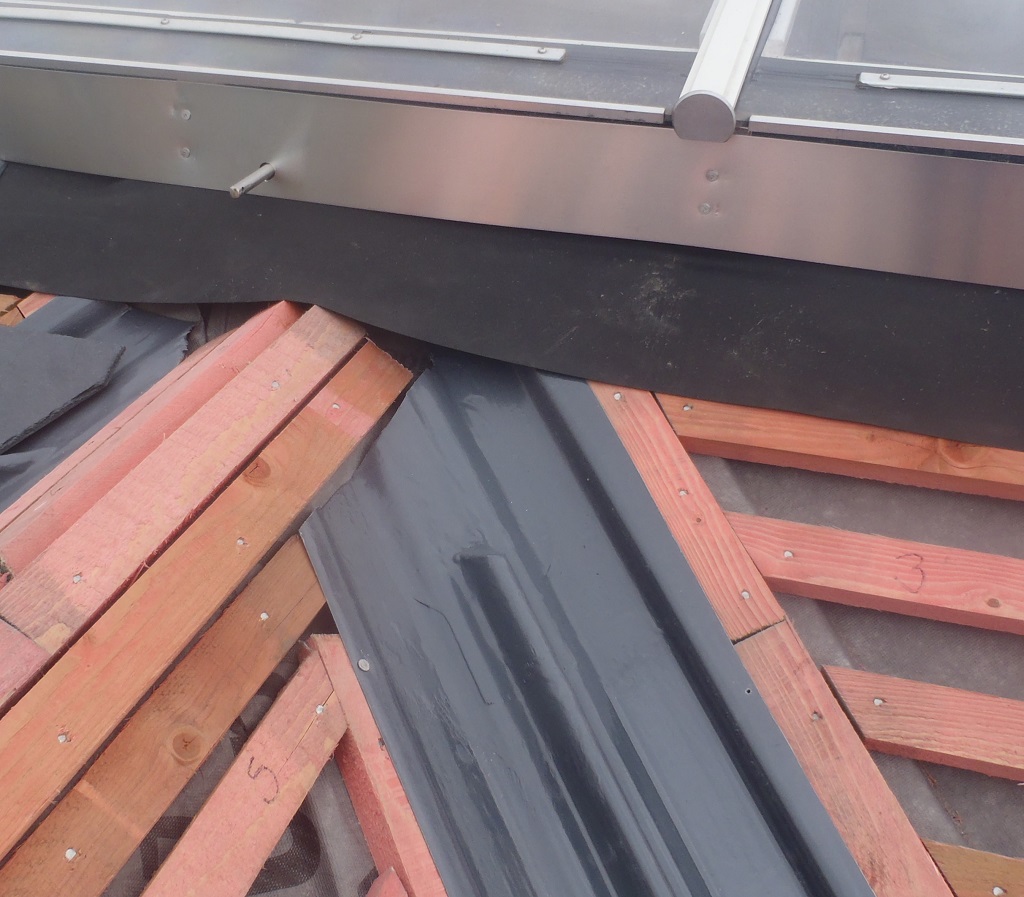
Top-of-DE-valley-trough
We also (again late Thursday afternoon) completed putting up the flashing rubber membrane strip along the kerb of the skylight and covered it up with the aluminium protection horizontal band.
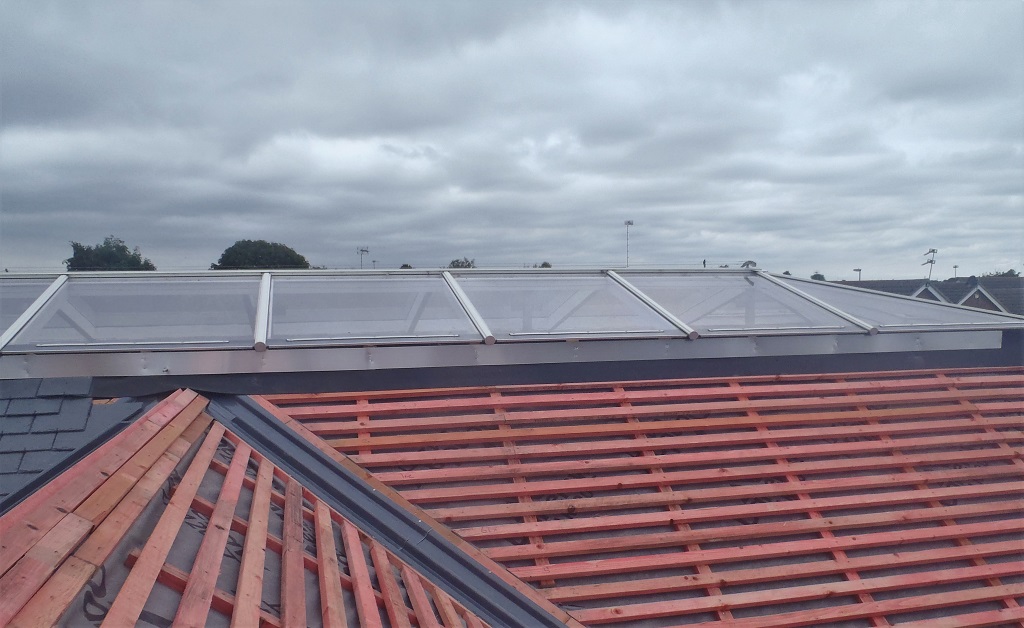
Skylight-kerb-flashed
The next job, after finishing the flashing protection strips, from mid-afternoon of Friday, was to cut strips of the metal mesh off our supply roll. We finished off the entire roll and we now have a pile of mesh with a bent bump near the front of each strip to act as a rain water drip deflector. We hope we have enough to finish the job of covering the remaining gutters from “C” to “H”.
On Saturday, we did a little repair job on the C-D corner of the gutters where the joint has warped a bit and there wasn’t enough PU glue in first place. so we clamped the oak timber back into shape again and filled all the gaps with more PU glue after we had sanded and rubbed inside the joint to get some clean surfaces again.
So we decided that because the glue and clamps are in the way, we would instead continue on putting up slates. We got back to the “B” section of the roof and spent some time marking out the initial positions of each row going up the valley using our large framing square and string to get a vertical line to project back on each row to the valley to mark the regular nailing points. Then we also did the same on the “C” section but this time, exactly in the middle so we know where to start the slates from when we want to cover the roof and generate our special pattern.
And finally, for the rest of the day, we started putting up more slates, on the “B” roof portion, another 150 slates, going up the valley, doing all the angled slices in the slate hanging over the valley trough. It is a long laborious job but we got there, right to the top!
Slating-started-on-B
C-Roof-slate-alignment-marked
So for the start of the new week, we will put on the metal mesh over the gutters and then continue putting up a further 3500 slates to cover all the roof sections from “B” to “E” we have prepared.
Leave a Reply
You must be logged in to post a comment.