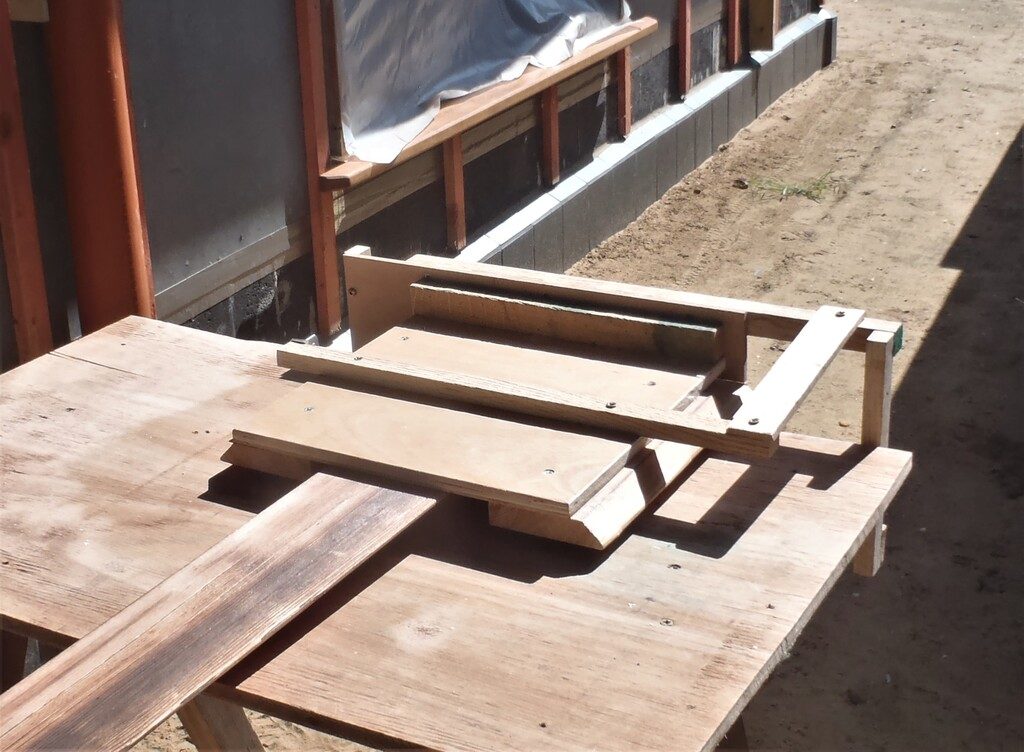
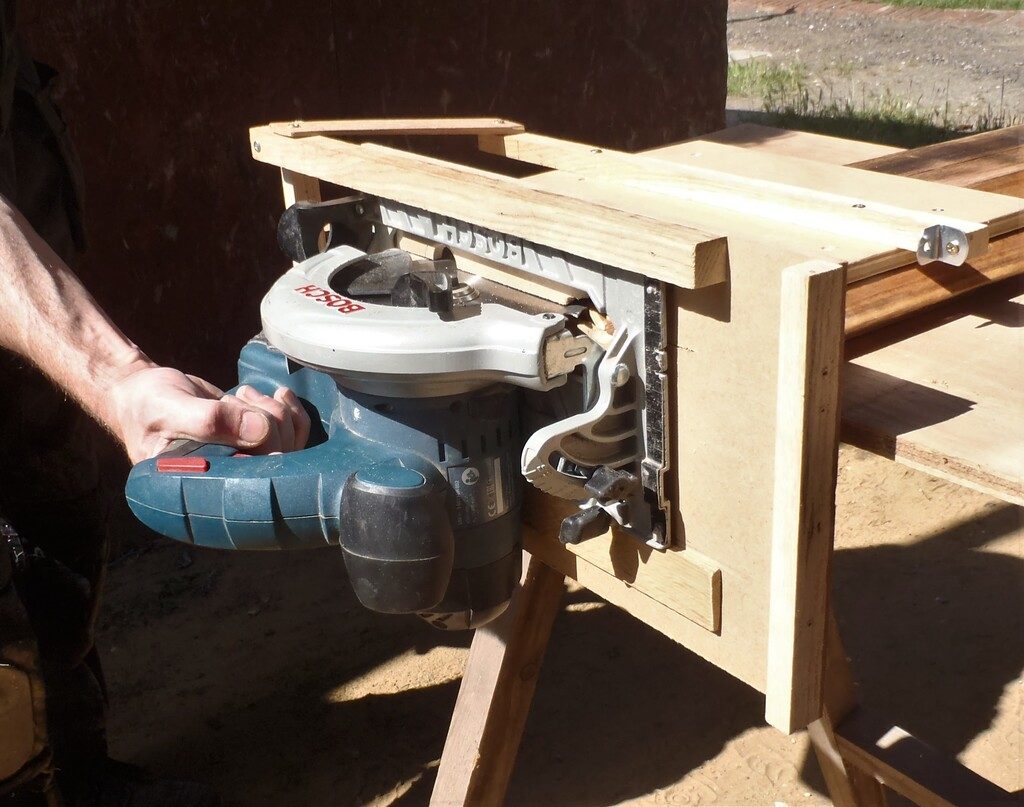
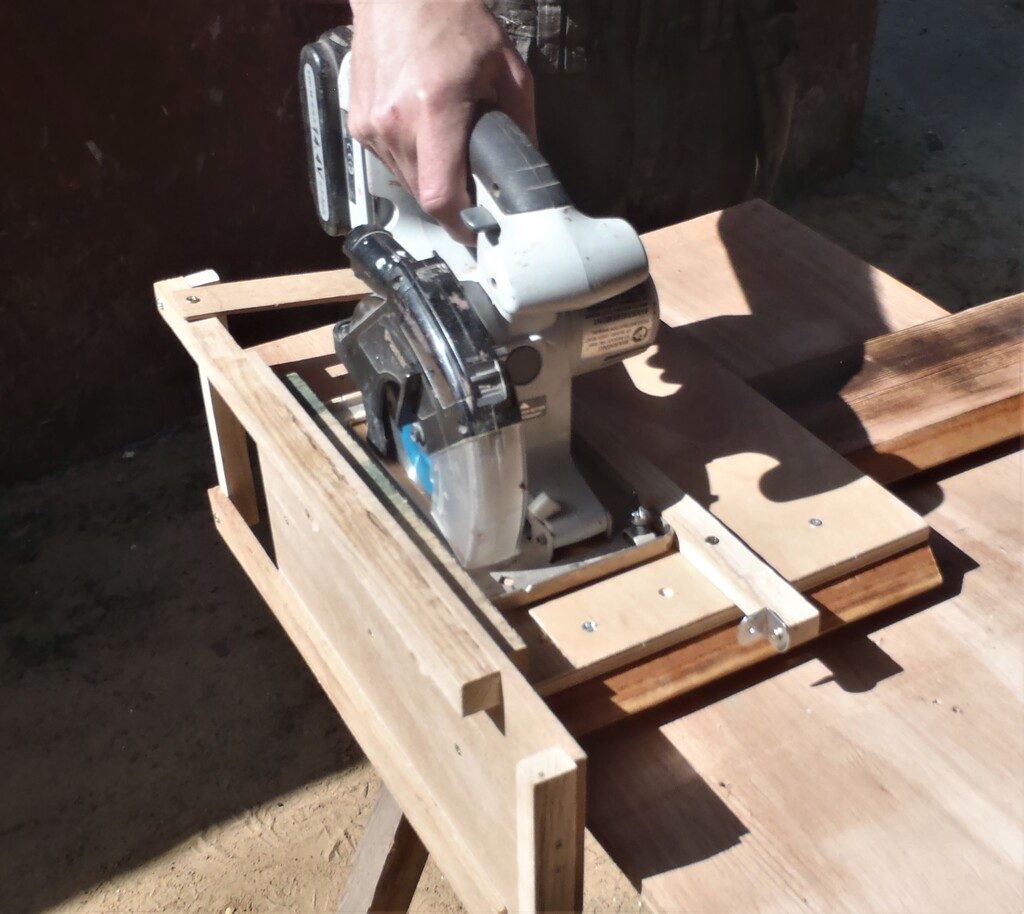
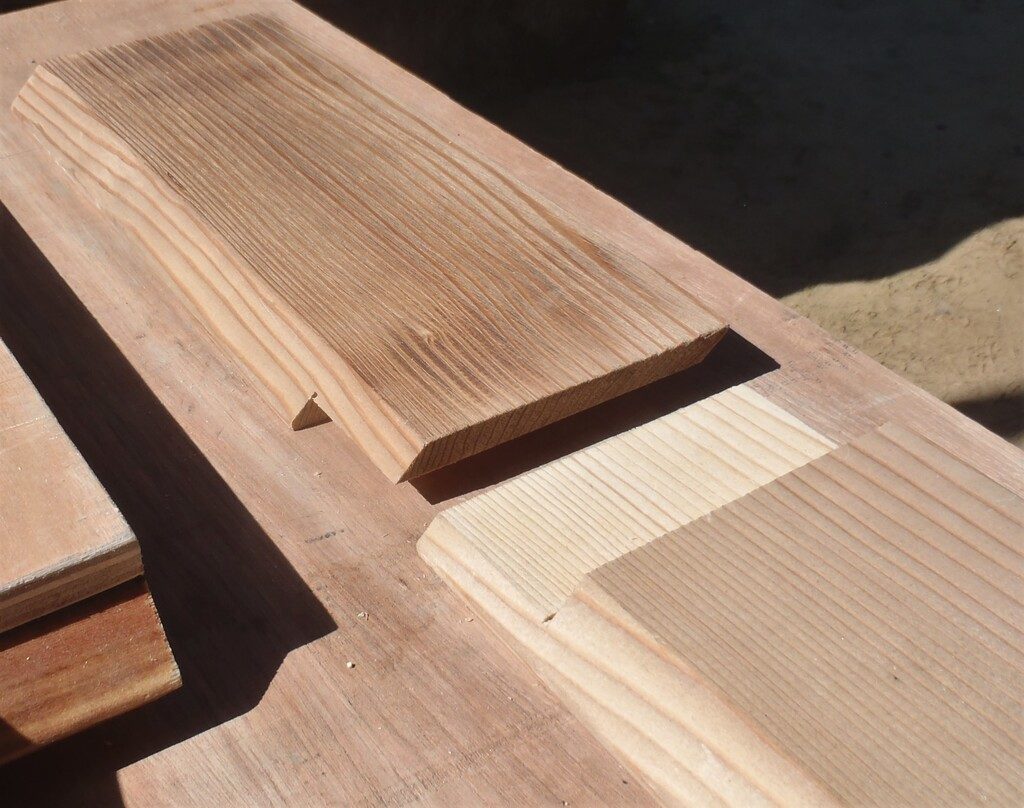
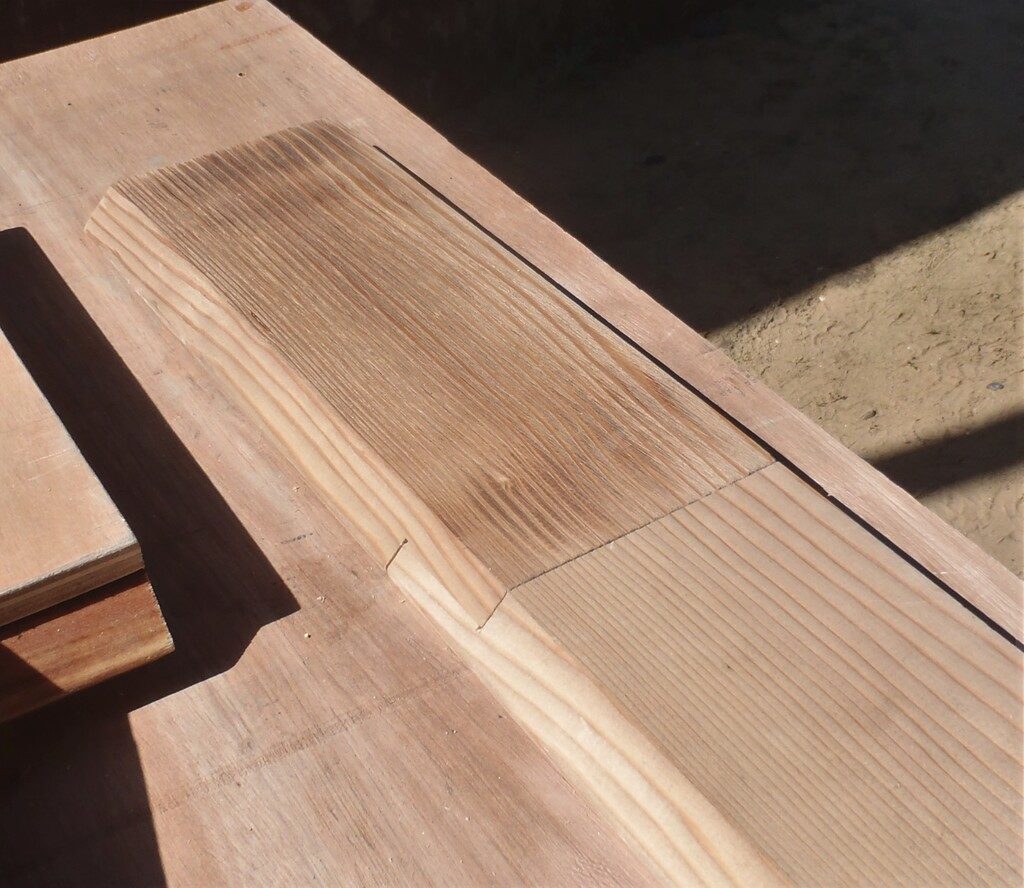
At last, we can actually see the Larch cladding timber going up on our walls this week! But first, we made a couple of templates; a lap joint cutting guide to produce a 50mm wide half lap joint for two pieces running on the same row, so we could screw both “ends” of the two planks into the single upright batten.
It uses our two battery powered circular saws; one to rip across the end at 50mm deep cut and just shy of half way through the thickness (10mm out of the overall 20mm thickness) and the other saw to cut across the face at 10mm deep to complete the removal of the piece. Then we flip around the second plank (end over end; rather than edge over edge) and repeat the process using the same template. This produced two mirror image cut away ends that merges together almost seamlessly.
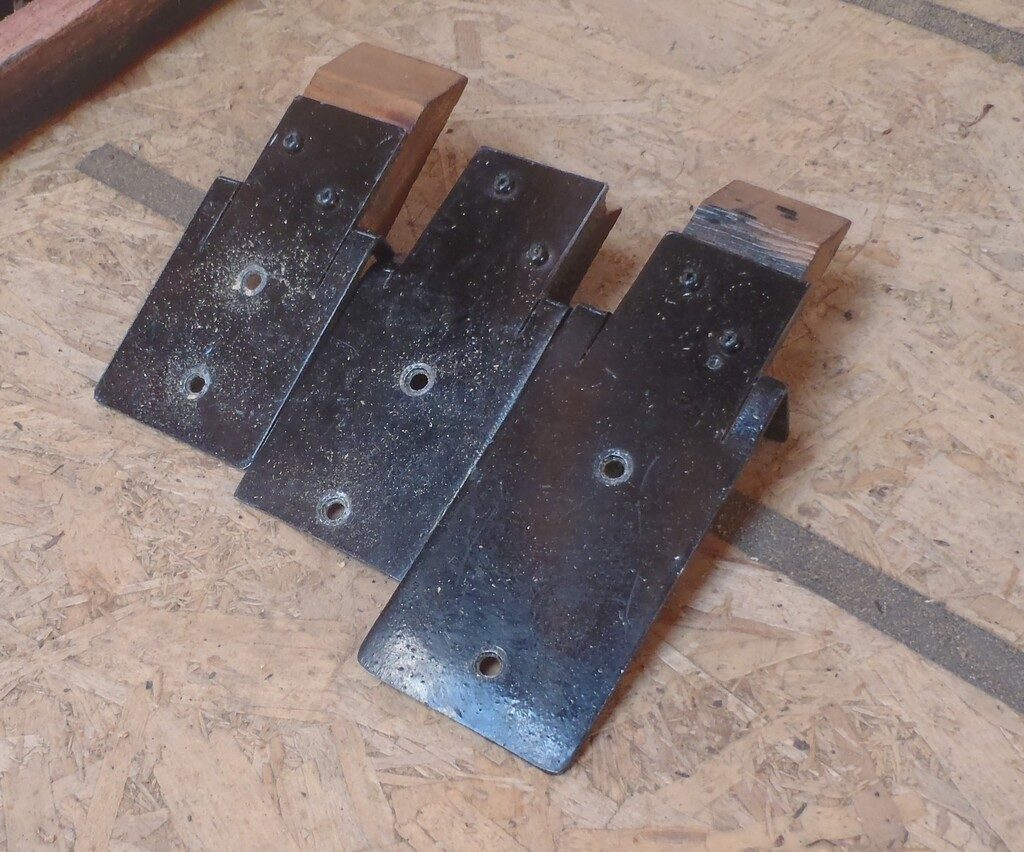
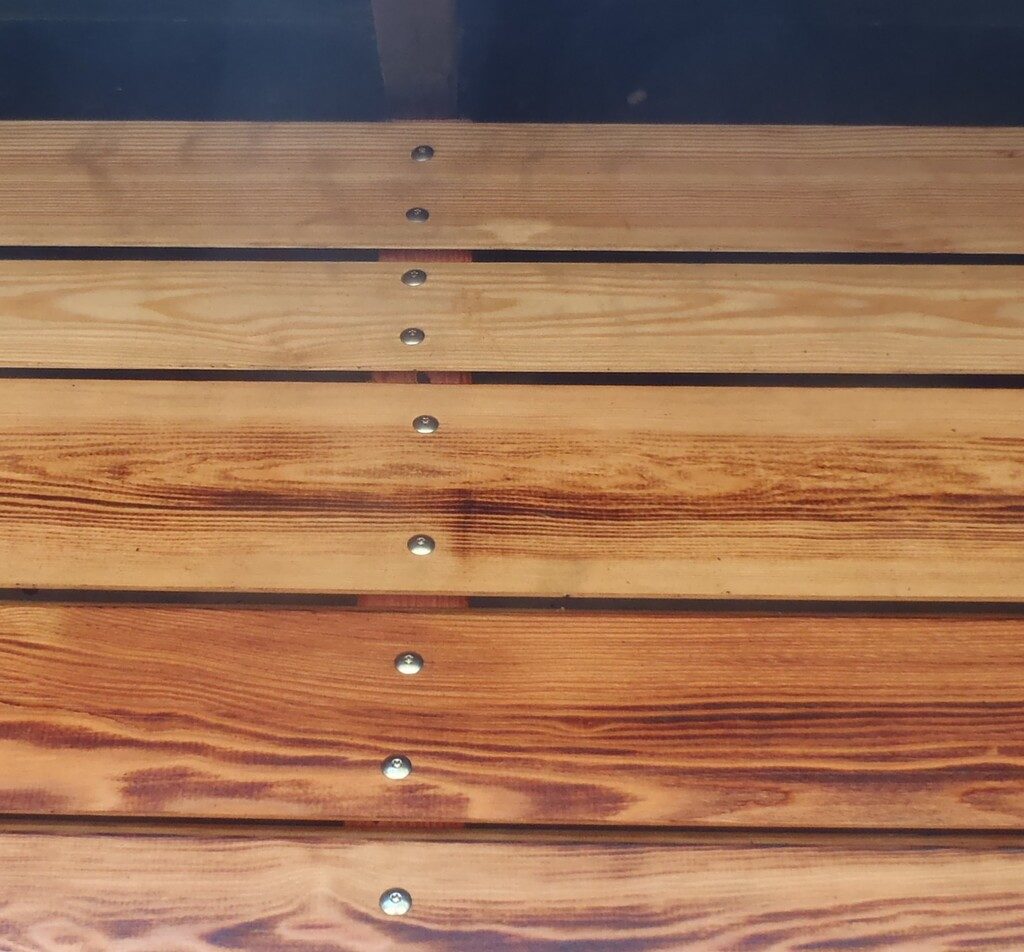
The second template tool were three metal plates with guidance holes drilled into them. There are three versions; one for each plank width. These helpful guides will keep our placements for the mushroom headed stainless steel screws at a regular and consistent location when fixing all the cladding planks up on the walls and their battens.
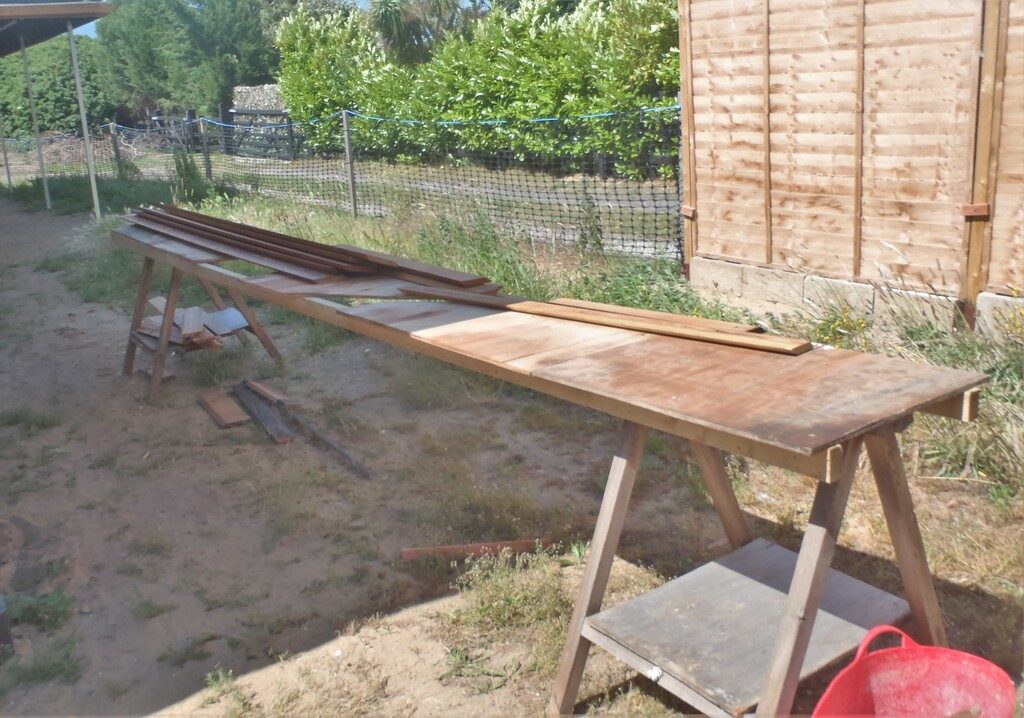
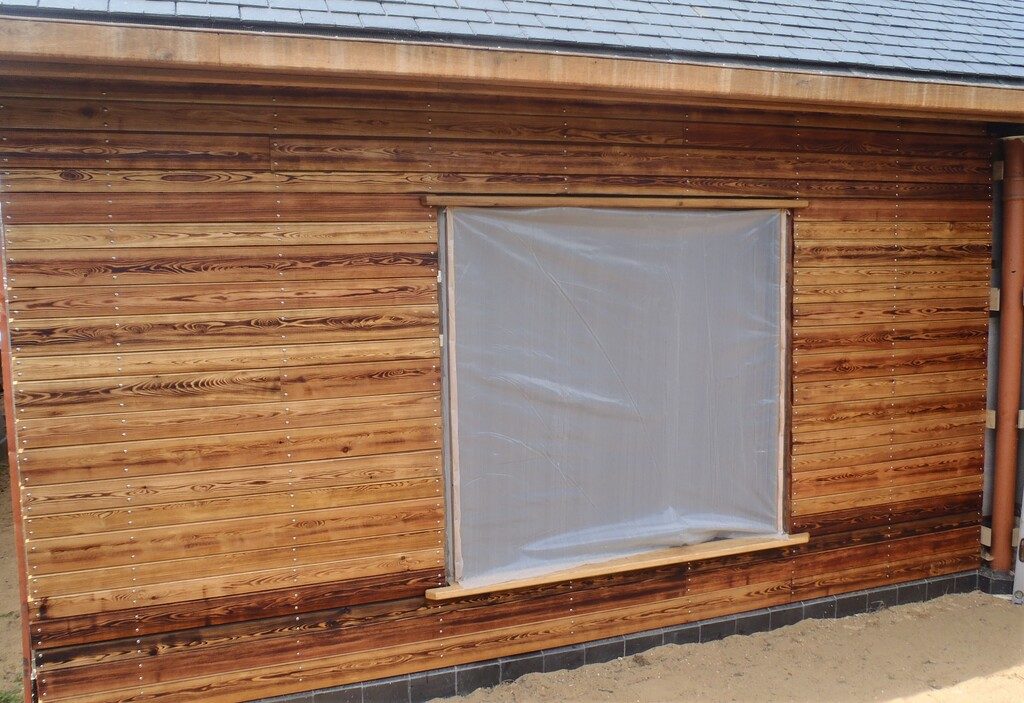
Skipping pass some external interruptions we had this week, we went to the far back left corner of the house, to the Great Room wall section, P1, to start there. The wall is 4800mm long with a large window in it so we can learn how to proceed, setup working platforms (two trestle tables joined together using two CLS 63mm planks and covered in plywood left-over pieces) and carefully see how we put up each plank in turn. The spacing between each row of cladding is achieved using a 9mm thick plywood for the bottom row against the slate ribbon and a 6mm piece of MDF to separate each row going up the wall.
We decided to start at the bottom of each wall, with the widest Larch timber (burnt to a level 3) and then followed by the 2nd row of a medium plank (with a burn level of 4 – darker) and then finally the darkest (burn level 5) plank using a narrowest plank to meet up with the window sill. We arranged it so that the joint between this row and the fourth row is just hidden by the Oak sill itself so we had to remove s small area (the upward slope) of the Larch timber and it all fitted very well.
Then we got our spreadsheet and randomised the order of the 12 planks that go between the bottom and top of the windows, to mix up the three different widths, to make it more interesting and more variations around the house. We decided that we would mark on the batten on either side of the window, the exact placement of each row so we can be reasonably assured that our last plank will align to the top of the window in a consistent manner. This in fact exactly what happened and we now have both sides of the window populated with planks spaced apart by an average of 11.5mm over 15 planks.
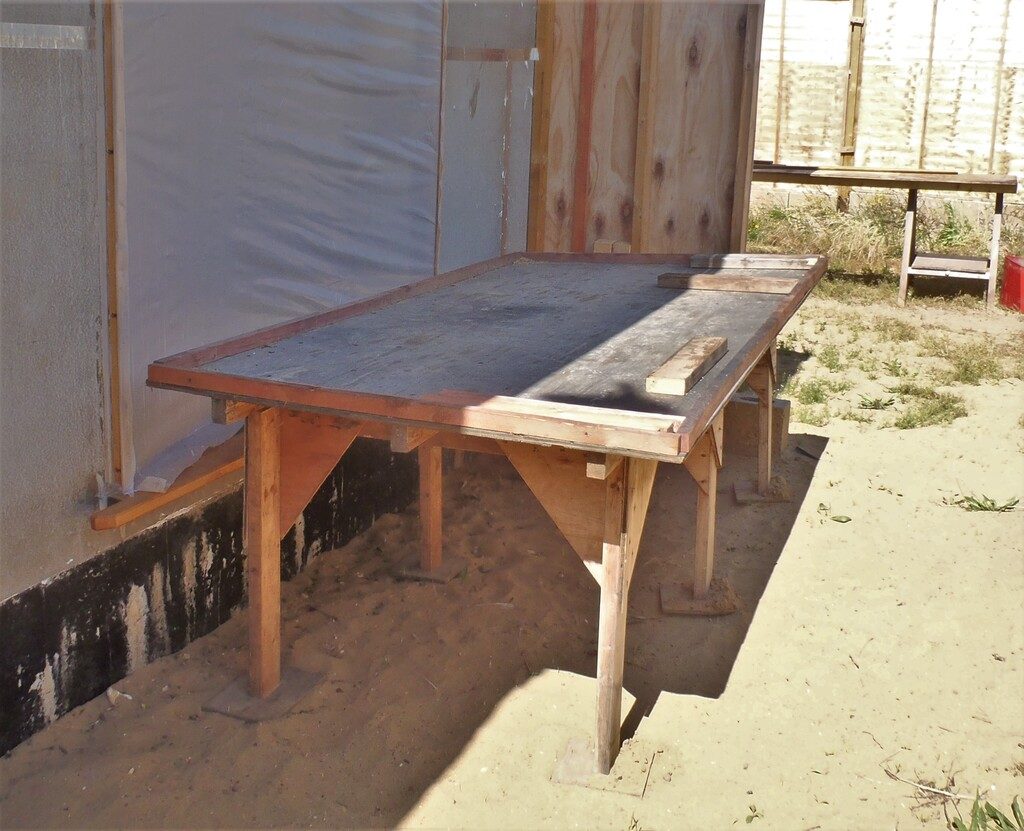
As we got higher and higher, we realised that we needed a better means of working and reaching up that high so we took one of our three large platforms and chopped the legs down so it provided enough height to enable us to reach up inside the eves.
We finished off the main area above the window and stopped just short of the rafters. We left the gap between each rafter exposed to see if it really needed filling or not.
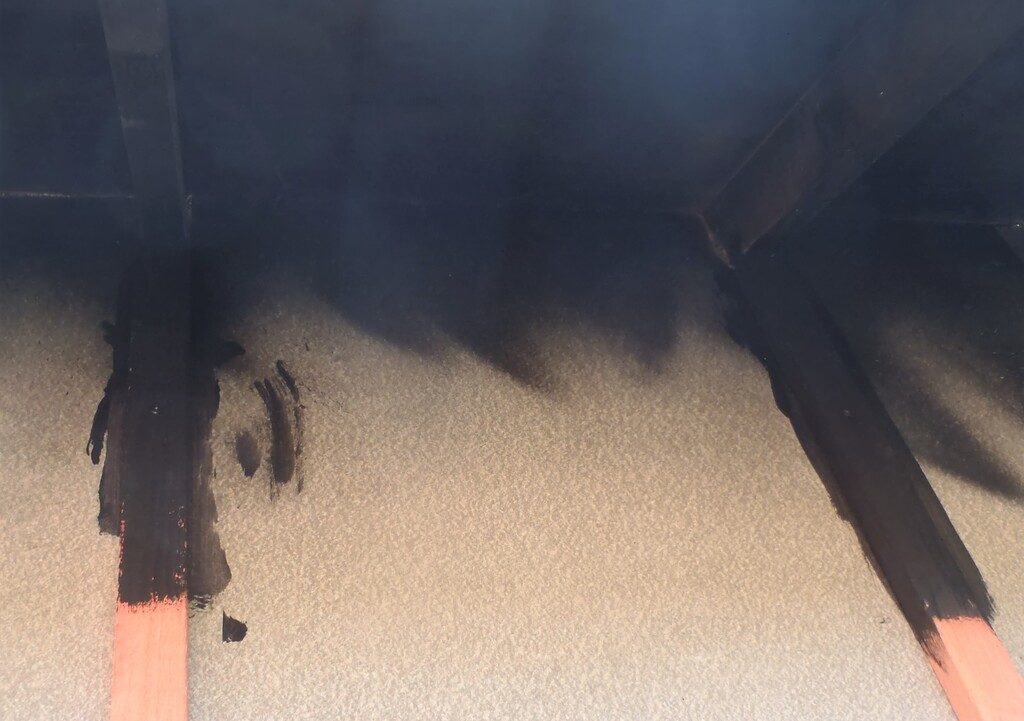
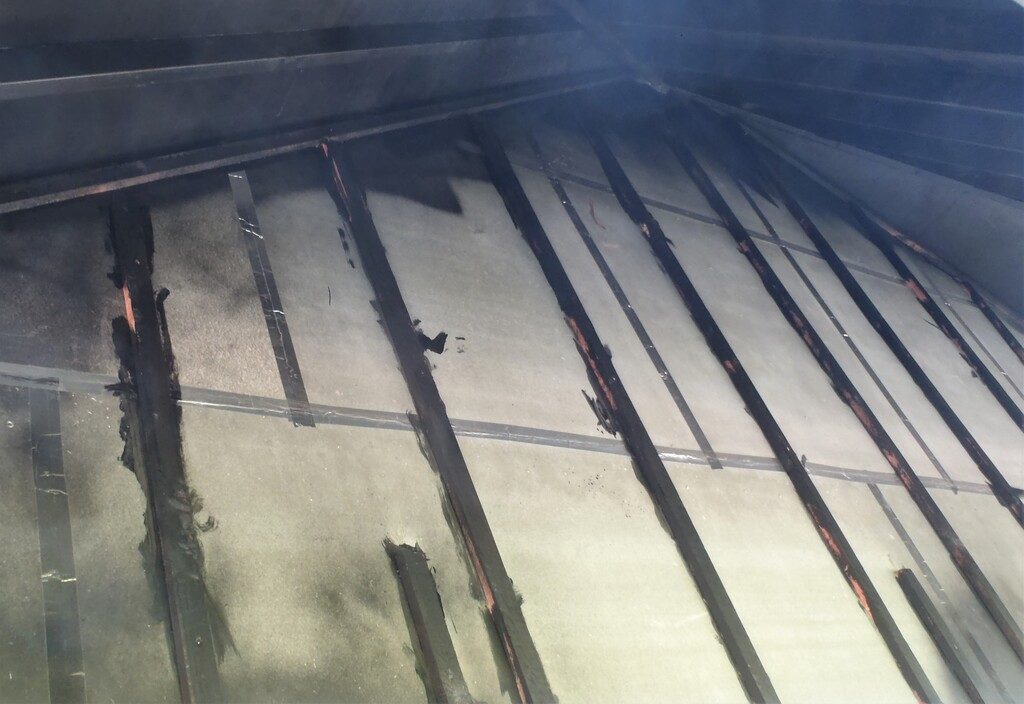
Also we noticed that we could see the “pink” battens plus also the gap between the Larch planks were much more obvious higher up because we are looking upwards and able to “see” up the slope between the rows of Larch.
So we spend a couple of hours painting the top 500mm of the pink batten along the front of the house, including all under the front door porch area with black paint we had left-over and we will also close up the gap of the upper rows to reduce the impact of the joints.
The final day Saturday, was a rain washed out day so we got on with another job, fitting the filter modules and sterilising unit together, along with a submerged pump to our rain water underground tank. See Rain Water Underground Tank Brought Into Operation.
Next week, weather permitting, we will resume putting up more cladding on the walls but if disrupted by bad weather, then we will do some preparation work to produce more Oak decorative coverings for the corners of the building.
