At the beginning of the three weeks waiting for the arrival of our First Floor Joists, we sat down to analyse all requirements of providing connections to the outside world like electricity, data, water and waste services. We looked at the underground situation as well as the Eves too. We wanted to make sure that we had provisions for future ideas and expansions in our garden, swimming lane, patio, lighting and controlling the various gates, lights and other features. All these are the underground connections but for the Eves, we are thinking of more lighting, PIR detectors, temperature probes, sunshine level indicators as well as a watering distribution system for potential hanging baskets etc.
There are four main types of connection as follows:
- Water : Either clean pressurised water or dirty kitchen waste
- Low DC voltage : a nominal 48V but perhaps 12V or 24V
- Data/Logic : Network transport layer, either ethernet or RS484 balanced lines
- Mains 230V supplies : for occasional high powered devices.
We we have a total of 63 individual connections that is “punching” through the wall somewhere as follows:
For the Eves:
- 19 Low Voltage and Data black 20mm PVC rigid conduits
- 8 waterpipe black 20mm polyethene conduits (flexible)
For mid-wall:
- 3 Mains 230V waterproof sockets
- 4 water hose quick-lock sockets
- 1 letterbox!
For Underground:
- 1 kitchen waste 40mm PVC pipe
- 4 pressurised water in copper / brass 15mm pipe with ½inch female adapter
- 5 low-pressure irrigation water in the copper / brass pipe adapter
- 2 circulating water connections to and from the Swimming Lane also in the copper pipe.
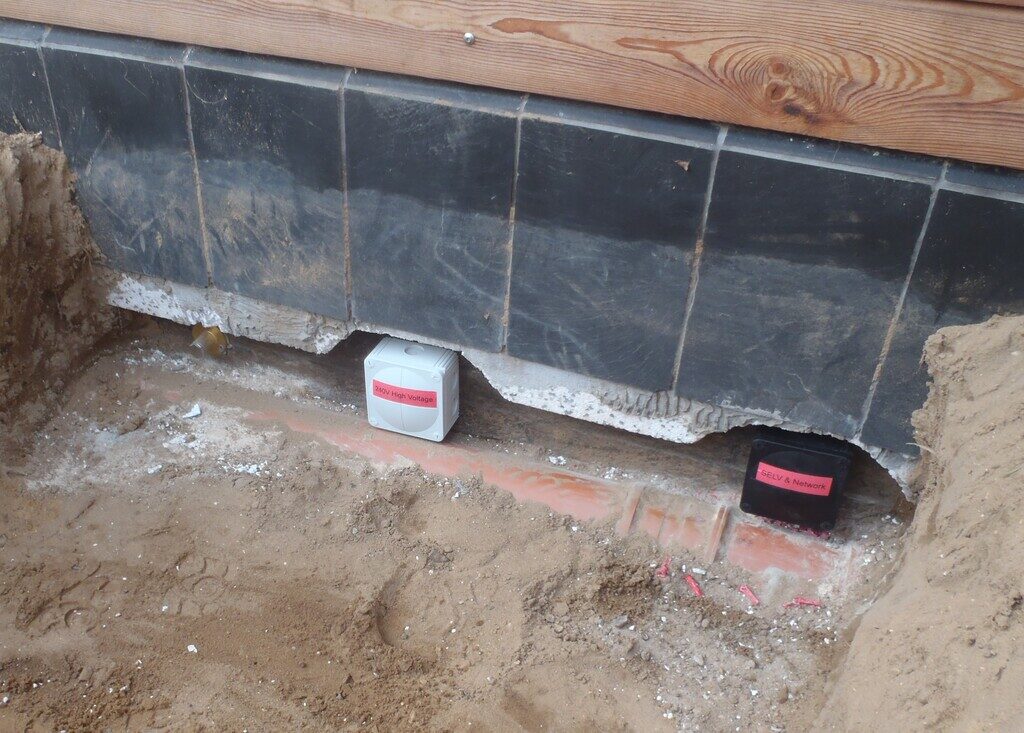
- 10 mains 230V in white PVC conduits
- 10 low voltage and Data black PVC conduits
- 9 temperature probes black polyethene conduits
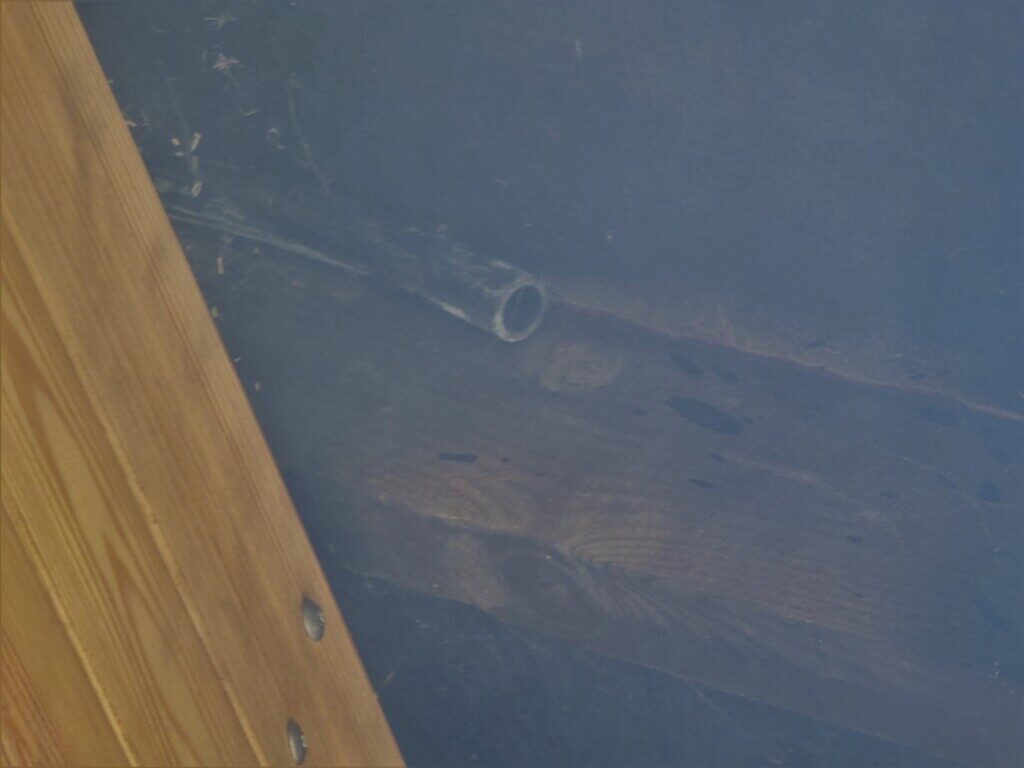
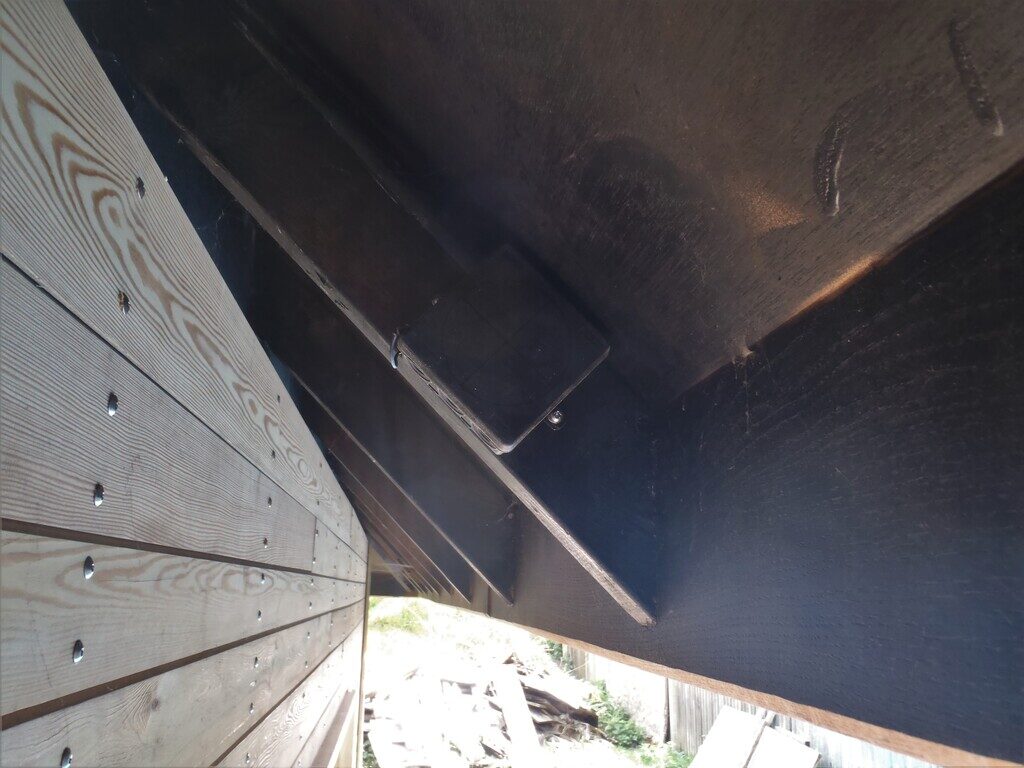
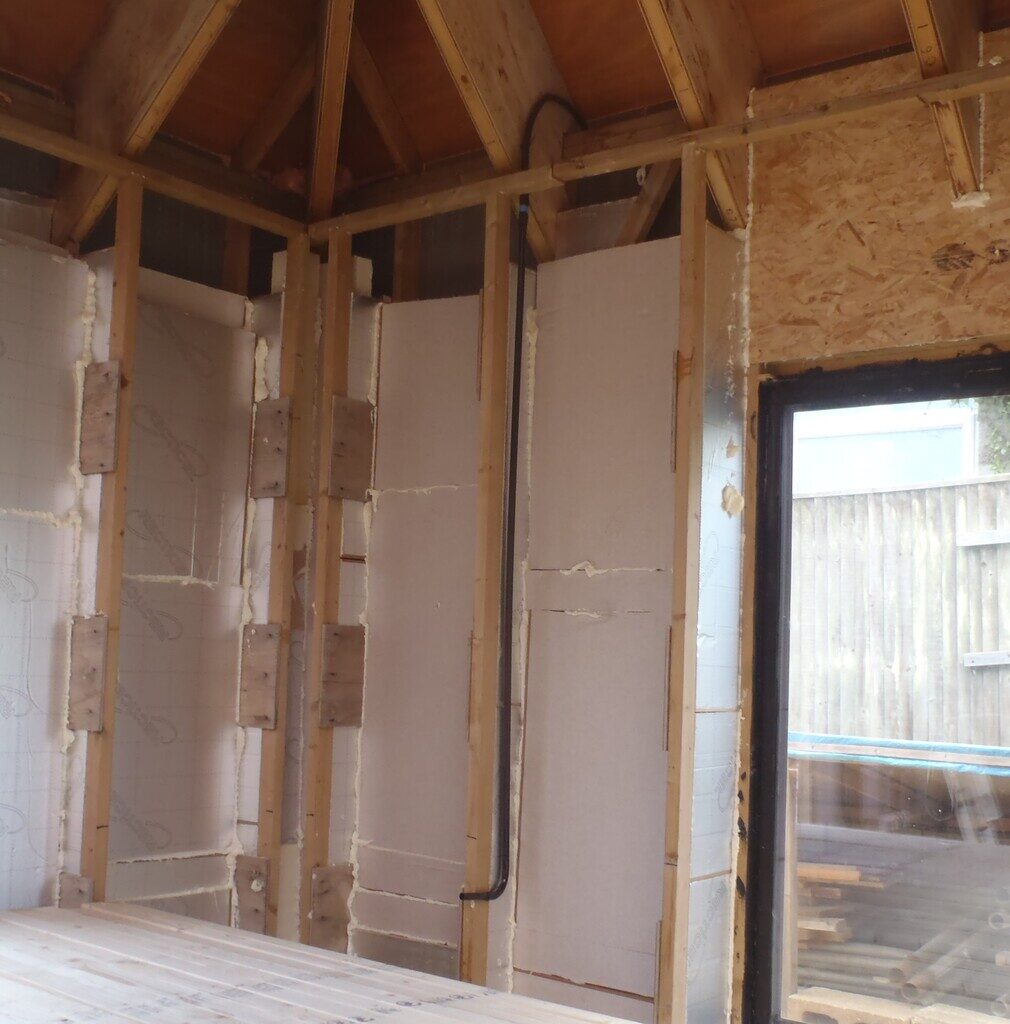
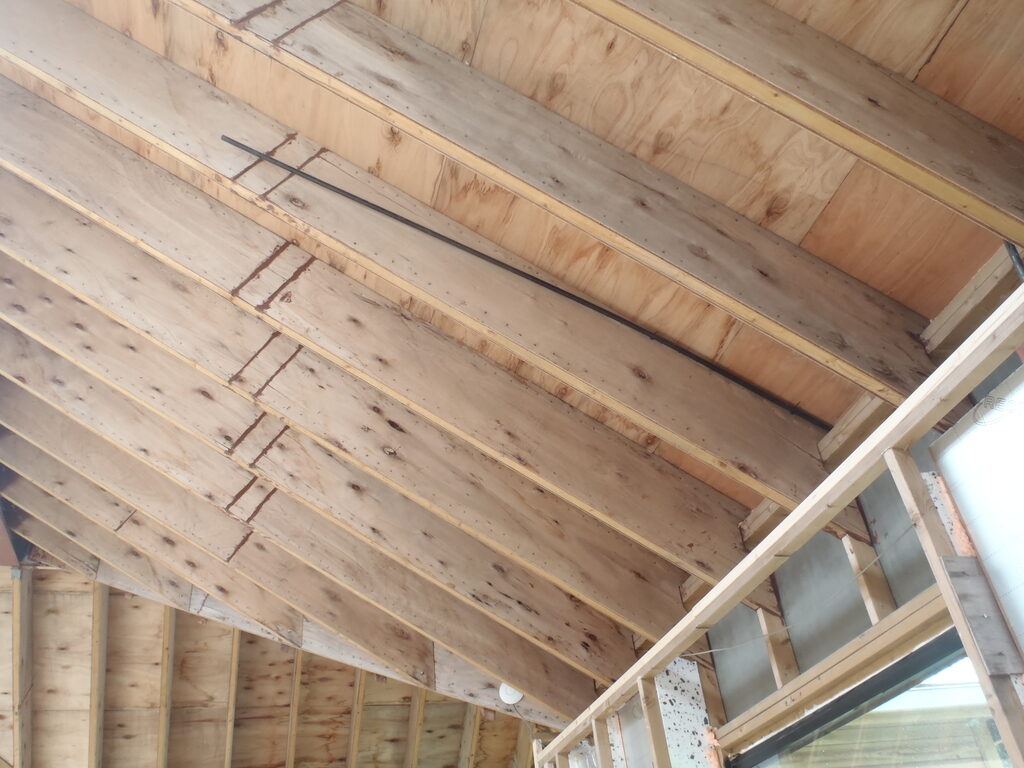
The first task we tackled was the conduits up to the Eves so we took the polyethene black pipes to act as a conduit for guiding the thin water irrigation tubing and put in a sharp right angle bend at the bottom of the wall, cable tied it to the wooden leg and swept around a more gentle curve to then run along the rafter under the roof boards. After drilling a hole through the cement board, finally poked the other end of the conduit and stopped half way down the Eve, ready for the tubing to go on further to whatever plants are hanging up there.
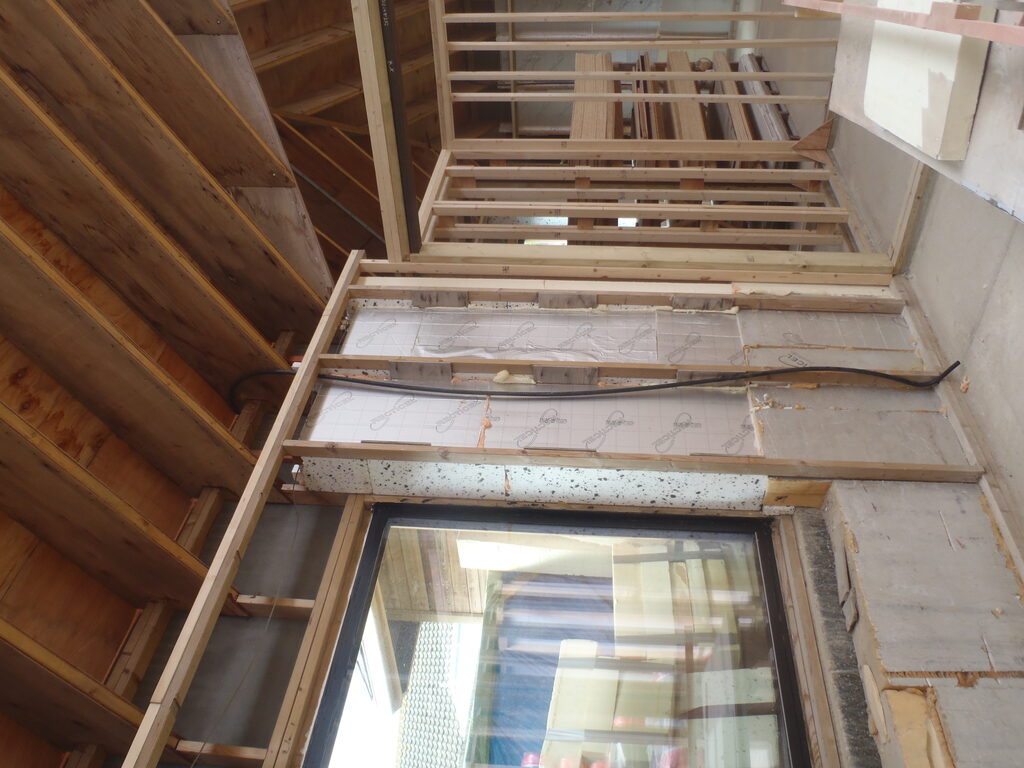
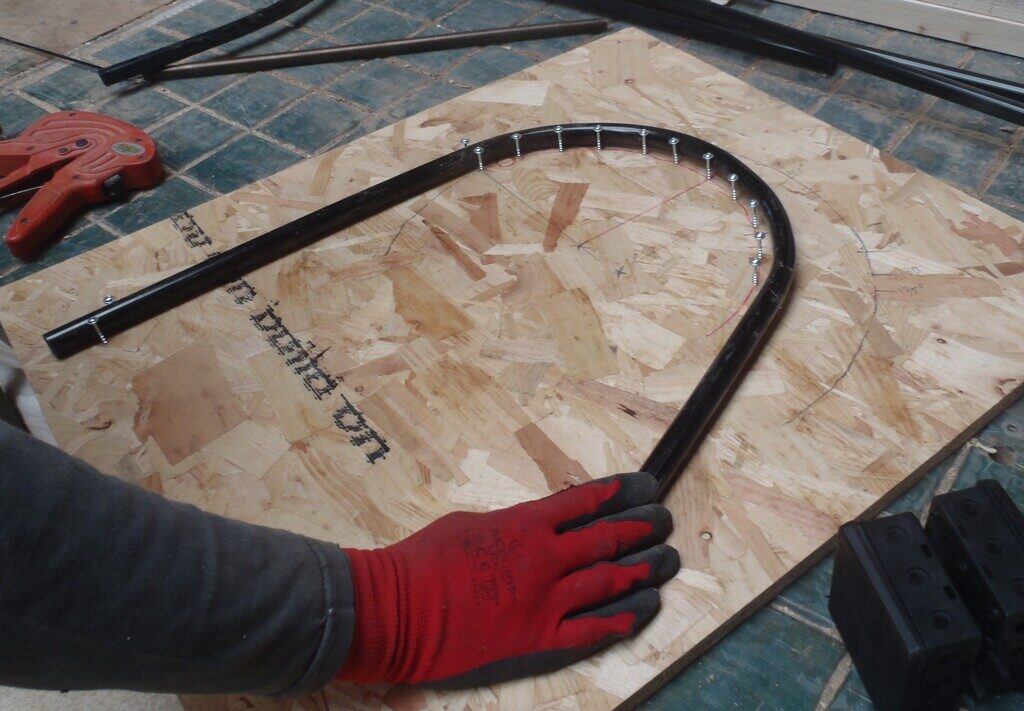
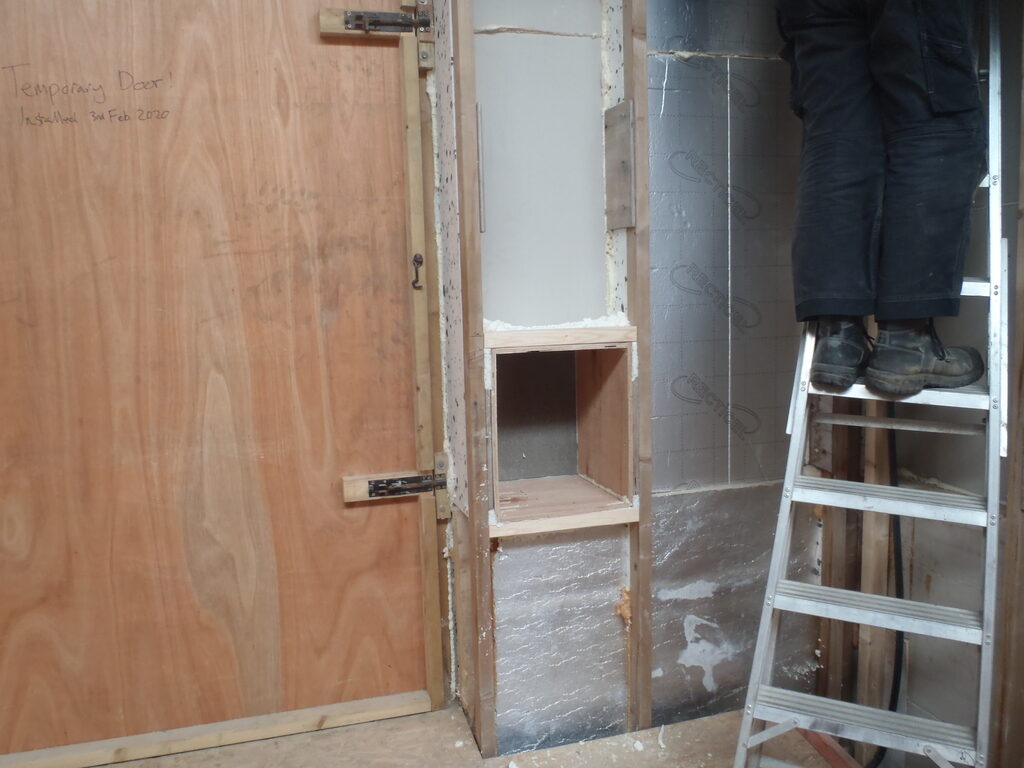
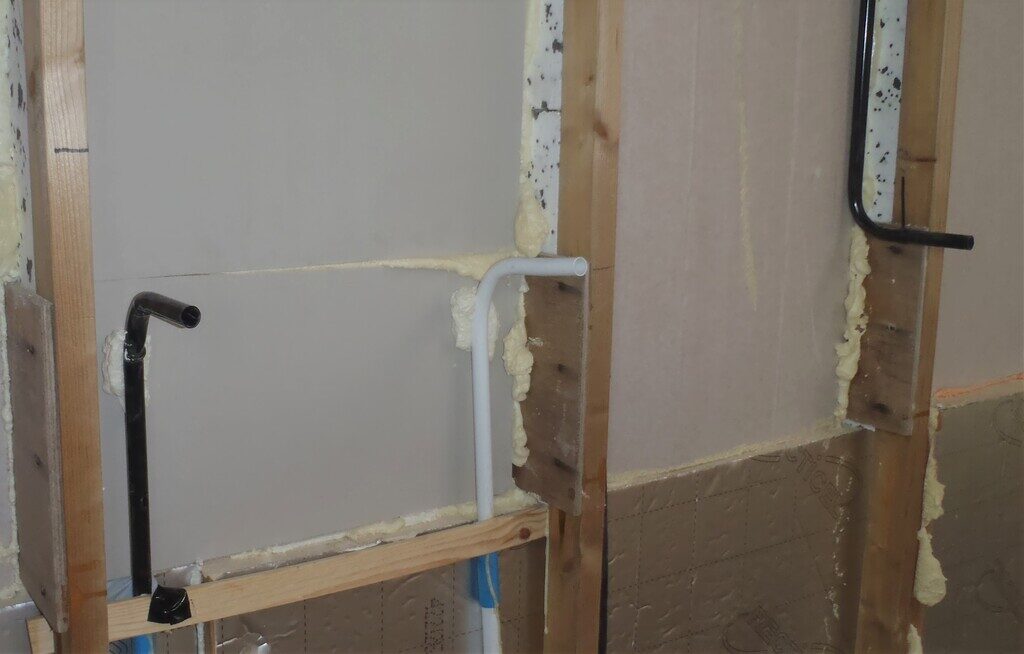
Next, was the electrical connections and for this type, we used a black rigid PVC pipe that are also 20mm in diameter but much thinner walls. We did not need to bend it as we could provide the access to the cables upstairs in the triangular void, except around the Great Room as the first floor doesn’t extends right across the room. Here we did blast the pipe with our hot air gun and bent it around the jig again to make a doubly bent tubing to make it arrive behind the Utility Channel.
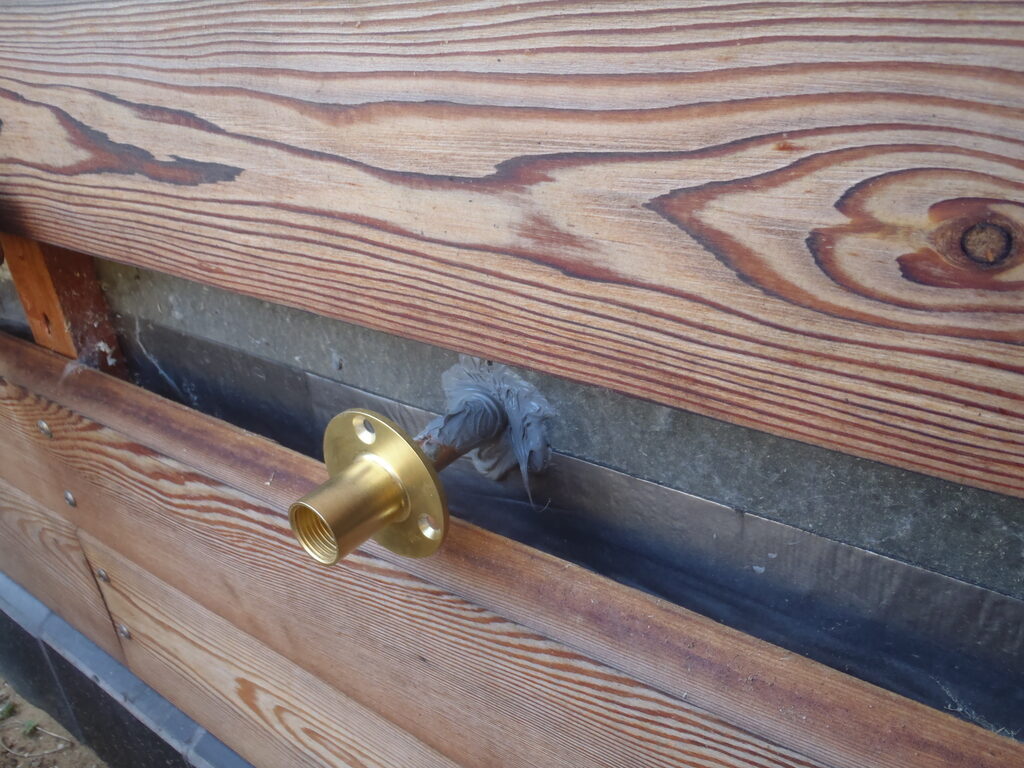
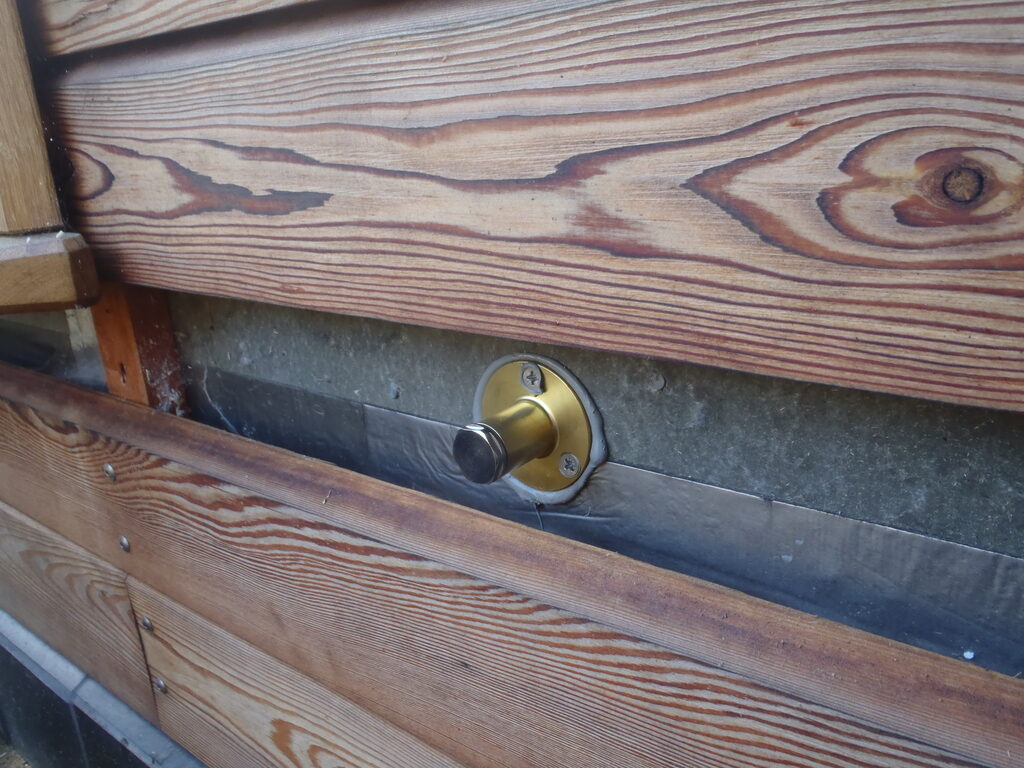
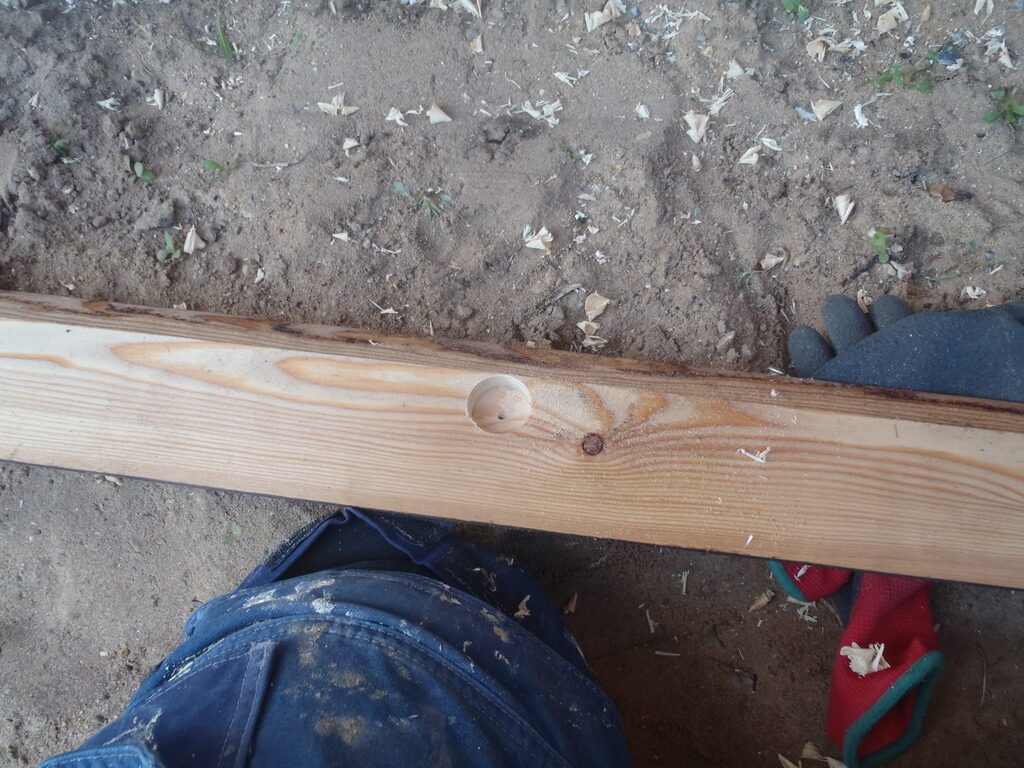
On the second week, we got on with the job of installing the three water garden taps located on the A-B corner for the garden along the Loke, the second one over in the Patio area beside the Conservatory and the third one at the P-A corner to serve the top of the garden. We unscrewed the third from bottom Larch plank off the wall to reveal the wooden footplate sitting on the concrete wall and we drilled a 16mm hole through the wooden section and sealed the wide flange using mastic and screwed down with three stainless steel screws. Then we drilled a recess in the larch plank and refitted it.
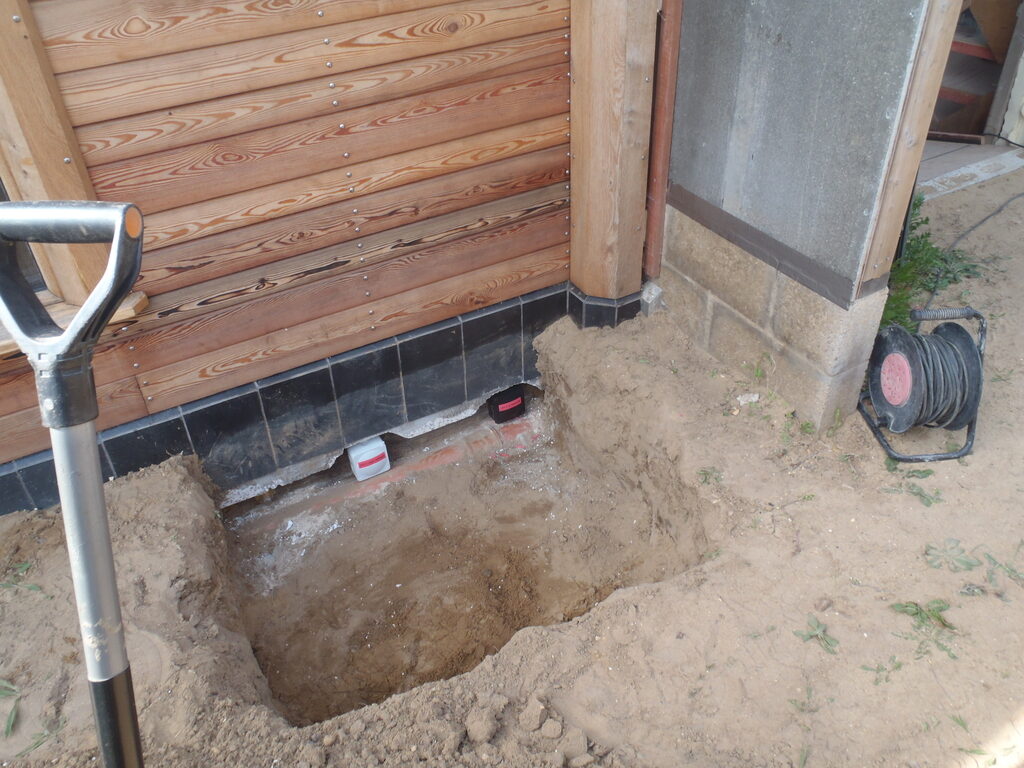
Next, was to tackle the underground connections. This meant digging a hole a foot deep and one or two “bays” wide, depending on how many connections there were. There were over a dozen of these holes and some had the similar water connection using the same copper / brass fitting, some were electrical boxes and a few were straight conduits going directly into the soil. All of them needed a hole drilling through the concrete blocks to gain access to the inside where we will eventually carry on the plumbing later on when such things will be done. These holes needed the mains powered SDS drill to cut either a 16mm or a 22mm diameter hole, either for the copper pipe or the PVC / polyethene pipe. Again, the water connection and the electrical boxes were sealed with more of the mastic and then screwed down to squeeze the thick liquid flat against the bitumen coated concrete wall.
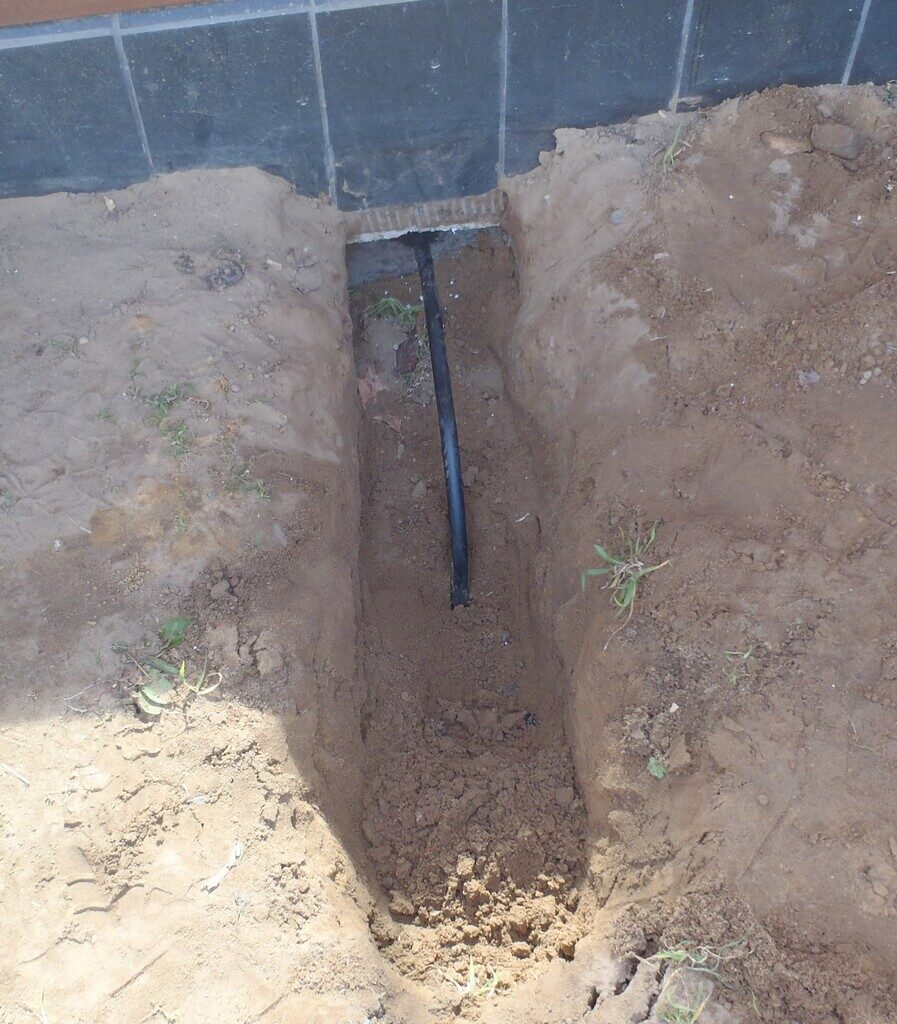
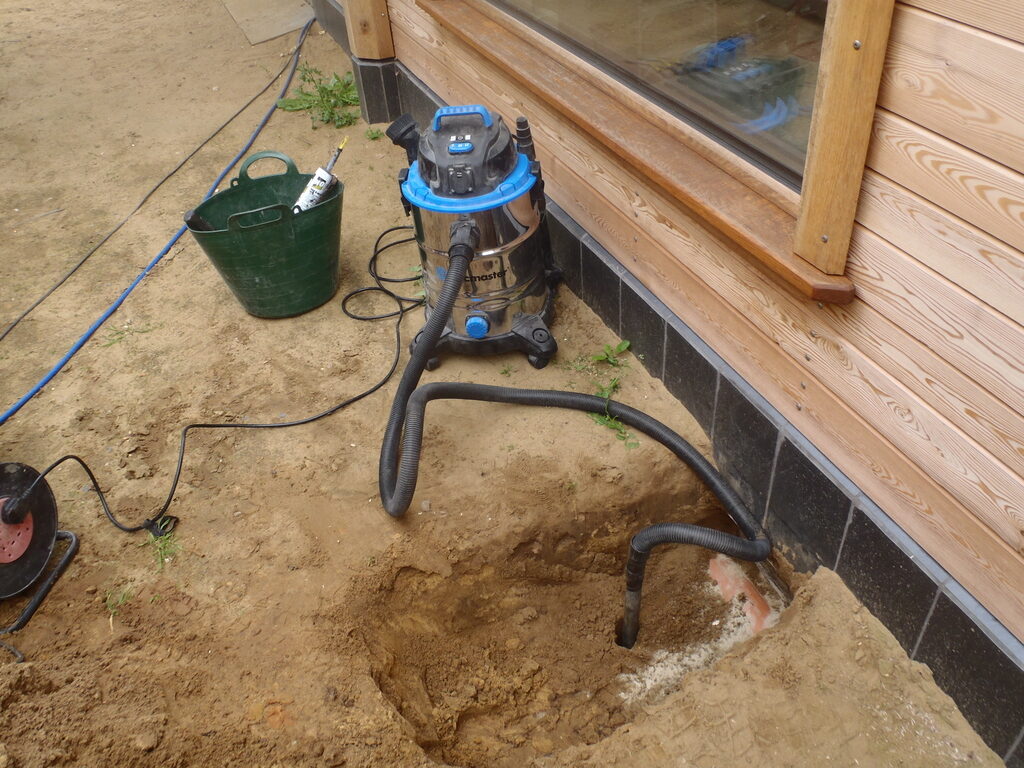
The third type mentioned above is for the temperature probes that are monitoring our buried Energy Modules under the house and we wanted to get some idea of what the sandy soil is doing temperature wise when the Energy Modules get hot during the Summer and how the various weather conditions may affect the surrounding sandy soil around the perimeter of each module. We made a hole 2m deep using our Vacuum drill and shoved a sealed conduit down it and then through the wall.
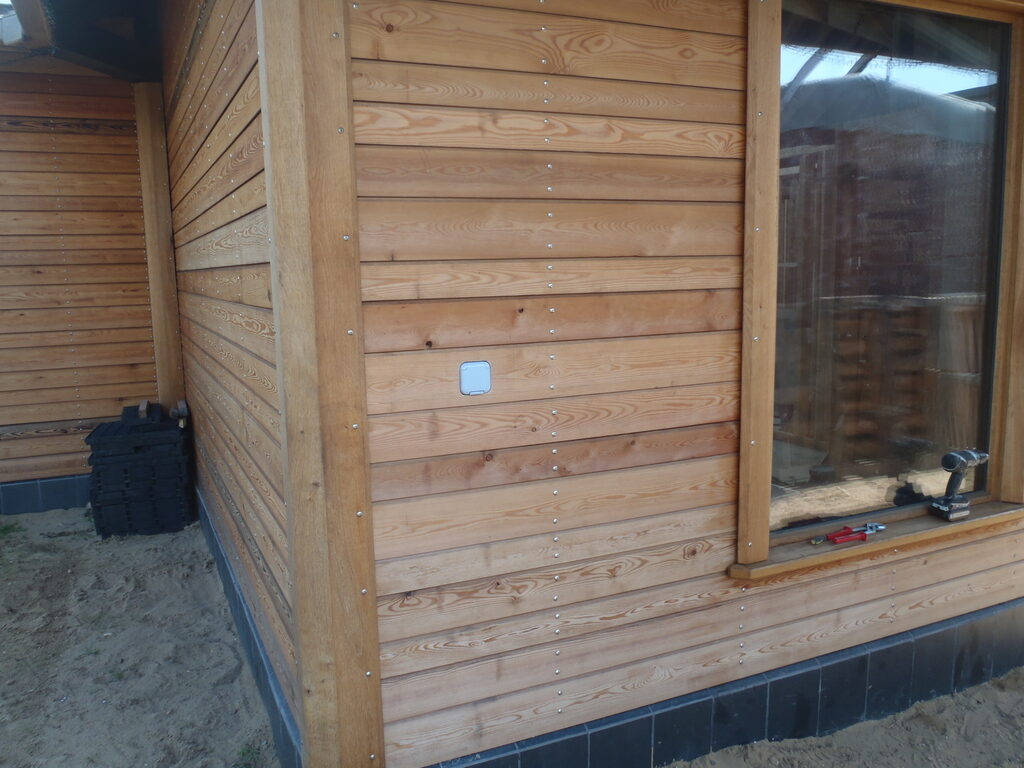
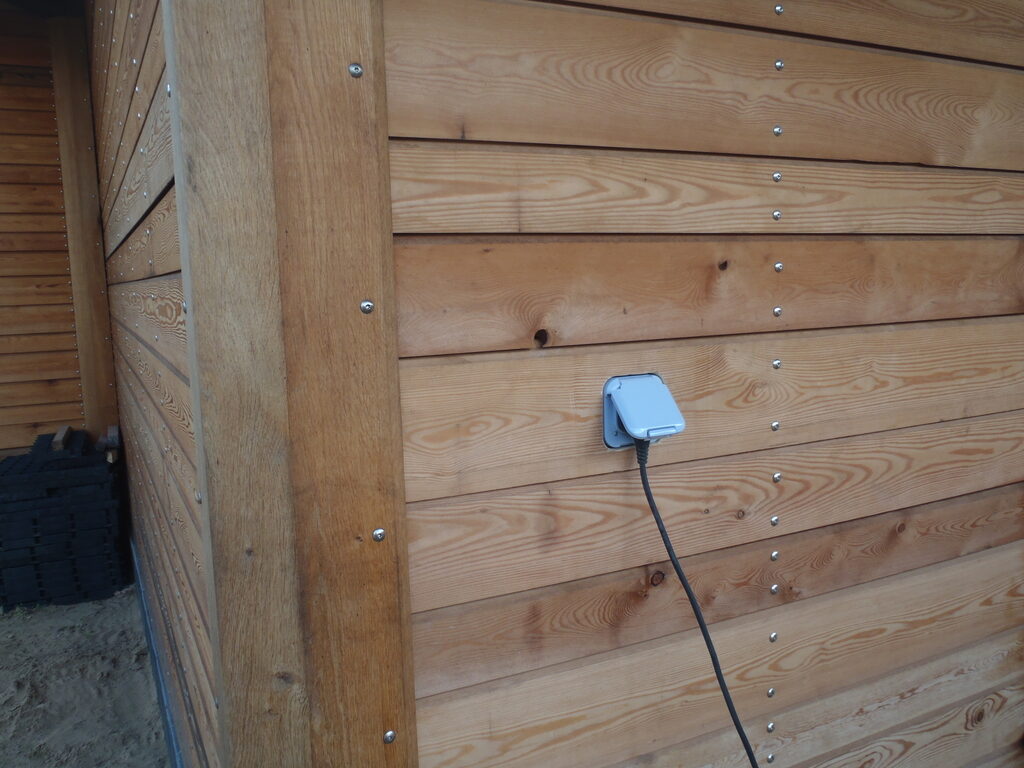
During this week, the second week covered by this report, our electric weather proof sockets came so those were installed in three places at about 3 feet off the ground level and come out flush to the Larch cladding. We put one at the E-F (next to the Utility’s window), one will be in the M Alcove (outside Bedroom 1’s) and the final one for the Patio area next to the Conservatory. This was a straight connection through the wall, again using the rigid PVC plastic conduit, the white one to colour code as being mains voltage, just like the underground ones were too. The conduit was fitted to the back of the socket’s housing and again stuck to the cement board of the wall with more of the sticky yukky black mastic stuff with four hollow wall fixing bolts to clamp the box tight onto the wall.
The first couple of days of the third week was spent putting in the kitchen waste pipe underground, a 40mm diameter PVC pipework and we had to core drill rather slowly through the concrete wall. we didn’t directly connect it to the large sewage pipework already outside in the soil as there are considerations of whether we put in a garbage collection box to filter out the fibre and solid waste coming from the kitchen sink (and manually deposited on the compost heap) but there is also perhaps a simpler solution of just having a mini compost pot in the kitchen and take that pot to the compost heap now and again.
Then we thought about what sort of letter box we wanted, we want quite large one so small parcels can be posted through it. After some discussion we made a large box which we sealed to the back of the cement board and can be finished later on.
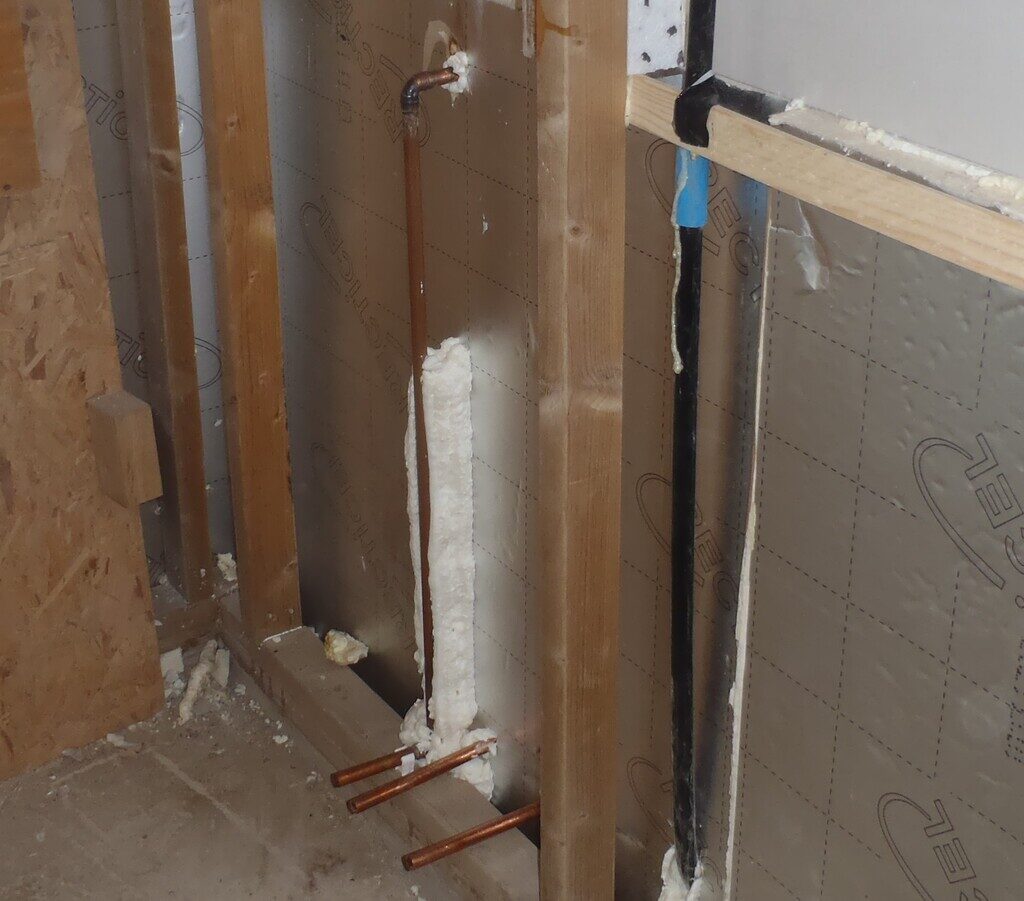
Then, after that, we went back indoors to finished off the several conduits that came through in the middle of the wall and they needed to be diverted downwards to the floor for future onwards connections. These were the water taps and for these 15mm copper pipes, we had to put on 90degrees right angle fittings and solder them together.
And finished off bending and connecting all the electrical (of all types) conduits to the Utility Channel for easy maintenance and control of all those outside junction boxes.
The rest of the week was spent preparing for the arrival of the special wooden I-Beams on Monday.
