But one of the last pieces of preparation work to complete was to cut the freshly painted white battens into twenty-two sets. Fourteen of them had four pieces and eight had just three. We took the glass size of each unit and added a generous 20mm to their measured lengths and cut the battens accordingly.At this point, we had to inform our glazing supplier that two of the triangle units were not manufactured correctly. We had specified that these two particular windows had a very slightly non-right angle corners and we had clearly indicated this in our drawings we had sent off, but somewhere along the process, this piece of information was lost and it was only third time lucky, after we had to strongly argue with our supplier that there are such things as non-right angled triangles, we finally received the correct shaped units yesterday. They fitted ok .. more later !
So, in the meantime, we started at one end of the Skylight, at the North end and specifically number 18, the first square one and proceeded to install each one in turn. Our first one nearly took all day to do as we were learning the procedures and order of getting each step done correctly. The first step was to test fit the glazing unit up into that window, to make sure the physical glass went in and had enough gaps all round for the sealant to go in. Then, it gets taken over to the cleaning department so that the outward facing surface was thoroughly cleaned and polished. There is only one chance to get this done perfectly because we won’t have access afterwards. At the same time, the polycarbonate outer glazing pane was also polished and double checked for any ‘dirt’. The double sided sticky tape was stuck all the way around the framework. The third step in our procedure is to put the glass unit back up into the Skylight and hold it up using two temporary wooden rectangular battens with two screws in each, to take the stain of holding the weight up. These 28mm thick units, comprising of two panes of 4mm thick toughened glass and 20mm space that has been filled in with argon gas, were quite heavy, ranging from 17kg to 26kg for the square shaped ones, and about 13kg for each of the triangle ones. This made them just a bit too heavy for a person to hold it up while we did various tasks, hence the two support battens on each of the upright sides.
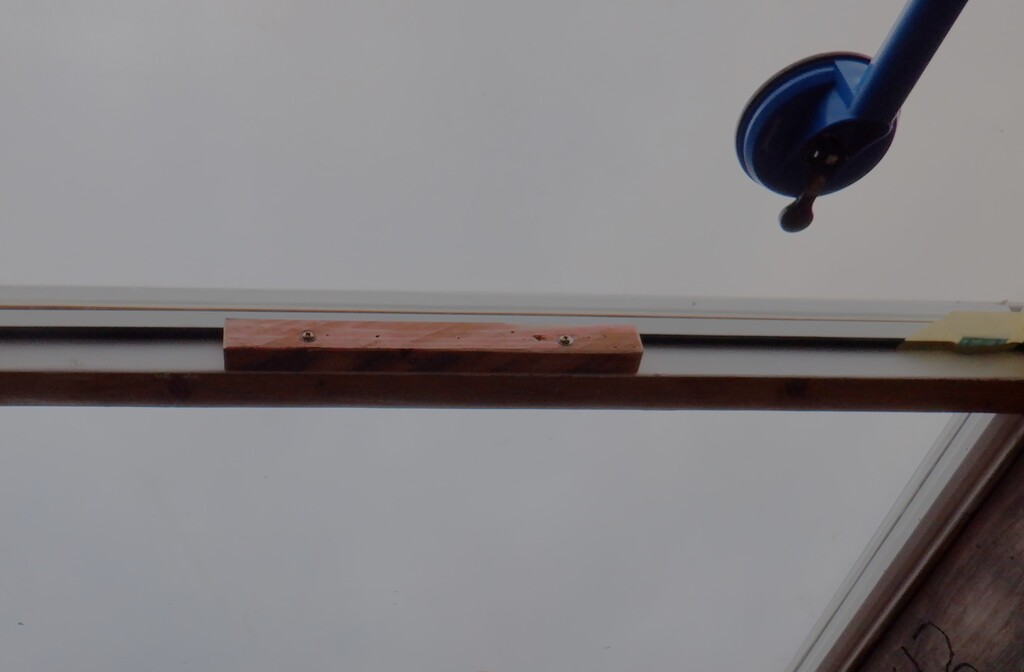
Uint held up by temporary battens
At this point, we balanced the position of the glass unit by putting in plastic spacers on each edge, so we had an even gap all the way around. We wanted a sufficient gap to squirt in our low modulus double-glazing approved white sealant and make sure that it is completely sealed against any water vapour and dirt from entering the upper chamber. So, we stuck down bent over plastic spaces around the edges so when we insert the glass unit in for the final time, it will go up straight and evenly in one go, without worrying about accidentally slipping sideways and sticking the glass in the wrong place.
Putting spacers in to center the unit
At this point, we can release the glazing unit and lean it ready to one side of our working platform.
we now need to make up the two trays that holds the desiccant powder, cover it up with a breathable cloth tape and put two pieces of aluminium sticky tape at each end to seal the cloth tape to the tray, to stop the powder coming out.
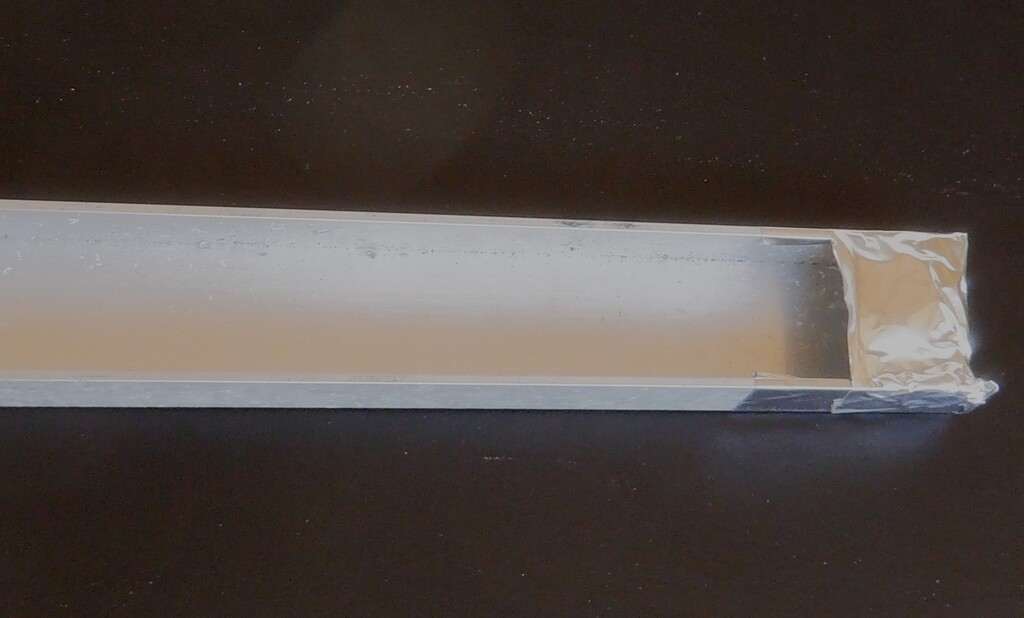
Dessicant tray with tape on end
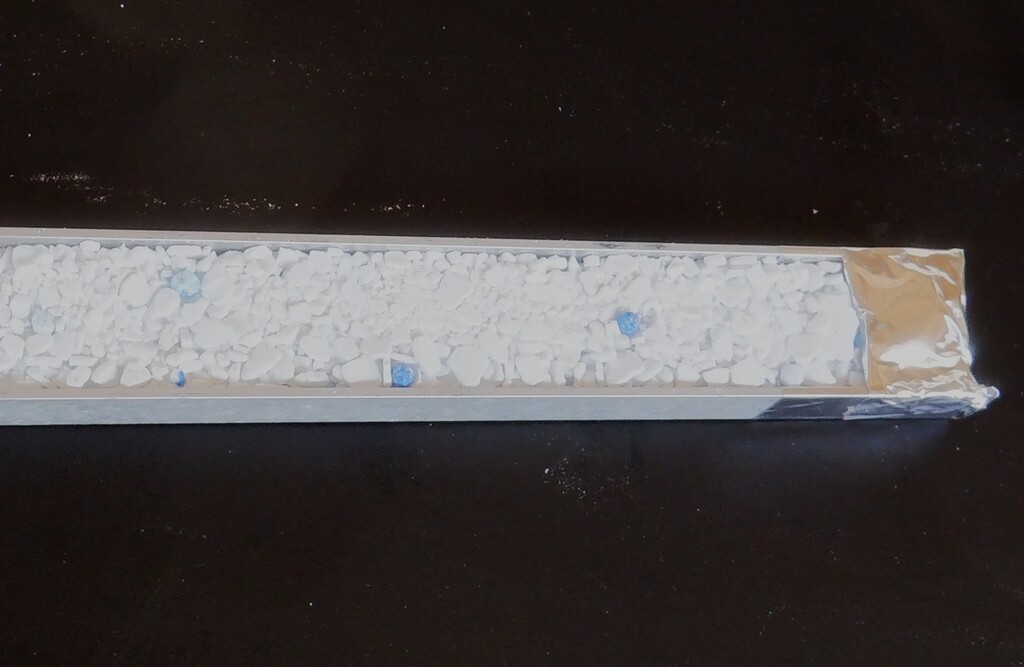
Dessicant tray filled with chemical
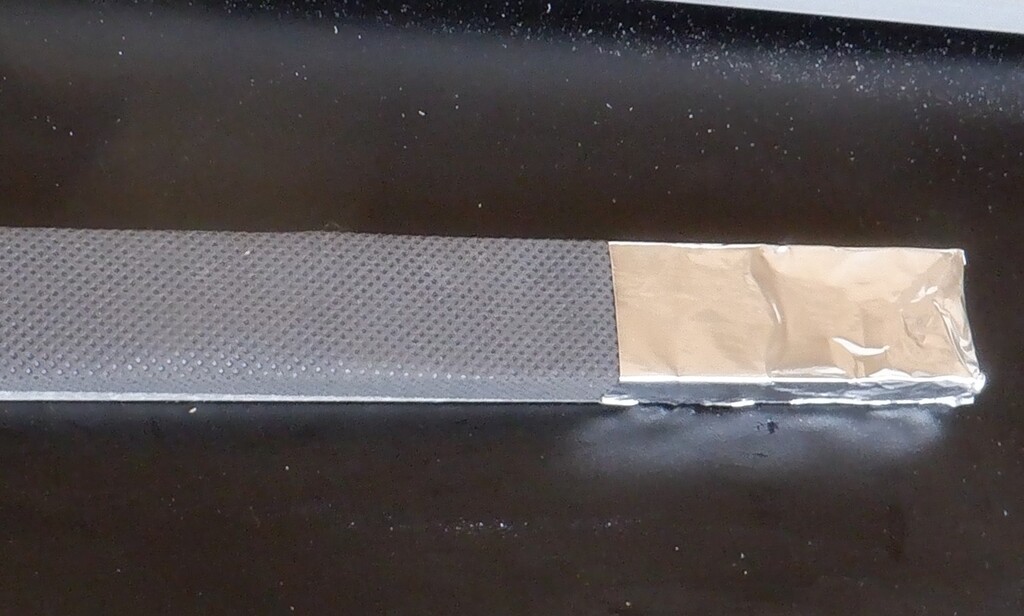
Dessicant tray covered up
This powder is highly active in absorbing the water moisture out of the air and we had to be very careful to tidy up afterwards each time we make a tray, or we get a horrible pool of very wet ‘sludge’ as we discovered! We modified our procedure, and we collected up any spillage by using a strip of toilet roll paper and poured any excess back into our pot of powder, clean the worktable, and vacuumed it as well to remove any fine powder.
These two trays then were immediately put up into the Skylight, to sit on their little prepared shelves, one at the top and the second one at the bottom. Then, the security tape had its protective wax paper peeled off and we lifted the glazing unit back into place, making sure that our plastic spacers were all still in place and push up hard to stick the glass to the sticky security tape. We reapplied the temporary battens to hold it in place as we don?t trust the security tape to hold the glass forever!
The next part of our long list of tasks to perform, is to measure the bottom and top edges and cut the battens with 45degree angles at both ends, using our chop saw. We had our super sharp mitre guillotine up on our platform, to allow us to trim a tiny bit off the length until the battens fitted in. A thin double sided security tape was then stuck on these wooden battens. Meanwhile, we used our compressed air sealant gun, to push a decent amount of sealant into the gap between the glass unit and the frame, all the way around on all edges, except the small section blocked by the temporary holding battens. We generally use about one and a half 300ml tubes of sealant for each window, but sometimes it is a bit more and sometime a bit less, depending on how big the gap around the glass unit is. We had bought thirty-six tubes and, we very slightly under-estimated the quantity, so we had to order two extra tubes!
Anyway. The next step is to push the batten hard up against the glass (remembering to peel off the wax protective tape!) and then nail the wooden batten into place using 50mm long brad nails, using another one of our compressed air nail guns. These nails have very tiny heads, so we only need to put very small spots of plaster filler on and rub it smooth, ready for painting. All this will be done later.
Having, done the bottom and top battens, all nailed and secured, we then can unscrew our temporary battens of the vertical sides and then finish squirting in more sealant to complete the full circuit. Here, we then measured the final two battens for the vertical sides and fitted them into place, with any small trimming to ensure that the mitre joint is neat as possible.
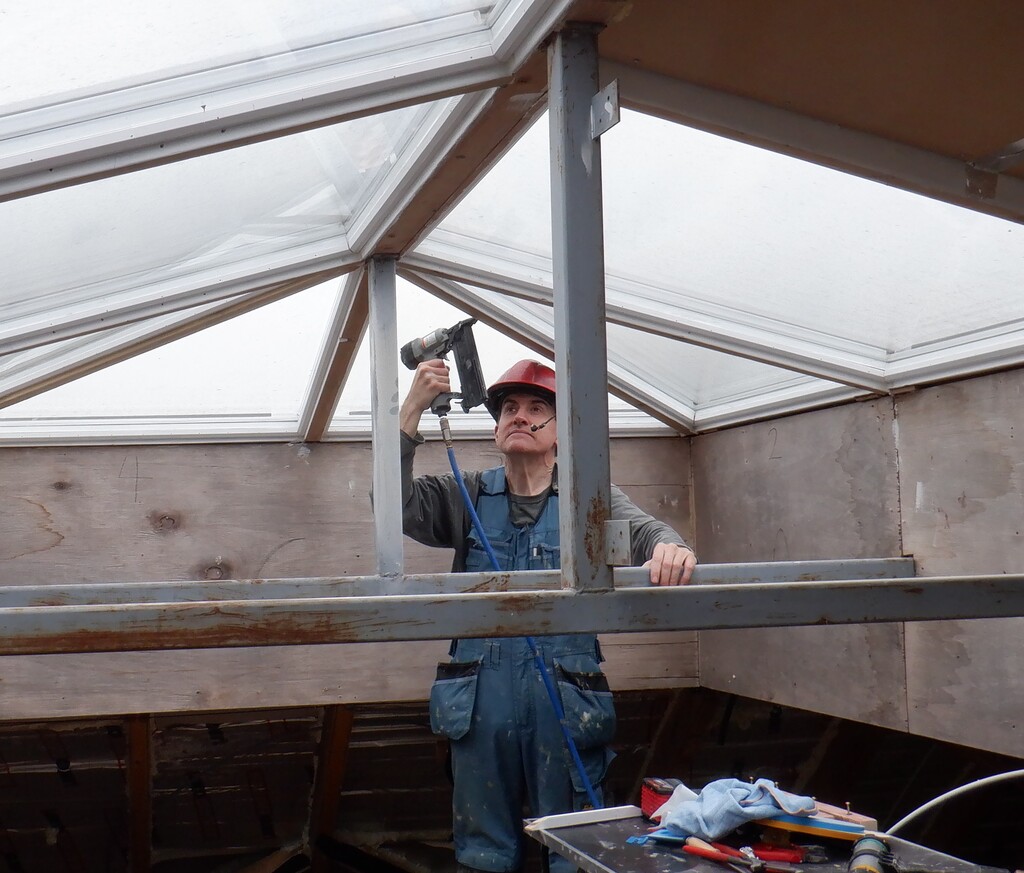
Nailing the battens in place
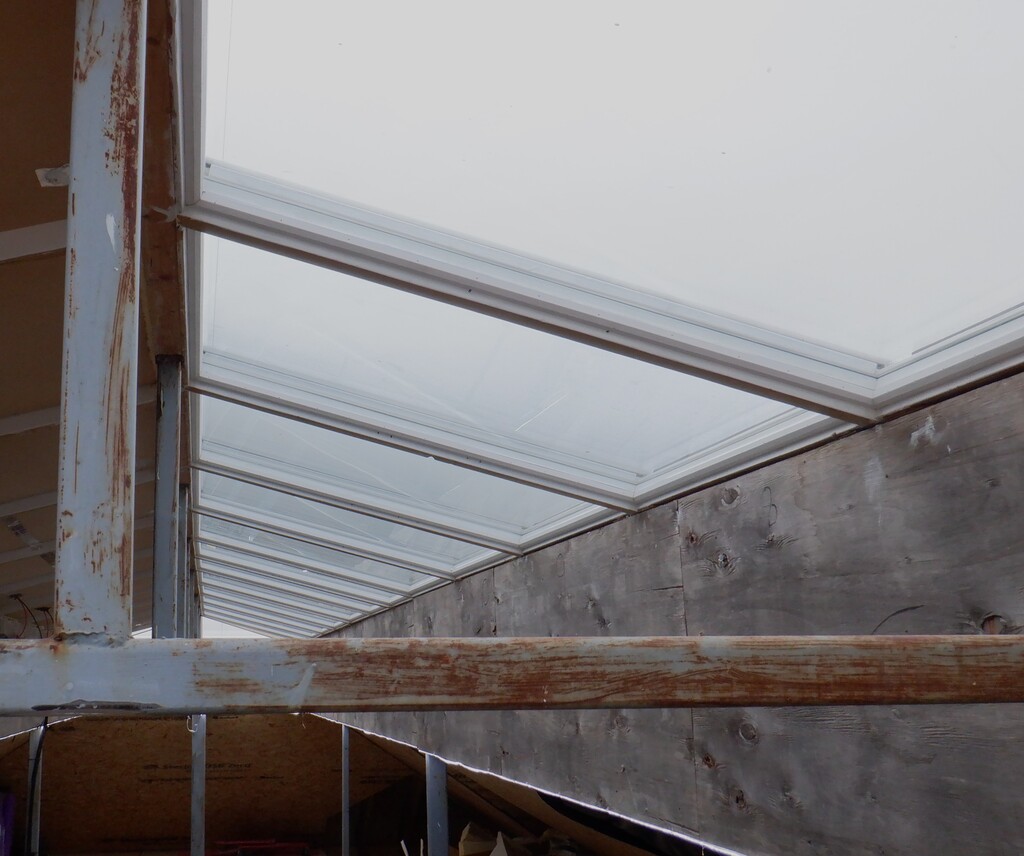
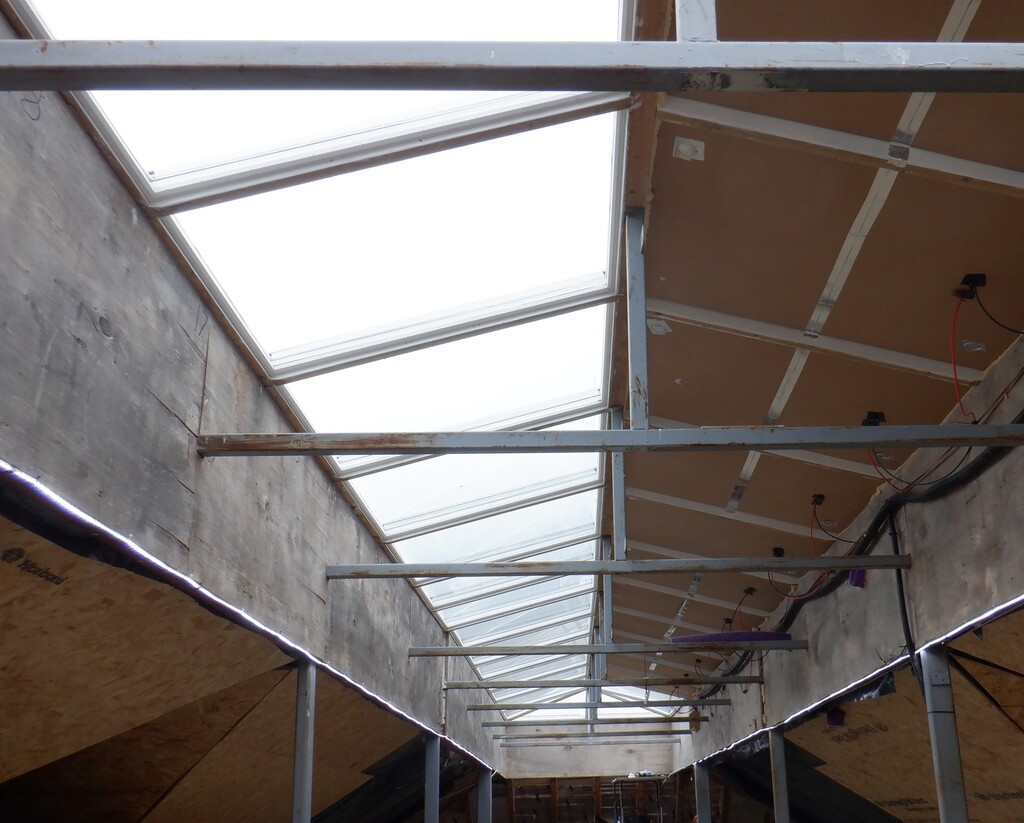
That finally, concludes the procedure of fitting one of these windows! As you can see, the first one took us many hours to get it all done, but after the fourteenth one, we were getting them installed in about 75minutes!
Then, we tackled the triangle ones! At this point, we were now in the Great Room so three of the four windows went in smoothly. The only addition that we had to adjust in our procedures, was that we needed to be able to cut a mitre angle at 22.5degrees, half of a 45degrees which are the normal square corners. Now, the four triangular windows have one 90degree corner but two 45degree ones which means that we need a way to cut the battens with an even sharper angle than the machine can manage. We made a ‘wedge’ to support our batten with an additional 22.5 degrees rotation and the blade now can slice long diagonal cuts.
So, as I was saying, three of them went in with reasonable ease, following all the steps we did before, but, for the fourth one, we discovered that the glass unit wouldn’t slide into place. It is very similar to the first window we put in a couple of weeks ago and like that time, we had to file and grind the framework on the long hypotenuse, to widen the ‘entrance’ to allow the glass unit to slip in. Once inside, there was enough gap all round so we resume our list of tasks and got that window done as well.
Lot's Double glaing units (1)
Lot's Double glaing units (2)
The final stage of doing the Skylight windows was back down at the other end, to put up the last four triangular units. Two went in ok as usual, and then we had the delivery of the two special ones with their non-standard right angles and we got them in too. One was very tight and the other one was very loose! It used up a lot of sealant and we were very glad to have ordered those extra tubes!
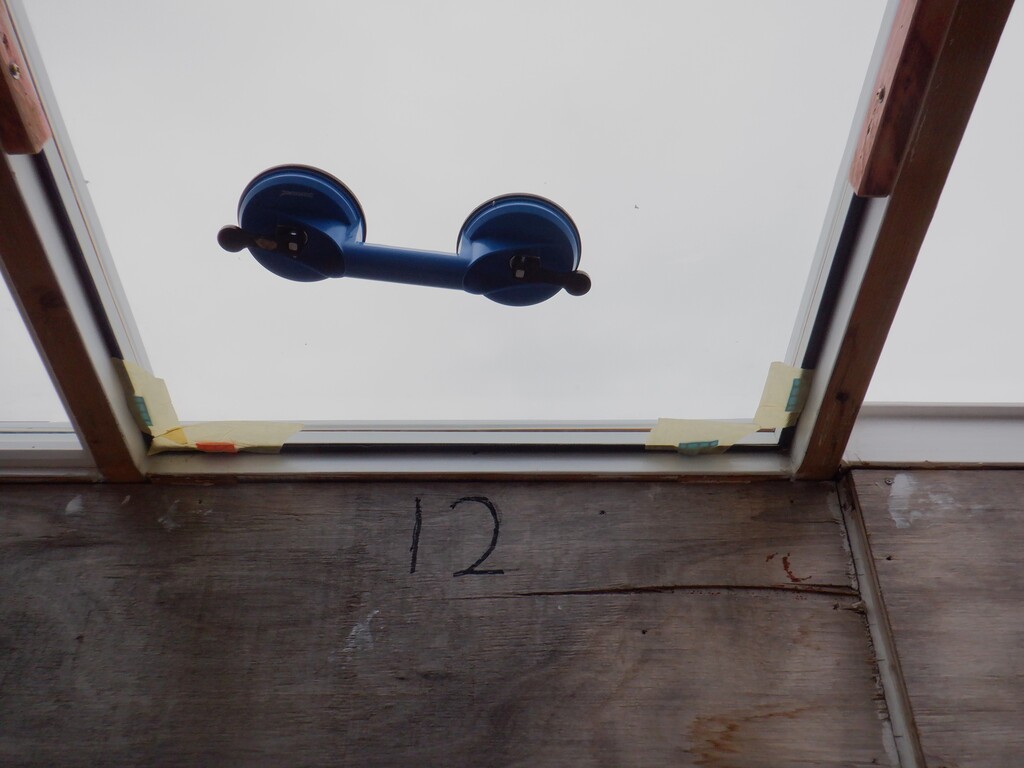
One observation we made today was the huge amount of condensation there was on these two last windows. The temperature had dropped overnight to below 10°C and the air inside our house was 60% humid and contained lots of water because it is still warm inside and we arrived this morning to find the outer polycarbonate pane covered in loads of water.
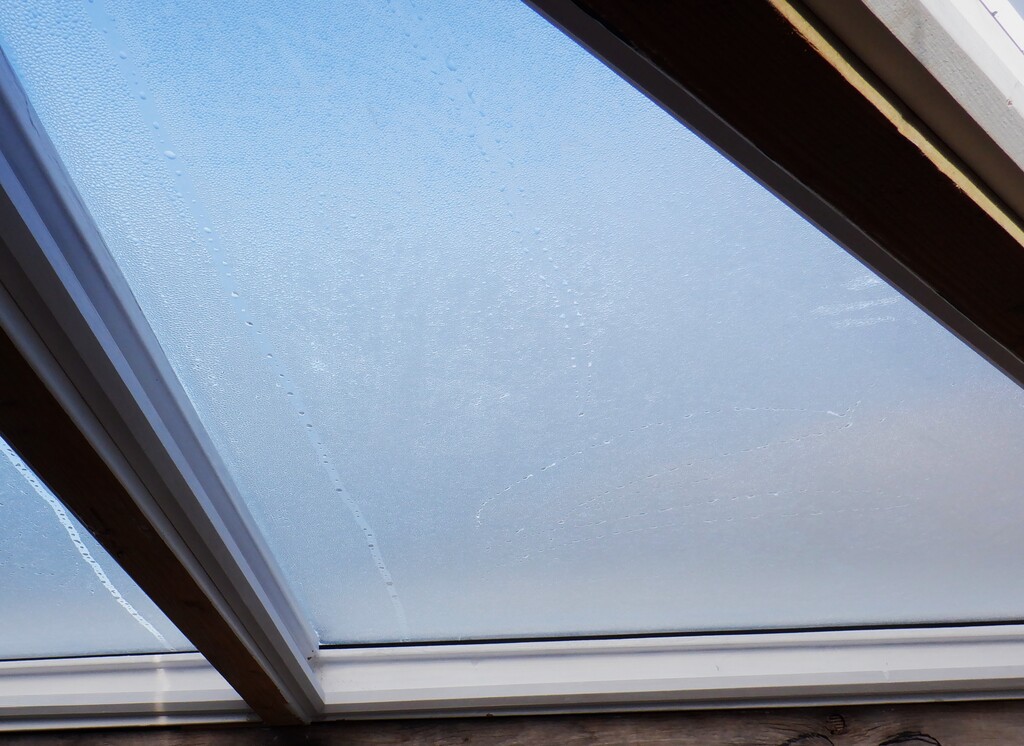
Condensation on a plain window
We wiped it all off. We then went to inspect all our other twenty windows that we had completed before today and there is no signs of any condensation at all. This is very hopeful and we keep our fingers crossed for these windows surviving for the long term. It depends on how good the outer rubber seals are on both sides of the polycarbonate pane. We can gain access from above if we need to do any extra sealing in the future and replace the desiccant material with fresh dry stuff.