It was a gloriously hot day today and the thunderstorm weather front we were originally planning around wasn’t due to arrive until tomorrow so we dashed out there and started the task of putting up all the plywood coverings on the inner surface of the I-Beams, going up to where the Skylight glazing section will be mounted.
There are a total of twenty-two plywood sections to be installed and we managed to do fourteen of them today.
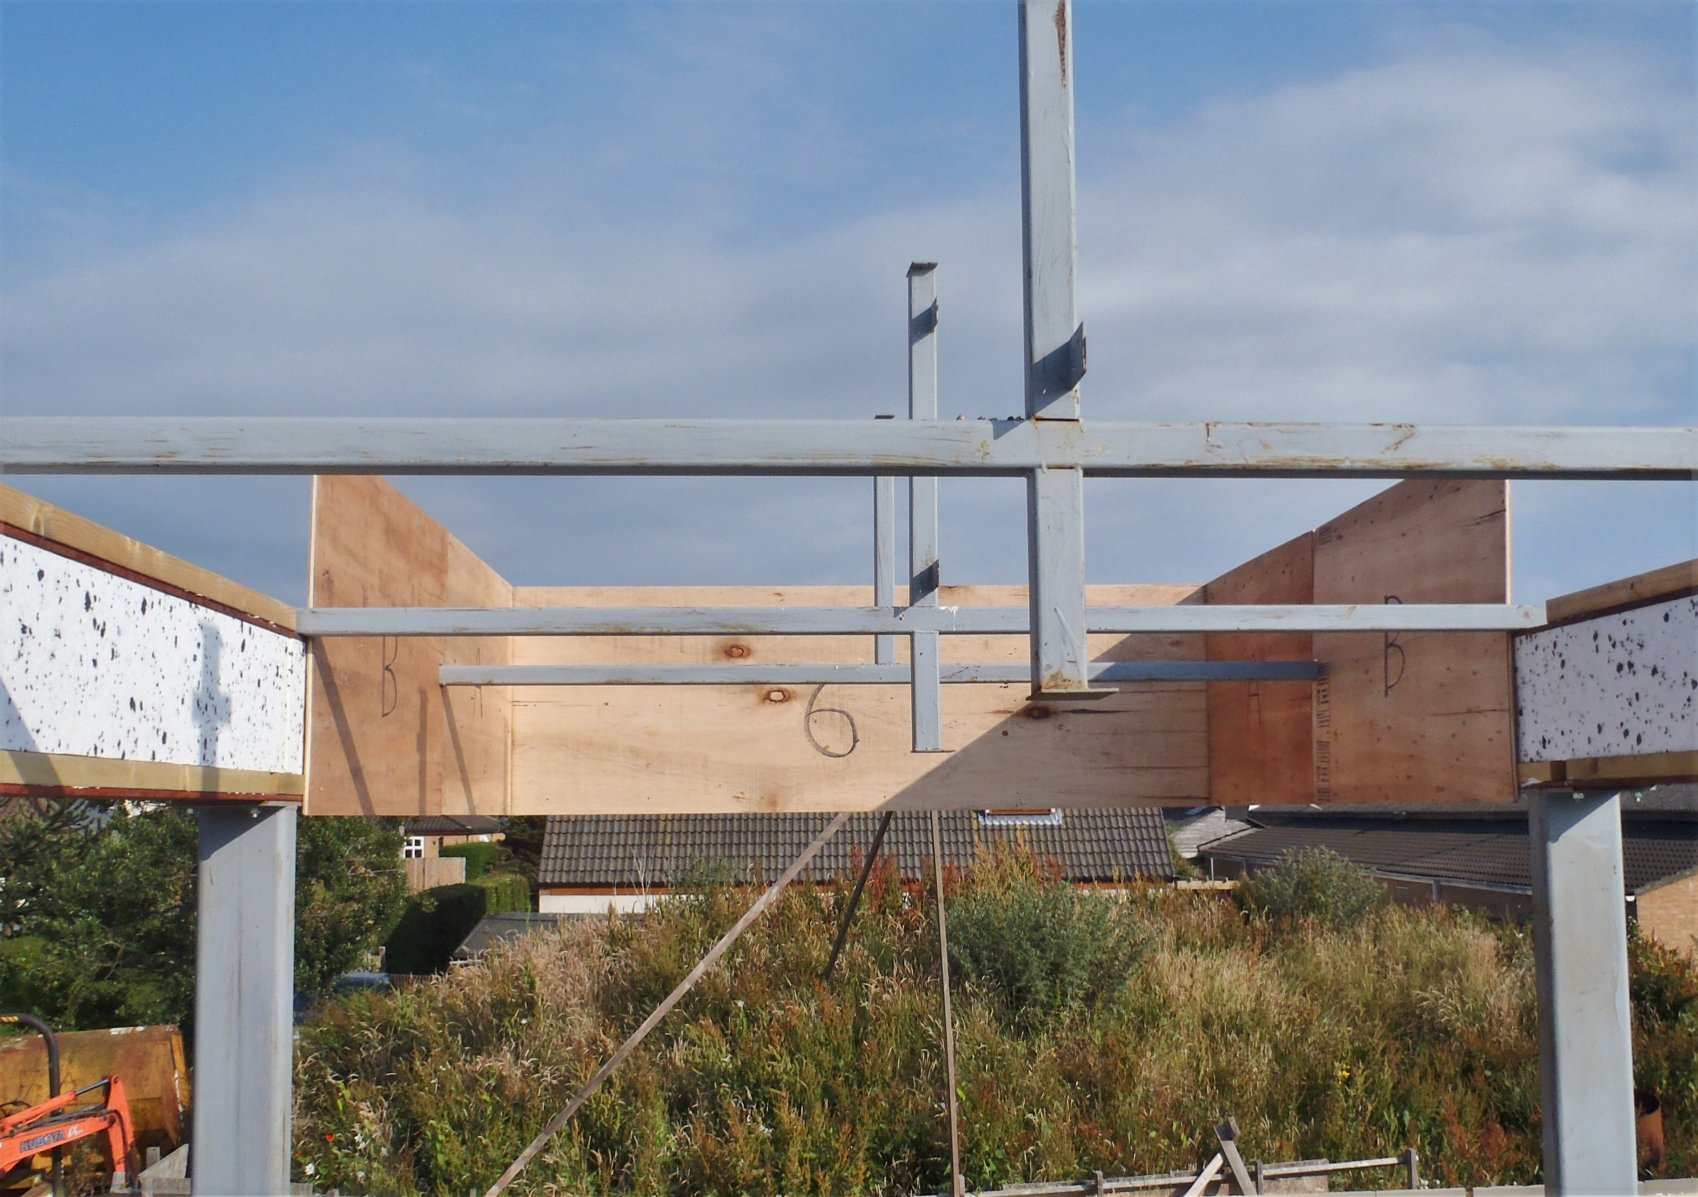
5-Boards-at-one-end
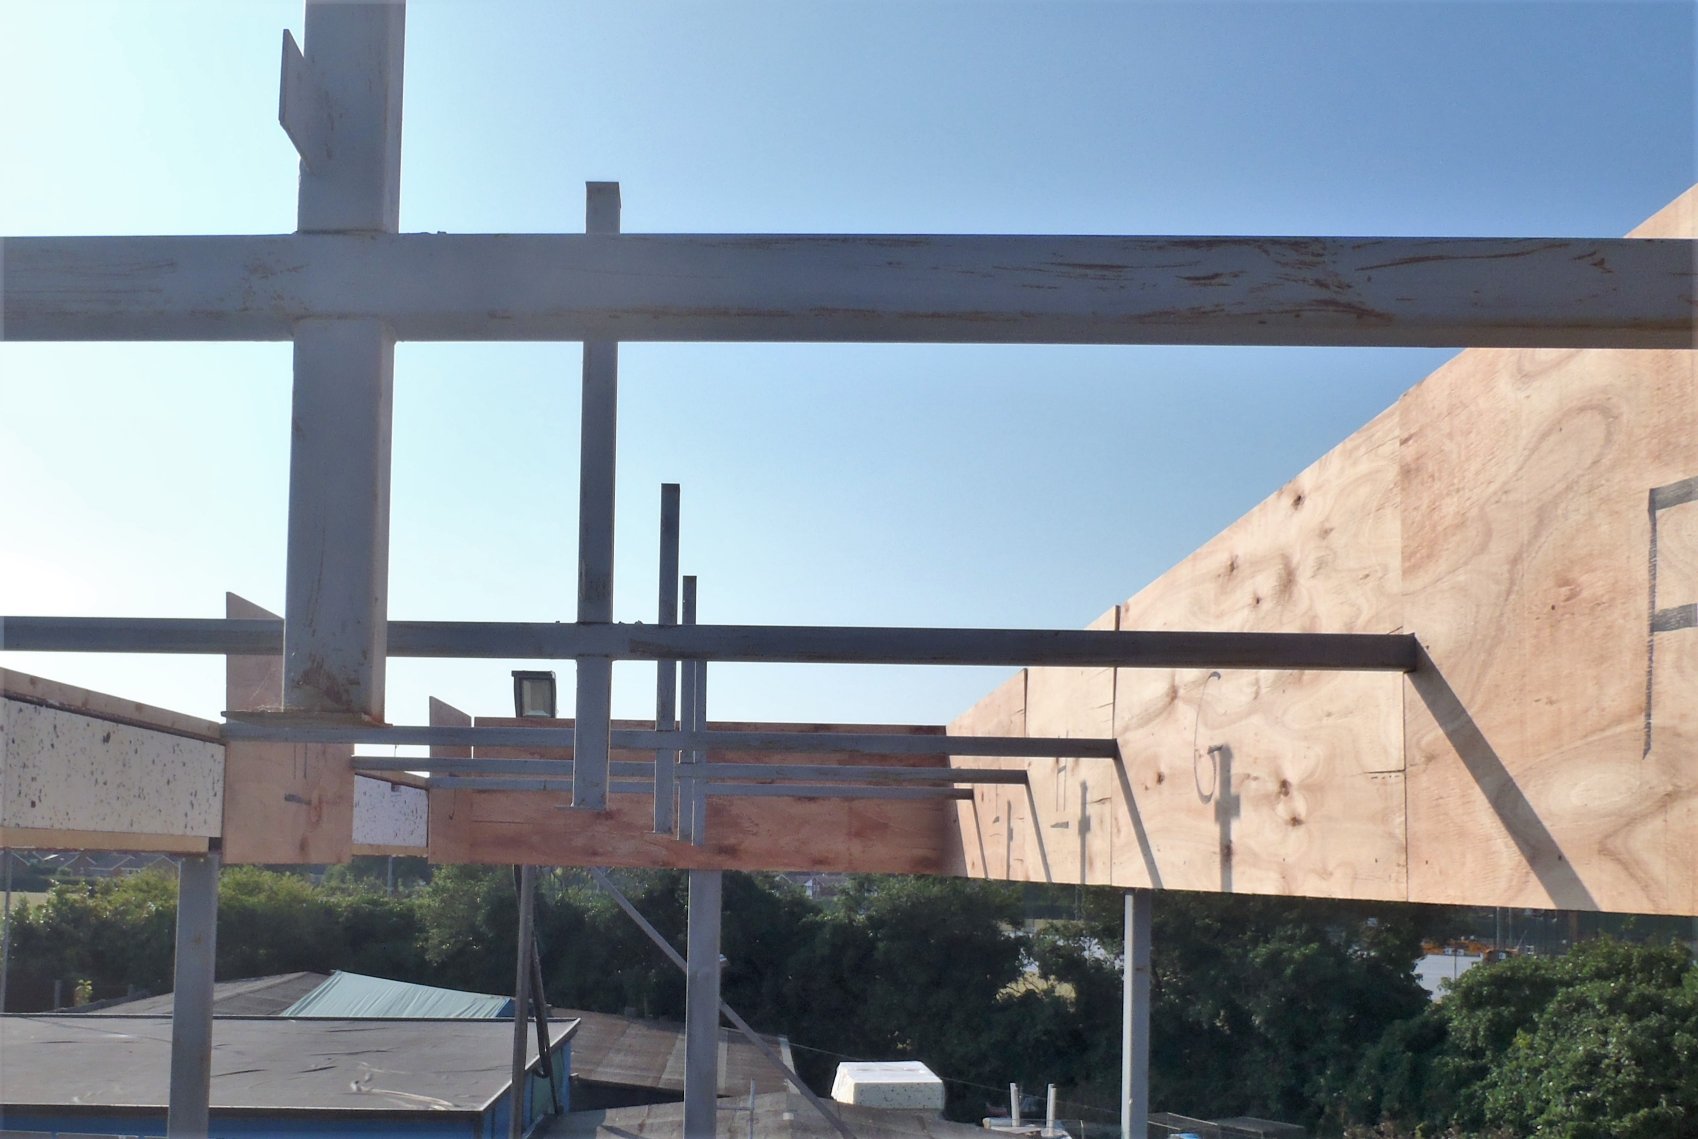
and-9-at-the-other-end
Most of the time, each piece went up quite nicely, applying the special modified silicone sealant/glue on the two lines of support timber already situated on the I-Beams, and screwing down hard the plywood to ensure the glue is firmly squashed flat to maximise strength of the joint.
We changed our choice of glue for this operation as we knew that there were some locations along the I-Beams where there was a small gap between the steel edge and the support timber pieces and we wanted to make sure that the glue would not break apart inside the glue itself. We bought 4 different tubes of glues yesterday morning, when we stuck together a whole heap of timber and plywood pieces together with all the different glues including our original one .
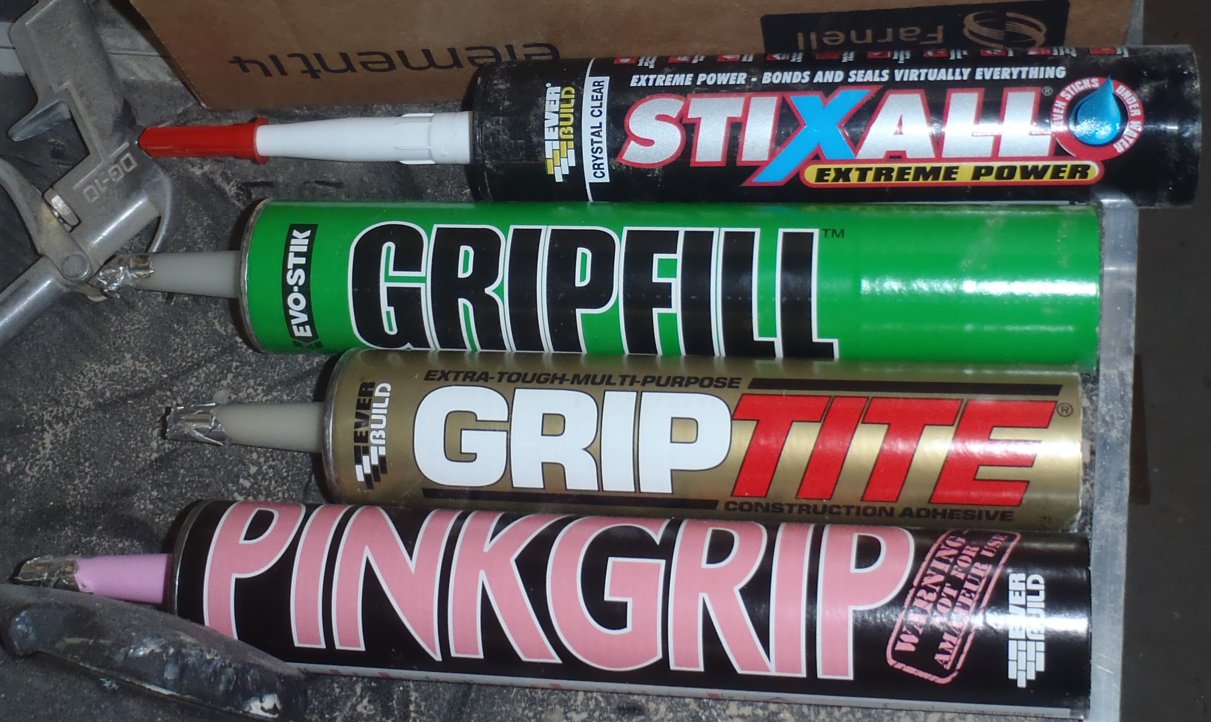
Glues-being-tested

Glue-Test-pieces
This morning, we found that the silane modified silicone (Stixall) one proved to be the strongest by far but it costs three times as much as the original one we were using! We just wanted to make sure that the Skylight stayed stuck together long term up on the top of our roof!!
Tomorrow, because of the forecast of thunderstorm coming into our region for the whole day tomorrow, we are planning to work in the workshop and make the steel support arm for our (fake) chimney!
Leave a Reply
You must be logged in to post a comment.