This blog is a rather long catch-up report of the last few days of work. On Saturday, we made the Sixth Downpipe Channel, this time for the one connecting up the “G” section of the roof next to our Side Door. It is a straight one, all aligned up with the edge of the “G” Fascia but it will still have an extra 45 degrees added on to provide an enlarged collection area to catch the rainwater running down the valley slope of the roof.
Then, in the morning of Monday, we had a go at installing a rubber membrane inside one of our Downpipe Channel but it proved to be very awkward and we couldn’t get the rubber to fit smoothly down inside on the base of the channel and down into the plastic pipe too. We had to abandoned this idea and switch over to applying fibre glass and poly-ester resin to paint the the inside surfaces in our channels to make them fully water proof and not let the wood rot (We have ordered the materials needed and will finish them when the stuff comes) .
So instead, we carried on making two more “temporary” downpipe channels, for the point where our Conservatory will be when we get to build that part of the building later on. These temporary channels are just made from plywood pieces and not oak. That was completed by early afternoon on Monday and we spent the rest of the day doing some Charity work making thin wooden Basket weaving bases for a local VI Craft club in Yarmouth.
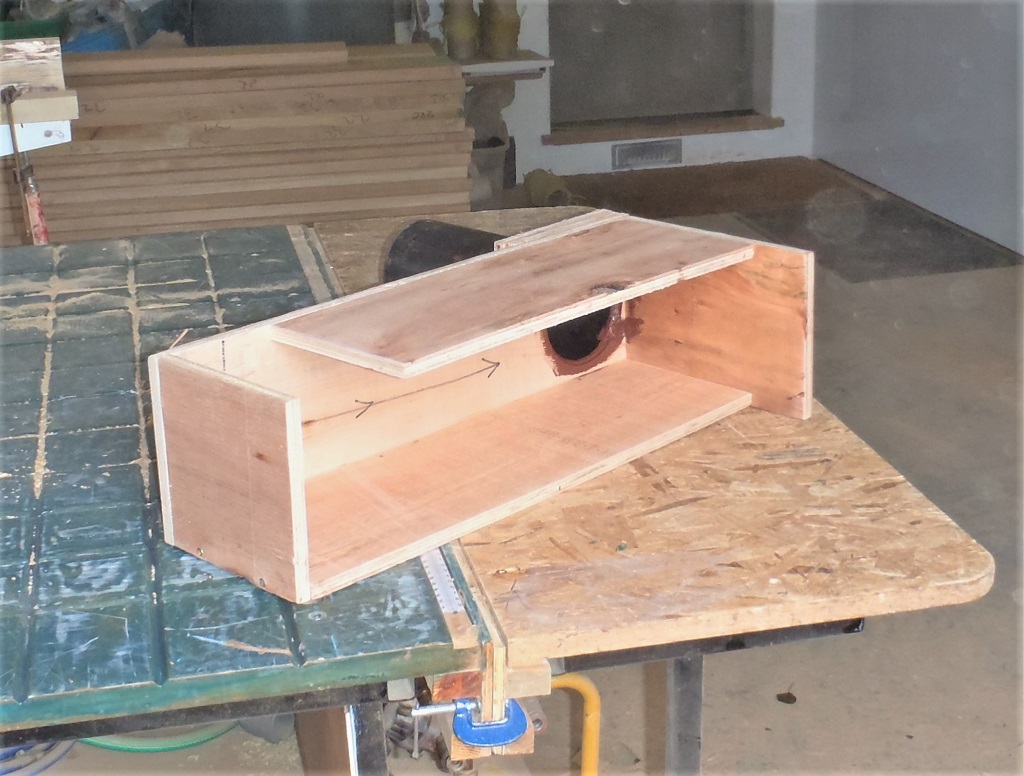
Temporary-downpipe-channels-for-PQ
Yesterday and today, we tackled the job of trimming the ten external “outside” corners of our house and its roof. These corners have long sticking out LVL diagonal rafters and we needed to trim these off at the point when they meet the Fascia board which is coming around the corner at a 45degrees angle. We made a template to allow us to hook it up onto the ends of the two lines of eves (coming off the two sections of the roof that meets at these corners) and marking where to chop off the excess amount.
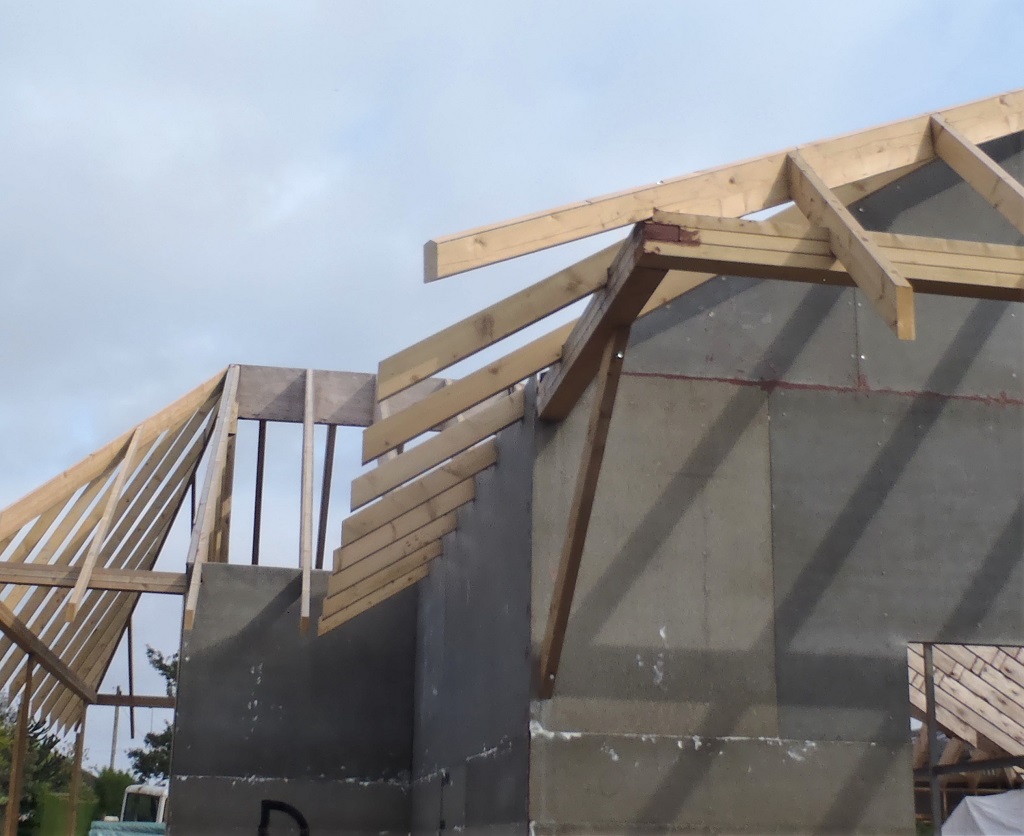
Trimmed-corner-of-EF
And finally, this afternoon, we gave all our Fascia boards (41 of them + a wide one too) a double 45degree angled bevel edging so this forms an “interesting” bottom edge of the Fascia when it is all up.
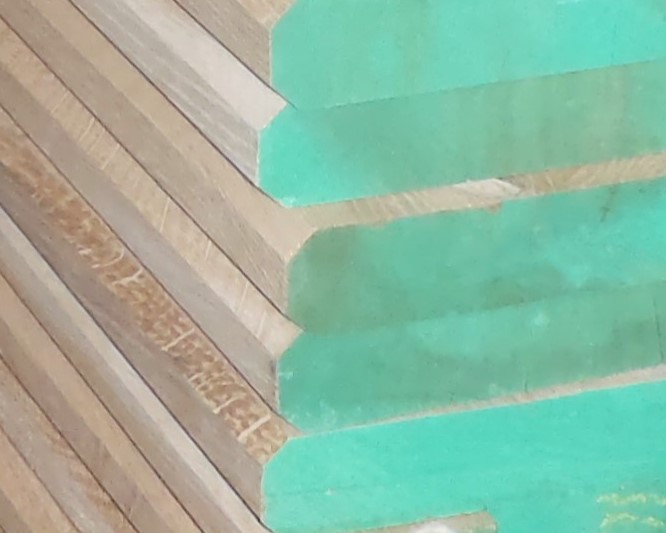
Chamfered-edge-of-facia
The next job is to analyse all our Fascia segments, working out how long each one is, what angle of saw cut we would need and matching that requirement with our 41 ready-made lengths we have. We will need to be careful not to waste too much wood as we don’t have an endless supply – grin!!
Leave a Reply
You must be logged in to post a comment.