This morning, we unclamped the second half of the ridge beam we created two days ago, and then pulled out our planer machine to run this and our first half of the ridge beam through the thicknessing operation. We did both vertical sides to reduce any variations in width, caused by the slightly different dimensions of the individual CLS timber layers, and also we removed excess material off the height, so at the end, we now have a Ridge Beam that is 60mm wide and 106mm high, all the way along all of both pieces.
We pushed them together, on their overlapping joints and then drilled a single 10mm hole down through the three layers and pushed in a steel rod to lock them together so we can repeatedly pull them apart and put it back together again and achieve exactly the same position as before.
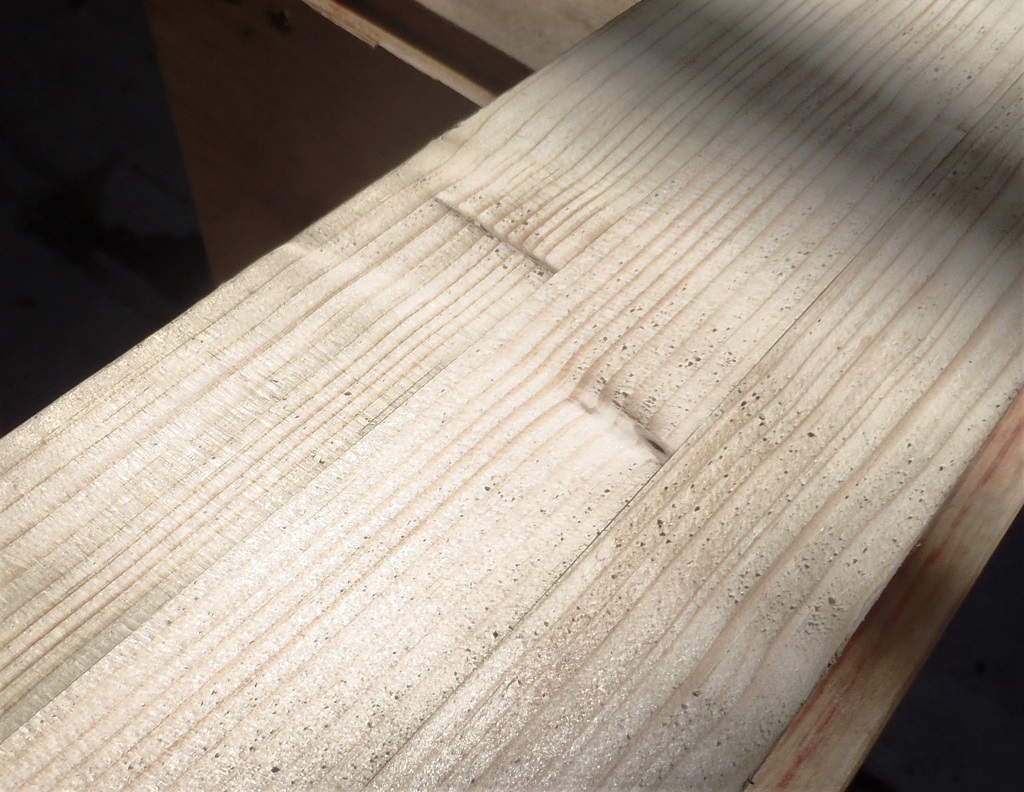
Ridge-Layers-glue-joints-You-shouldnt-be-able-too-see-them

Ridge-Center-Lap-joint
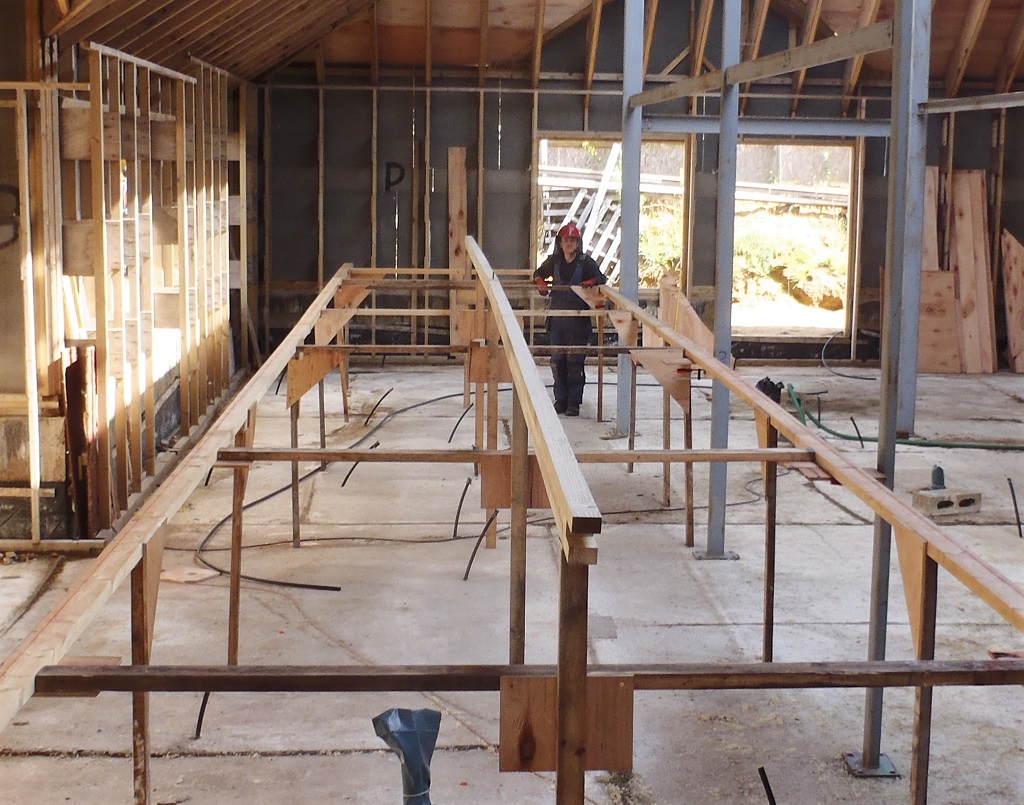
Ridge-assembled-on-jig
The next task was to sort out more timber, this time the treated 95mm by 45mm timber planks and picked out the straightest and least warped ones to form the outer edge of the framework of the Skylight. It was quite a long process as we needed to make sure we had also enough pieces that were straight for doing the rafters too. It was a case of deciding that a plank that did have a twist in it, could be cut down and avoid the twisted bit and end up with one almost straightened piece.
Next week, we will continue this process of sorting it out and end up with a pile of rafter lengths and the outer rim pieces. We will then mark up all the positions of all the rafters and then start cutting and slicing slots to allow the rafters to lock into place.