This blog entry is a summary of our patchy work on our Skylight for the whole week from Monday to Saturday. We had many interruptions to our work with various meetings and other activities that took us away from the construction of our Skylight.
Monday
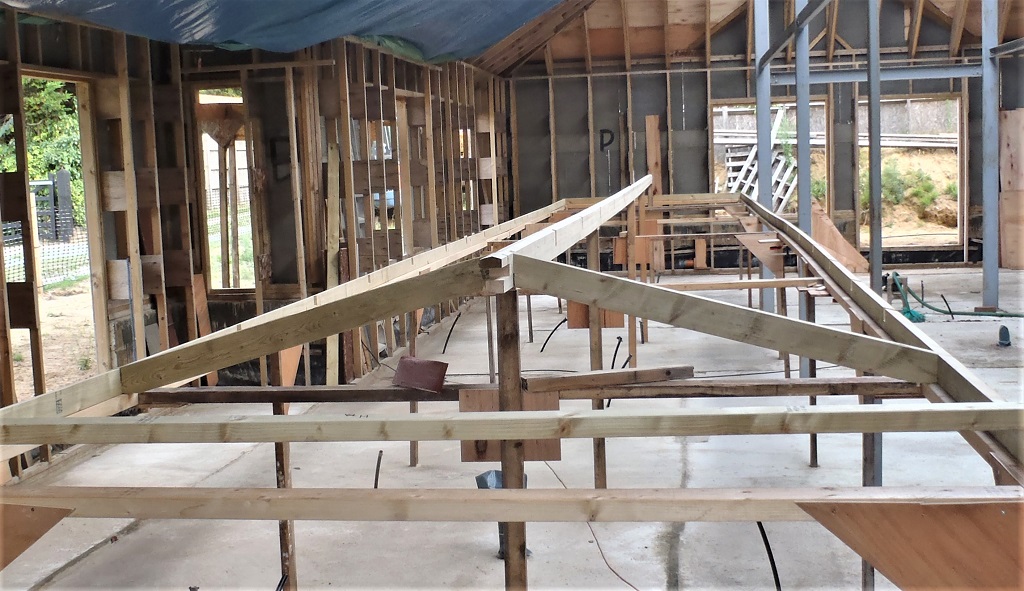
We finished sorting out the timber pieces, putting them into a collection to form the two long edges of the skylight framework that will sit on top of the kerb wall on top of the roof. We made sure that the kink point had a start and end joint to allow for the half a degree bend and then got two more shorter lengths for the two ends, finishing off the complete circuit of the framework.
In the late afternoon, we pulled up one of our tarpaulin sheets up underneath of the roof so we had a cover to catch the small mount of rain water dripping through the roof surface.
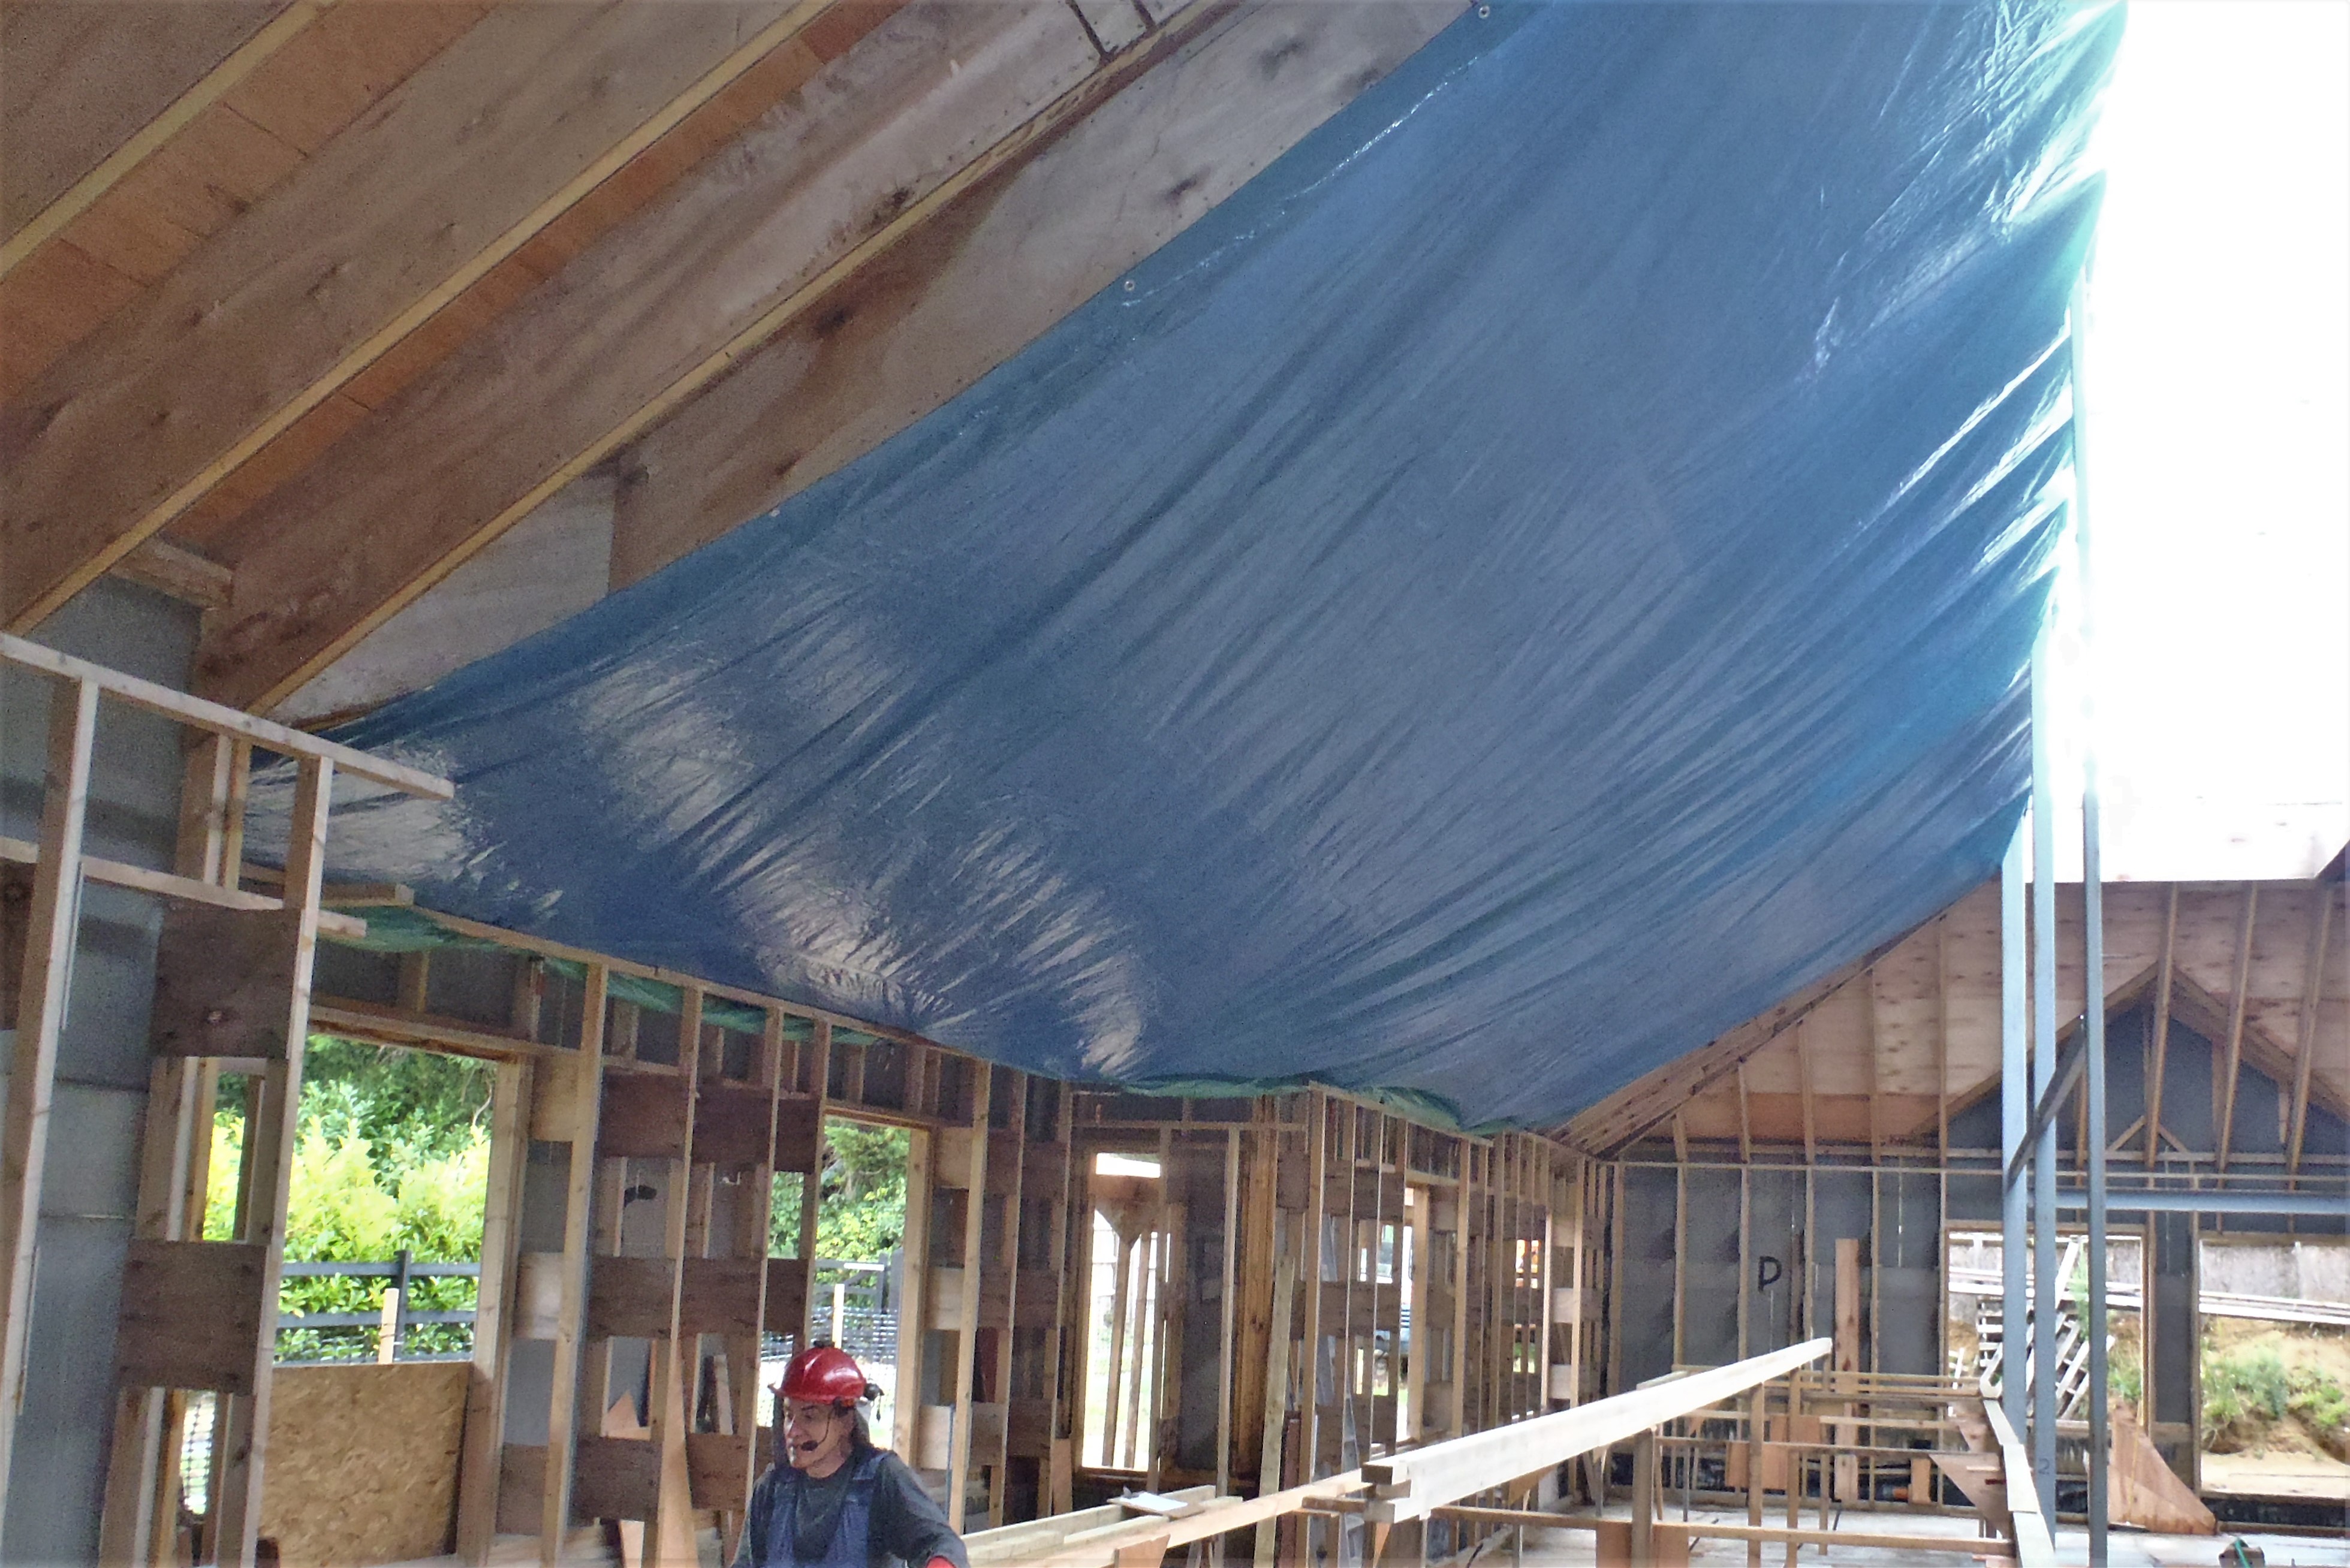
A-bit-of-rain-deflection
Tuesday
We spent the day sawing the tops off the rim timber pieces, to form the gentle 15degrees slope. We put on additional wooden oak guide strip on the base of our mains powered circular saw and sliced each timber lengths (10 in total) on two trestle tables. It was slow but steady work, making sure we were keeping straight and also not overheating the saw’s motor either.
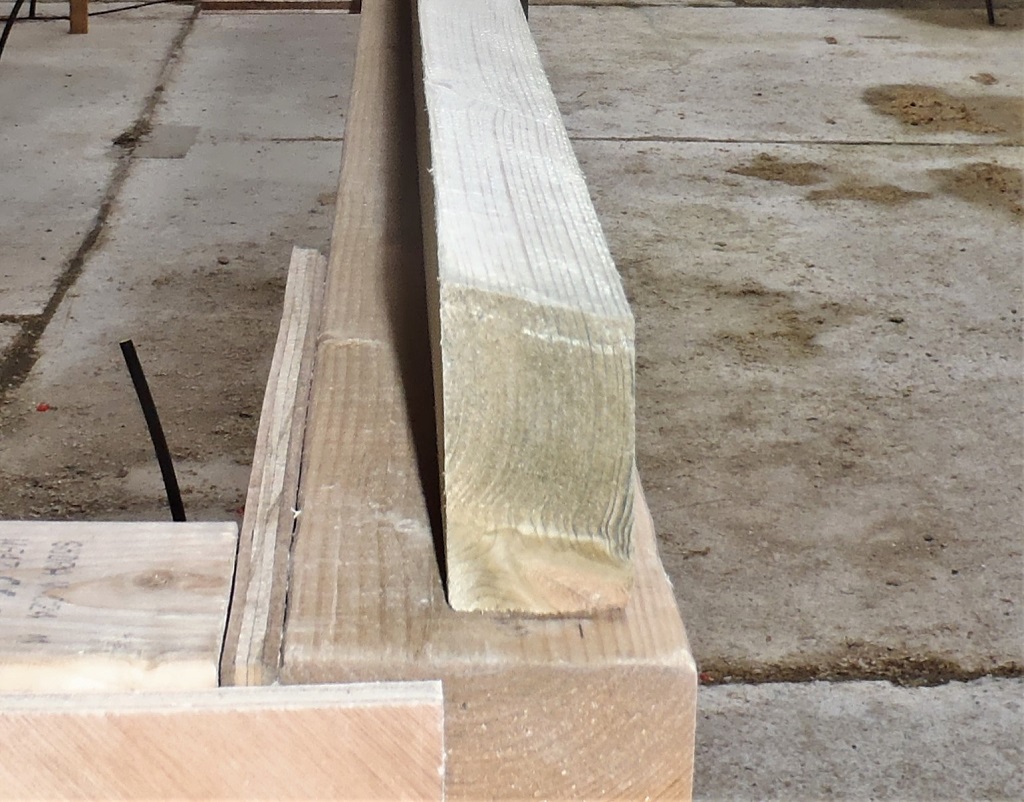
Angled-top-on-rim-beams-1

Angled-top-on-rim-beams-2
We put the finished pieces back on the worktable and started on the task of marking all the positions of each slot on these rim edging lengths and it was only when we started marking up the ridge beam that we were unsure of whether the kink was accurate or not. We couldn’t get the right angle from the rim edge, up to the ridge beam, using our large framing square. It kept missing the point! We gave up for the day at this point so we could apply a fresh mind to the problem in the morning.
Wednesday
In the afternoon, we went up on the roof to reconfirm the measurements of the kerb and the offset from the straight line (using the string we had up there already) and also check the alignment of the steel poles along the middle that supports the ridge beam and the whole skylight structure. We then went back to our worktable back on the ground floor and redraw the outer lines using blue chalk powder instead of the red one we used last time, to snap a much better alignment. We verified that the new line was better by placing our large right angle framing square on this blue line and see it up on the ridge beam, and this time, we were actually getting the 13mm offset we have been looking for all the while! Phew Thanks goodness for that! We are now much more confident that the positions of both the slots in the rim edge timber and on the ridge beam are accurate and align up at right angles to each other.
Thursday
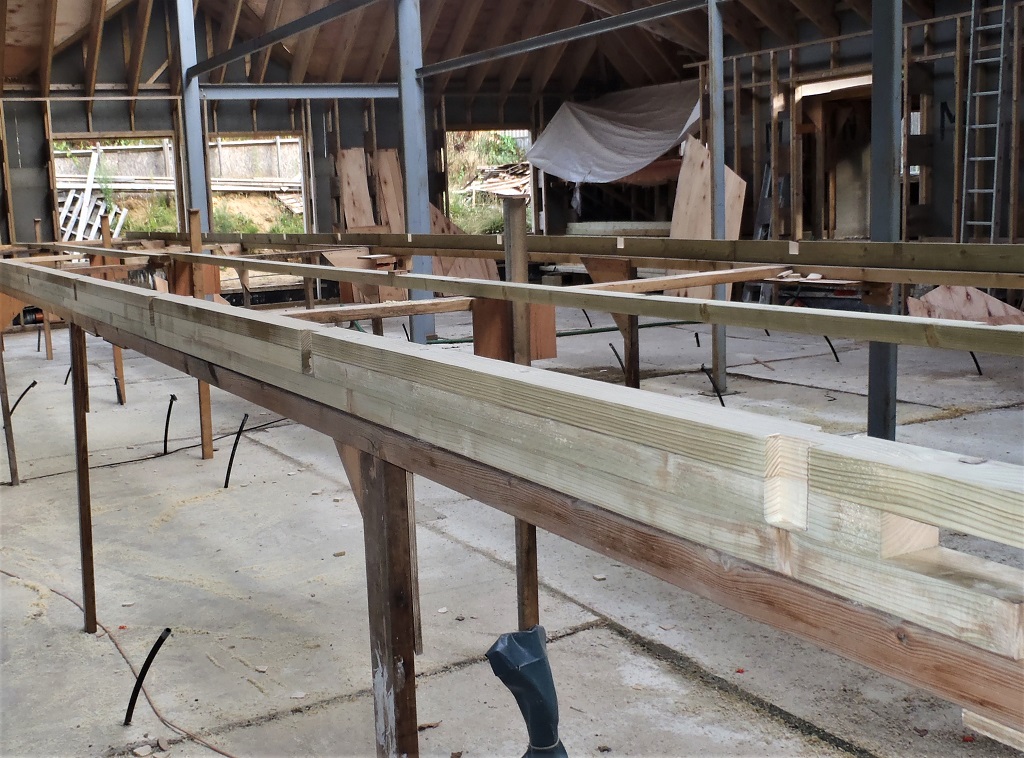
In the afternoon, a jig was created to allow us to use our mains powered circular saw to slice out a slot on the rim edging timber. The slot is 45mm wide so the jig allowed the saw to move sideways in small amount and do another cut. This repeats over again until the slot is riddled with many cuts.
Friday
We took our jig template and went around cutting 30 slots in total (13 on one side, 15 on the other side and one each on the two end).
Then making a slight adjustment to our jig template, we then used our router machine with an extra long half inch wide cutter to clear out the rough bottoms of these 30 slots.

Rafter-notches-in-rims-1
Rafter-notches-in-rims-1
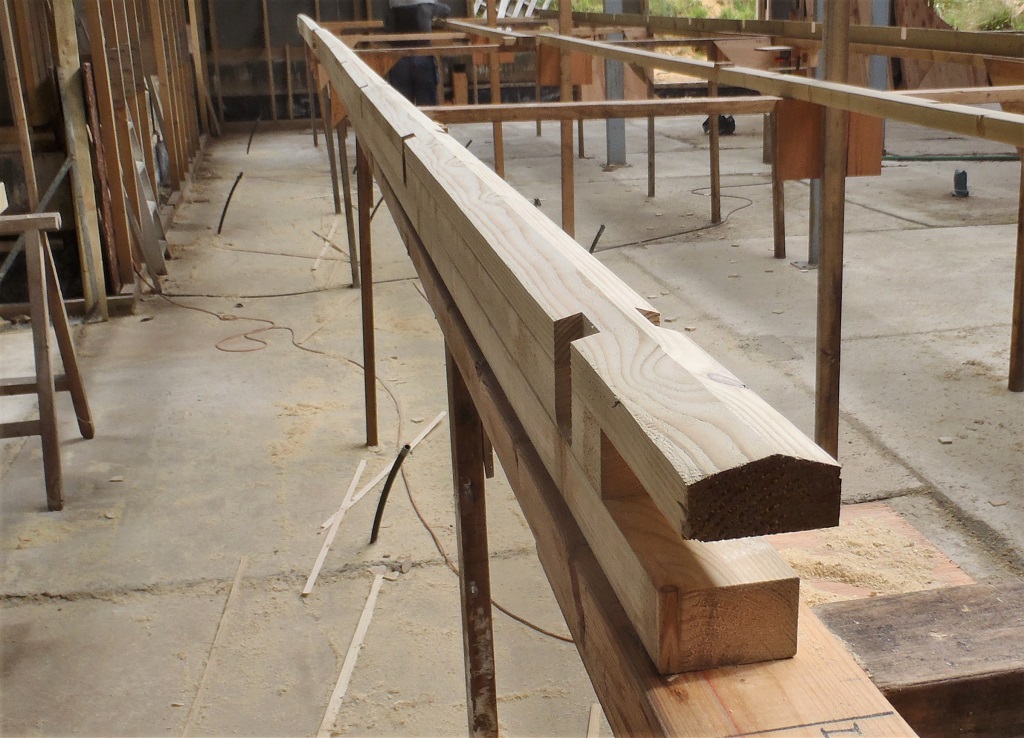
Following another slight adjustment to our template, we proceeded to cut a shallow slot on the vertical faces of the ridge beam on both sides, exactly at the point where the rafter will be positioned. There were another 28 of those done. The two ends of the ridge beam will be sorted out later on.
Rafters-notches-in-the-ridge-1

Rafters-notches-in-the-ridge-2
Saturday
We created another jig template fitted to the mains powered electric circular saw, with a guide and the saw set at the 15 degrees angle. This allowed us to run the saw along the main ridge beam in both directions to slice a small amount of wood off the top edge to form two gentle sloping sides. This is where the top edge of all our glazing panes will meet in the middle. We also gave it a quick sand with a fine grade paper to remove the worse of the “hairy” surface.
Angled-tops-cut-on-ridge
Then we tidied up all the waste sawdust and thin slices of timber and cleared the workshop up so we can proceed in creating our heap of rafters. We made two prototype pieces, each being 1273mm long with 15 degree angled ends and then a bird mouth cut in the bottom end to make it fit into the rim edging and then cut a tenon at the top end of the rafter to fit into the taller but shallow slot on the ridge beam.
First-two-rafters-made-1

First-two-rafters-made-2
We now want to repeat this again for another 28 more rafters so we are going to design some jigs and arrange the band saw so we can use our work table to support the 1300mm long timber pieces while slicing the shapes on each end of the rafter. That will be next week’s job.