Yesterday we started on the task of installing and assembling our Skylight framework for real, right on top of our roof – at last!
The first job was to finish off putting on the wooden platform on the second scaffolding tower and get that ready for action. Then, using strips of foam, tied down with a lifting rope, we hauled up all the very long pieces, six of them individually and laid them resting on the steel cross tie bars. The shorter pieces of the outer rim parts, we carried up in pairs by hand, around and up the sloping roof to place these six items in their rightful places.
Then we concentrated on getting the ridge beam up on the nine central steel posts. We temporarily installing the two end rafters (inline with the ridge beam), so we could verify that the beam was in the correct position. Then we went to each of the nine points to glue and screw down tight the beam, including putting white PU sealant all over the middle kink joint too.

Ridge-installed
Today, in the afternoon, we resumed the task, this time getting the outer rim edge (we decided to work on the back of the skylight first) positioned in the correct place, using a couple of rafters and were made to be as right angled as possible. Then we proceeded to get six rafters glued and screwed into place, plus also screwing and gluing this section of the rim too. Plenty of the white PU sealant was used to cover up all the joints and the head of the screws to provide a waterproof seal against rain water.
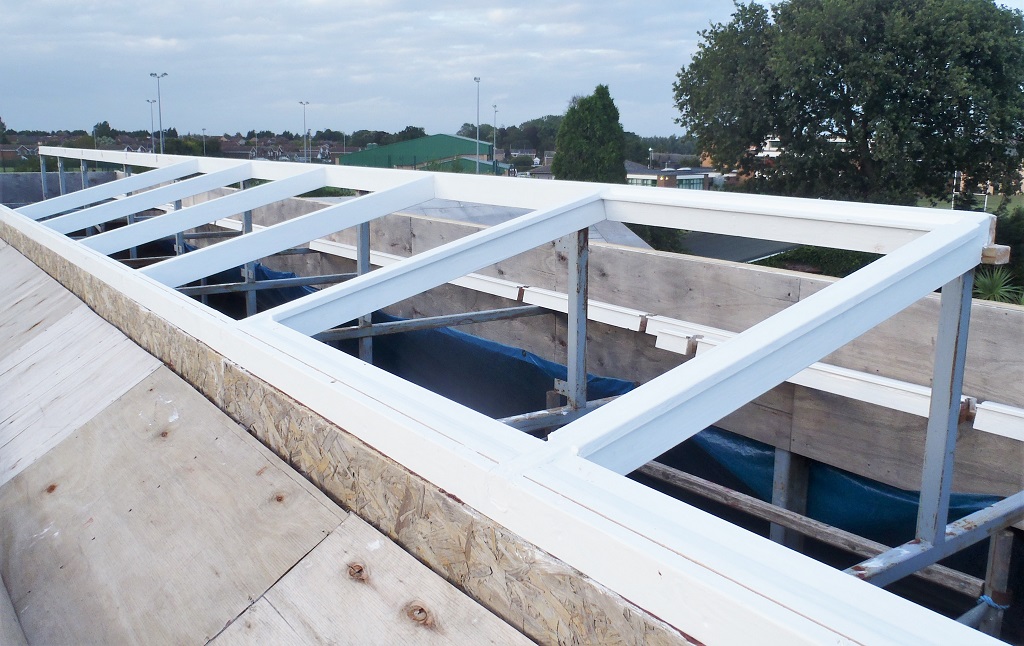
First-part-of-Frame-installed