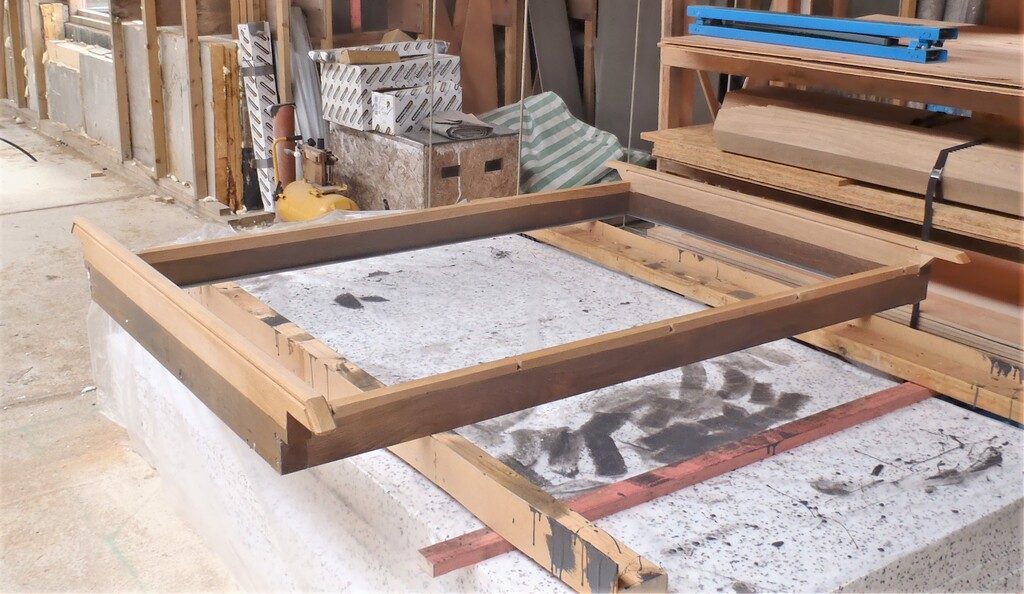
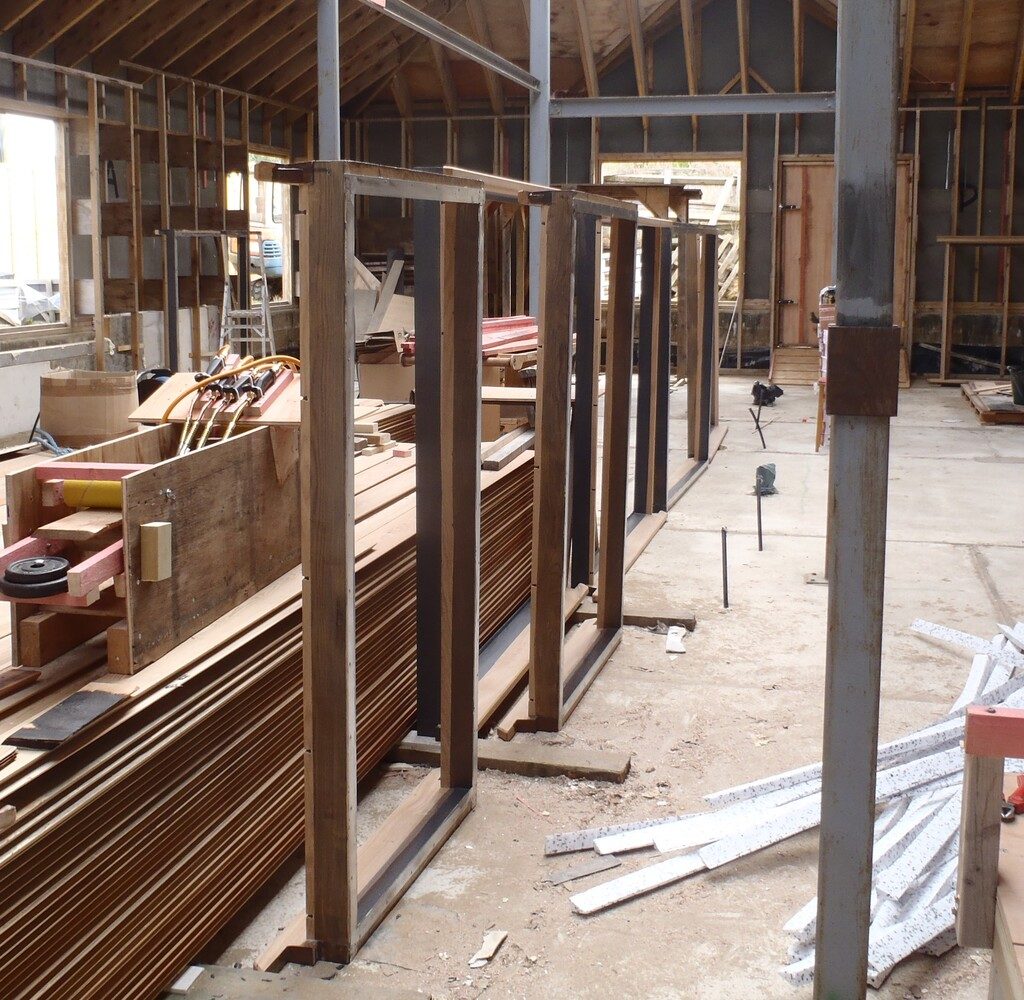
We resumed the task of getting our Oak Window Frames prepared, ready to be inserted into the house. The next job was to waterproof the inner section of the frames where the glass will sit so that we have extra protection against any incursion of rain water which does not drain away fully. All twelve frames were coated in a semi-flexible polyester resin dyed grey so we could see it (it will be hidden by the glass and beading), to spot any imperfections. Each frame was given a final rubbed down using a rough paper to improve grip for the resin, especially the aluminium material and then masking tape was laid everywhere that wasn’t going to be painted to protect it against dribbles etc.
We used about 350g of the resin (which contains 20% of the flexible agent) per large frame and a little less for the three smaller ones. All the inner surface on all four sides were done, and then also the outer surface was coated too to both aid the same water protection (especially up on the header) but also to aid a better seal when we come to glue the window frames into the house itself. It took about 3 days to complete all twelve of them, sanding them and applying the masking tape in the workshop, while the smelly painting operation was done in the main house on a temporary work table (made on a pack of polystyrene foam boards!!) and each frame laid out across the floor to dry and cure.
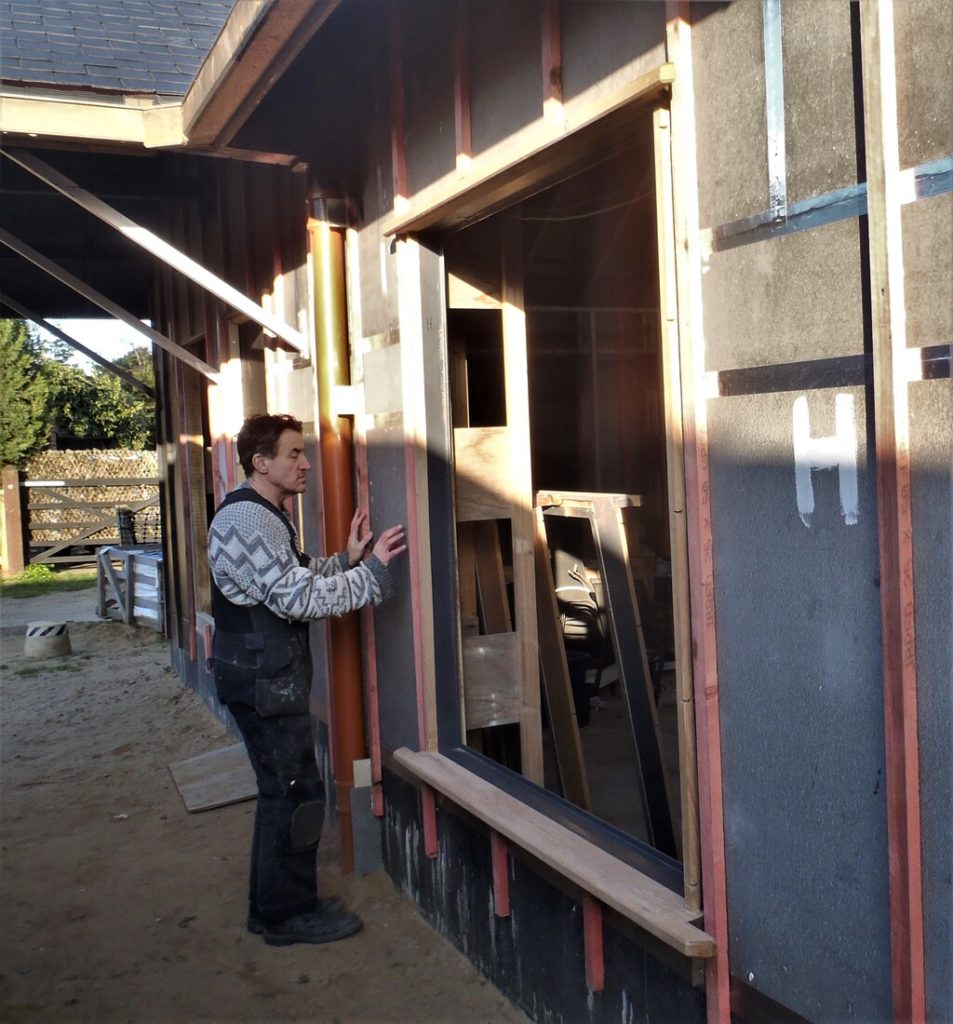
The next job was to clean every window hole around the house, to sand away the weathering effects, especially the bottom edge that had the full blast of rain and sun on it for the last year or so. We also cut a chamfer on all four edges to provide a thicker sealant bead when we come to glue the frames into place.
Then every window was test fitted to make sure that they will slot in. Most of the back windows had to have some minor adjustments done to the bottom edge, removing material until the frame went in and sat nice and solidly. After that, all Oak frames sat tall and straight, none were leaning over or had to be pushed over. Just Nice! We remembered to reapply the chamfer along the bottom edge too!
The final touch up operations was done to half of the window frames where the resin had reacted to the Oak timber in some fashion so those affected had their sills rubbed and cleaned with acetone and a second coat was applied. All is well now.
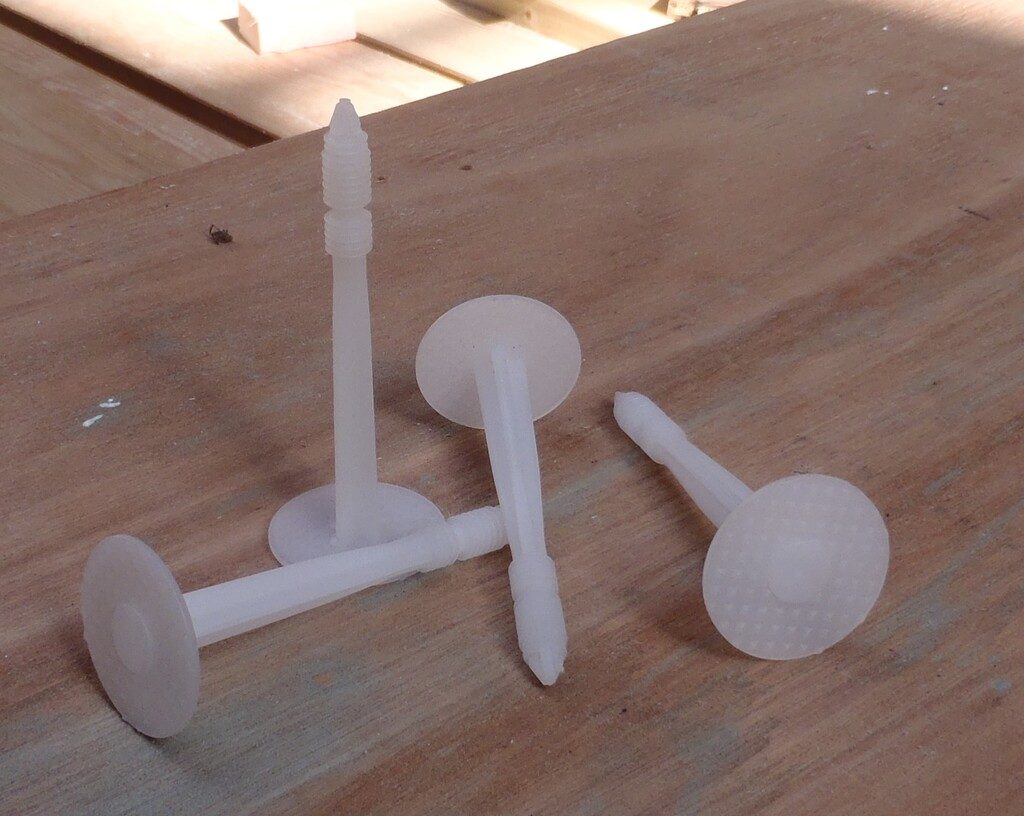
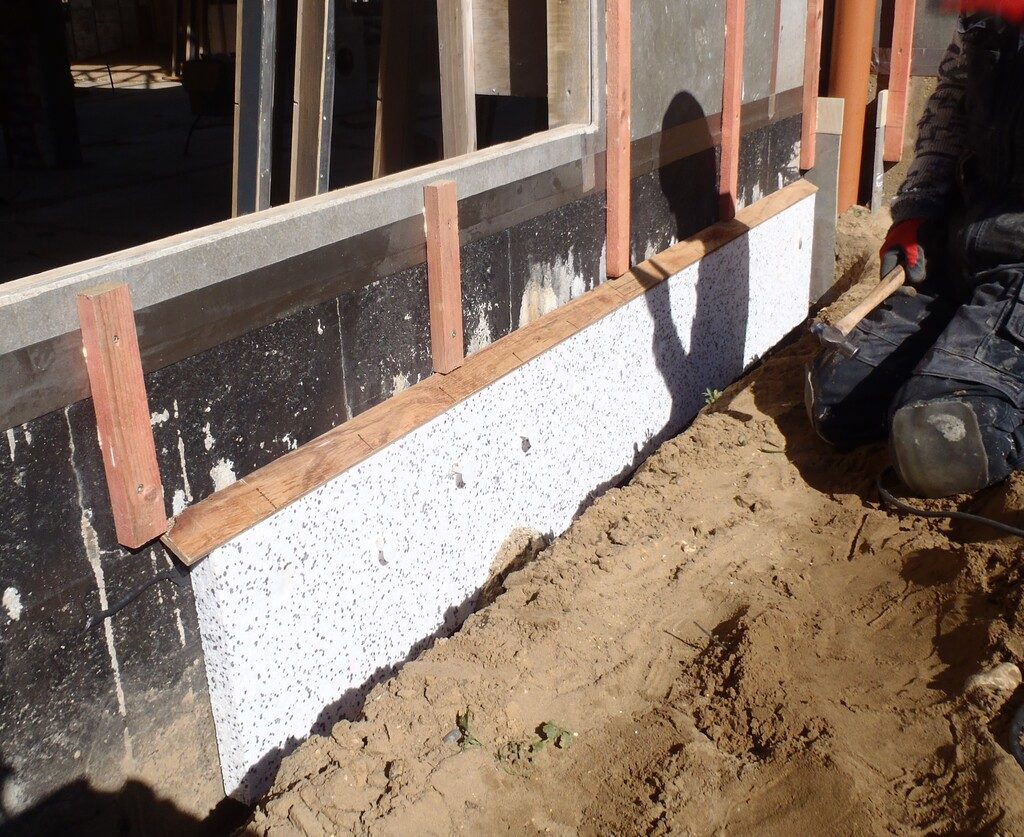
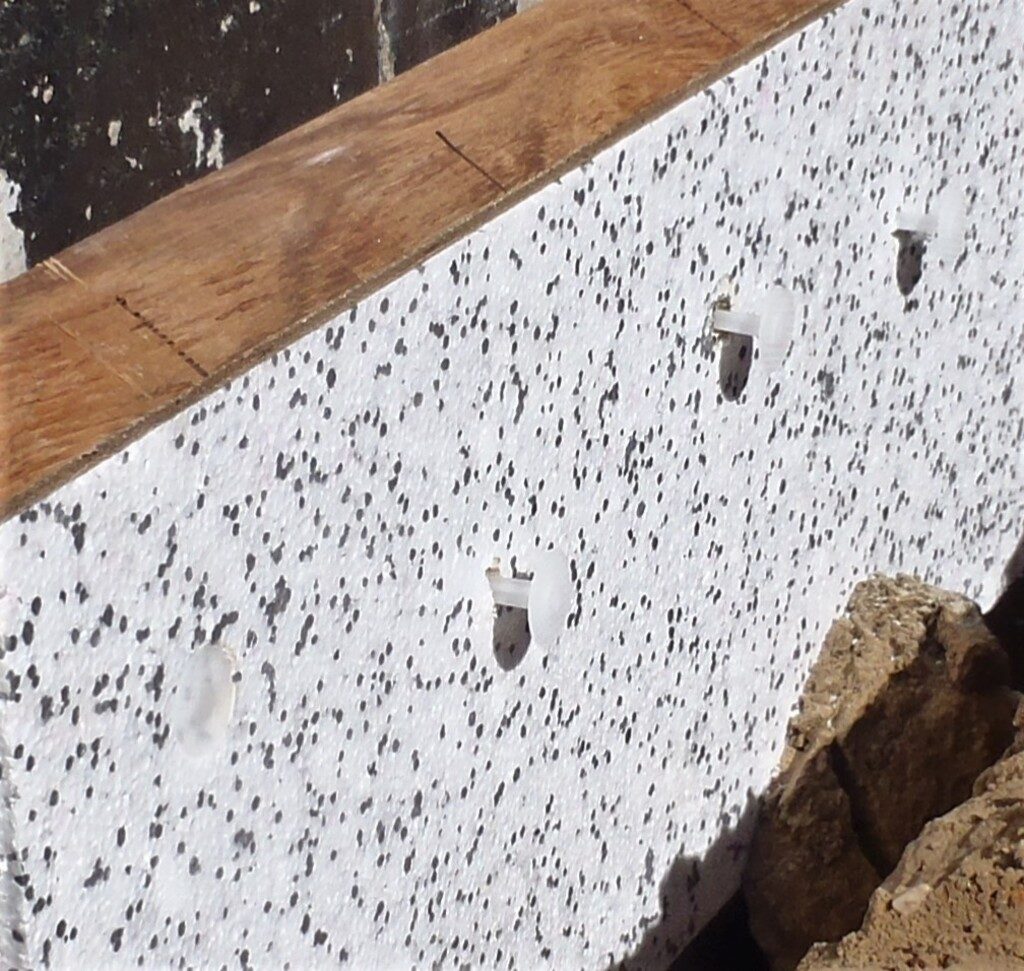
While we wait for a supply of PU grey coloured sealant for gluing and sealing the frame into the wall to come (notwithstanding the troubles of COVID-19 crisis), we got started on implementing our Slate Ribbon that will go around the bottom of the wall, underneath the cladding and half buried into the dirt. This is our solution to preventing splashes of dirty rainwater from reaching our Larch cladding planks and reducing the chances of rot and other unsightly defects (and using up some of our spare roof slates). It will be made of a layer of 50mm thick polystyrene foam which is stuck to the wall with mastic glue and also a large plastic “nail” driven through and into the concrete block.
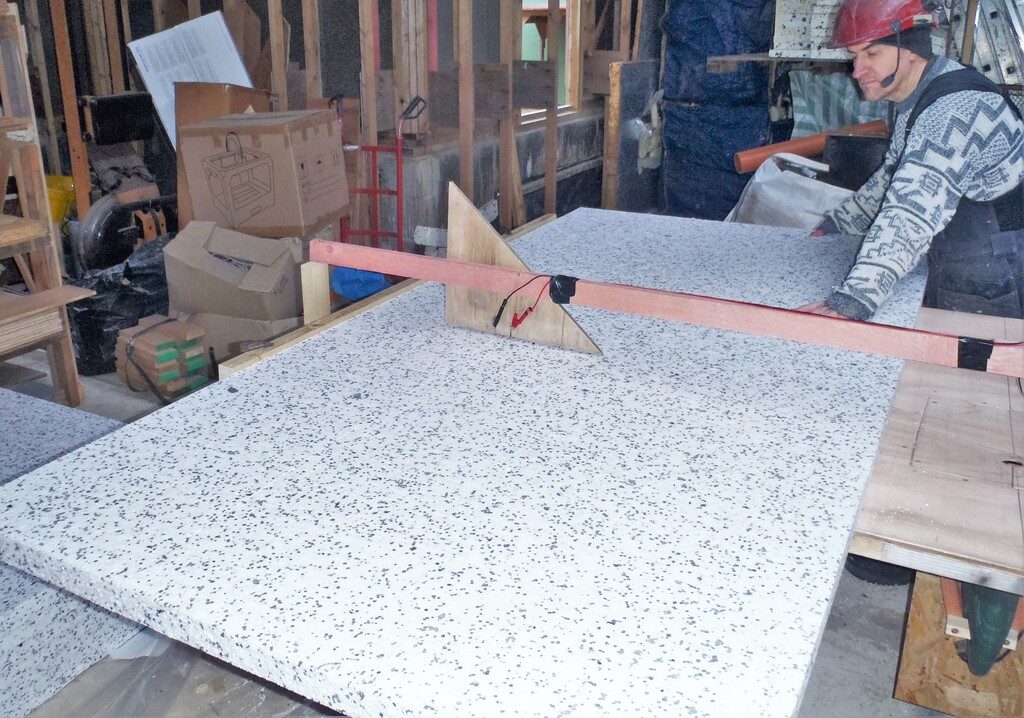
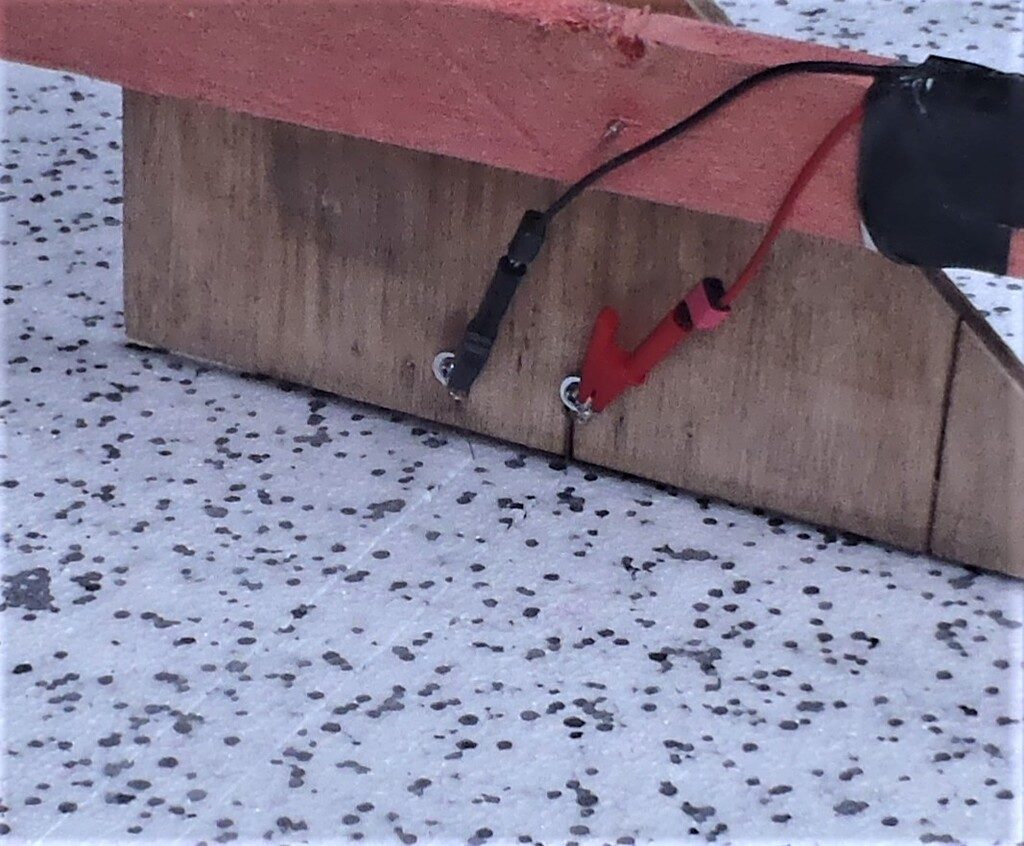
The polystyrene sheets were sliced up using our homemade “hot” wire cutter we made in our large flat top insulation cutting table.
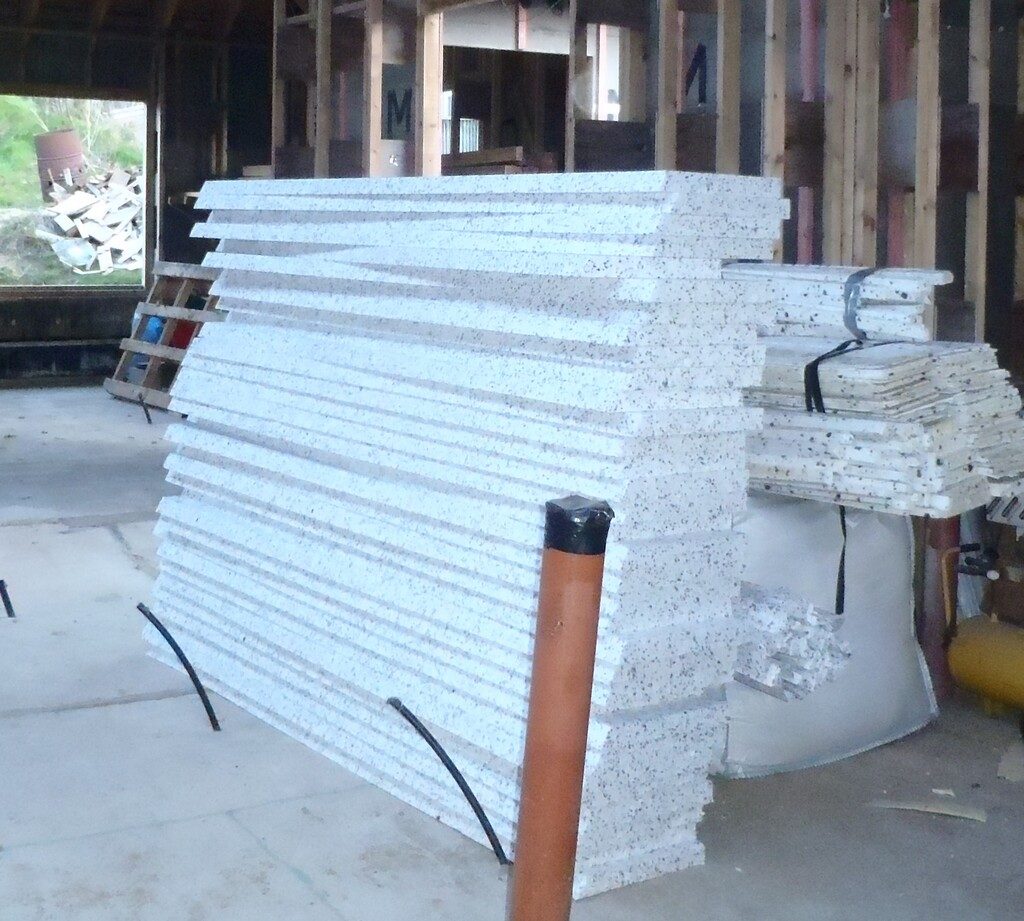
And we proceeded to slice up eleven of the twelve sheets we had bought. Each strip having a 30 degree angled top and 400mm wide. We got three strips out of each sheet so we made 33 in total.
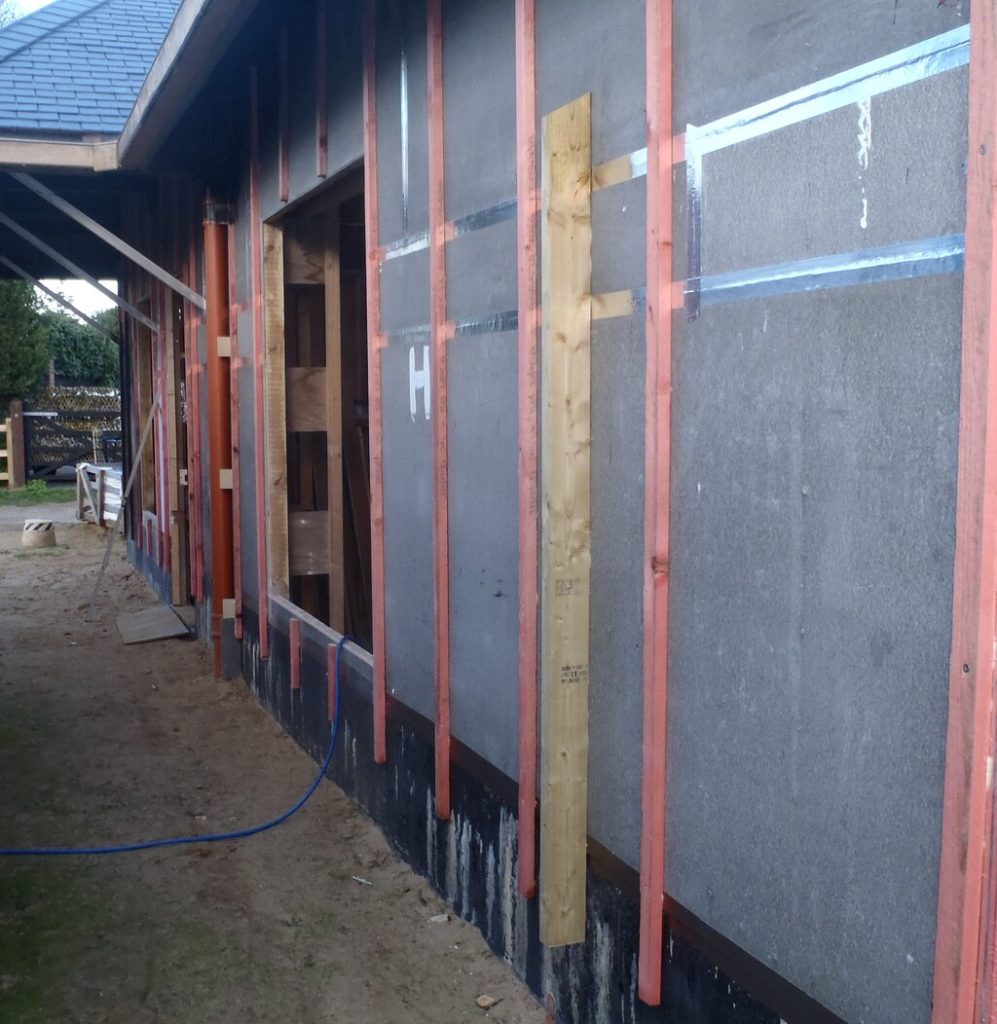
The final job of the day (Friday) was to mount two fixing points in the places where we are going to have a privacy gate to section off the public portion of the garden and drive way from our private gardens. The wall needed an extra plank fitted to the outside surface which will serve as the anchorage point for the fencing.
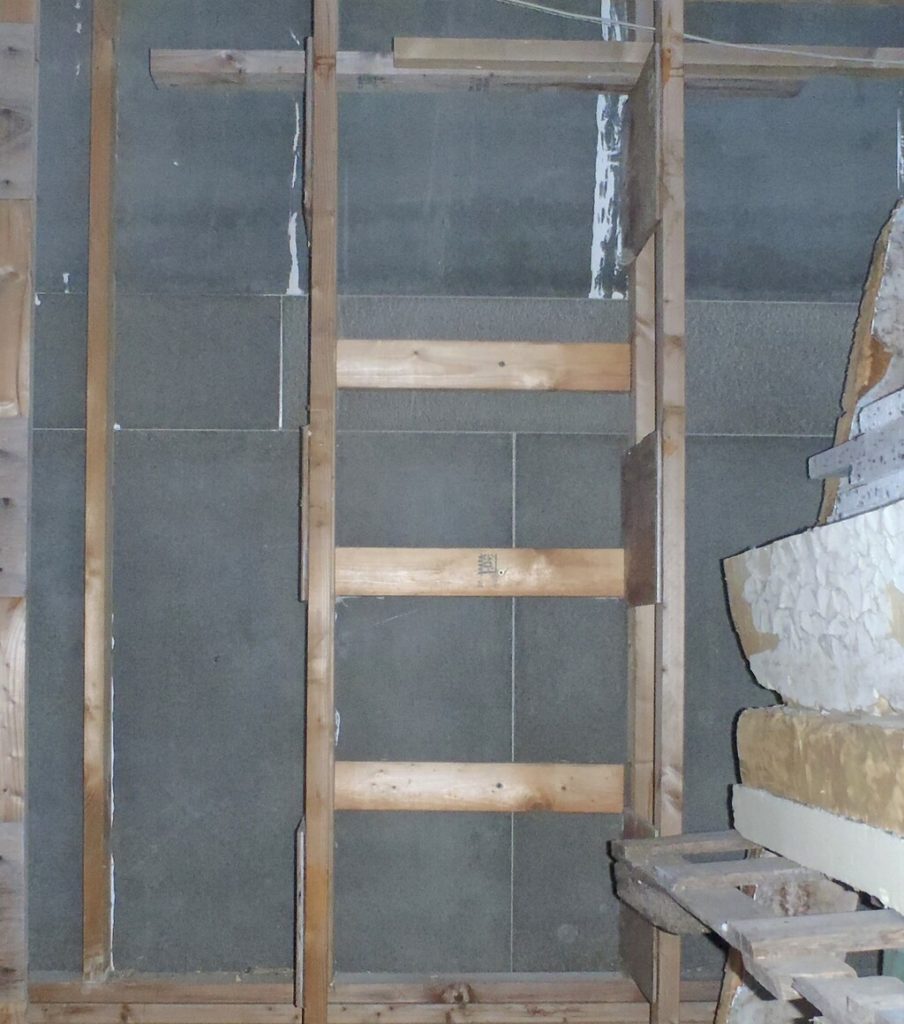
This 95mm by 45mm timber plank goes up from the level of the cladding battens and stops at the 2metre point, this being the height of the fence. We reinforced the wall by putting in three horizontal noggins behind the cement board, inside the wall.
It was stuck up with PU tough glue and four long screws.
The final day was starting the process of creating our Slate Ribbon around the house, digging the soil away from the wall (we started right over the far side on the “P1” section), scrubbing the surface and then putting mastic on the wall to stick the polystyrene strips to the wall, and then drilling an 8mm diameter hole straight through and into the concrete blocks. A plastic “nail” was then driven in to anchor the foam strip into place.
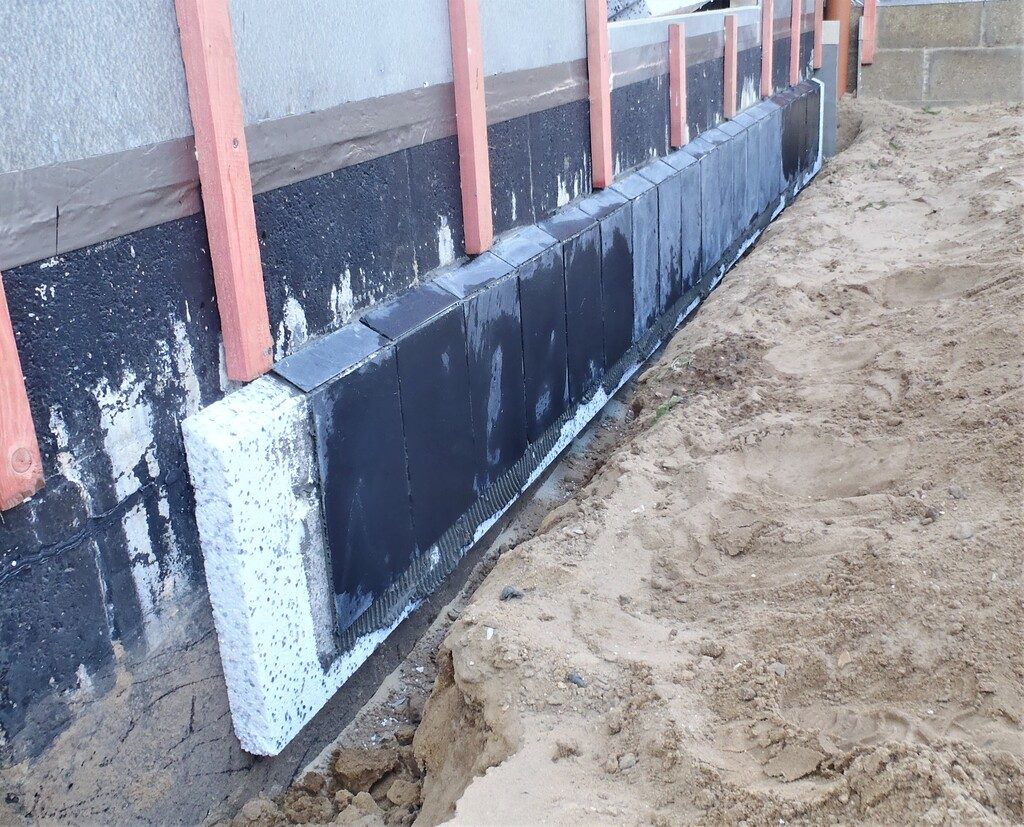
Then we sliced up some slates into 55mm wide strips and proceeded to stick full size slates (using a cement based tile adhesive) directly onto the polystyrene surface and then the little strip on the slope.
The last hour was to analyse and design the the shape of the foam block that will reflect the thicker parts of an outer corner where there will be an additional oak octagon cover going around the corner. We will buy some 75mm thick foam board on Monday and then slice it up into the complex shapes needed to form the required octagon pattern that marries the Slate Ribbon going around the corner to the next wall section.
So this week saw our first full 6-day work for ages! All our usual meetings and other commitments have been cancelled due to the COVID-19 outbreak! Something positive to come out of all this madness that has hit the world! Phew!!
