You may remember that we have decided to lightly scorch all of our larch cladding to give the walls more texture both visual and physical.
We are using an ancient Japanese technique called “Shou-sugi-ban Yakisugi”, although we are not burning the wood as deeply.
As we have over 2300 m (7500 ft) of timber to scorch we decided to make a machine to automate the process (and of course because we’re nerds). We made a start on the machine back in March (Article), but we now have bought the motors and electronics to carry on.
So over the last two weeks Stephen has been working on this whilst Shaun does other things around the house.
First part of the job was to build the computerised controls for the motors so we can select the burn rate and pattern. This was completed by the end of the first week after lots of programming and learning about motor control feedback.
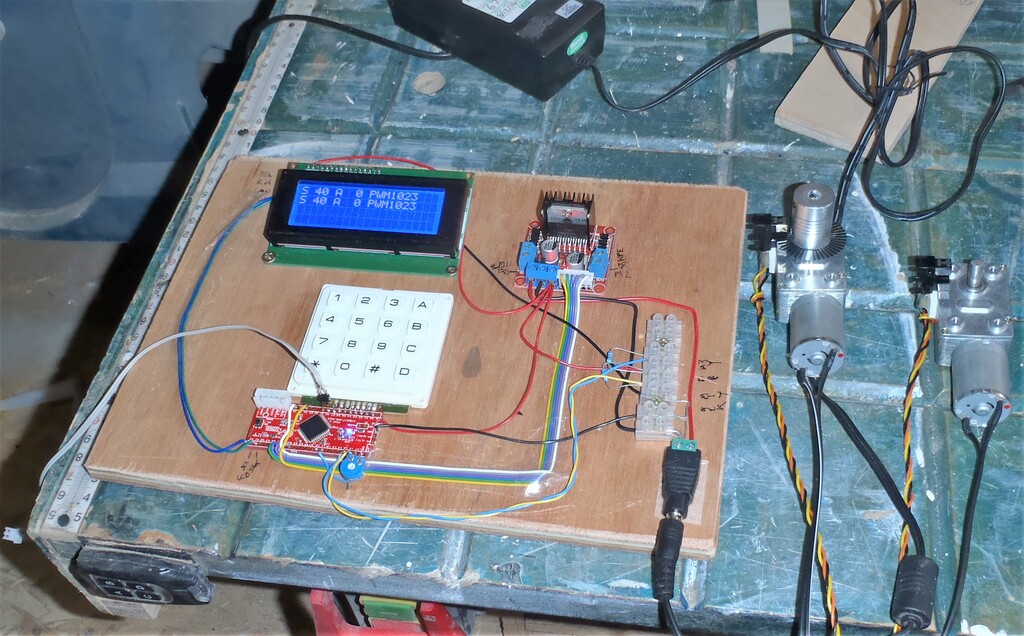
Control-Board-and-Motors-Day-1
On Monday of the second week the motors were installed to the machine and testing of wood through the machine revealed some problems… the wood was moving a bit irregularly and had difficulties at slow speed. Lubricating all the rollers did not improve things enough and it was concluded we needed bigger motors! On Tuesday we remembered that we had some bigger motors bought for use in a giant CNC machine (which will be built eventually!).
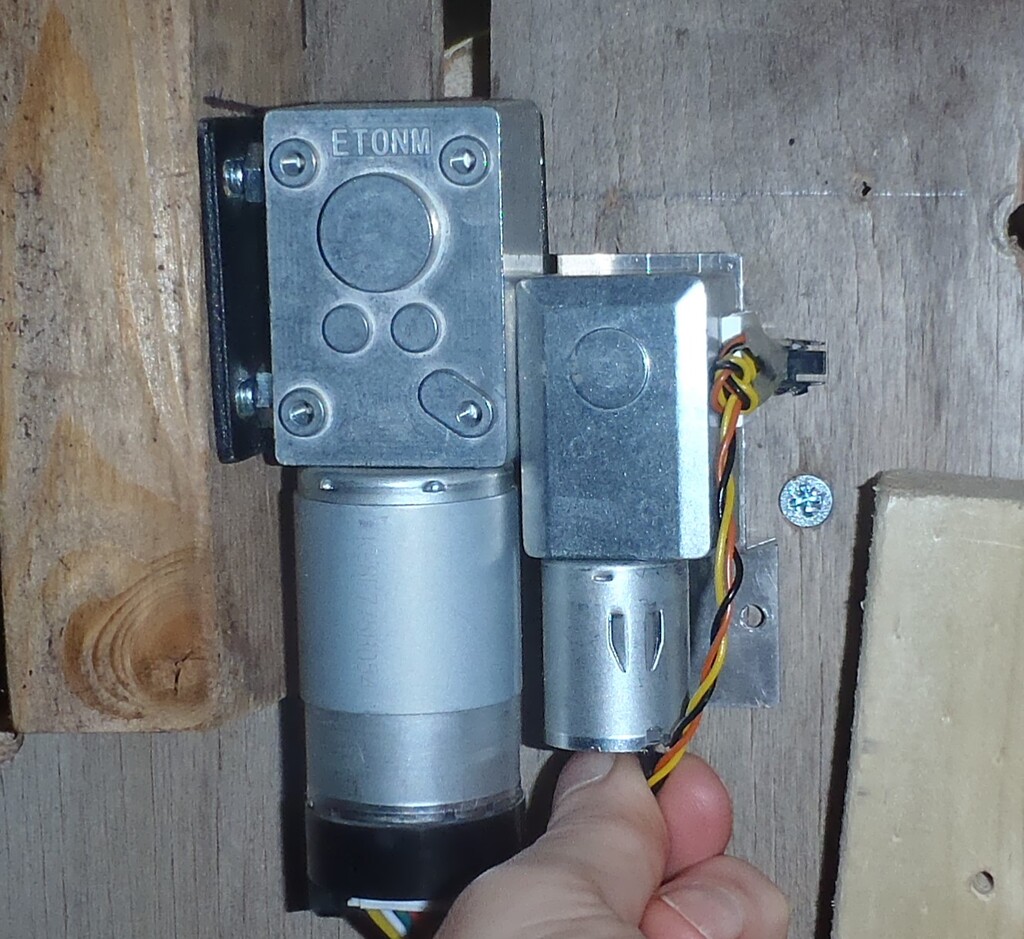
Comparing-Motor-sizes
So it was back to the electronics bench to rewire and reprogram the controller for the quite different motors. By the end of the next day everything was mounted and working well.
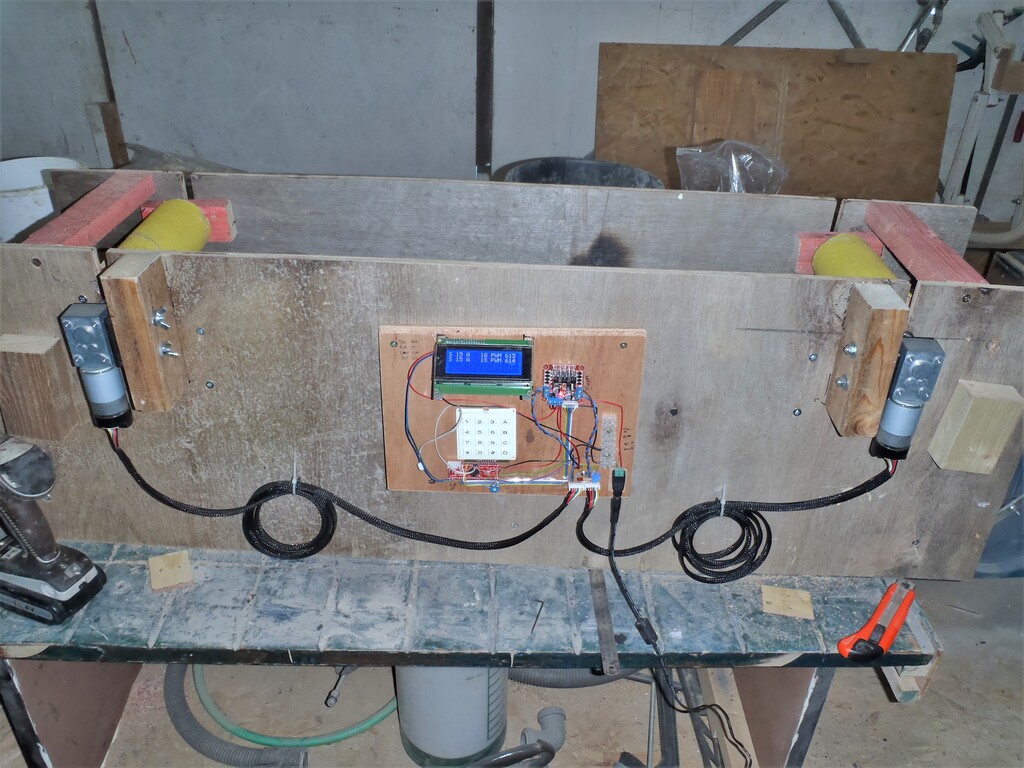
Control-board-and-larger-motors-mounted-to-machine-Day-3
The next step was to improve the way the torches were mounted as we needed more control of the flames, so we made two rails with T slots in them then we clamped the torches by the tubes leading to the burners. The torches are mounted to pairs facing in opposite directions allowing maximum adjustments.
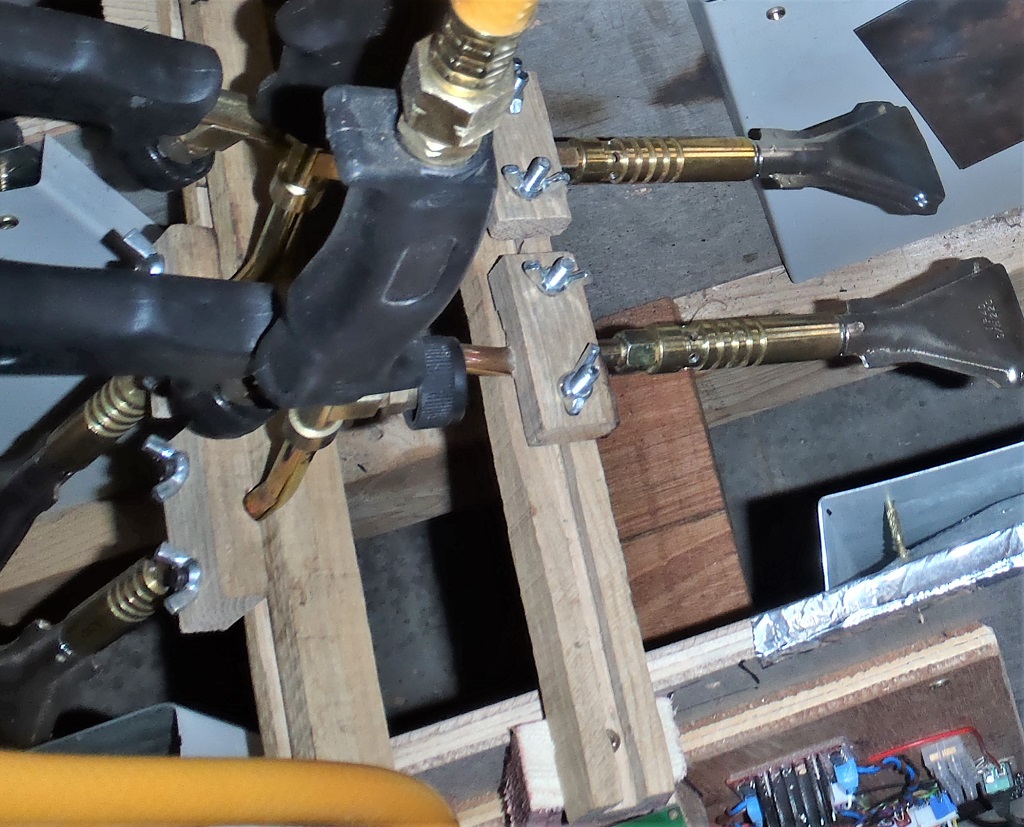
Torch-mounting-system
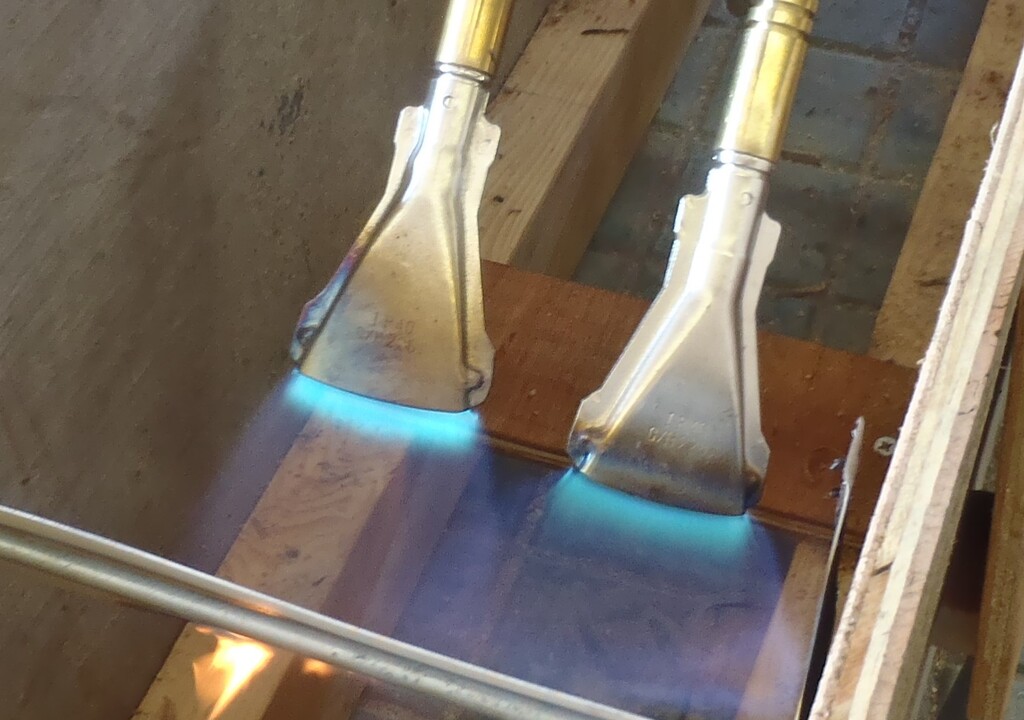
Gas-burners
As expected the flames started to burn the plywood sides of the machine, so we made protective barriers comprising glass fibre insulation wrapped in foil behind steel plates, and added hinged steel plates across the wood to protect the drive rollers.

Burning-machine-Day-6-Inside-
Then we made a stand for the machine to make it stable and allow the use of roller stands to support the long planks of wood.
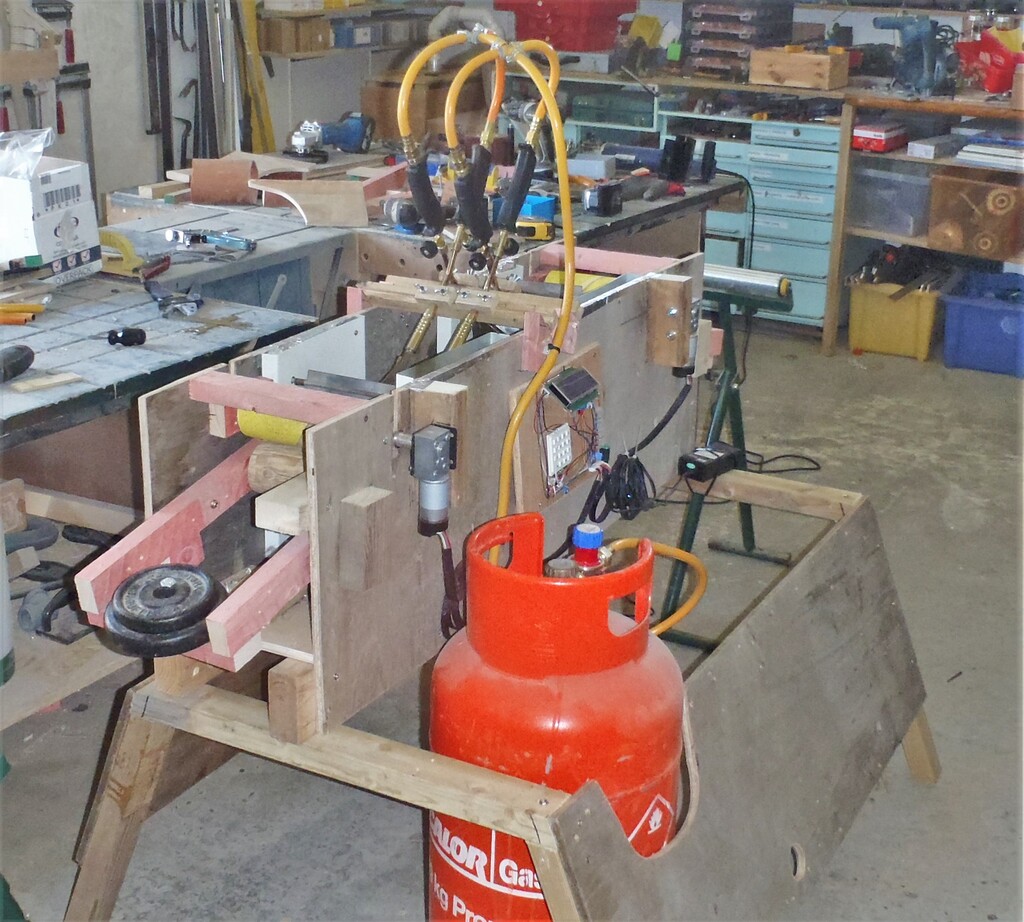
Burning-machine-Day-6
It was time to burn the first plank! This worked quite well so we needed to wire brush the loose char off. So of course we needed another machine …
We bought an adaptor kit for a angle grinder but found it did not fit any of our angle grinders so we had to adapt it! So a quick bit of drilling and welding later we had a powered wire brush drum.
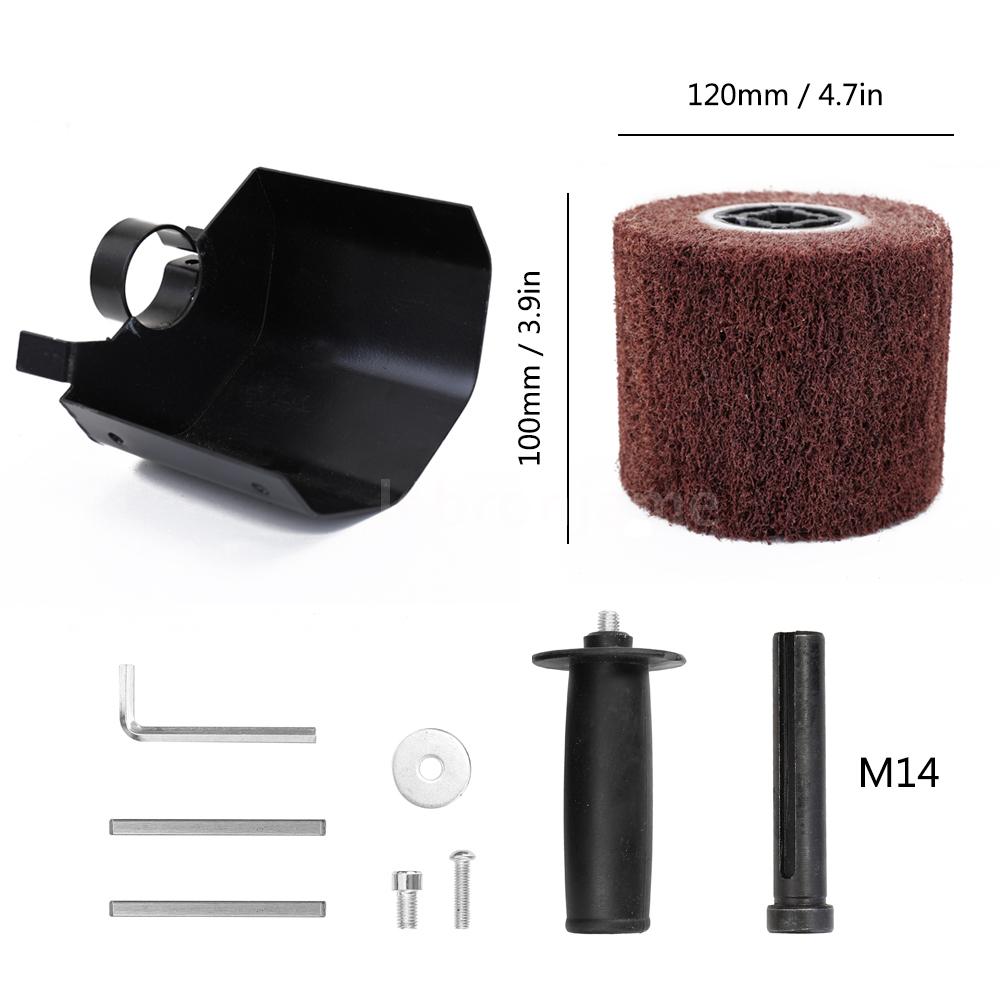
Drum-adapter-kit
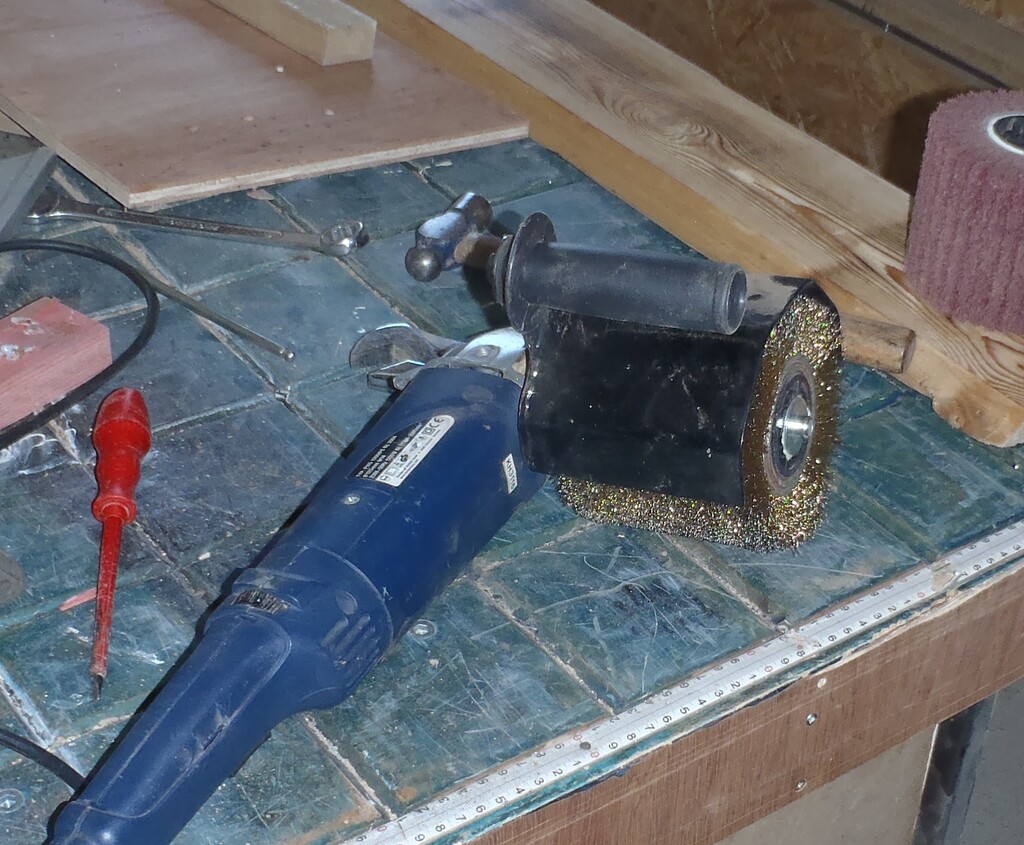
Gaint-wire-wheel-to-clean-burned-planks-1
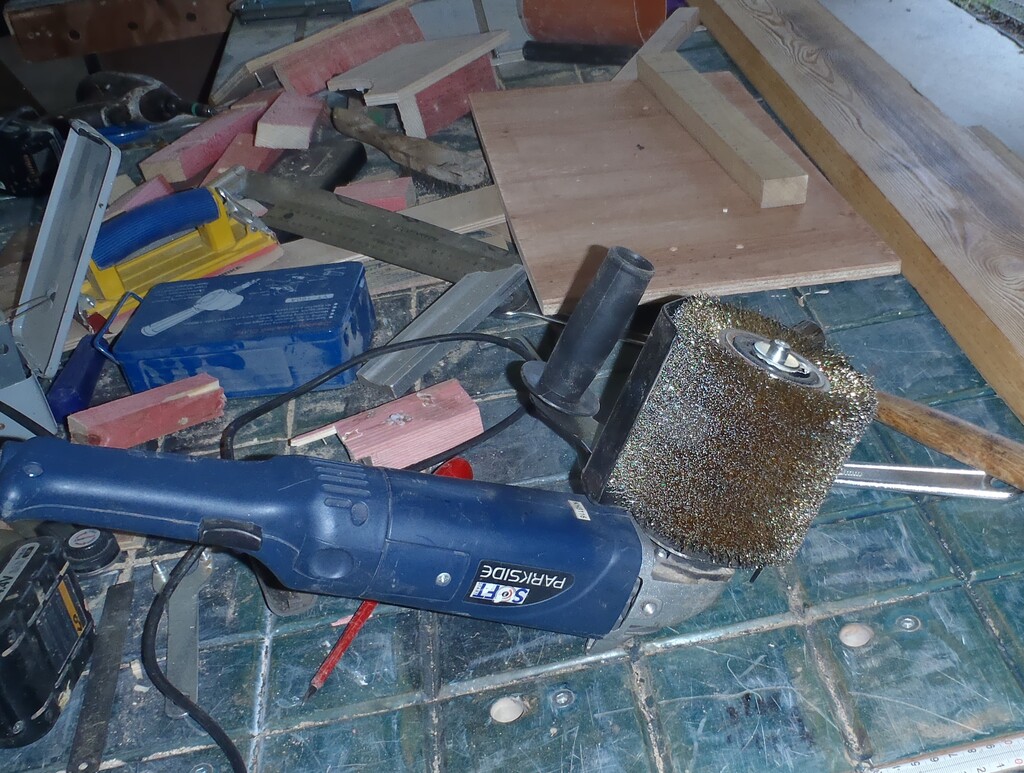
Gaint-wire-wheel-to-clean-burned-planks-2
So we brushed the plank off and had a quite nice result.
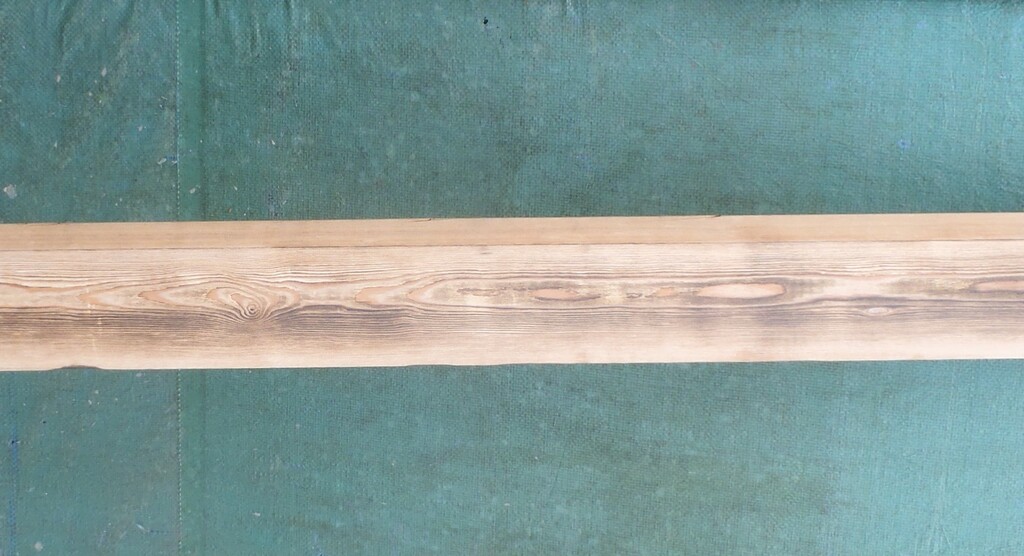
First-burned-plank
Next week we will complete the machine with some extra rollers and guide to make it easier to use.
Leave a Reply
You must be logged in to post a comment.