Following the initial progress we made on sorting out the Oak timber last Saturday, we resumed to produce the Octagon Covers for our seven inside corners to hide the plastic downpipes plus the special cover to hide the downpipe just right of the Side Door.
All the steps and methods were essentially the same as last week’s work on the nine outer corners, apart from the edges didn’t need the 45degree slopes.
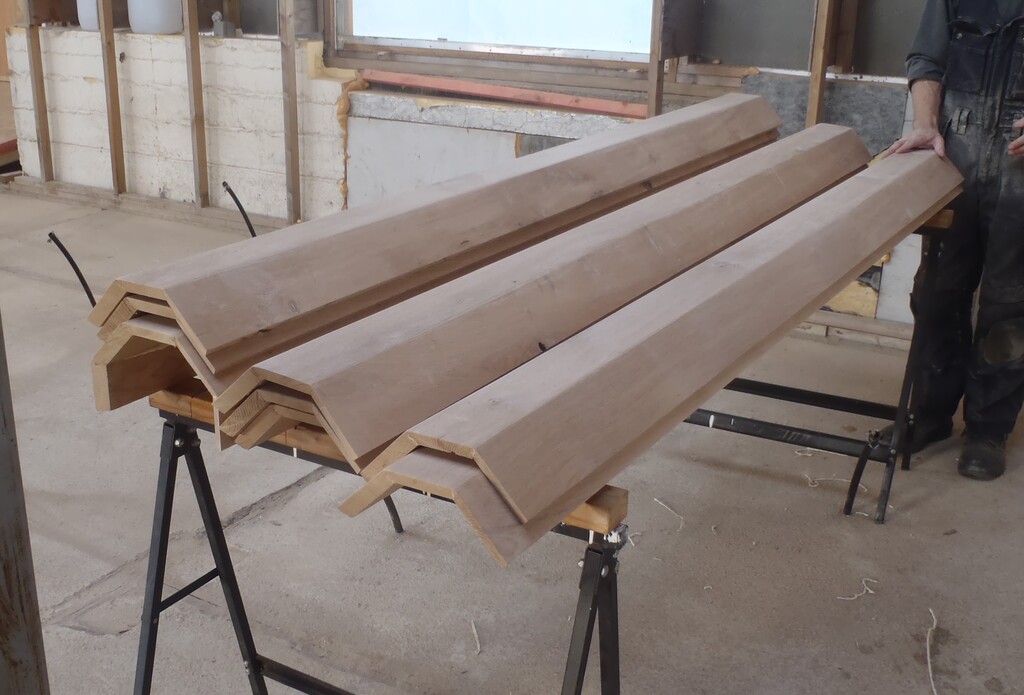
Internal-Corner-pieces-ready-to-install
The installation process, on the other hand, was different this time, because every corner is slightly different and we had to custom fit each one. The procedure was to put up the octagon cover into place and then measure the gap between the surface of the oak to the plywood support strip inside. Every corner is slightly different so we had to slice off a variable amount each time using our battery circular saw, following a drawn line along the long edge.
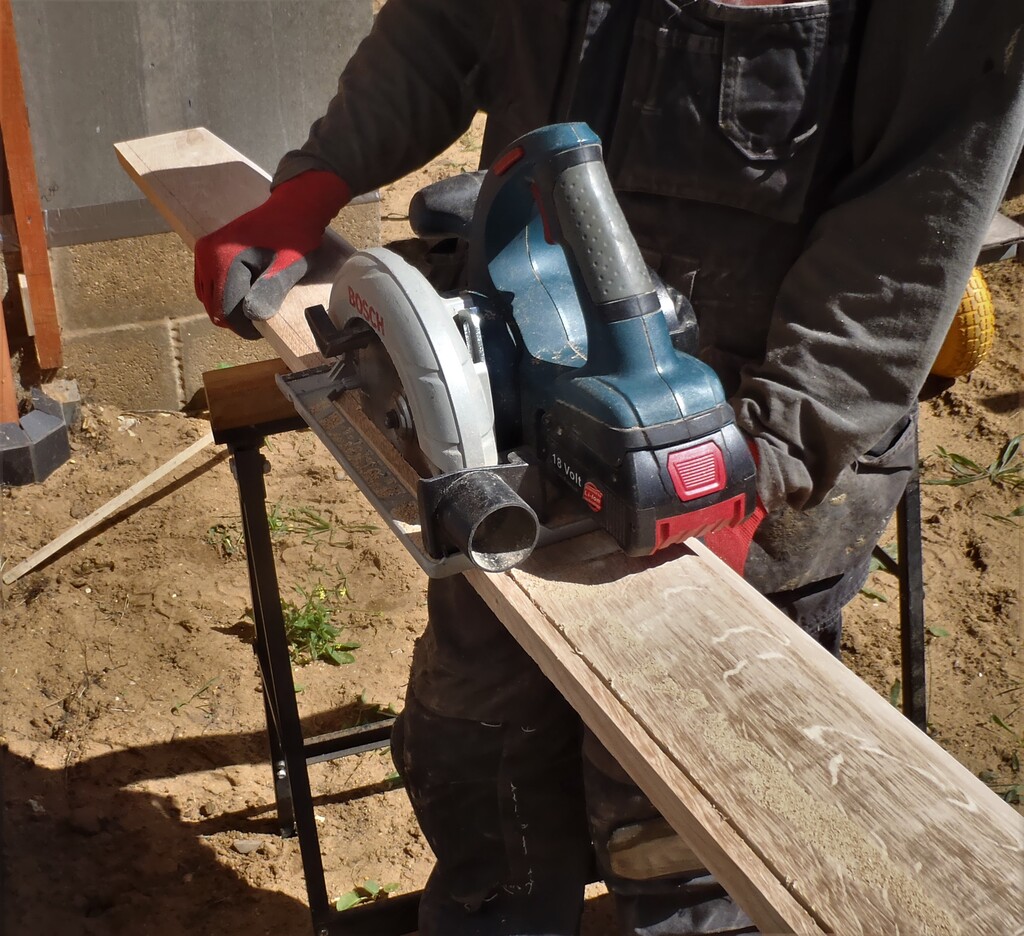
Cutom-fitting-a-corner
Then we marked off a regular set of screw holes approximately every 200mm. Four of these holes were the real ones with full clearance, and the other ones just had pilot holes to grip the screw in place as there is nothing behind the oak.
None of the eight pieces had their height adjusted so we got that one correct!
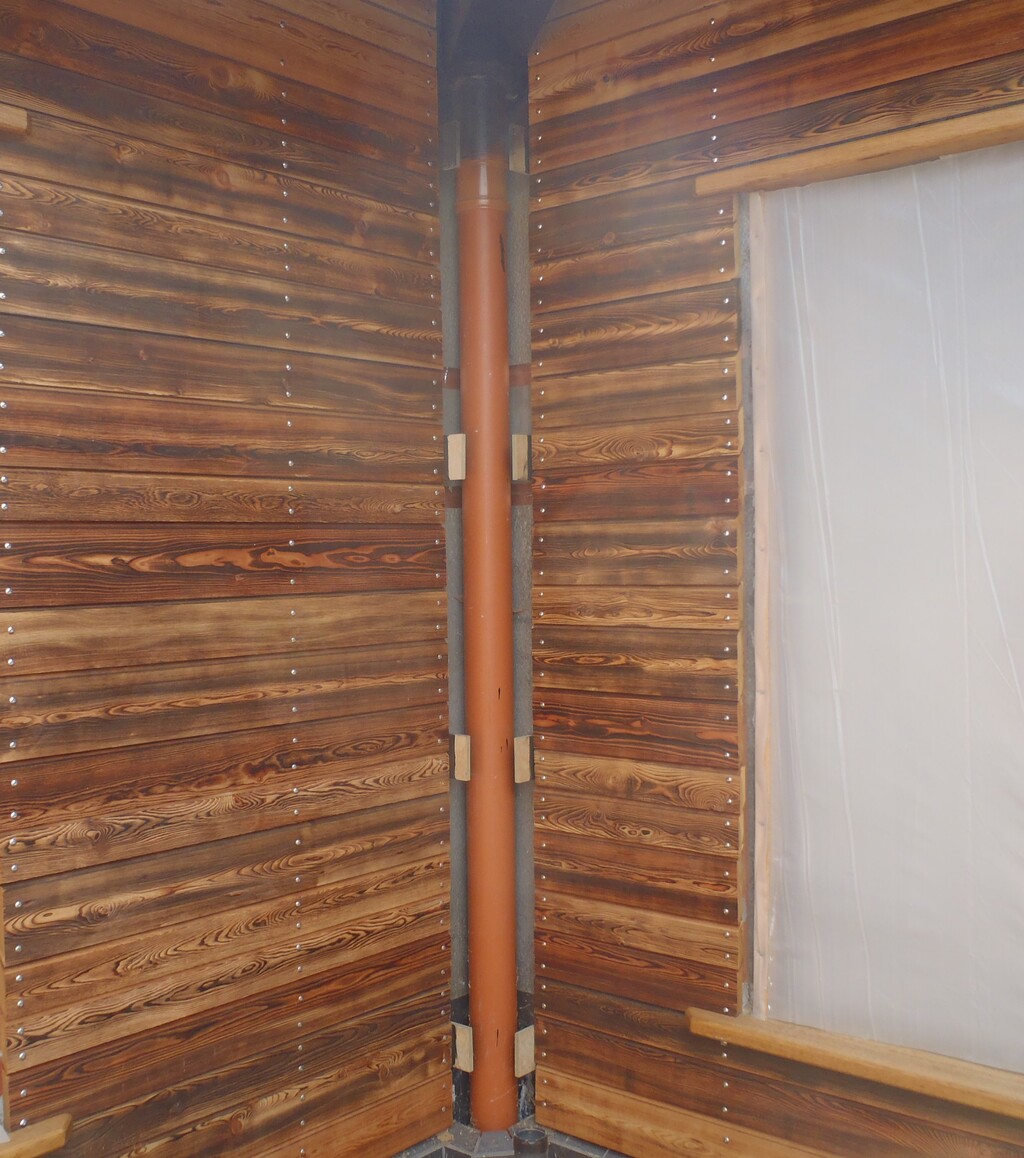
The-MN-Corner-before-covering
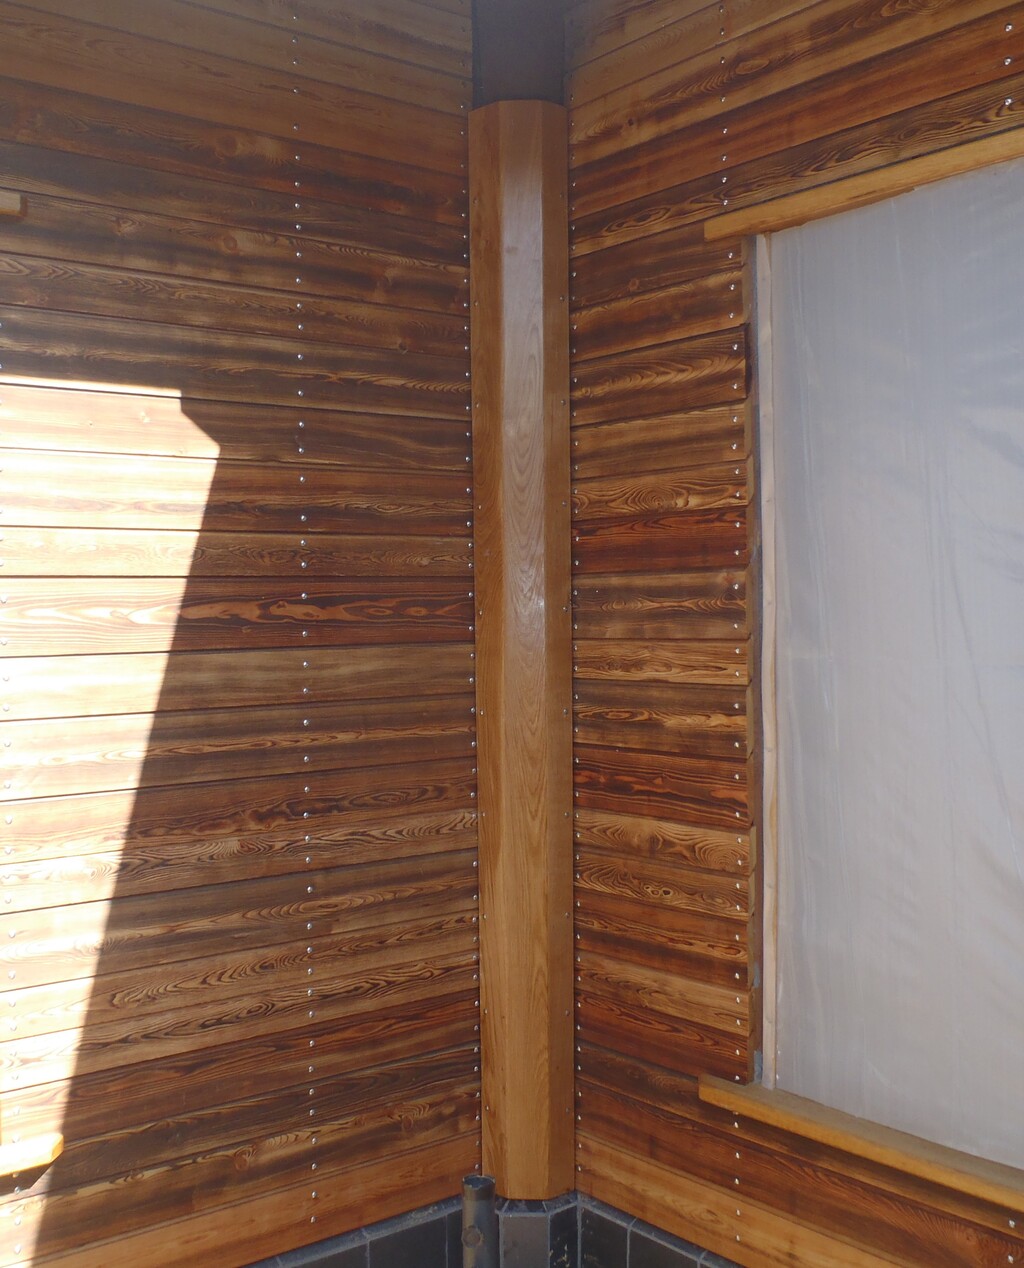
The-MN-Corner-after-covering
So that concludes the task of covering all the corners with the ends of the Larch cladding and the pipework, all 17 of them! Phew!
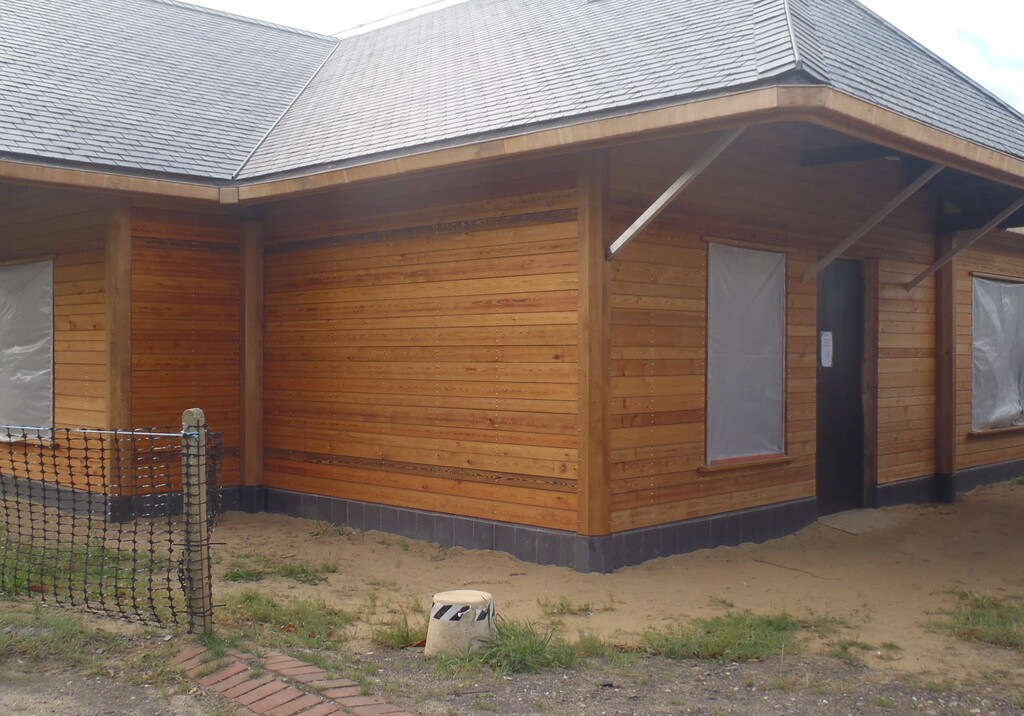
Some-completed-cladding
Leave a Reply
You must be logged in to post a comment.