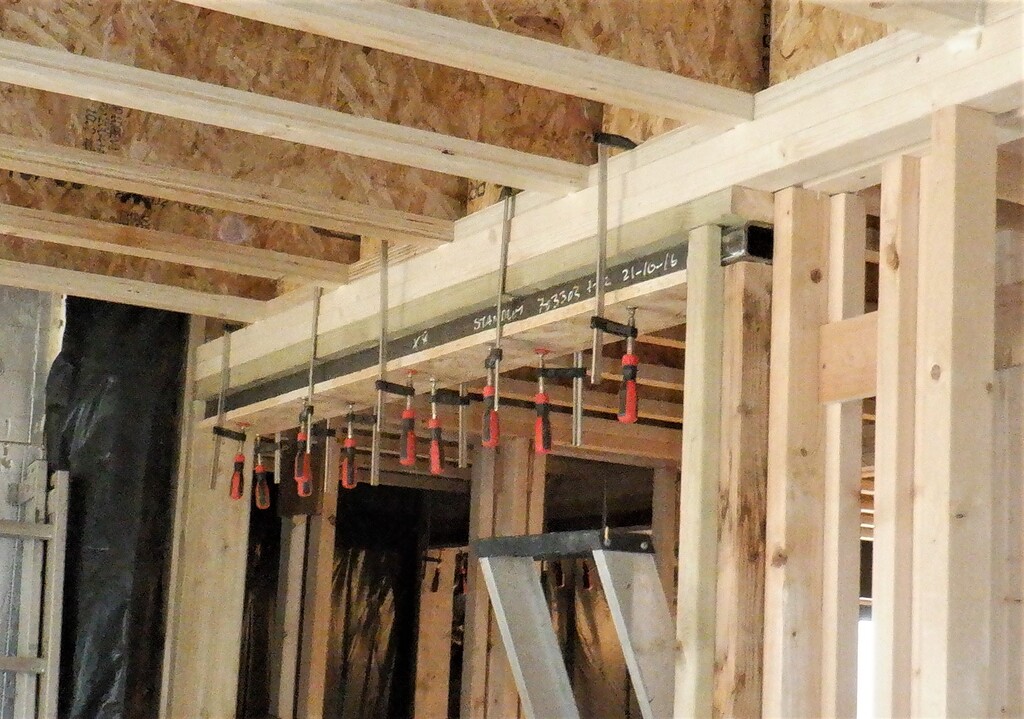
Among several interruptions during this week’s work, we got on with installing new framework for two sliding doors for our stand-alone Bathroom as well as for Ensuite Two. Both of these rooms are going to have two half sliding doors, built into the body of the walls themselves (pocket), not exposed, mounted on the surface. It will be so much nicer to have our doors disappearing into the fabric of the walls, to keep them clean and much neater too. Our room doorways right across the whole house are going to be a standard 800mm wide, some 32inches wide which is wider than most normal doorways. The Side and Front doors will be 1000m or 39inches wide. Of course, some of this space will be required to hold the finishing oak pretty framing itself plus also some doorways are the more traditional rotating door type designs and this will reduce the gap a little bit. To enable the frame to be installed we had to glue a piece of 18mm OSB to the underside of the steel lintel over the doorways and then install the CLS posts in the right direction and position to hold the doors.
OSB-glued-to-lintel

Door-framing-for-bathroom
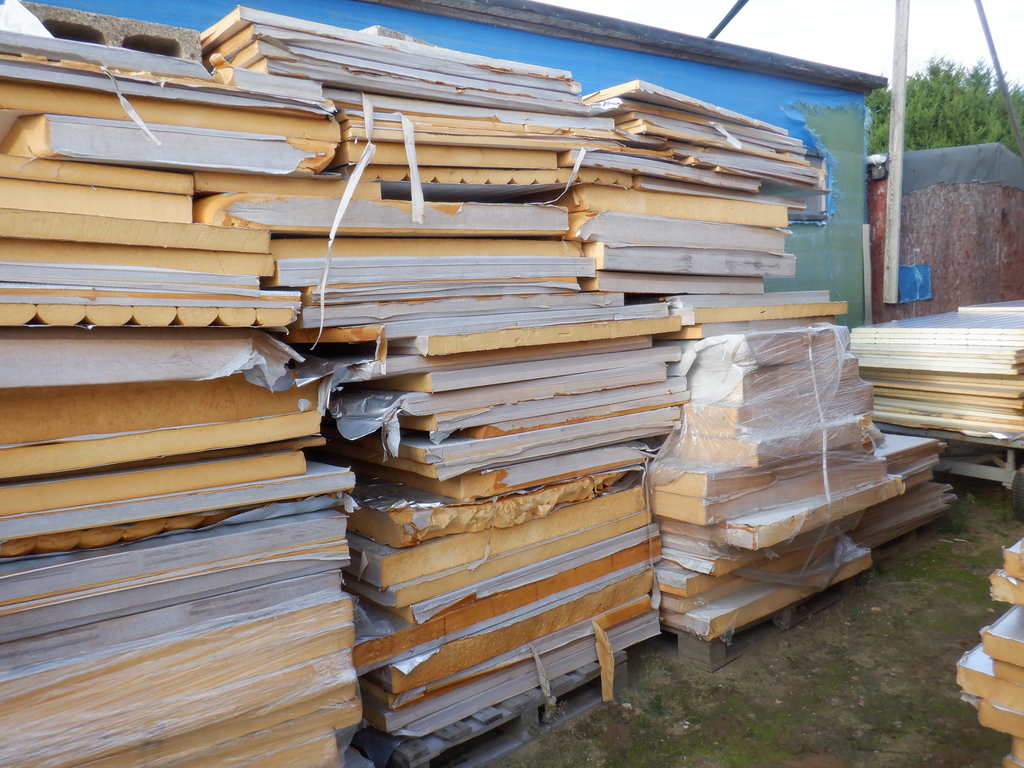
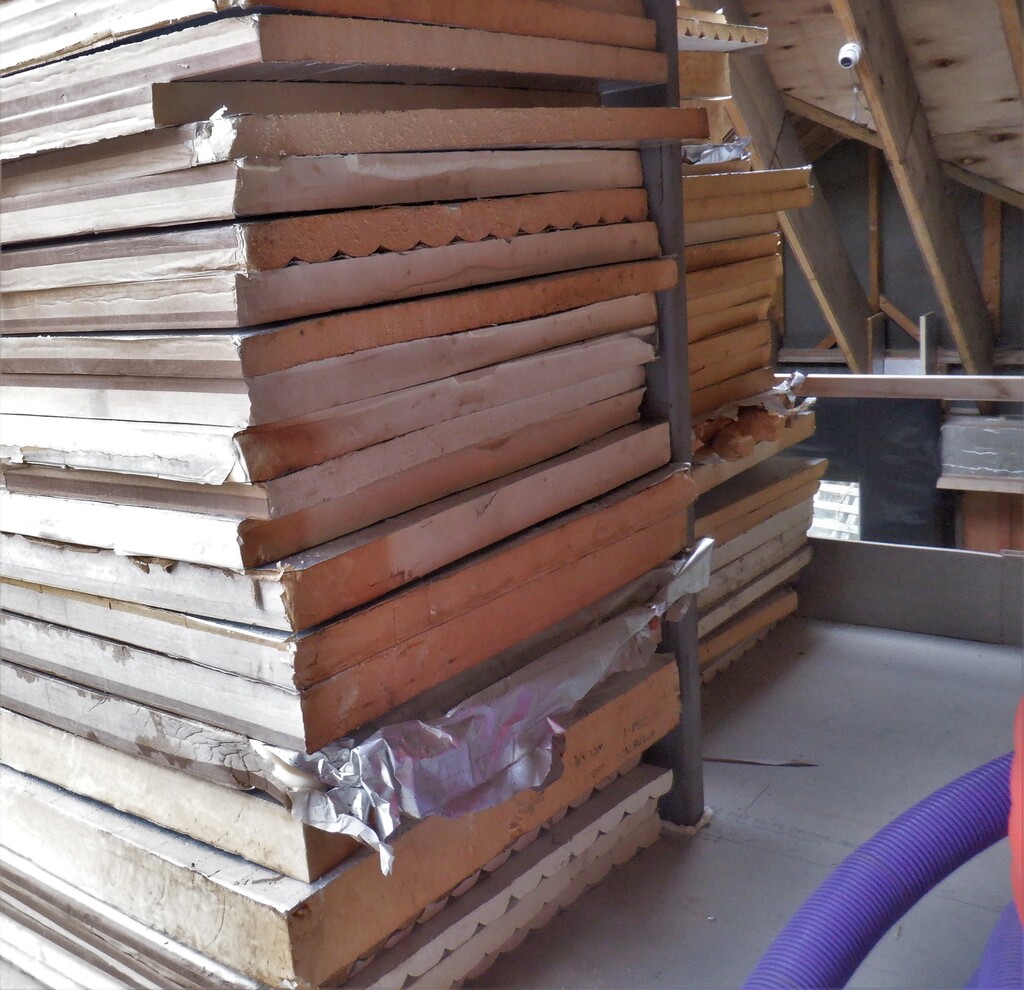
Also during the week, we took each opportunity of dry sunny weather to bring in all our remaining random heap of PU foam boards and dumped the whole lot upstairs, so we can get on with installing at least one layer of foam board up into the roof rafters as the weather is getting cooler. We calculated that we have an estimated 170 sheets of various thicknesses from 50mm to 150mm, which each measuring a rough 1.2metres by 1.1metres, will give us a coverage somewhere in the range of 180 square metres. We would be able to cover about two thirds of our roof space with “some” insulating foam board at various thicknesses. Better than nothing at all. But it does mean that we will need to order another duplicate load of seconded PU boards again in the new year to get the required level of insulation in our roof we want, to achieve our super insulated goals.
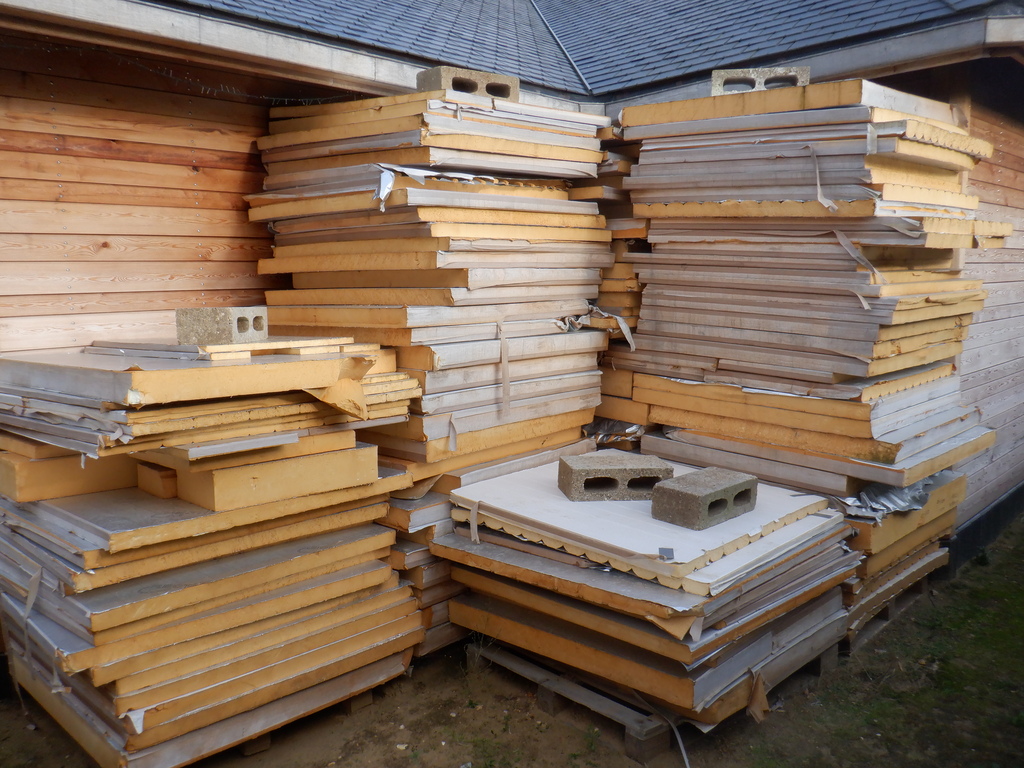
The-Remaining-Piles-of-Insulation-1
The-Remaining-Piles-of-Insulation-2
All-remaining-insulation-moved-upstairs-1
All-remaining-insulation-moved-upstairs-2
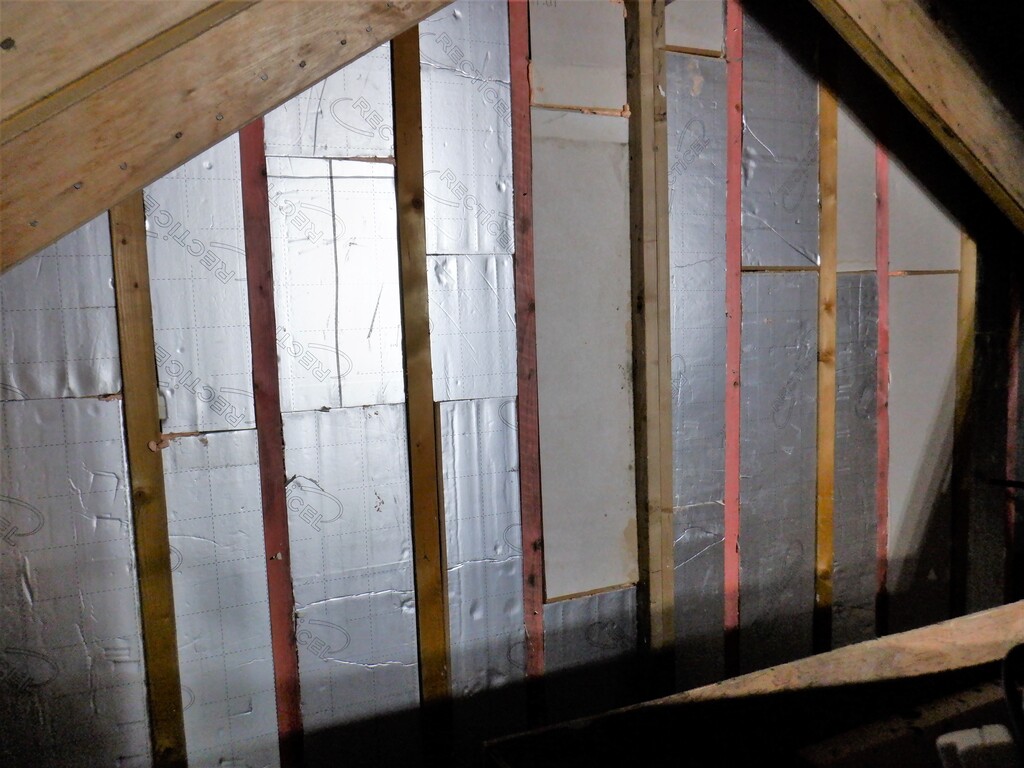
So we started on doing the two gable ends of the roof, the one over the Side door and the other over the Front door. We needed to use our 25mm thick boards to build up past the various battens we have on the walls holding the cement panels and the external larch cladding. It was a bit fiddly but it has to be done one day or another.
First-layer-of-insulation-in-Front-door-gable
Two-layers-in-the-side-door-gable
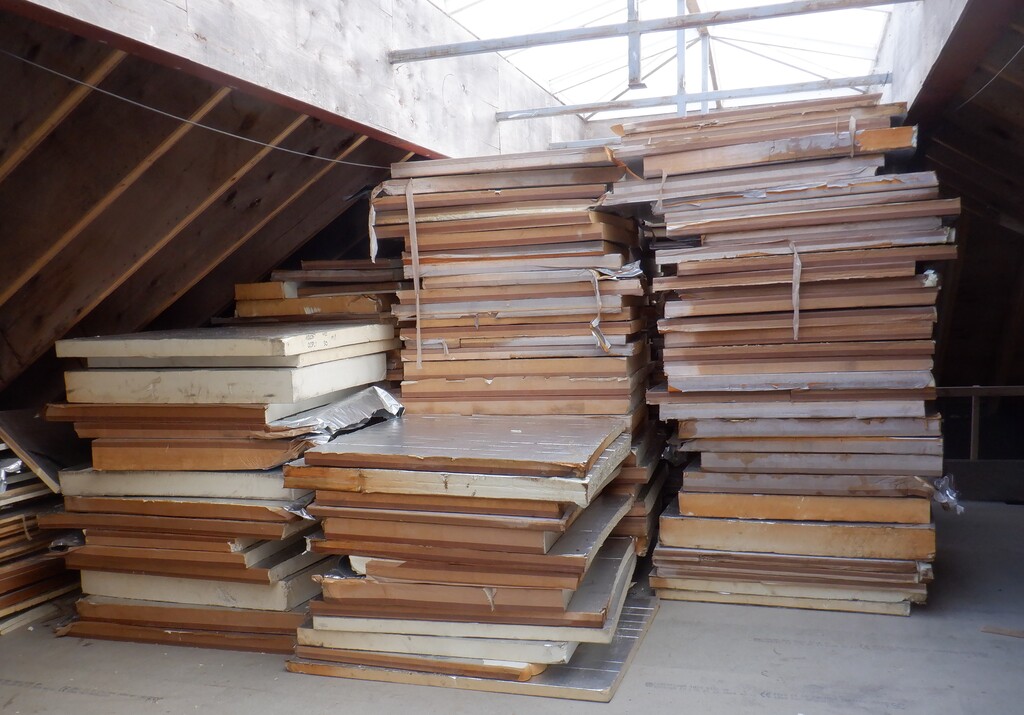
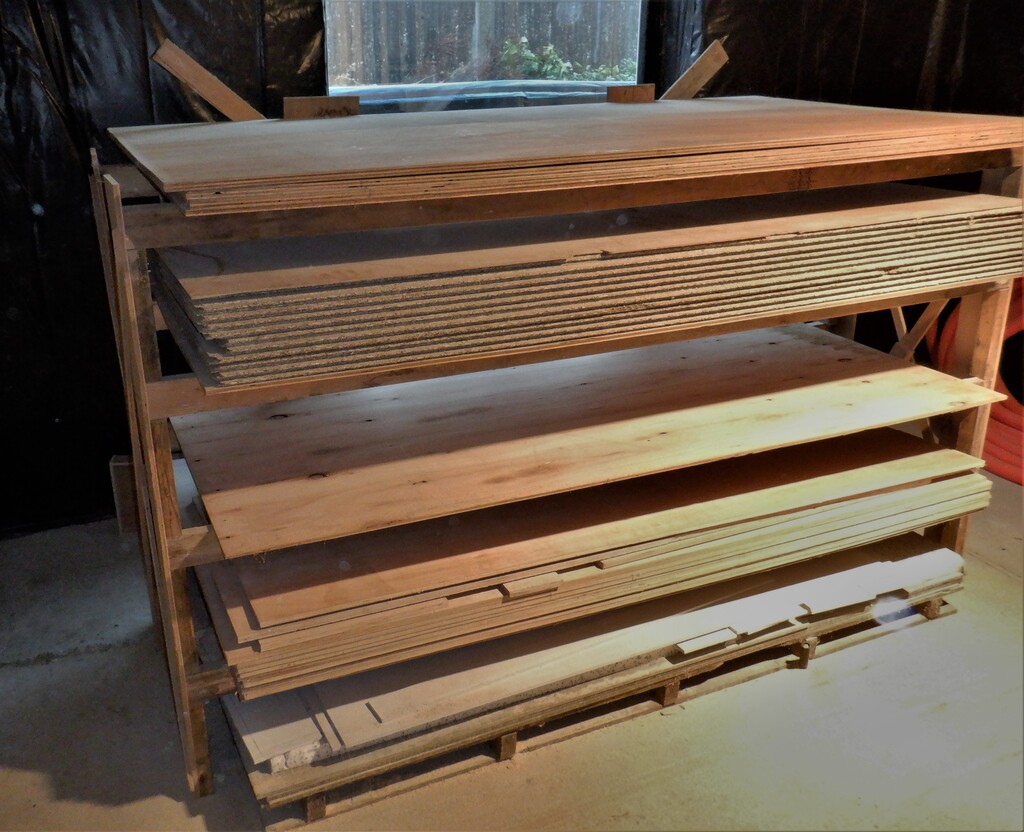
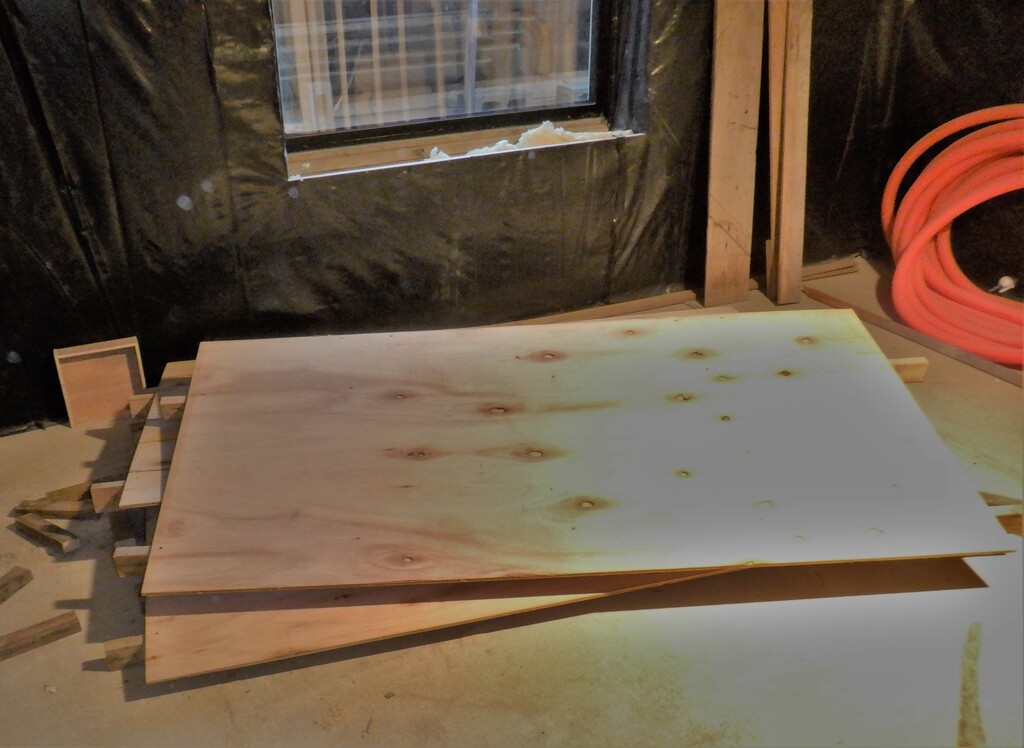
Another job we tackled was to move the entire heap of wooden sheet material off our stack which is living in Bedroom Two, sitting on the concrete floor. It has been there for several years being very useful and accessible for our sheet material but now we need to get on with building Bedroom Two and hence why we did this heavy task! The stacking shelves have been unscrewed and is now in a collapsed heap waiting to be moved out next week!
Sheet-goods-stored-in-Bedroom-2
Colapsed-storage-rack
Next week, we will continue installing more PU insulation boards upstairs in among the rafters but also start looking at building the flooring for Bedroom Two and getting the permanent pipes and conduits installed before laying down the floorboards.