We had a week of slicing and pushing loads of PU insulation foam boards up into the rafters! We carried on with the task we started last week where we wanted to get rid of all the random collection of 2nd grade of expanded polyurethane foam boards we acquired very cheaply, slice it up and put at least one layer in every single rafter we could access from the First Floor. We wanted to take the opportunity of the cooler weather to get this done and also have some measure of success when we needed to heat up the whole house when we will be working through the winter months. We were half way through covering up the gable section above the Front door last week so we got the second layer of 25mm thick boards and got that finished, bringing the total thickness to 50mm. This is only the start and eventually, we want to put in at least 300mm of some form of insulation, finishing off with glass wool for the added fire protection that will afford us.
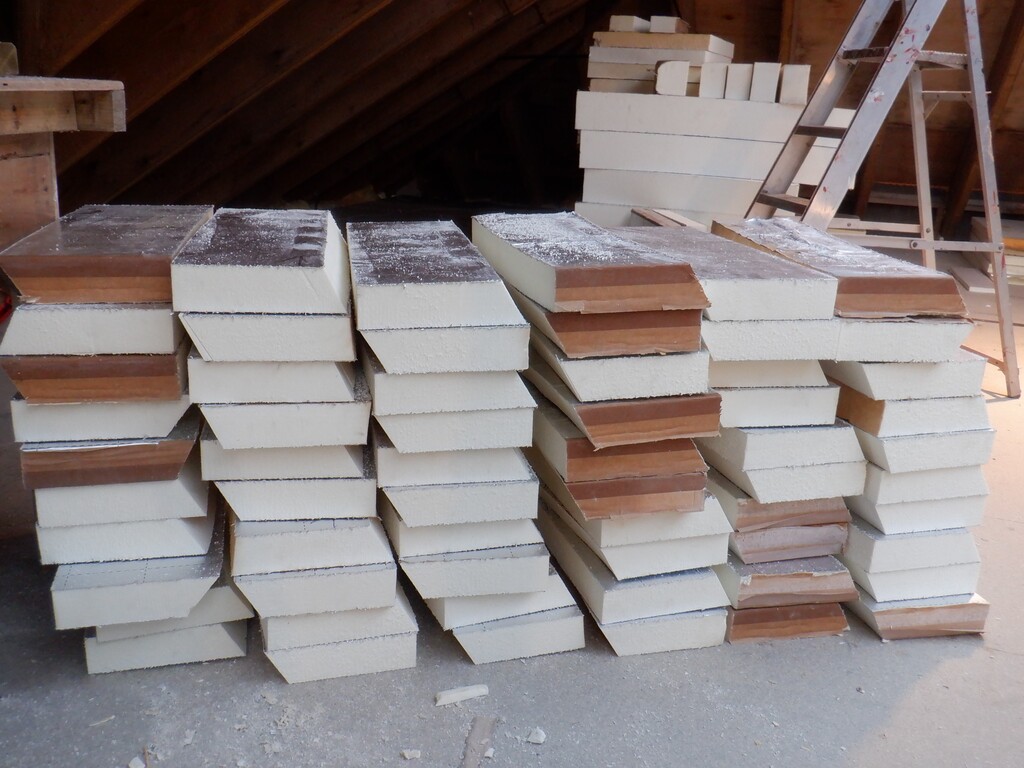
We then proceeded to start slicing up the next bunch of boards into a collection of 550mm wide pieces and sorted into similar thicknesses. They ranged from a thinly 50mm to a very fat 150mm whoppers, with most of them being in the range of 60mm to 80mm.
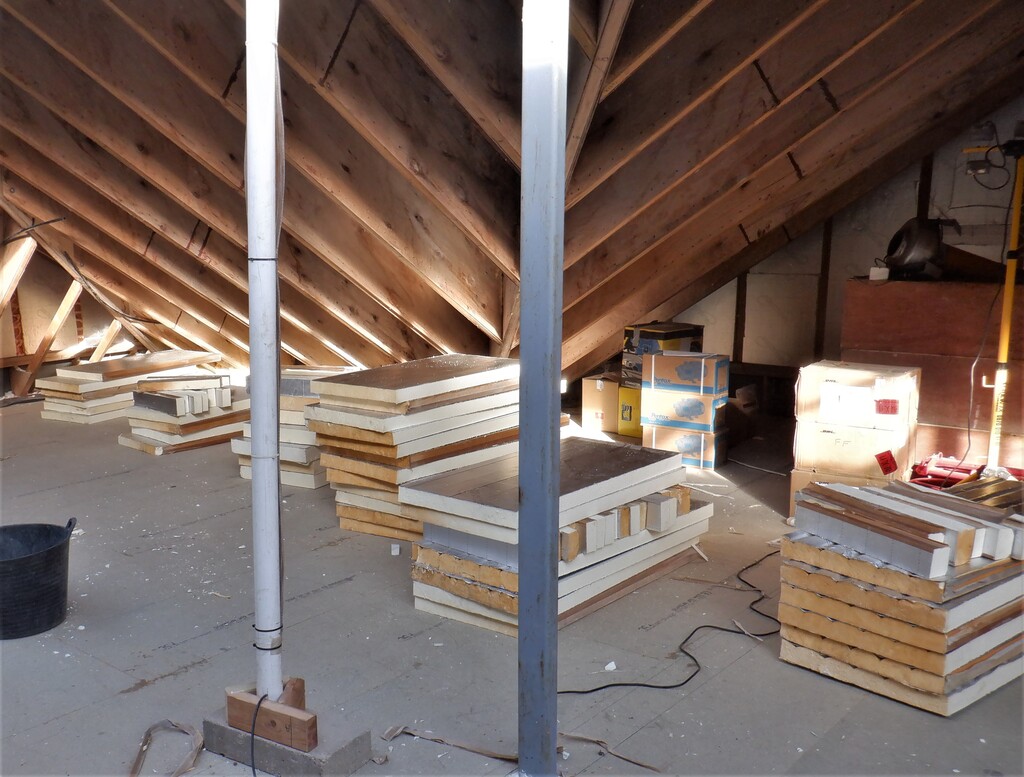
Pile-of-sliced-insulation
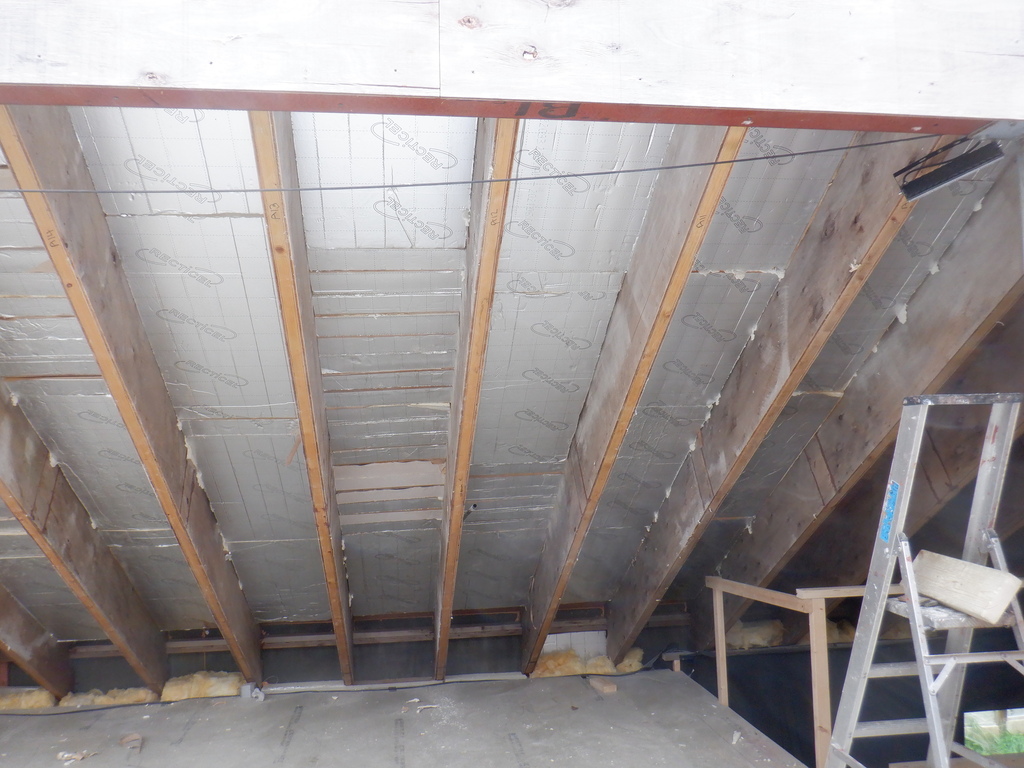
We started in the roof area near our slicing machine, the “H” section that goes along the north side of the house, that is over Bedroom Three and the Utility Room. Some of the gaps between the rafters were tight and some were loose for the foam pieces, not by much but sometimes it was very difficult to jam in the board so we had to cut a slight angle off the long edge so it reduces the friction a little, enough for us to thump the board into place. We started at the bottom of the rafters but made sure we had a cleared gap of about 200mm, ready to be filled up with more glass wool for that extra fire protection, especially since all the roof rafters all have projecting Eves and we didn’t want any flames the chance of an easy route up our roof.
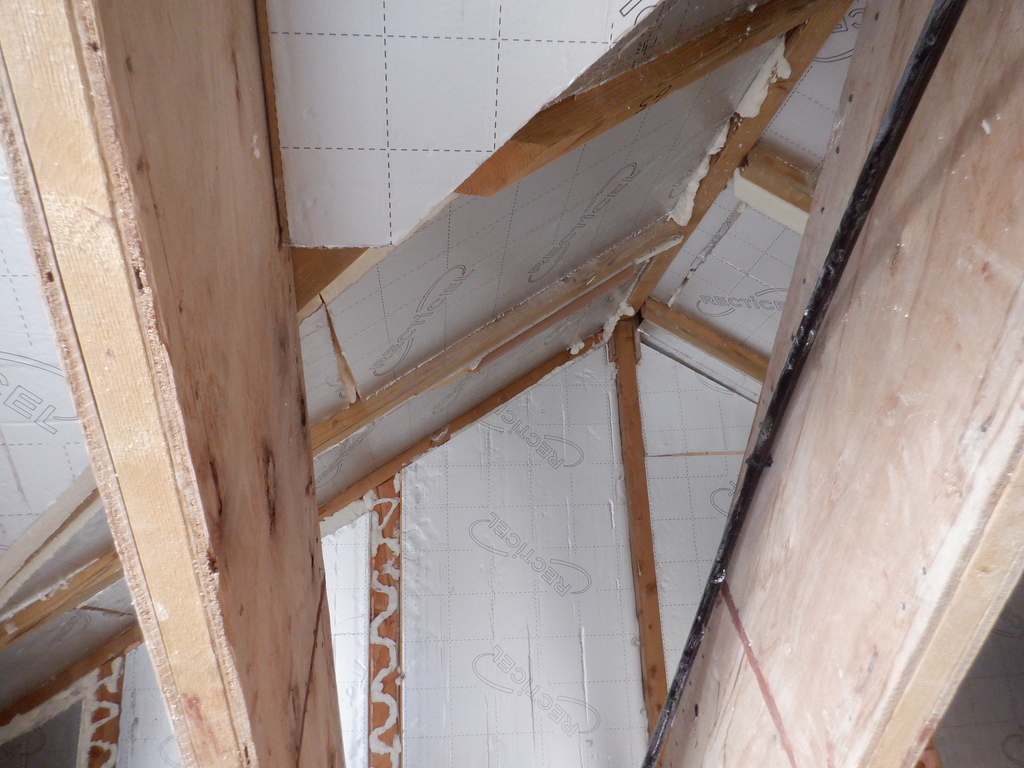
The top of the rafters terminates either at the Skylight and the steel RSJ or stops with an angle on a diagonal hip or valley beam. The Skylight needed to have a vertical layer of foam board inserted above the RSJs to make it easier when we come along with the layers and layers of foam boards in the rafters so we did that little job all the way around the whole Skylight in one go first. We cut lots of 60mm thick boards into 550mm wide and then carefully sliced at 200mm an angled cut using our jigsaw positioned at the 32degree angle to cut a sloping top.
Pieces-for-skylight-kerb
Anyway, we carried on inserting pieces of foam in along the H section, getting right down into the corner with the I roof and then went back to carry on the other direction to cover up along over the Utility Room and the Side door porch extension. We turned the corner and then went along the E section, around the next corner to do the C section which includes the the main ridge beam going out over the Front door and its extension.

Insulation-in-H
Insulation-in-G
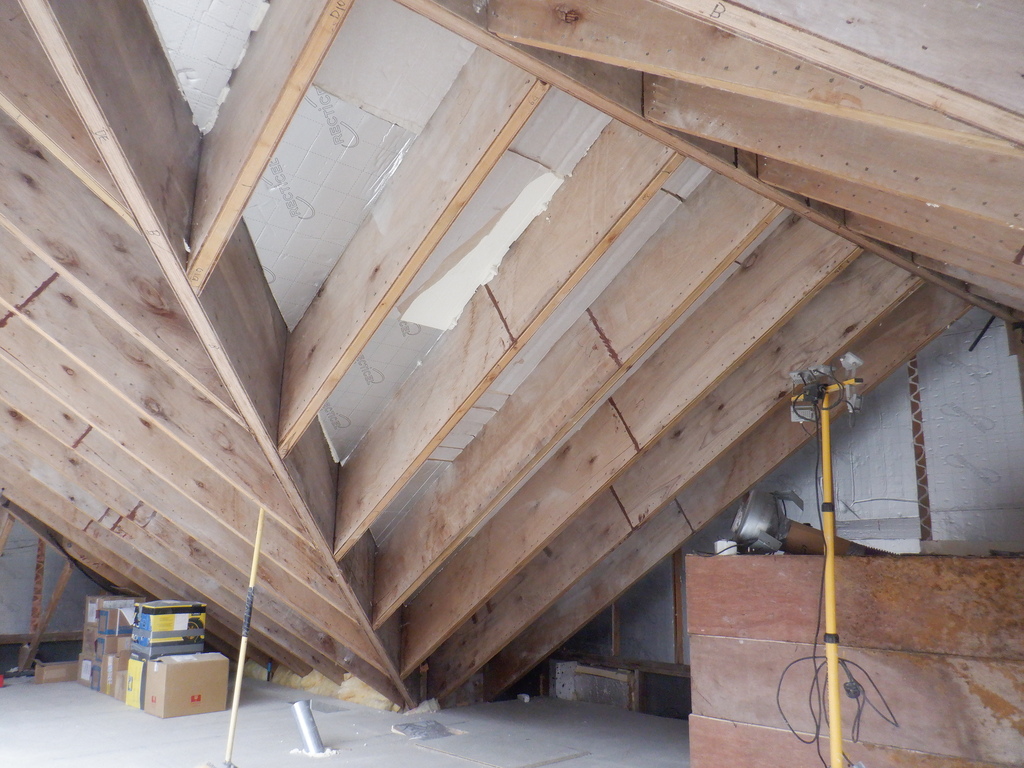
Insulation-in-D
Next was the other side, the B section that goes over the staircase and turn onto the A section that goes over the Kitchen and towards the Great room. The stairs was a bit tricky because of a somewhat large hole in the First Floor but we handled that problem by laying out a dozen pieces of CLS timber and laid four partial sheets of plywood and OSB material so we could stand on it and climb our ladders. There was only two rafters to complete here so it didn’t take too long.
We finished the week doing the A section, right up to the edge of the First Floor and the Gallery but couldn’t go any further. The Great Room will have to be tackled at another time because we will have to build and assemble some form of work platform all around the room so we could work up in the rafters and also put on the finishing plasterboard sheet materials to form the ceiling.
So having completed this A section as far as we could, we could see that we have completed over half of the rafters and we used just over half the stacks of foam boards we got piled up on the Gallery so we should have enough to finish the job if we are lucky.
Insulation-in-A
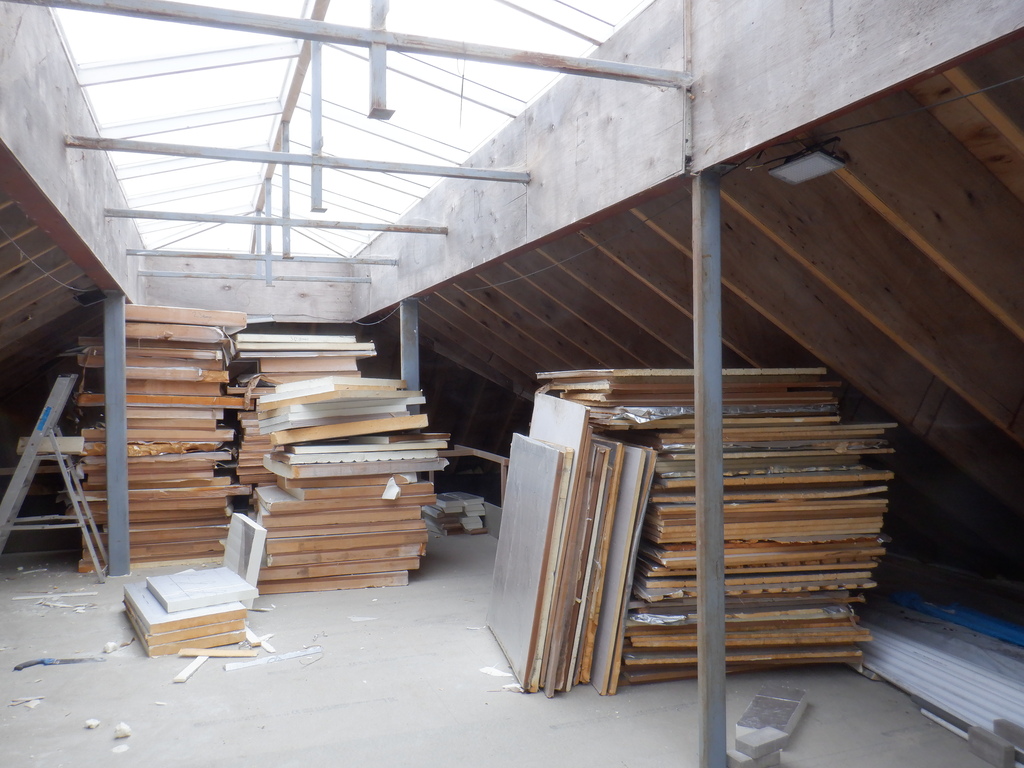
Insulation-Piles-at-end-of-week
We will carry on doing that next week and should get it finished by the end of the week. Then we can return to building the next room, installing the utility pipes and conduits etc.
Leave a Reply
You must be logged in to post a comment.