Yesterday afternoon and today, we carried on with the task of getting our Fascia Boards up on our eves. Yesterday, we had the last four and half planks that needed a steep 60° angle sliced along the top edge. We made a homemade jig with various pieces of plywood and CLS timbers to help support and hold each Oak plank in place and run our Bevel Slicing machine down the length.
We now have five piles of Fascia planks with all the different angled slopes put in, ready for installing.
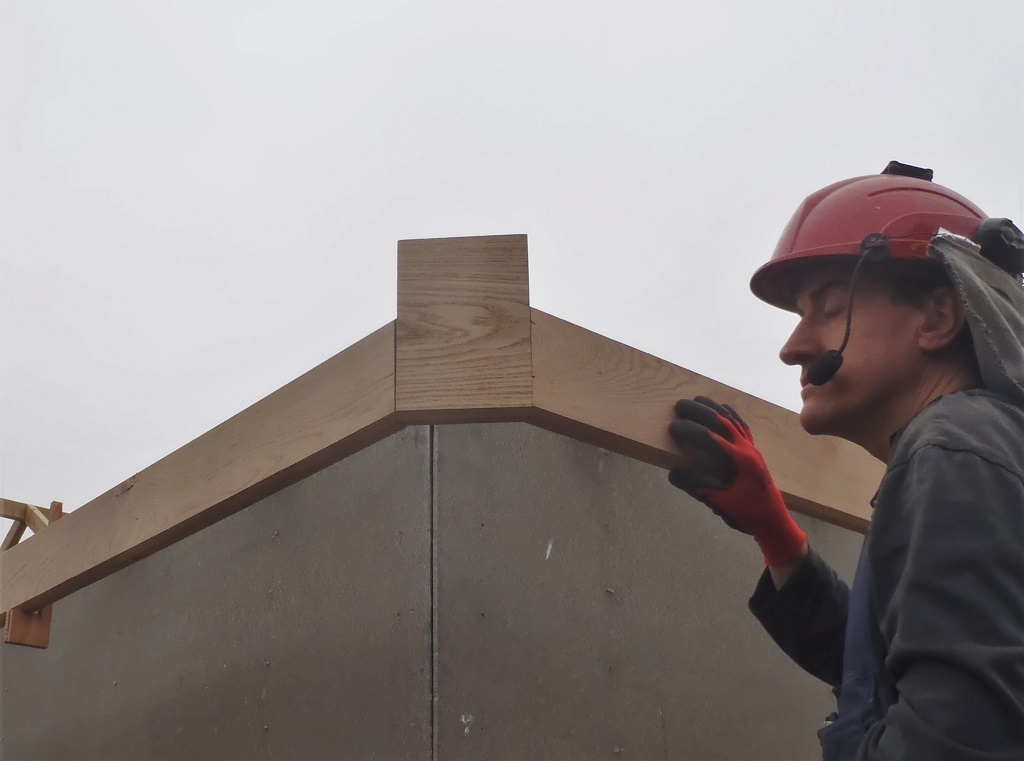
Then, starting at the beginning, the PA corner of the roof (the Great Room at the front of the house), we chopped a 22.5 degrees angled mitre so it can join onto the 45degree corner plates. We went outside to put up string between our “L” brackets and temporarily clamp some more of these brackets so we can put up a Fascia board. This would let us position each Fascia board in relative ease and get things connected nice and smooth.
Today, we initially did some preparation work on some tools so we ready to chop and slice the rest of the Fascia boards for each section of the roof. We were adjusting the workbench modules so our large chop saw was balanced and level. It was a bit fiddly but we managed to get there at last!
After that, we sorted out our new biscuit jointer machine and worked out how we are going to cut a slot on the ends of the Fascia boards so the biscuit will be able to help us align each board and be a neat flat transition from plank to plank.
Fisrt-two-facia-boards-test-fitted
We did another test fitting with our biscuits inserted and it is looking not bad at all. we marked the slopes of each roof, the angle and things, on our little corner Fascia bit and hand saw off the extra bits.
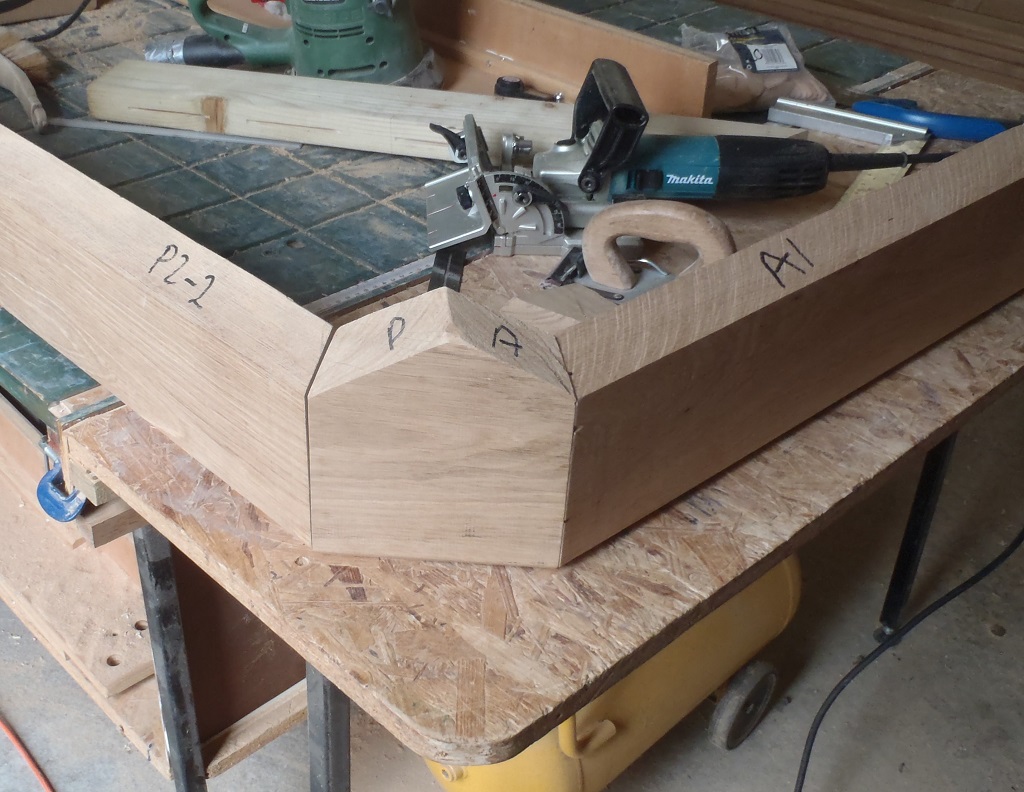
The-corner-piece-cut-to-shape
Tomorrow, we will make some template jigs to help us position exactly where we will need to drill clearance holes through the Fascia boards so the stainless steel screws can be driven into the ends of the Eves (the rafters). We are waiting for some stainless steel tiny brad nails and some specialised highly waterproof PVA glue before we can proceed with putting up for real our first piece of Fascia board!