Here is a summary of our work for the last 10 days ..
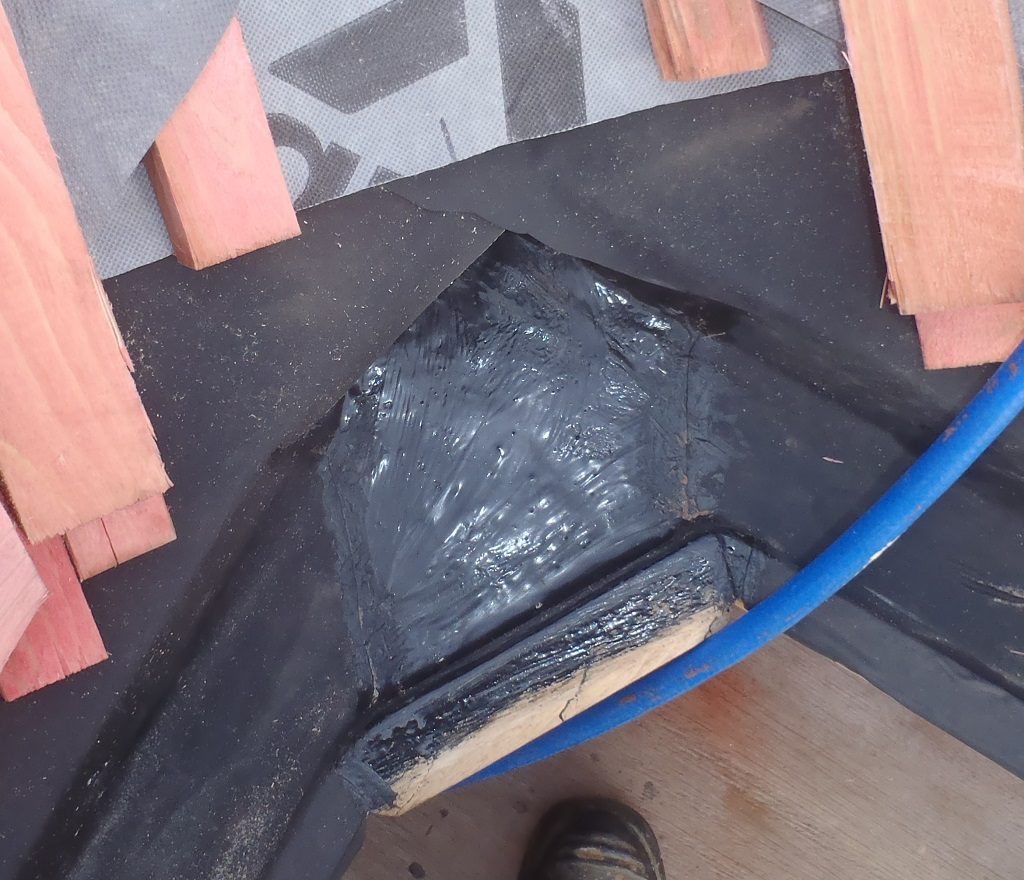
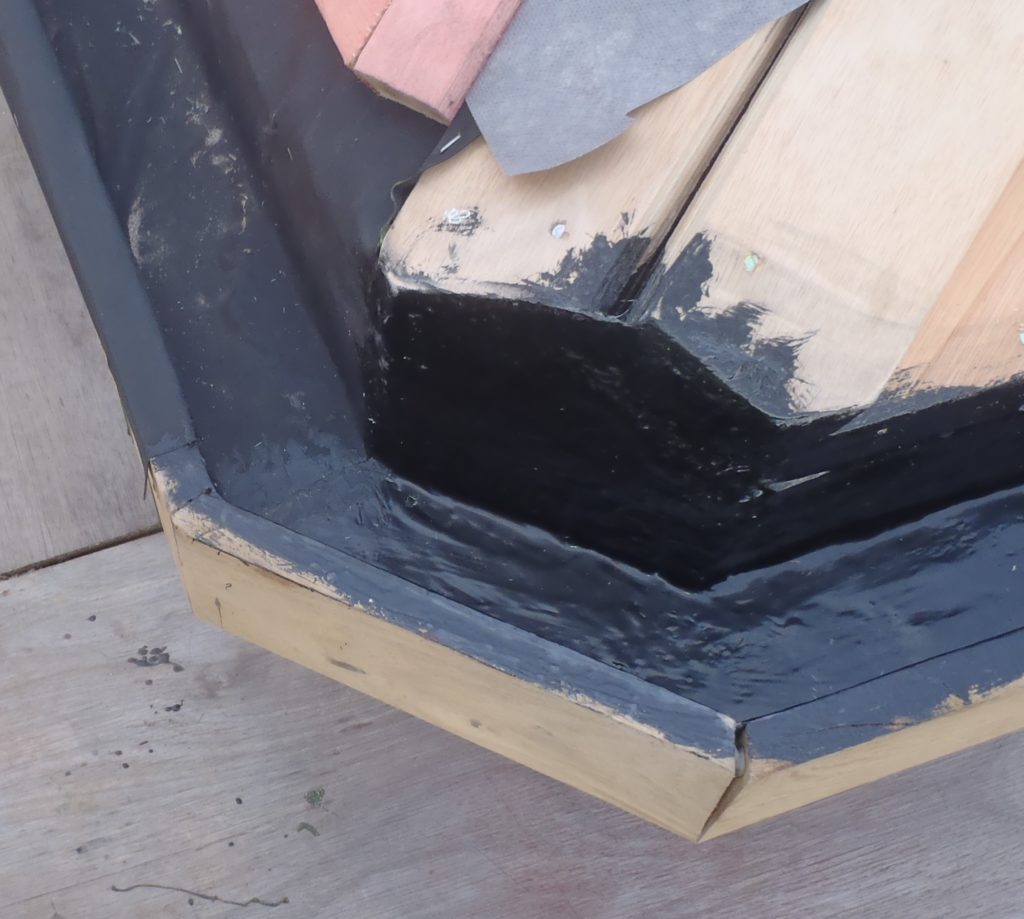
Using glass fibre and black resin, we sealed the complex downpipe channel three way intersection plus the two outer corners too. We did this to avoid the complicated task of laying the rubber membrane lining the gutters to go around the odd shapes of the corners and joining together the two incoming gutters (off the I and J sections of the roof). Then we glued in two separate straight strips of the rubber membrane, along the bulk of the gutters and sealed the ends onto the glass-fibre surfaces with contact adhesive.
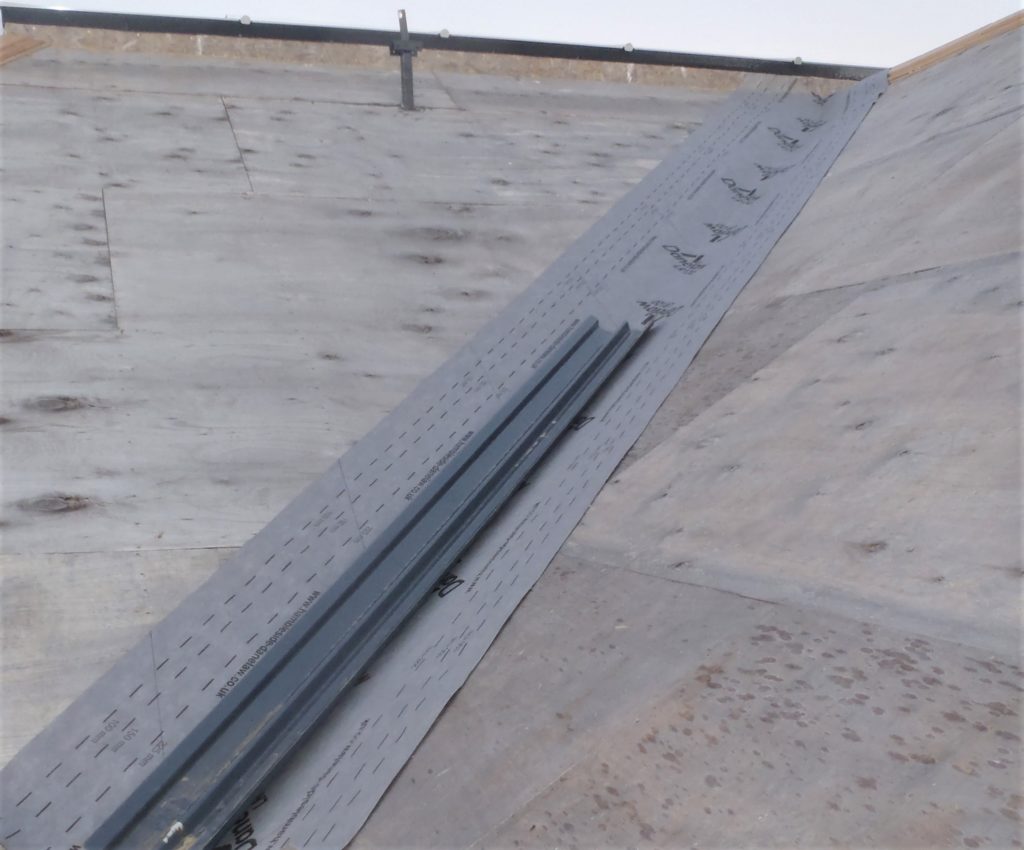
The first strip of the breathable membrane we put on the roof is for the valley as this is always the lowest point for any water to run downhill so we laid down a metre wide strip with stainless steel staples.
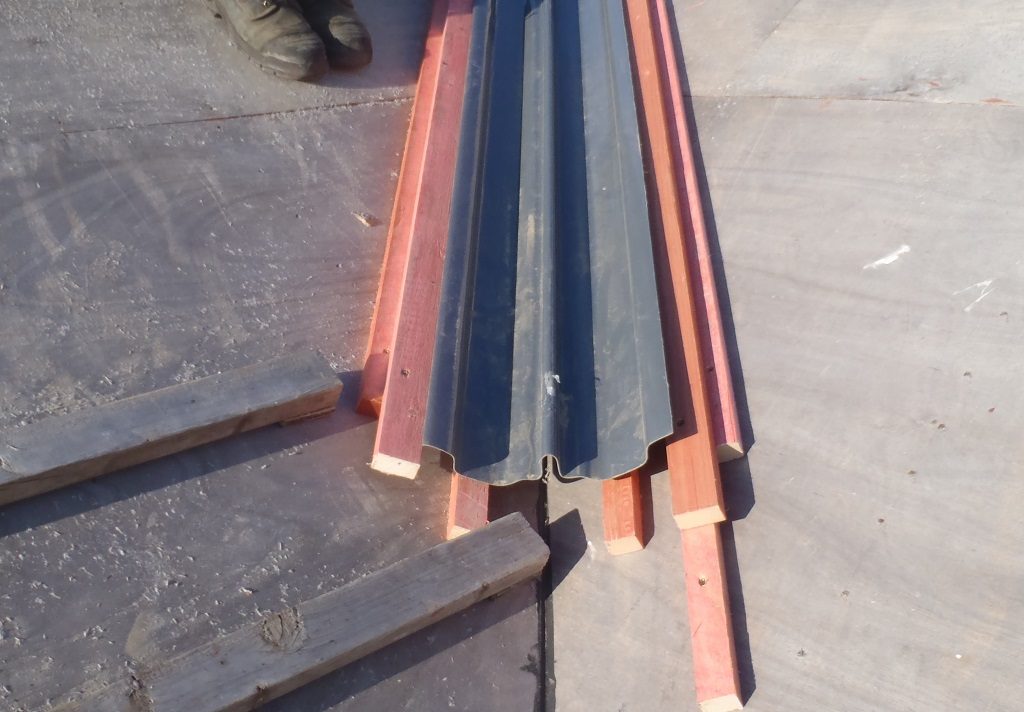
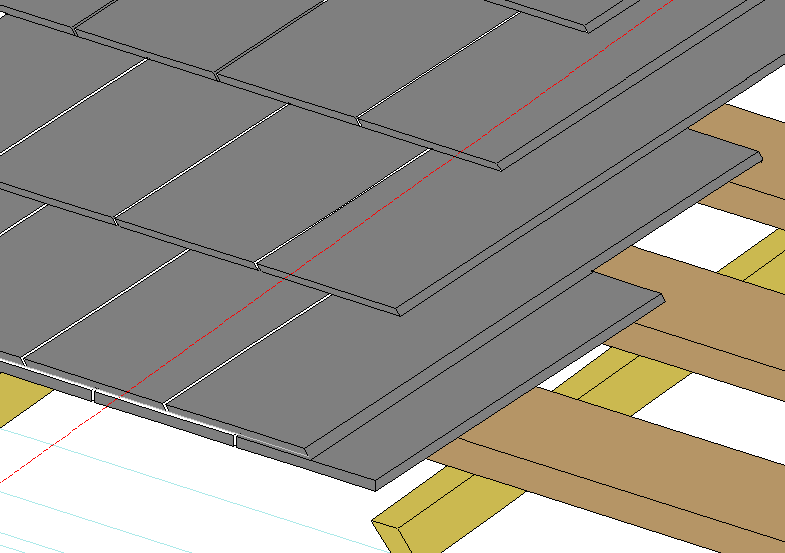
Next things we had to analyse and test, was the valley trough (a moulded fibre-glass constructed object) that needs to fit underneath the slates, to catch all the rain water flowing down the slope into the valley. It is a deliberate method of allowing the water to “leak” pass the end of the slates and collect together and be diverted in a channel. For this reason, the battens needed to be spaced apart so it is fully supporting the trough on the bottom, and then supporting the two outer edges on the wider tile batten.
We made a test assembly on another valley on the roof first and worked out that three 38mm wide battens can be placed together (with a gap of 38mm between the inner single batten and the two outer battens) on each side of the valley, with a gap measuring 130mm wide between them. Then a 50mm battens is placed on top of the 2 outer battens to hold the edge of the trough.
Using our research, we proceeded to screw full length battens (4.5metres long) into place, on top of the breathable membrane already there, going up the I-J valley and then we doubled back on ourselves putting 90mm nails into the underlying rafters to provide a strong secured fixing.
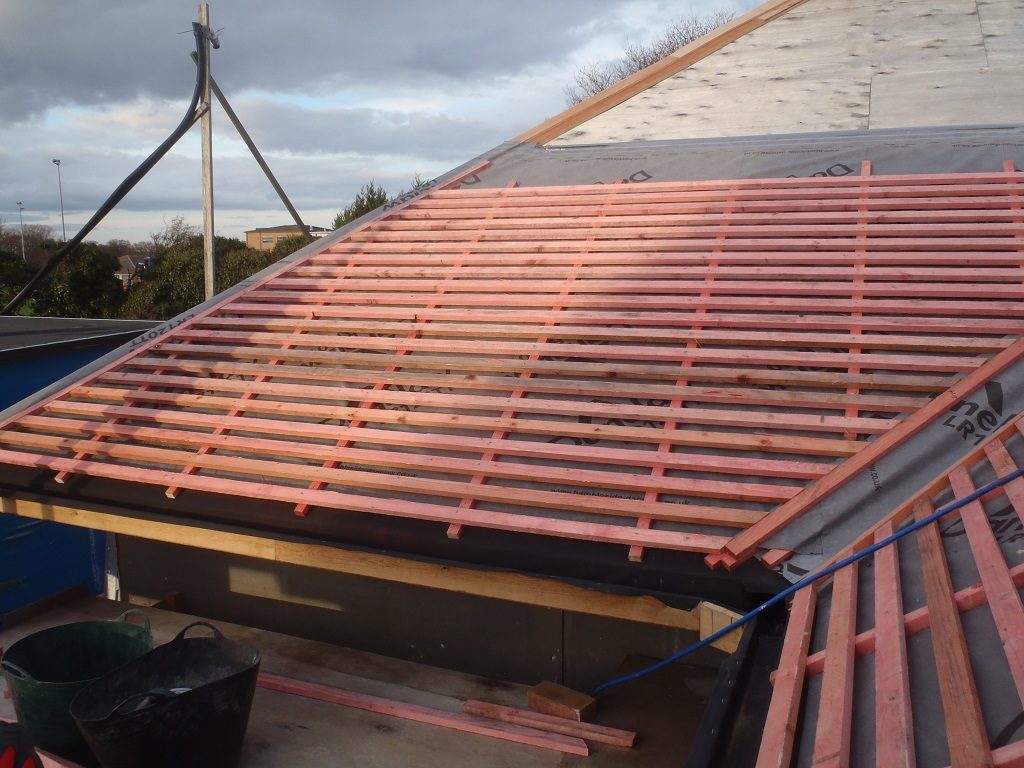
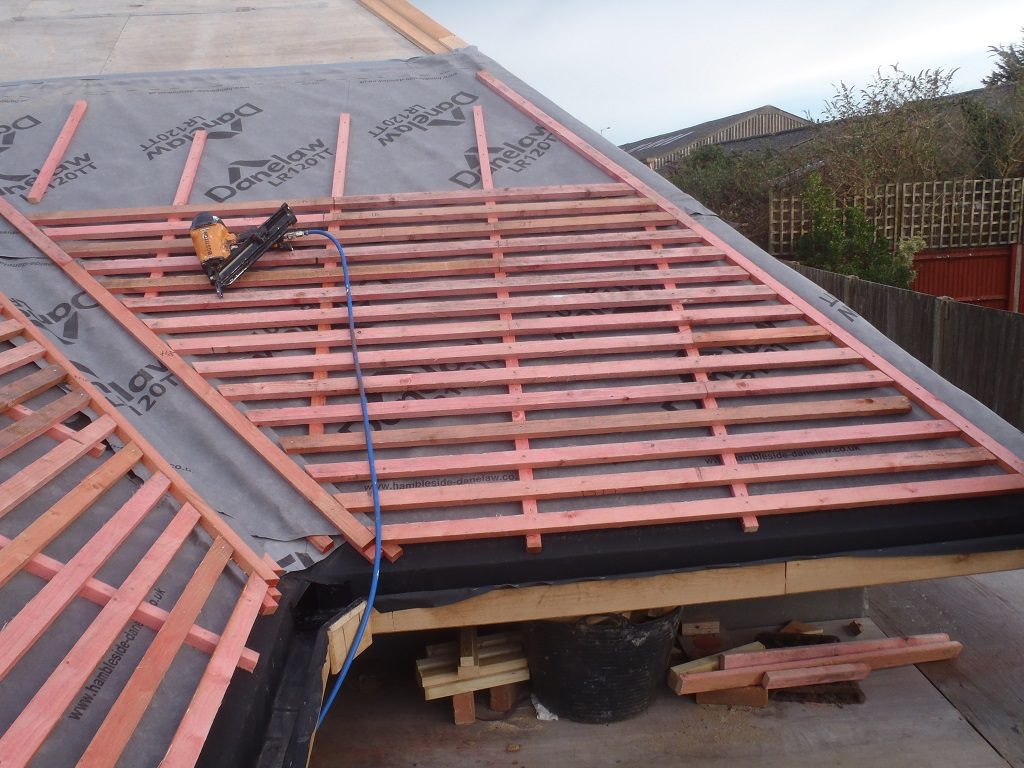
It now follows that we can start on the task of mounting all the tile battens on to the roof. The breathable membrane goes on first, going flat on to the roof boards, starting the first line, overlapping the lower rubber membrane and running over the Hip and Valley ends. The membrane was held into place with the vertical lines of battens, in short segments that stop just before the top edge (To allow the next piece of membrane to overlap). Then the horizontal tile battens were nailed into place at regular spacing of 112mm apart, so that a slate will sit across three rows of battens and hook onto the hanging nail off the third line.
We managed to get about 20 rows on the I roof and about 16 rows on the J roof sections, just about half way up the slope.
On Monday, in the afternoon, we will resume this task of more wooden battens and probably have it all complete by Tuesday.
We are learning the techniques and methods needed on this section of roofing, and will be getting better and quicker at it as we progress!
