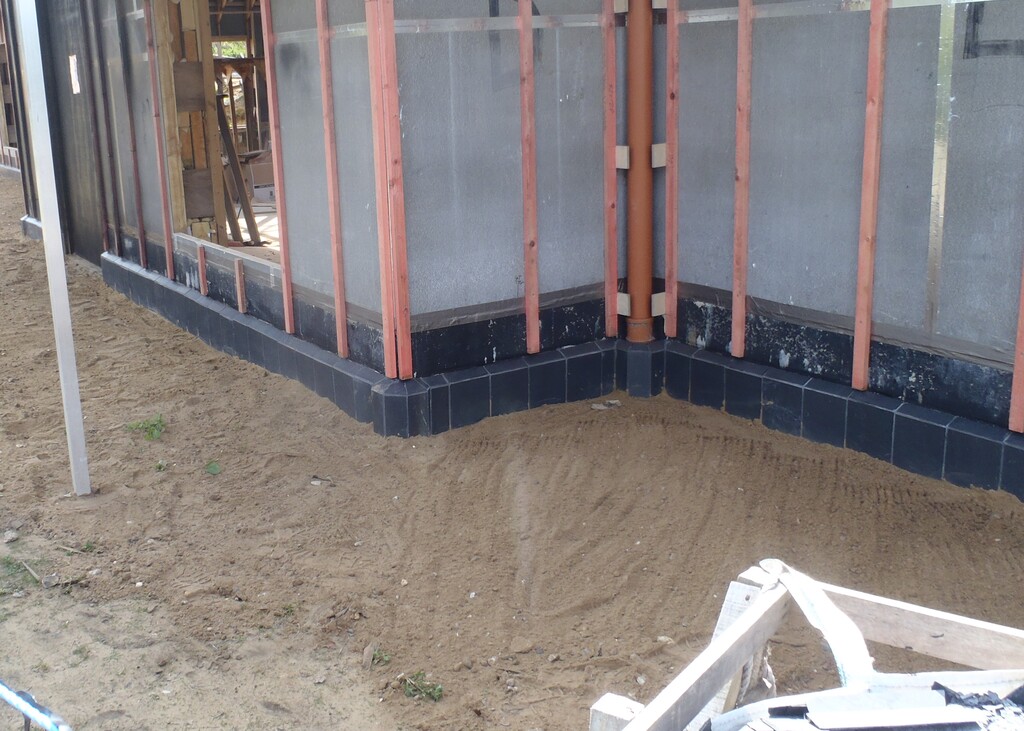
By Tuesday lunch time, we had finished gluing up all the Slates that forms the Skirt on the wall running right around the house. Some 300 slates were stuck onto the polystyrene padding layer so two thirds are above ground and the remainder is in the dirt.
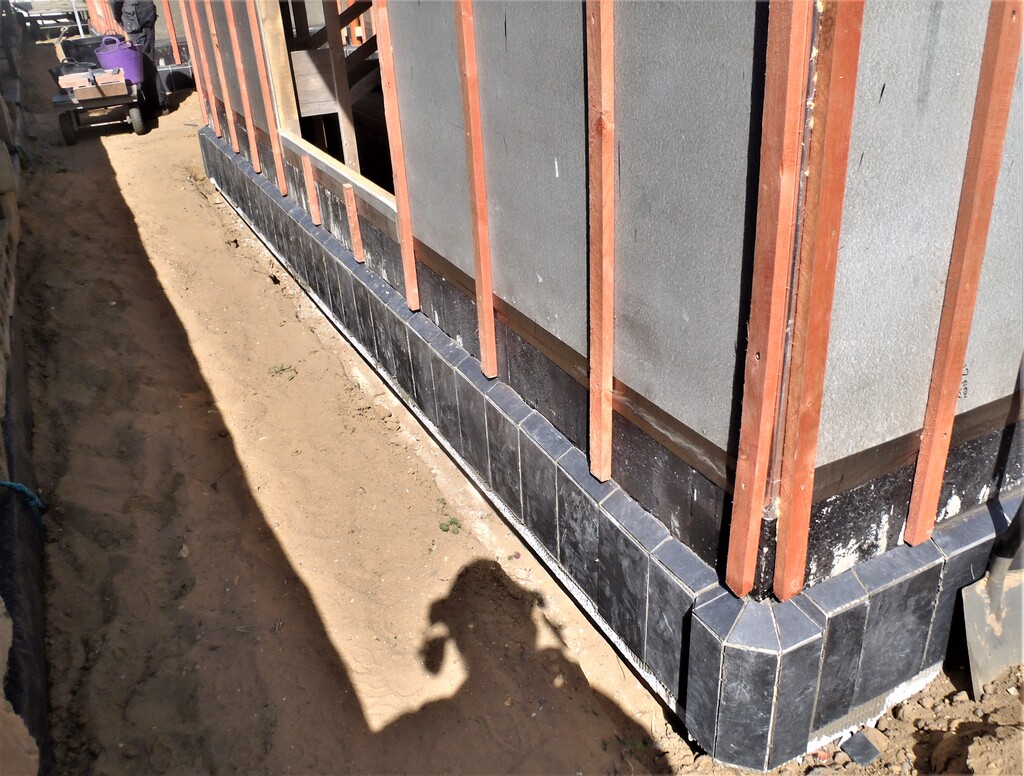
Slated-along-O-and-around-the-corner-to-P1
Over the remaining days of the week, we were grouting the slates in sections using a anthracite coloured (dark grey) cement based grout, which we used up 17.5kg of grout. We had to order another 10 kg because we had not realised to how much more grout these slates took to fill the joints (the bevelled edges were facing backwards so had a hollow to fill up). The new supply arrived very quickly on Thursday morning. After each section was grouted we went along and removed any excess grout with a wet sponge, then as each section matured and hardened overnight, that section was scrubbed with a rough ‘scotchbrite’ pad and washed using our garden hose connected to a brush to provide a constantly running clean water.
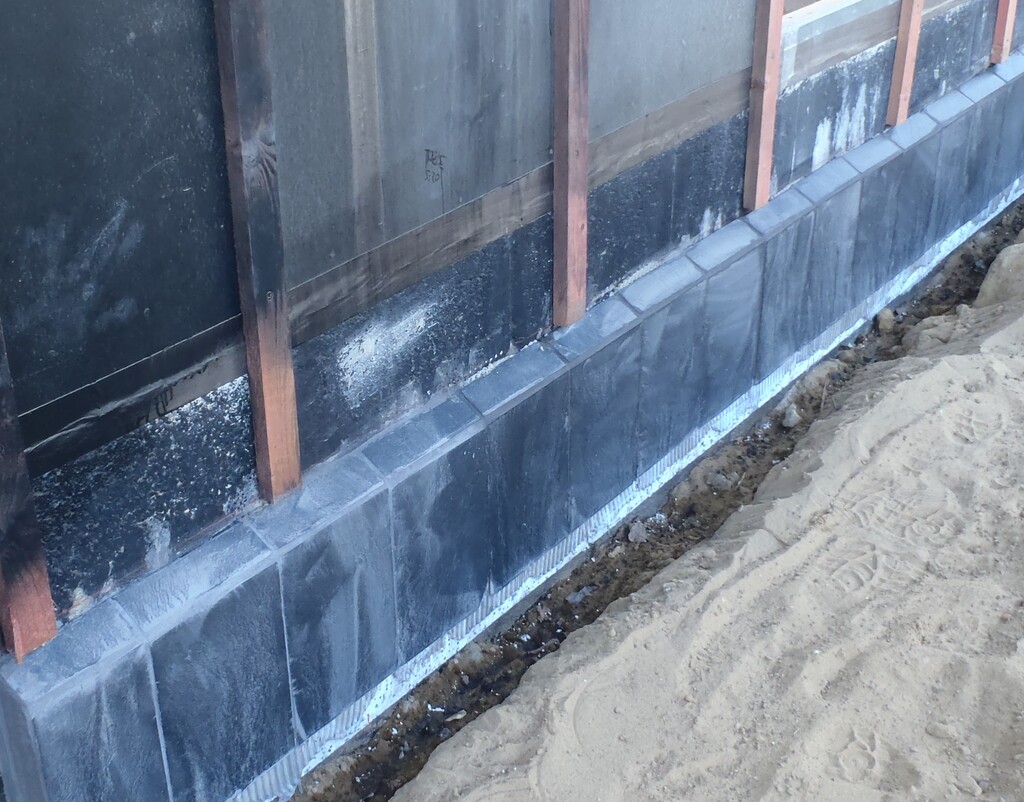
Slates-before-final-scrub
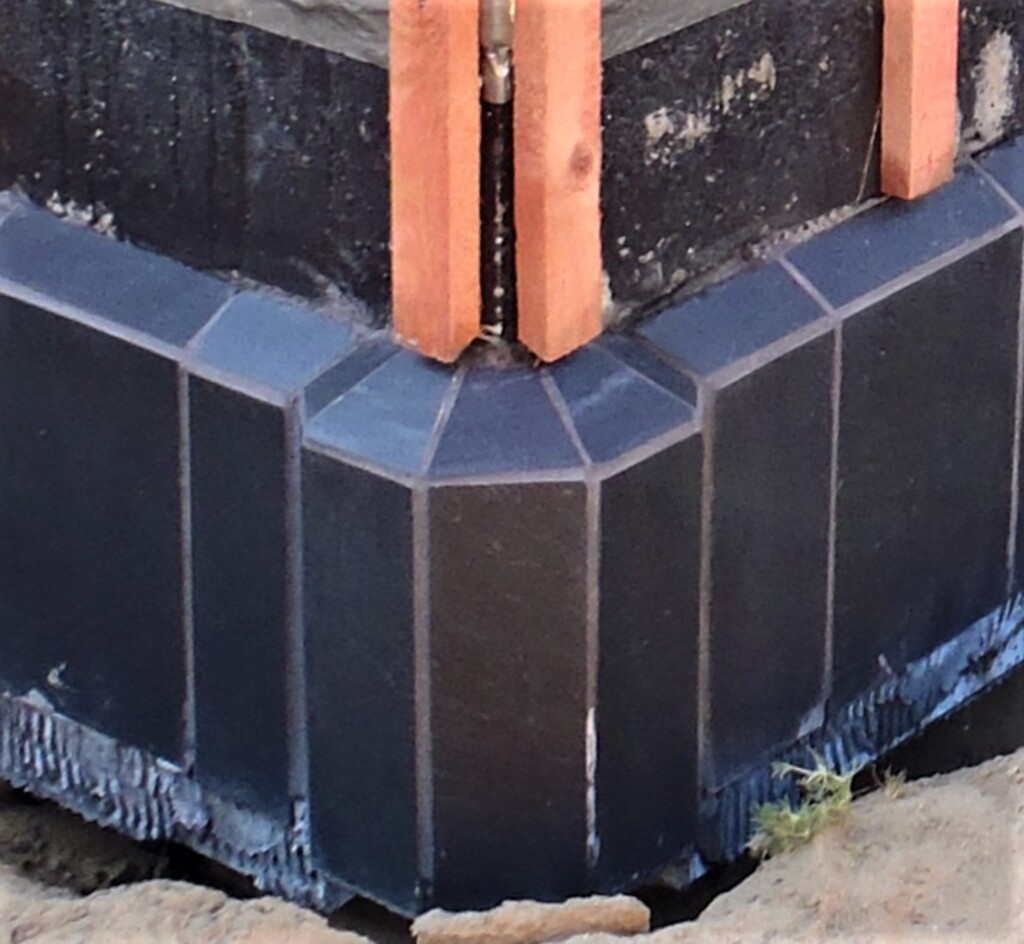
Grouted-corner
We had a side issue to deal with on Thursday with the repair of the garden shed’s roof, see
Garden Shed Repair
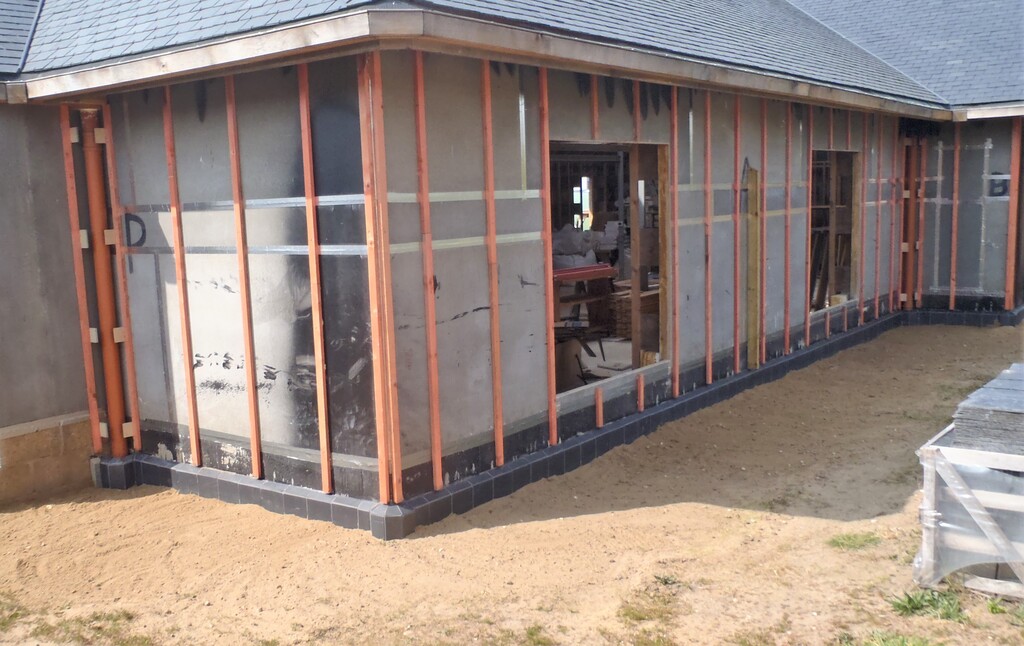
But in the afternoon, we managed to fill in all the way along the front of the building, pushing the sandy soil back into the trench and level off the area in front of the slates
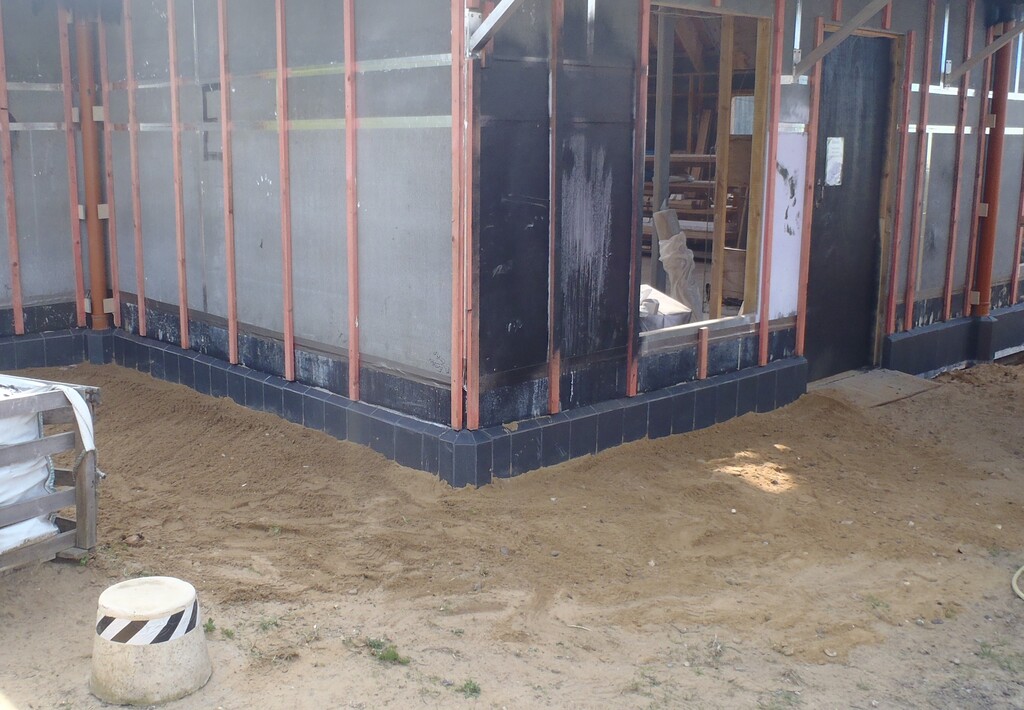
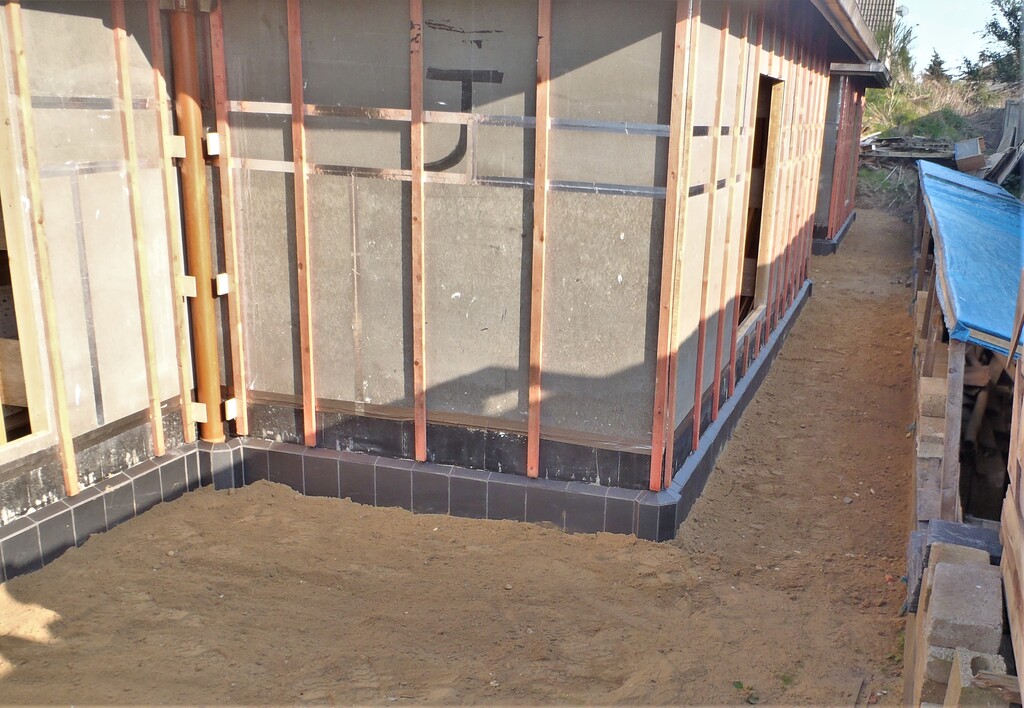
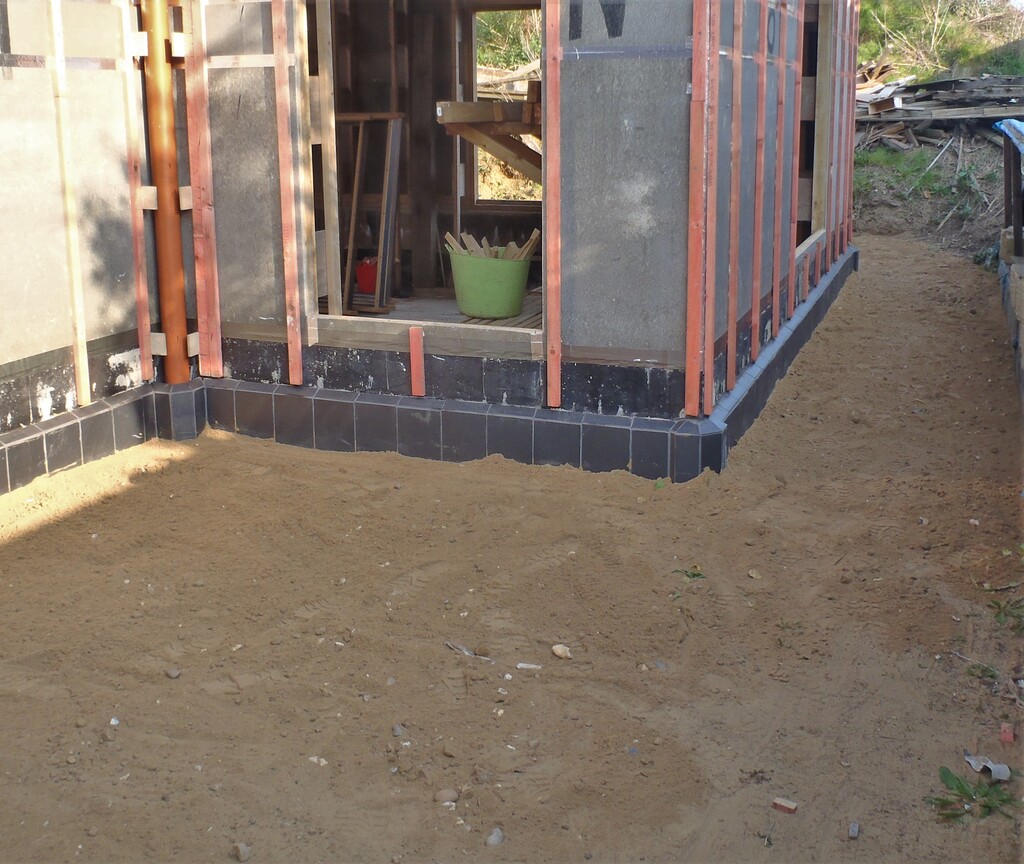
So by Saturday mid-afternoon, the whole Slate Skirt was all grouted, all washed and the soil pushed in and levelled. Also half of it had the non-drying black mastic applied to the top of the skirt to seal it off against any chance of rain water getting inside behind and perhaps freezing during a bad winter and causing damage.
The-finished-skirt-1
The-finished-skirt-2
The-finished-skirt-3-
The-finished-skirt-4
The-finished-skirt-5
The last few hours of work for this week was to install one of our window frames with our newly arrived grey PU sealant. We made wedges to help jam the frame into the house holes when they are in the correct position and a couple of spacers to make sure the top edge, the header, is held at the right distance away from the wall.
We first charged all the surfaces (after brushing off all the dust first) with a thin layer of the sealant and then slid the framework into the hole. Then all the outside exposed joints were thoroughly filled in with more sealant and scraped smooth at a slight angle to improve the bulk strength and make it long-lasting. We had allocated three tubes (standard 300ml size) to each of our twelve windows. We had about a quarter of a tube left so instead of using more of the grey stuff, we decided to use some older white PU sealant to put a thin bead around the inside joint.
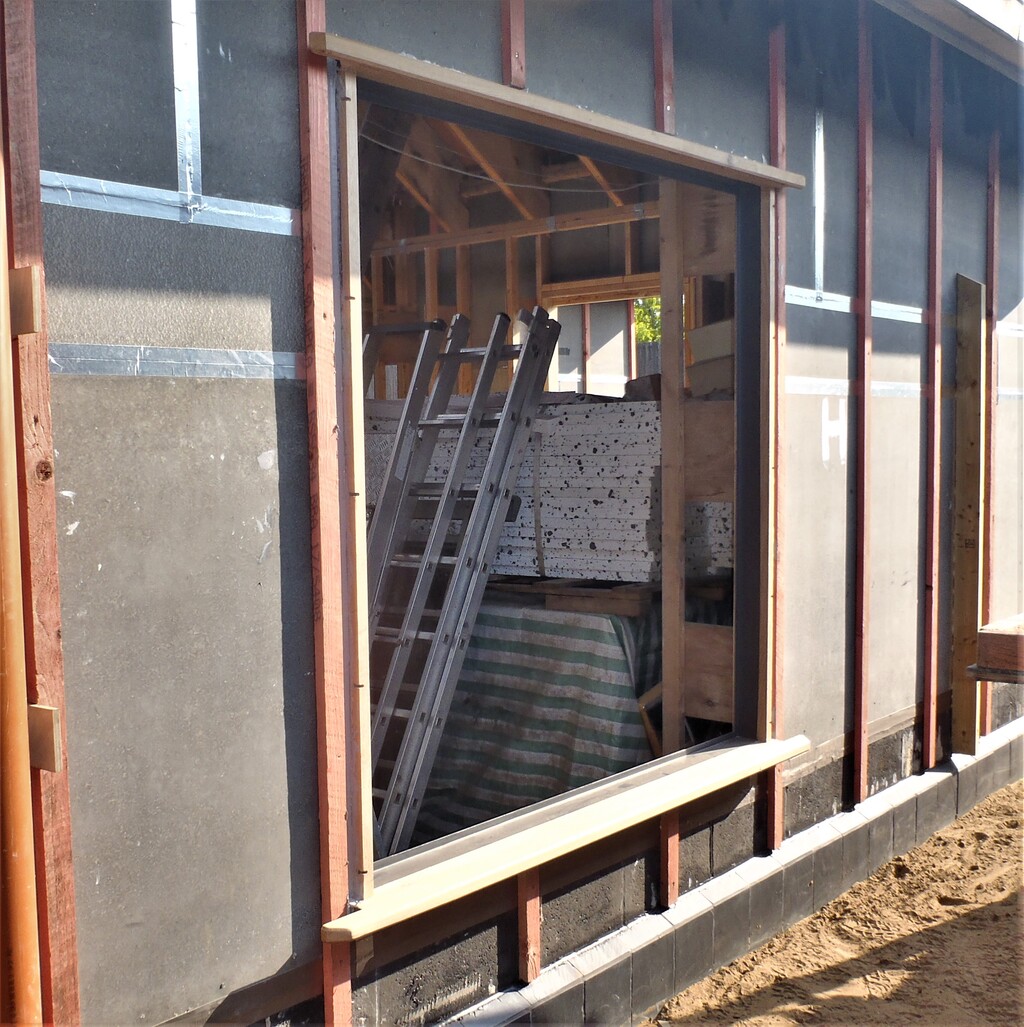
First-window-framed-installed
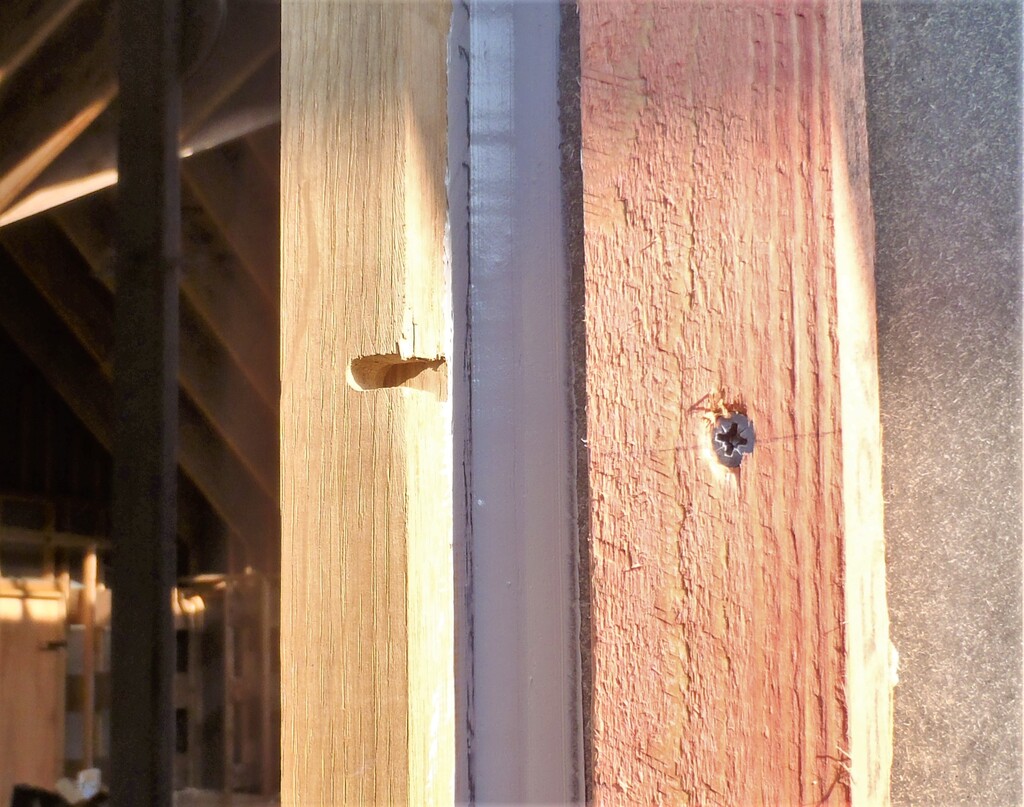
Detail-of-frame-sealant
That concludes our work for this week! The last of the mastic application will be put on the next week (we couldn’t do it immediately because the washing operation left the slates and walls still wet) and we will carry on installing more oak windows frames as well.
Leave a Reply
You must be logged in to post a comment.