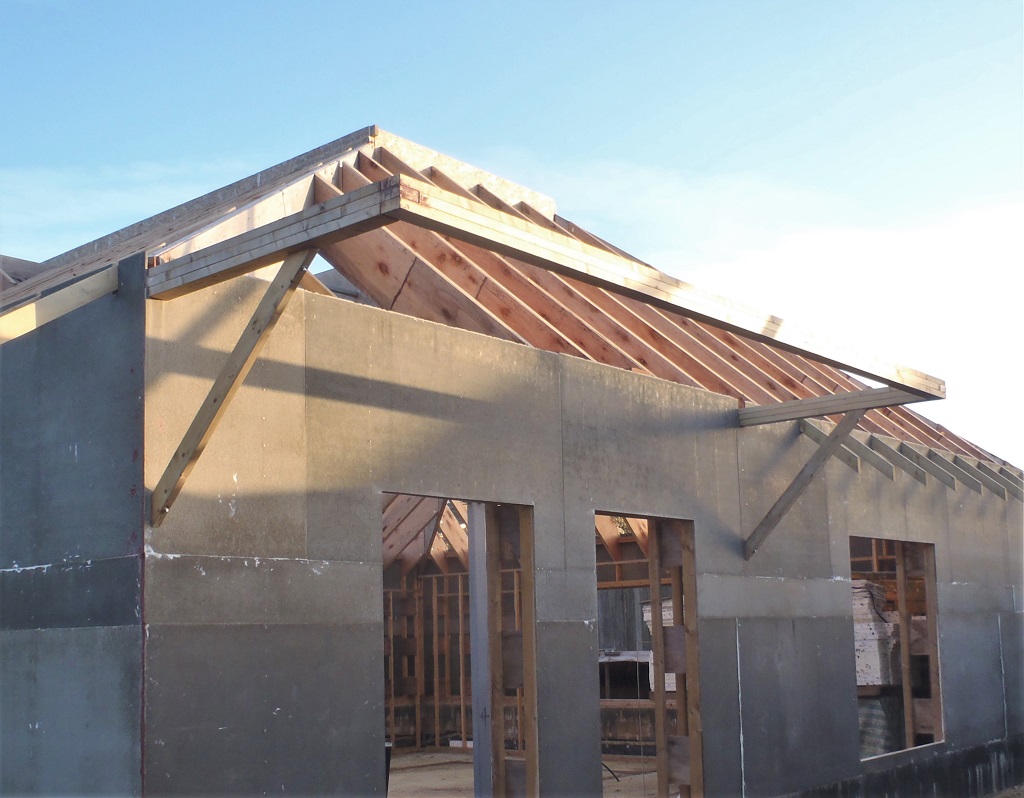
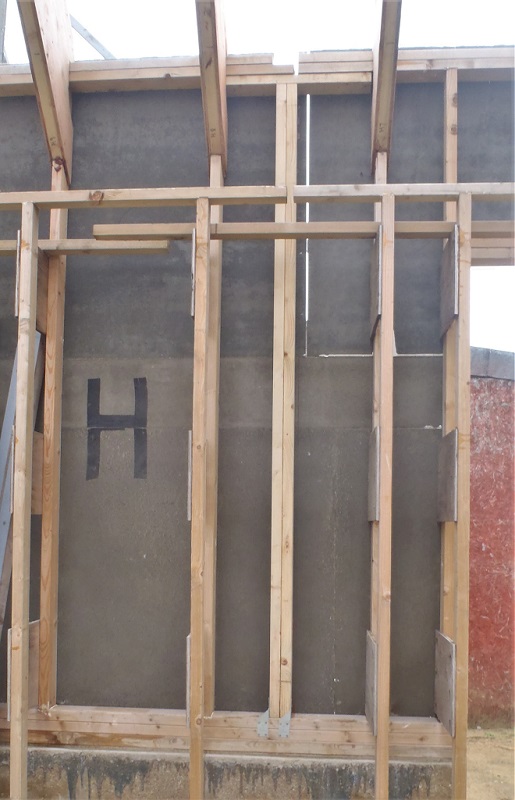
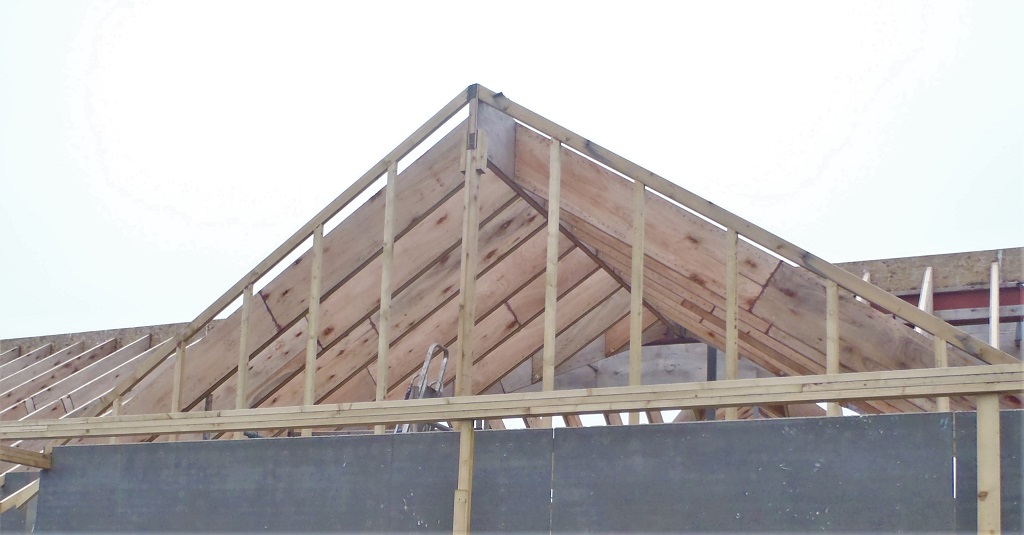
This morning in lovely hot sunshine and no winds, we concluded the job of covering up the gable end of the Front Door extension that will have the porch coming out.
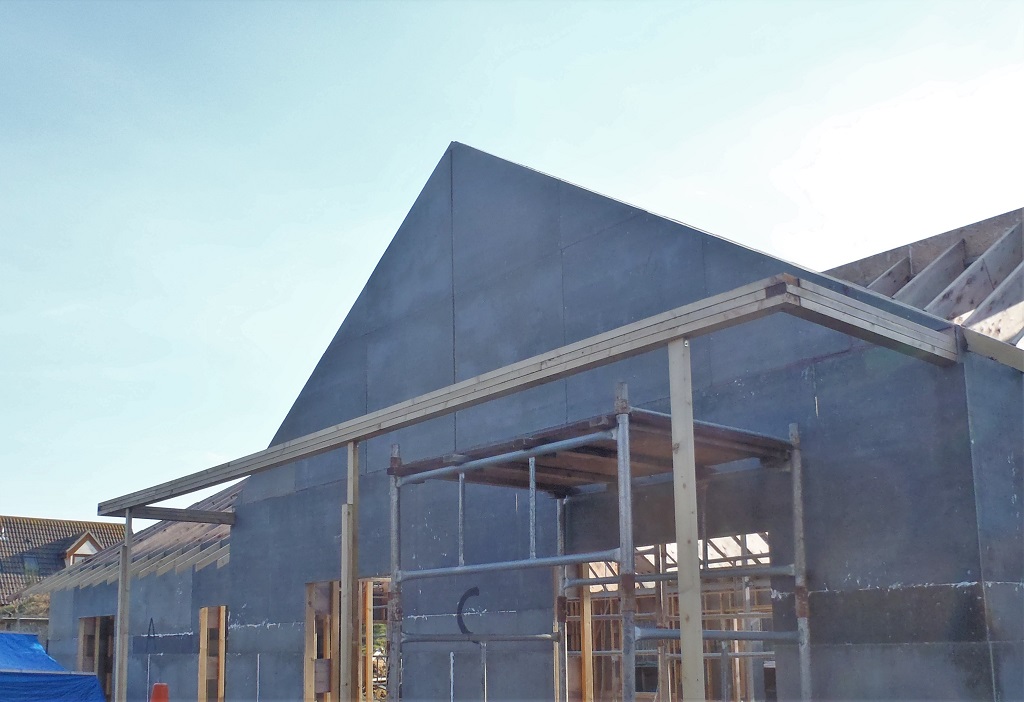
Front-door-wall-gable-sheathed
We used up our remaining pieces of cement boards and created lots of triangular left-over parts in return, some of which will be used on doing the gable end up inside the Side Door Porch later on.
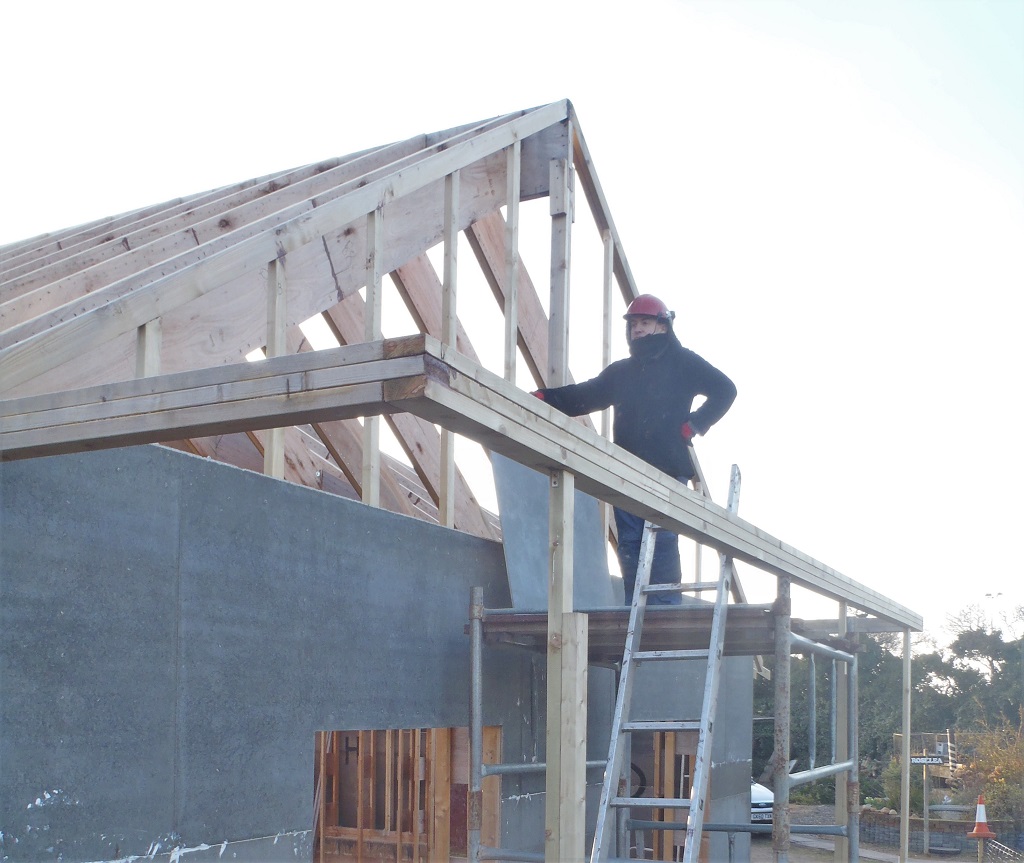
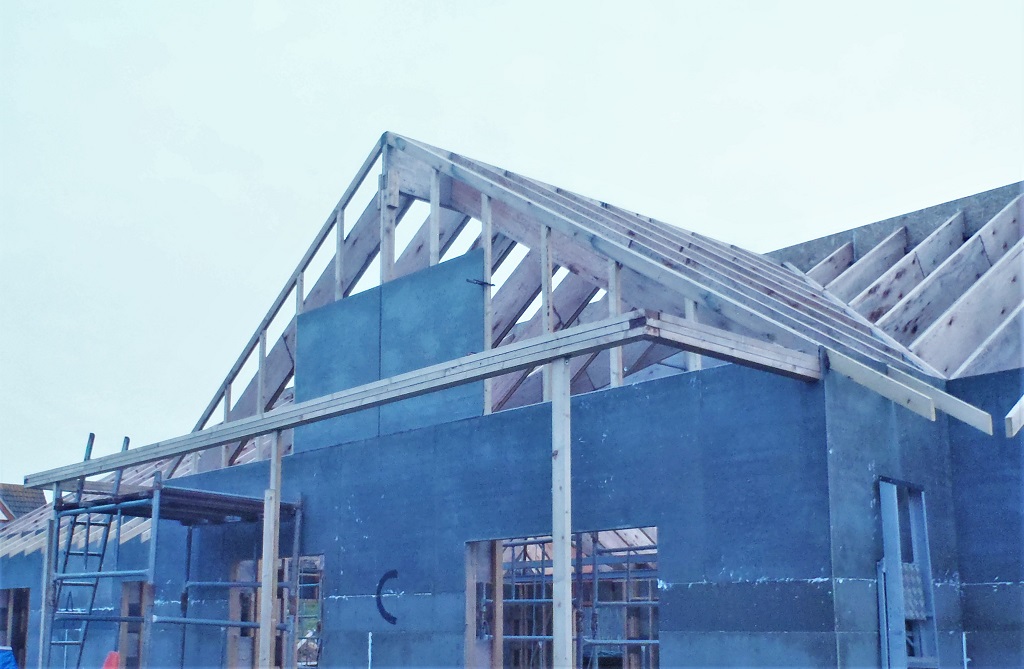
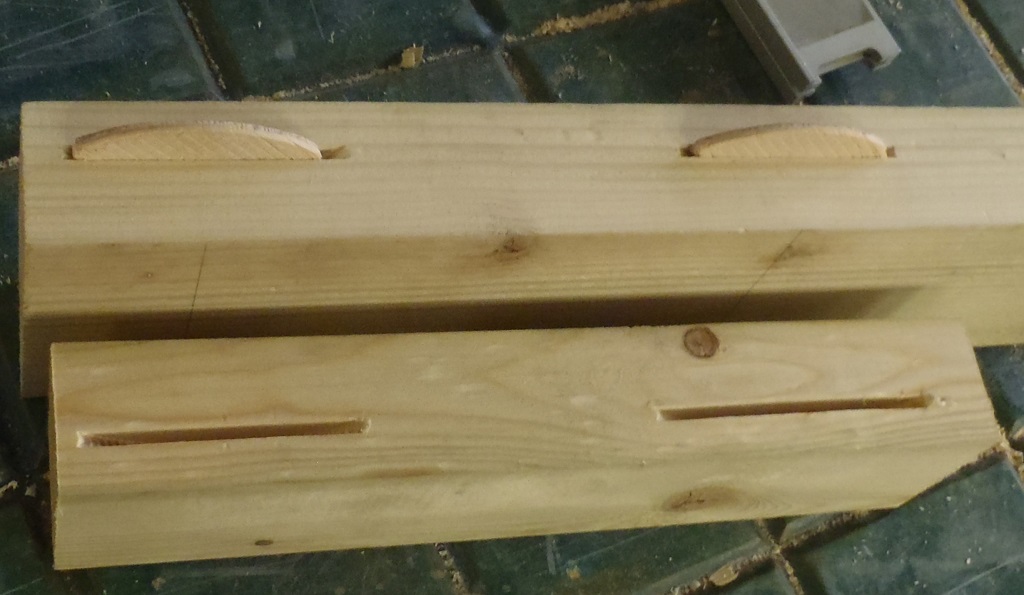
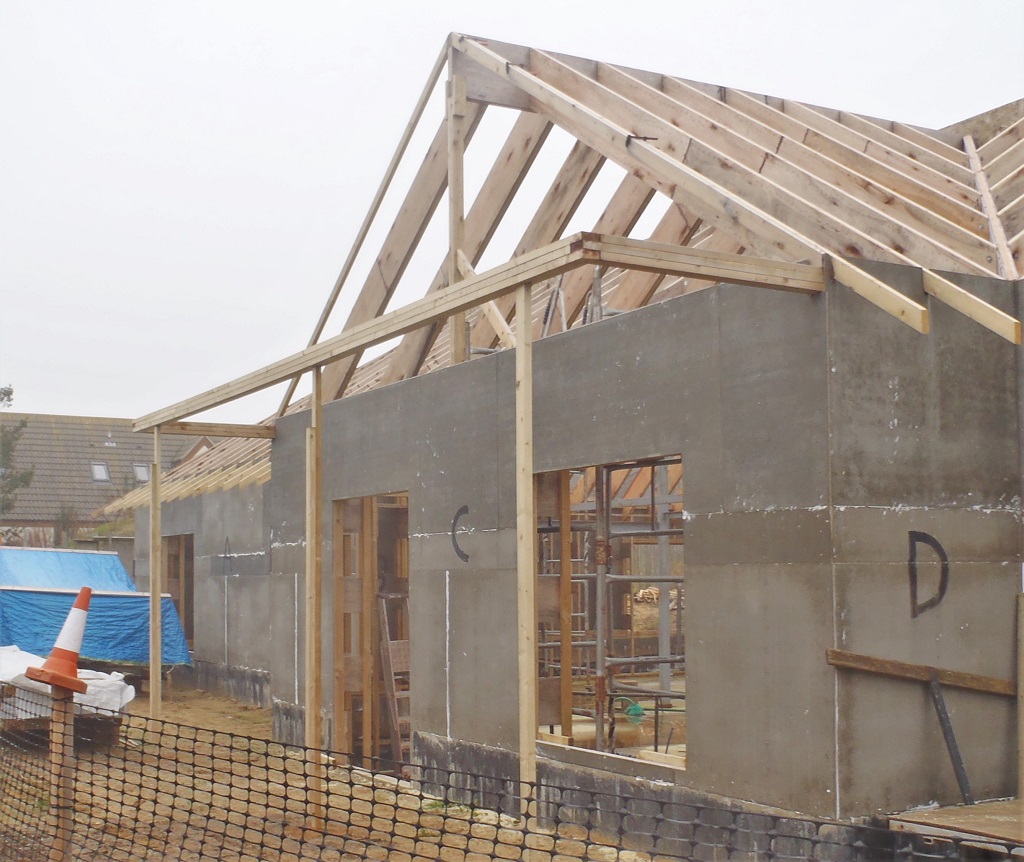
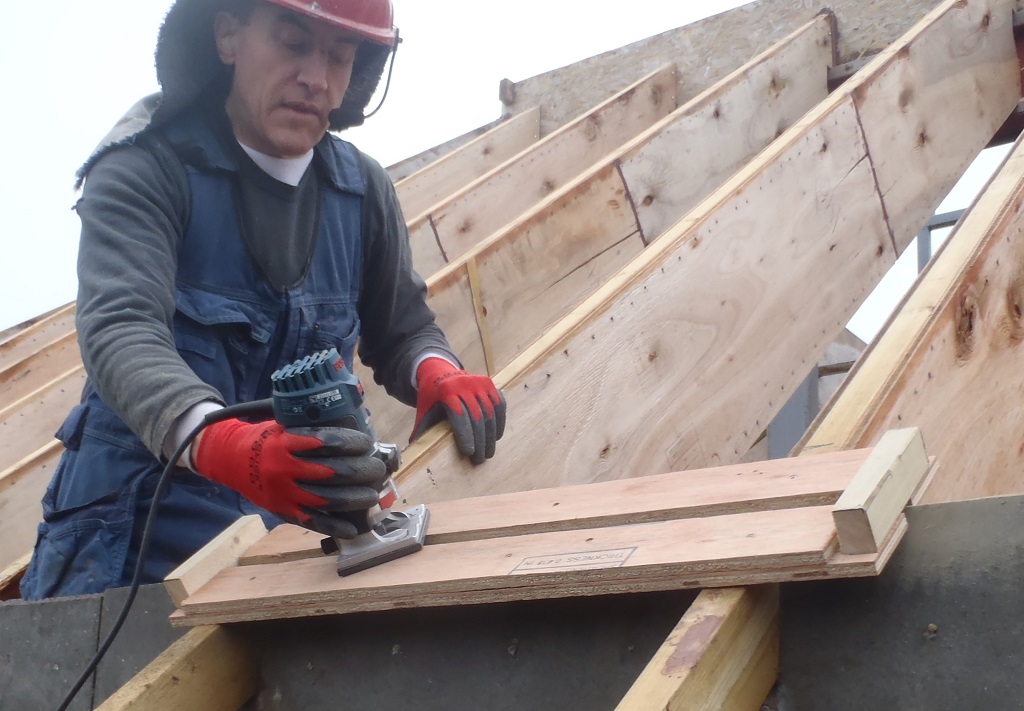
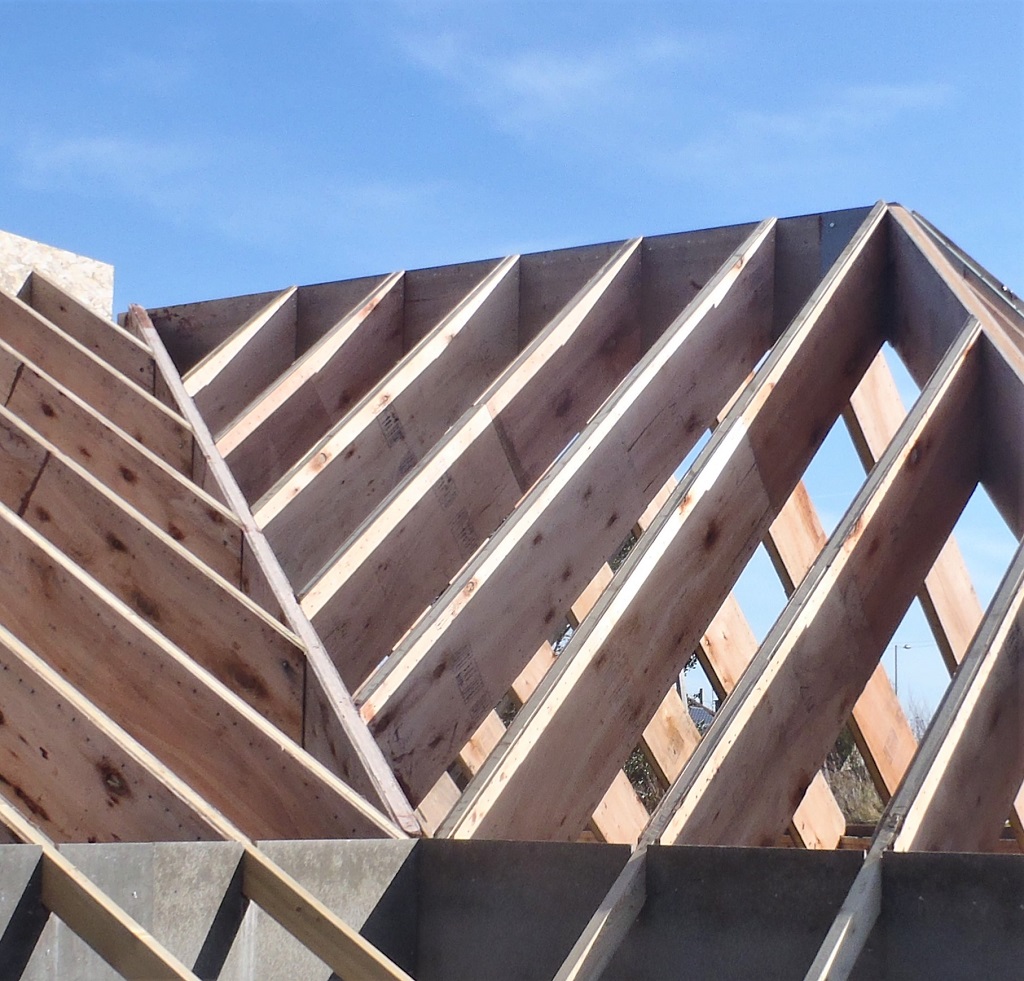
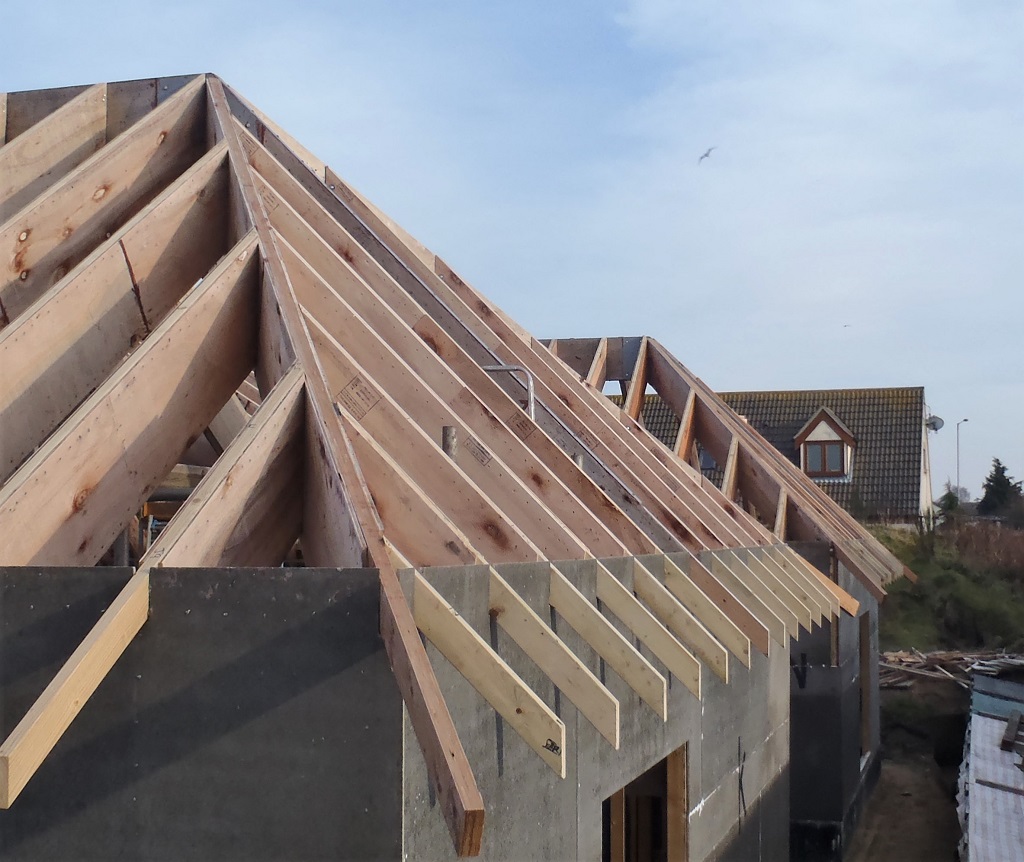
After lunch, we set out to create the first rafter to form the “C” section of the roof, this being the steeply pitched roof on the front of the porch over the Front Door and Entertainment room area of the house. we had to reposition the guides on our Bird’s Mouth gig so it will cut the 61 degree angles for the end and the notch bitten out to form the Bird’s Mouth itself.
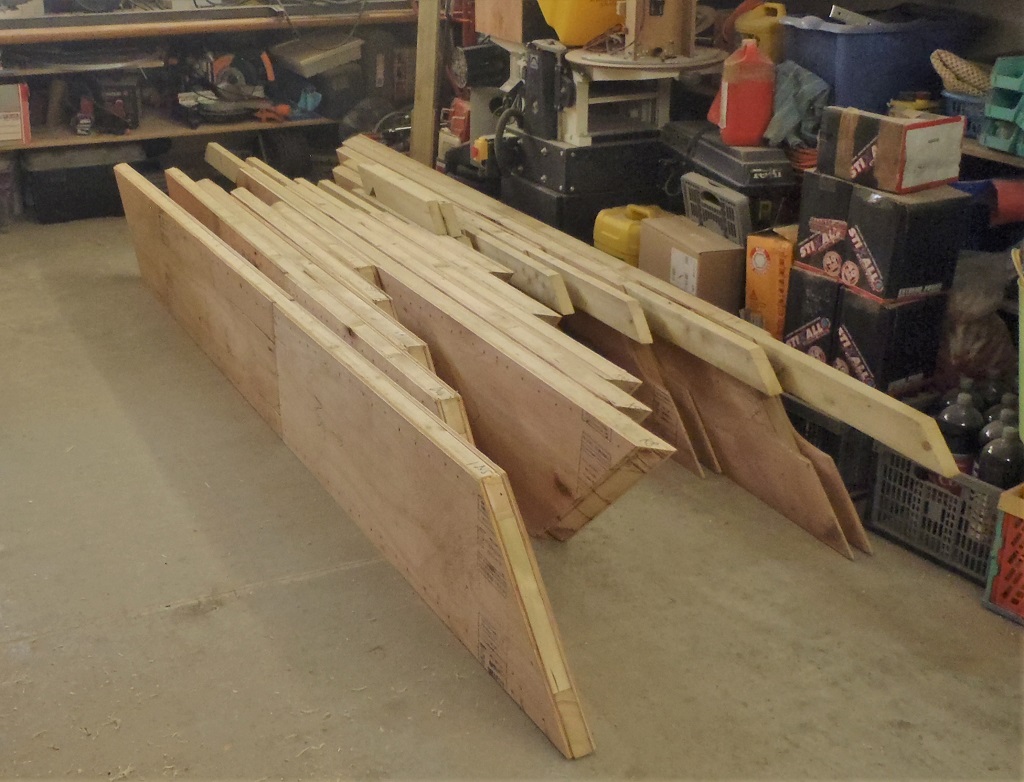
We also had to make an extended angled support fence on our chop bench saw so we could slice the very acute angle off the end of the timber. The machine can only go up to 45 degrees but we needed to get up to 61 degrees, hence the funny extra adaptations added to the chop saw!
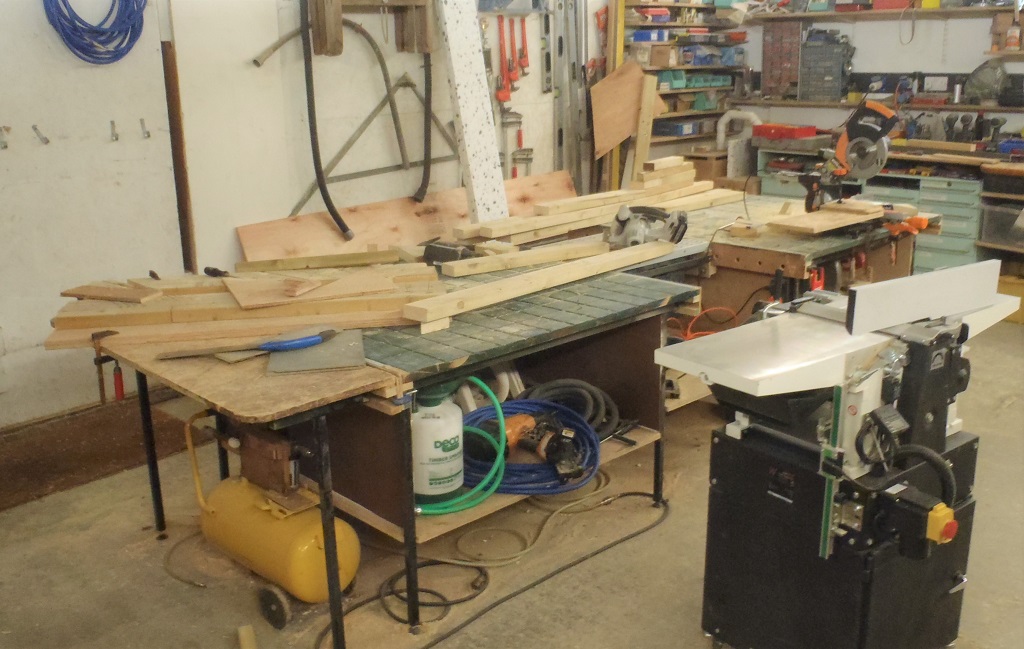
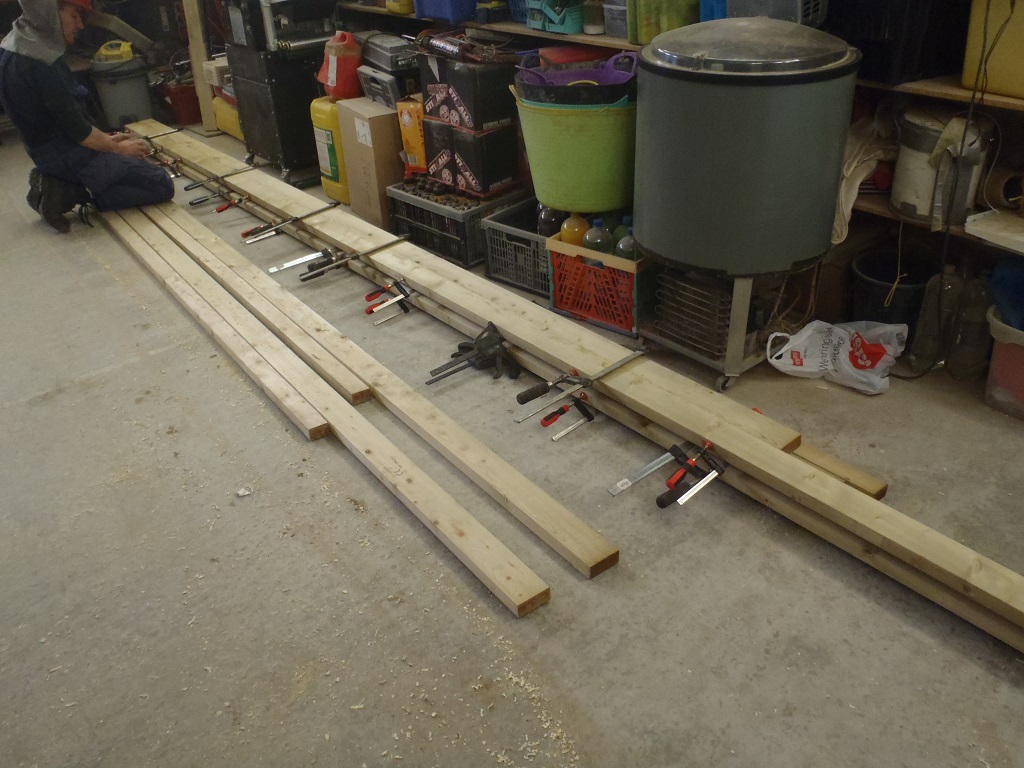
Tools-for-making-Front-porch
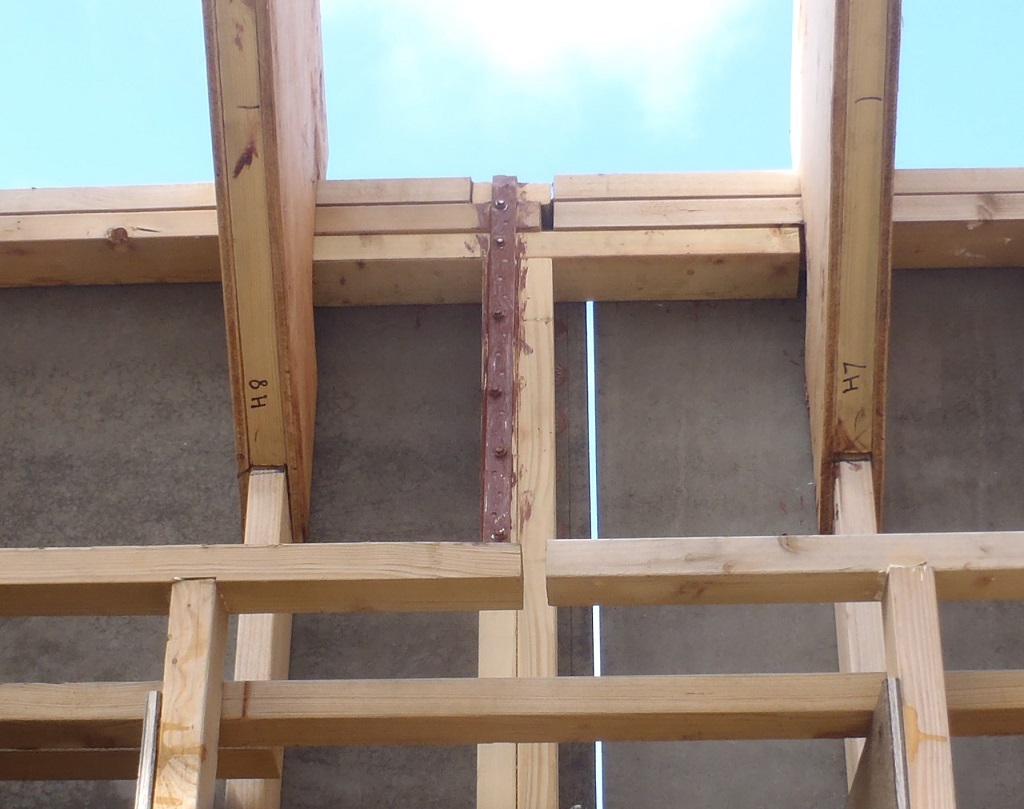
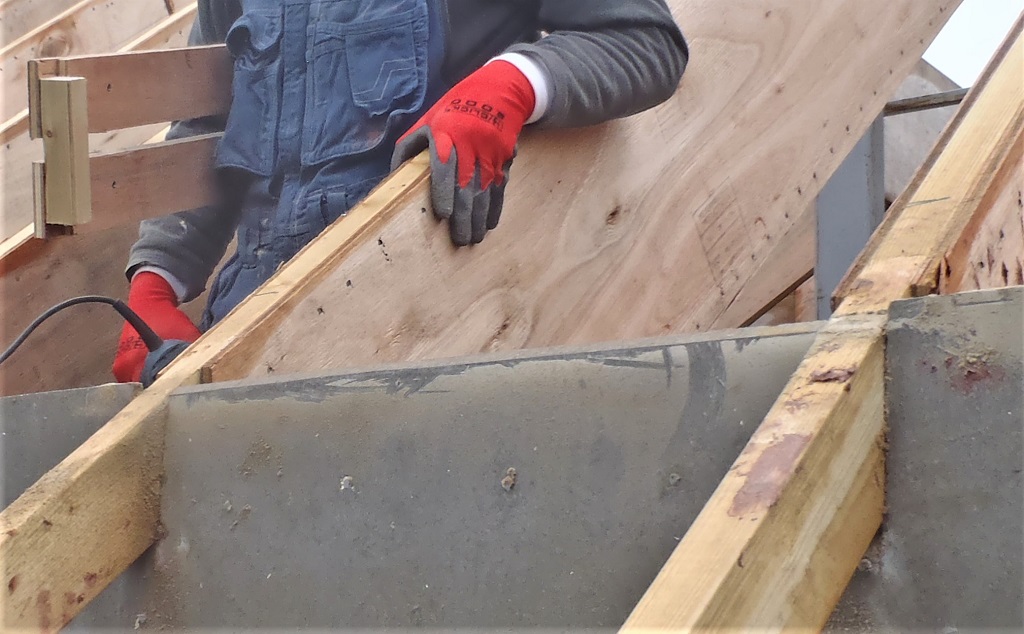
After several test runs to prove to ourselves that things are coming out correctly, we went out to climb to the top of the C wall to measure the distance from the very top point and down to the new horizontal beam out on the arms of the porch. We double checked this measurement several times and then prepared for real, a length of 89mm CLS timber and proceeded to slice and chop it down to the required size. As it was getting dark, we took it back outside to see how well it fitted in the real world and hey presto! It Fitted!! Grin!
Tomorrow, we will glue and screw this rafter, which is actually labelled “C7”, up in place and then work on the even more complicated piece, the two diagonal Hip rafters that also goes from the top point of the C wall and down to each corner of the porch roof but they have two sloping edges on the top surface, a double cut ends and a bird’s mouth in it too of course! Phew!