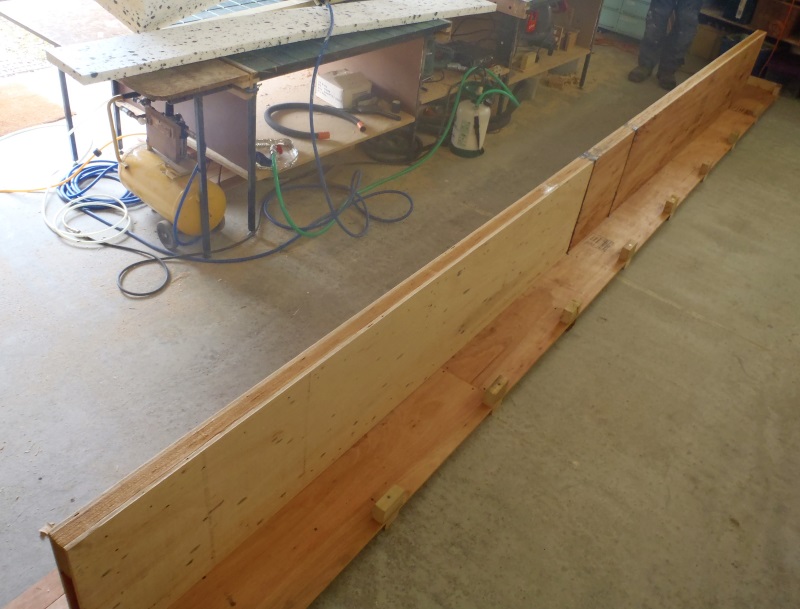
Today, we resumed the work on creating the first Roof Element, namely the C Ridge beam that goes from the Steel I-Beam (the Skylight) to the Front Door wall, labelled “C”.
We sanded the plywood webbing like we did for the LVL timber, again to make sure that we are getting the best condition surfaces for the gluing. We then assembled the two LVL timber lengths in the template and put in a couple of little spreaders to ensure that these timber pieces are pushed outwards and not jump around when we start nailing things together. Next we vacuumed all the surfaces to clear away the last of any bits and dust to stop them interfering with the glue joint. Here we then apply the glue using our compressed air glue bottle but first we had to fill it up, sort out the compressed air hoses, and nail gun as well so everything was ready to go!
After the glue was applied, we took the plywood strips and placed them on top of the LVL timber in the template and then went along down each side, using our fabulous squeezer to ensure the glue joint is as tight as possible, and nailed it together to keep it nice and tight!!
We turned it over and glued the second side but when we were about to place our plywood strips, we suddenly remembered that we haven’t put in the noggings and polystyrene foam filling!! Eek! So we spent fifteen minutes scraping the glue off again and washing the surfaces clean!! Oops!
After lunch, we set the polystyrene foam slicing machine up and decided that it would make sense to get and install on a fourth hot wire near the top of the machine so we can slice the required width of foam without having to adjust the 3 wires which slice the foam into 38mm sheets which is what we need to fill in the space inside the box beams we are making. That took a little time to sort out as well.
Finally, we sliced up one whole sheet of the polystyrene foam board into 3 strips of 260mm wide pieces and then sliced these 3 pieces into a further 3 thinner pieces to make 9 in total of 260mm by 38mm thick by 2400mm long strips, we only need little over 2 strips today. The remainders will be used later on inside other beams.
Then we chopped up four pieces of 89mm CLS timber and shaved tiny slivers off them so they fit in between the top and bottom flange, one at the two ends, and two over the joints of the plywood webbing. After that, we inserted in the thin foam strips to fill in all the empty space and it went in quite nicely if we are allowed to say so!!
We then sanded and vacuumed the second set of the plywood strips and vacuum all the template, the LVL timber and foam and make sure it was all clean again, ready for more gluing.
We then put on the second layer of plywood strips, this time it was ok to do so! We went along again with our squeezer machine and while squashed tightly together, it was nailed tight, all the way along both edges, just like last time.
That concludes the creation of one Ridge Beam – Phew!
We pulled it out of our template and placed it to one side on little blocks to allow it to dry without sticking to anything important like our template! Tomorrow, we will go outside and install it up for real and actually have in place the very first element of our roof – At Last!! Grin!
Today, it was slow and fiddly, but we were learning our ways and means of doing this job so we should get quicker and be able to make the next beams more quickly. The next ones planned is the two diagonal rafter “valley” beams going from the same point up on the steel I-Beam where the C Ridge is and down to the corners to the left and right sides of the front door and Entertainment Room where the walls meets the main house front walls.
