Just for this morning, before we have other commitments and before the rain comes, we went outside with our completed EH Hip Rafter and installed it into place (the Utility Room corner). It was a fairly easy operation as this rafter doesn’t have a sticking out eve piece. We first glue and screwed the vertical leg into the corner and screwed the two outside cement boards hard back onto the leg. This provided support to allow us to use a crowbar to push the rafter back up towards the steel I-Beam and the Kerb as our tests revealed that we needed to shift the rafter back again after being dropped into the metal bracket at the top. Then, the two ends of the rafter was glued and finally nailed into place in the metal bracket to lock it tight while the glue sets.
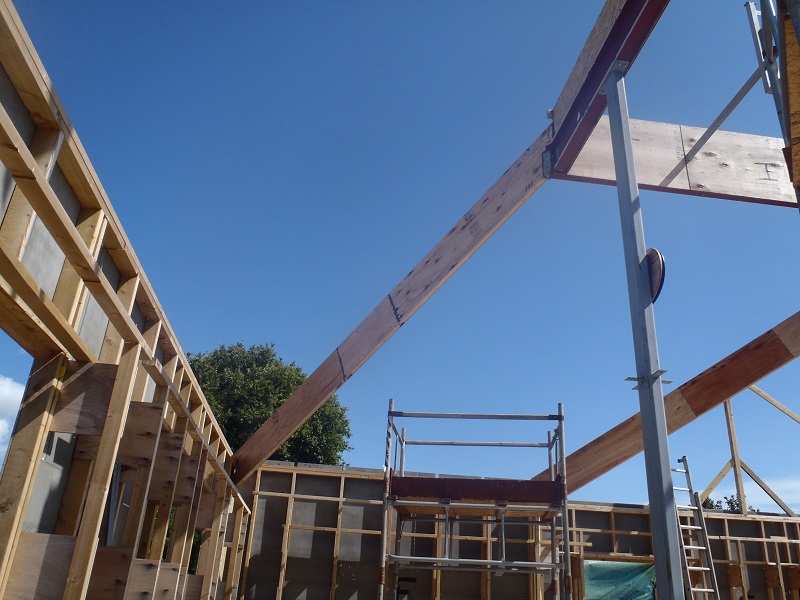
Rafter-EH-Installed
After tidying up the towers and covering up the winch motors to protect against the weather, we went back in the workshop to spend the last hour to assemble our 3rd rafter in this set we have been doing these last week or so. That was also a fairly easy job as we had the pieces all ready for the task, so with a quick vacuum everywhere, we glued and nailed the HI Rafter so it can dry overnight before also being installed.
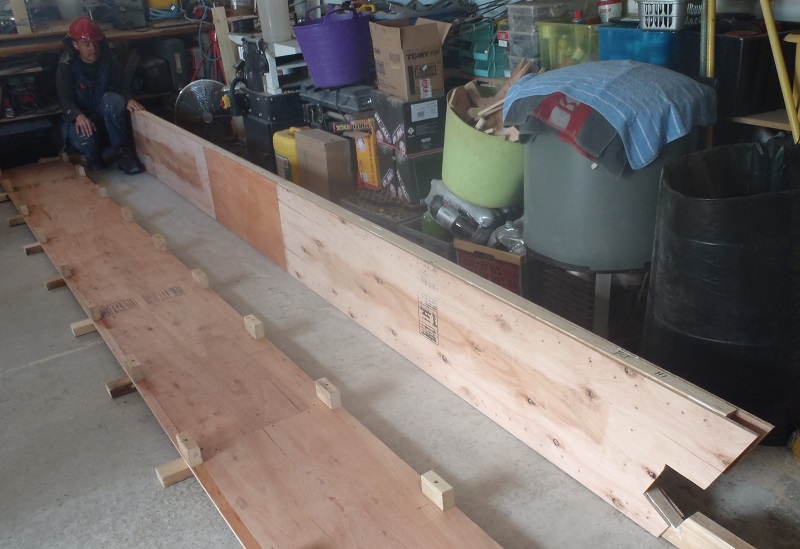
Rafter-HI-made
Tomorrow, we will put up this third rafter and then start the next job of preparing everything to make a set of metal bracing parts for the K and O Ridge sections on the two back extensions.