Today, we made three templates to help us in speeding up our processes in creating the angled cut ends on the plywood webbing and also a cut-out template to draw the required outline of the webbing that needs to be removed.

Jig-for-cutting-angled-ends-of-webbing-1
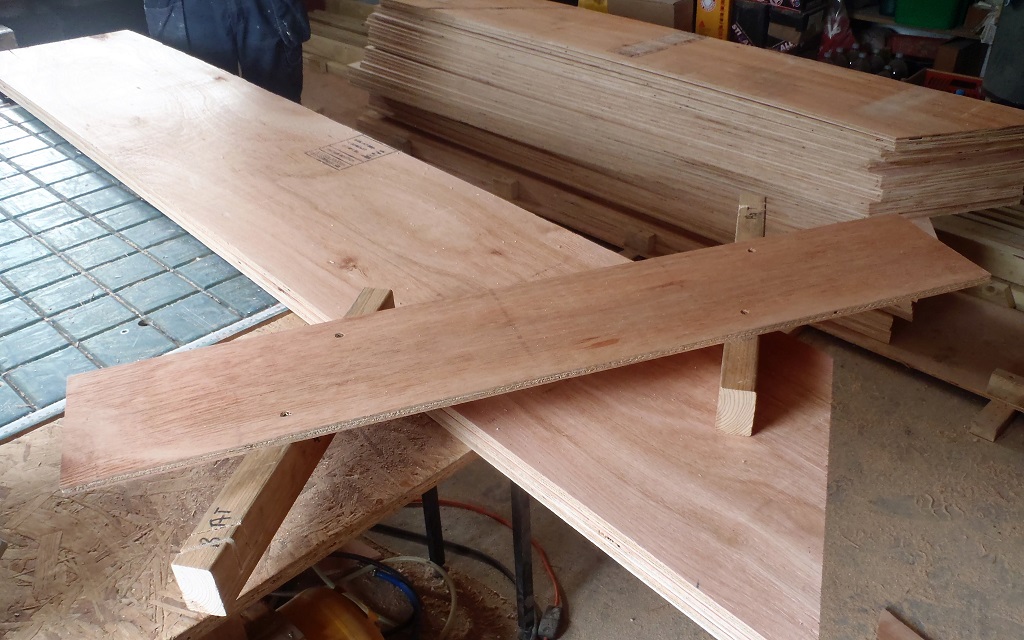
Jig-for-cutting-angled-ends-of-webbing-2
We then proceeded to slice 48 strips of the plywood webbing (we brought in a further 20 strips from our outside covered storage) using the new angled template. We soon realised that it would be much faster to use the mains powered circular saw to do the job, rather than the battery powered saw!!
Next, we created a heap of straight and diagonal noggings (248mm and 292mm long respectively) using old left-over 63mm CLS timber pieces we had from when we were making the wall’s. We estimate that we will need about 300 straight ones and probably a similar number of the diagonal ones too.
Then we cut the clearance notches on a couple of the plywood strips and then we quickly made a skeleton rafter (the A6 one to be exact) to test our new clearance notches. We went outside to fit it into place and discovered small adjustments that were needed to allow the long rafter to rotate and slide into position. It fitted quite nicely length wise so that was good!
We finally finished off the day by spreading out all the rest of the left-over 63mm CLS timber pieces all under the new rain tent so that those pieces can also dry out and be more compatible and ready for gluing later on.
We are getting there and maybe tomorrow, we will have everything sorted and that we can move into production mode and create the first 11 Second Stage Rafter, specifically A6 through to A17 in quick order and have them up and installed by Wednesday or Thursday!
Leave a Reply
You must be logged in to post a comment.