We resumed work in new week by continuing slating the I section of the roof, Creating a roof ladder support system and getting the flashing line of slates onto the kerb underneath the overhang of the skylight done too.
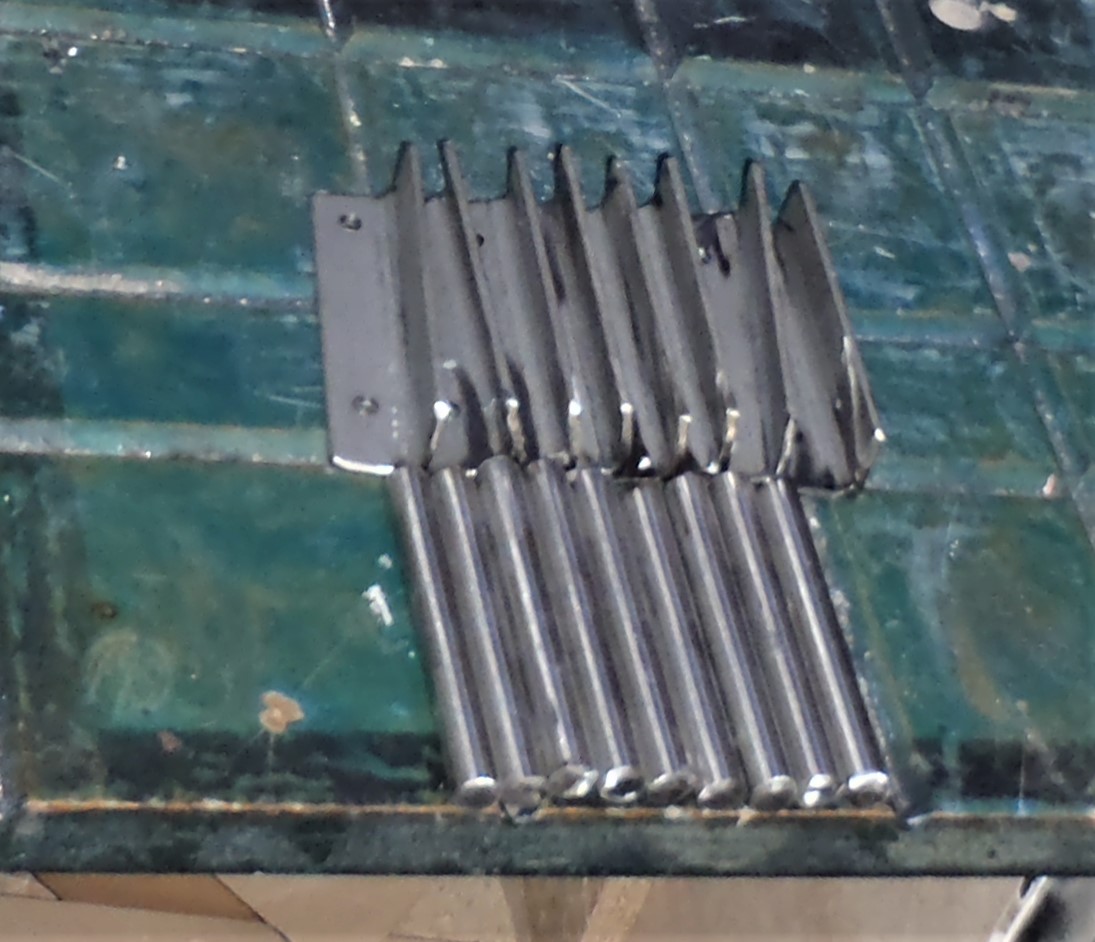
One of the first jobs was to make a heap of kerb flashing slates which were made from cutting a standard slate in half down the long direction (to make 100mm wide by 300mm long pieces) and we then made a jig to hold our slate nail hole puncher in a fixed position and align each half slate to have a nail hole put in exactly 75mm from each end and 50mm from one edge.

Jig-for-punching-holes-for-Kerb-Slates
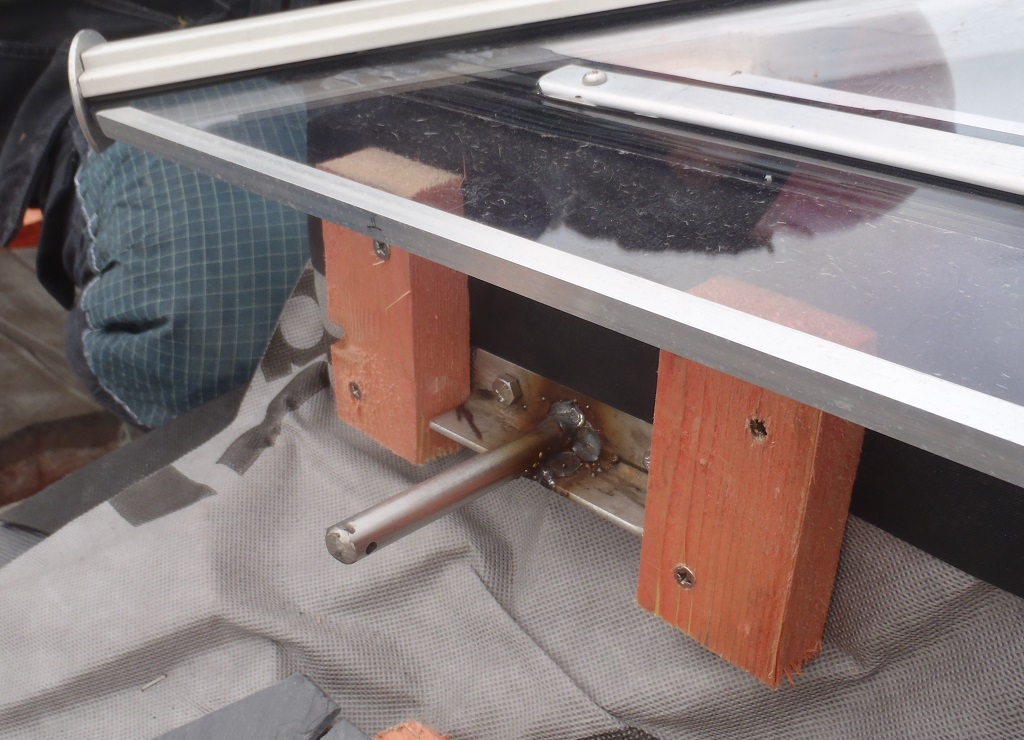
But also before we could continue with the slating, the roofing ladder support suspension system (This will be a stainless steel cable attached around the skylight, to which we can hang a roof ladder if we need to access then skylight etc) needed to have various components created, namely the stainless steel brackets which are 100mm long (a right angle steel bar) with a 12mm rod sticking out which is also 100mm long.
Parts-for-Kerb-Wire-supports
The two pieces will be welded together (with stainless welds!). We got one finished so we could take it and mount it up onto the kerb at the start of the skylight. The angle iron piece had two screw holes and we used stainless steel hex head coach screws to fix it in place horizontally between the vertical battens.
Roof-Wire-support
We then got the rubber membrane which is 250mm wide and stapled it along the first section of the kerb to all the vertical battens so it is ready for the half height flashing slates to cover over it, with the dangling part of the membrane to go underneath the final row of tiles.
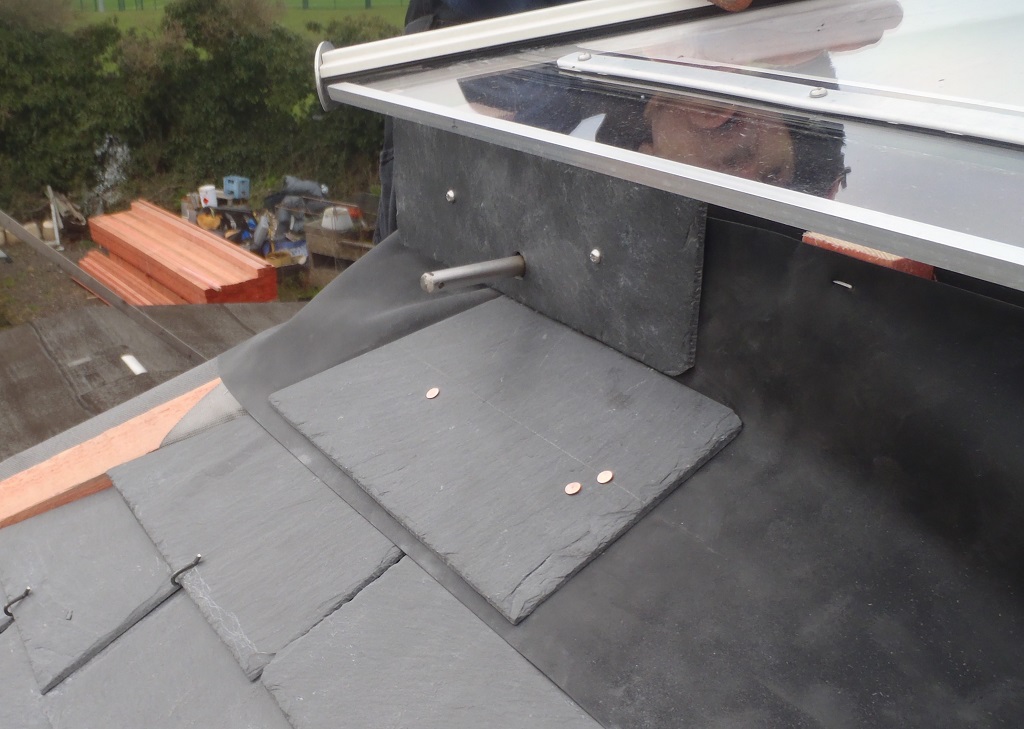
First-kerb-Slate-with-Wire-support-post
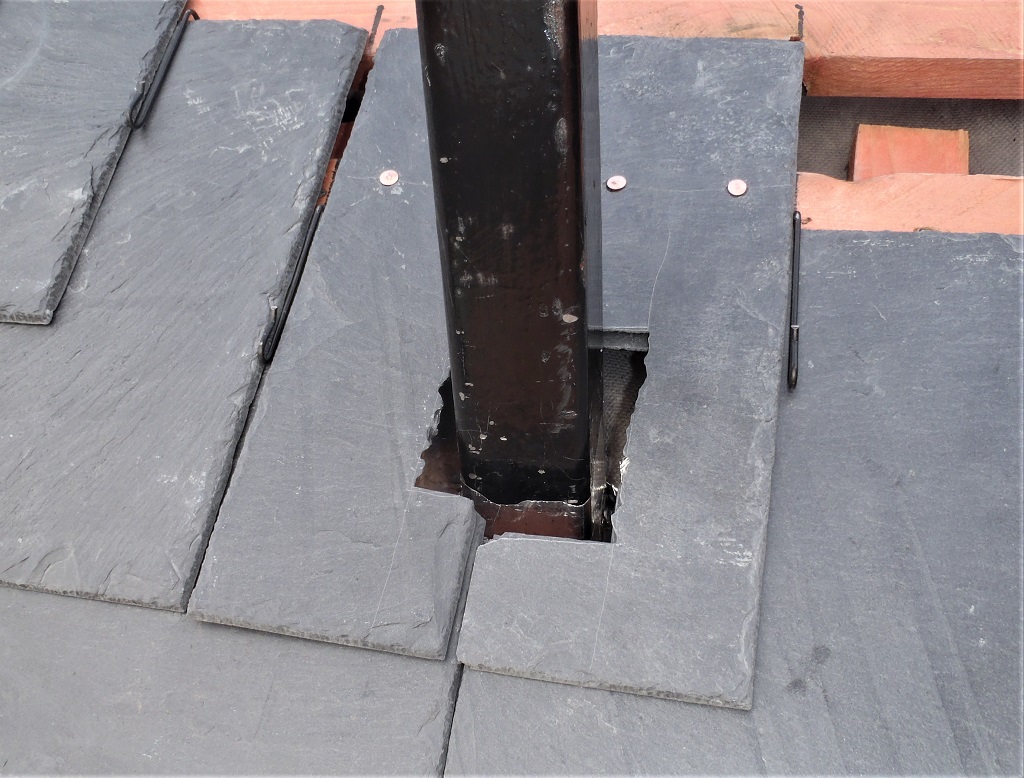
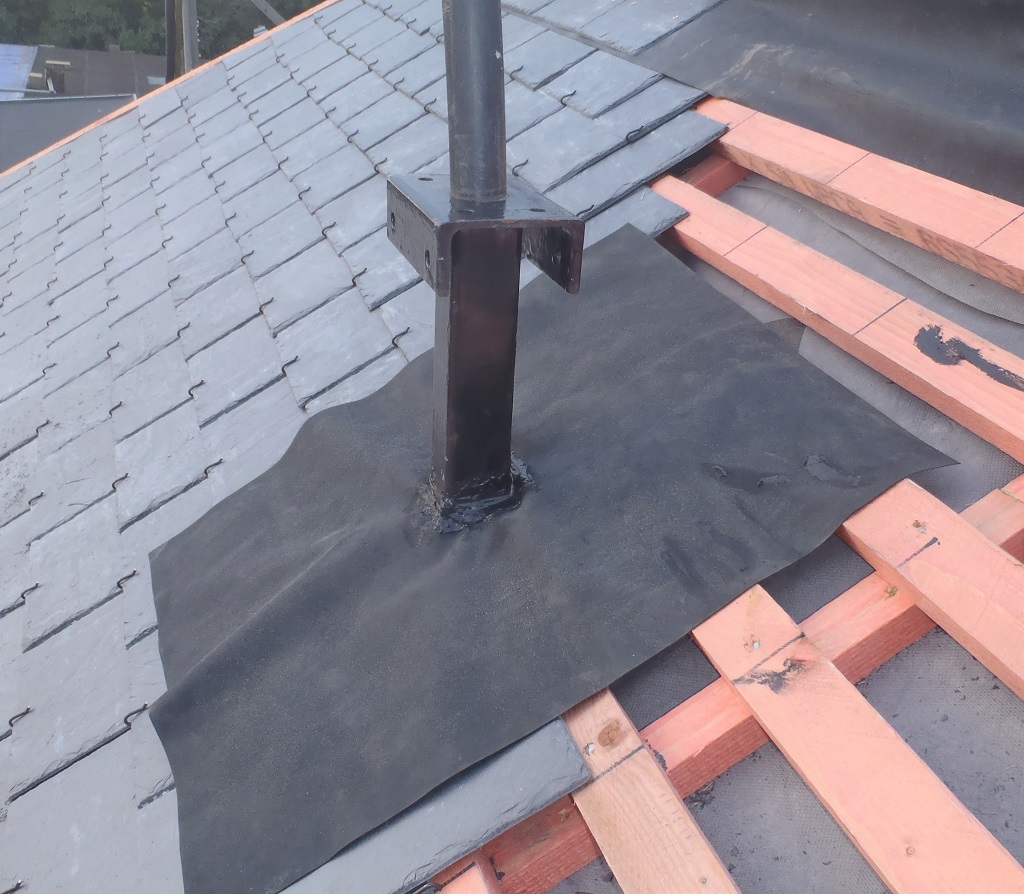
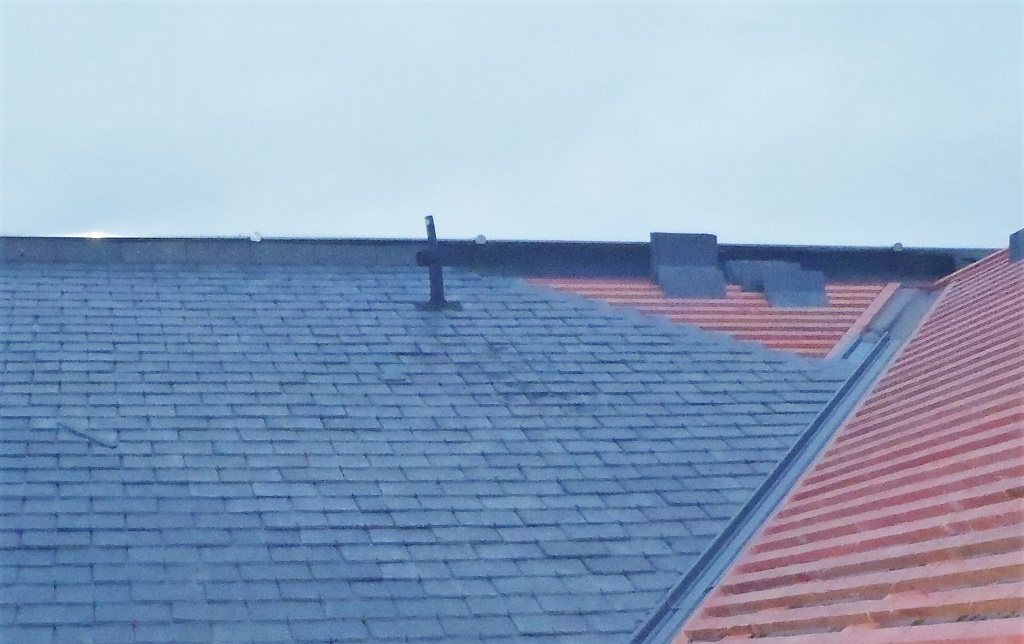
The chimney bracket was the next challenge! The square metal pole (50mm across) sticks out of the slope of the roof and we had to cut and trim each layer of the slates to fit around it.
Slates-cut-around-bracket
The pole had a rubber membrane stretched over and pulled down the pole and laid flat on the top slate. It was sealed with proper rubber sealant between the rubber and the metal pole and clamped using a black cable tie to mechanically hold it in place while the sealant cured. Then the rest of the rubber membrane was glued to the slate itself with contact adhesive to stop it flapping in the wind and provide a good surface for the rain water to run off correctly.
Rubber-seal-glued-to-the-Bracket
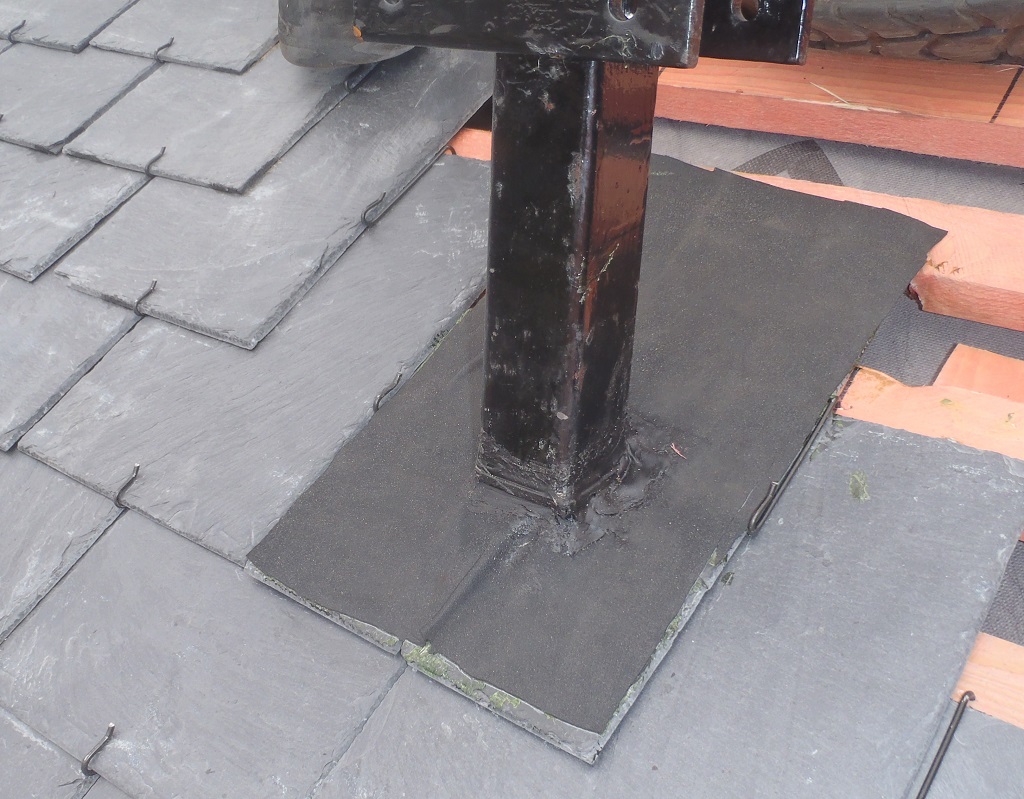
Rubber-seal-complete-on-Bracket
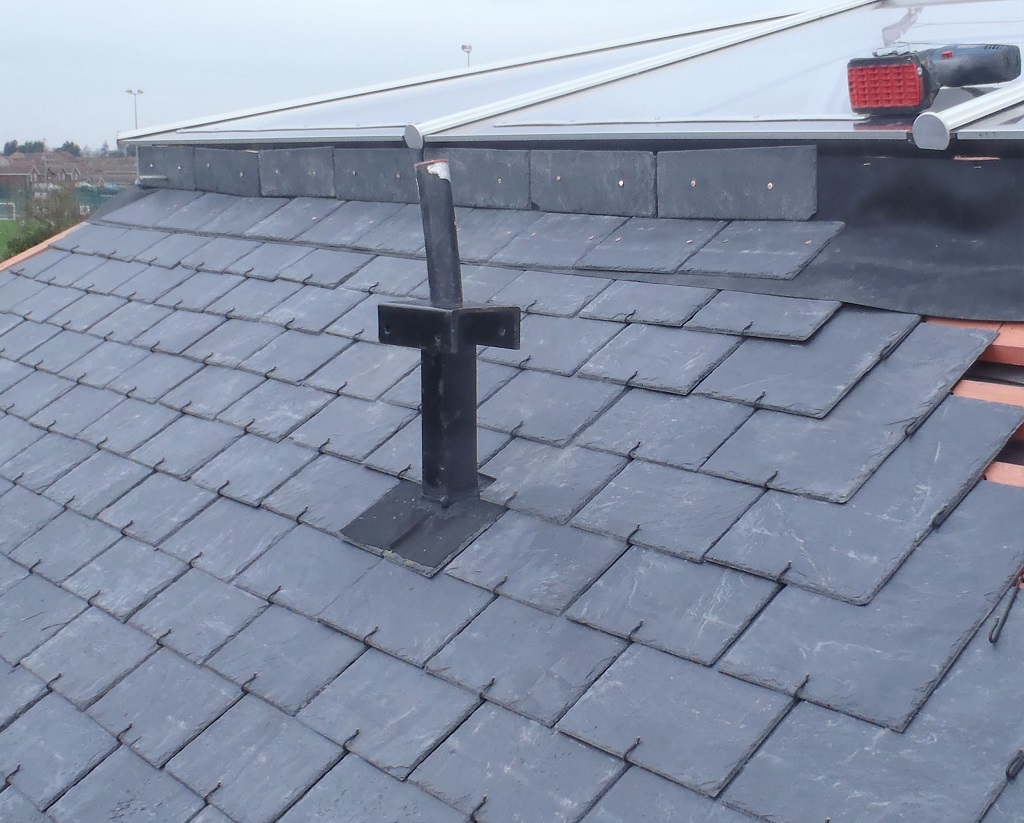
Chimney-bracket-in-the-roof
We arrived at the point where we needed to sort out the last section of the valley trough. We had to analyse how the slates will be laying from the two slopes of the I and J sections of the roof and how the ridge comes into play as well. We made some adjustments to the fibre-glass trough to turn it into an arrow shaped and also trimmed off the “bull-nose” sticking up bit so we can lay down the flashing slate tiles protecting our ridge line. We mixed up some white resin with black dye until we got close enough to the mid grey colour and then sealed up the “hole” we created at the top of the trough and now we have a waterproof collector mechanism that goes right up to almost the kerb.
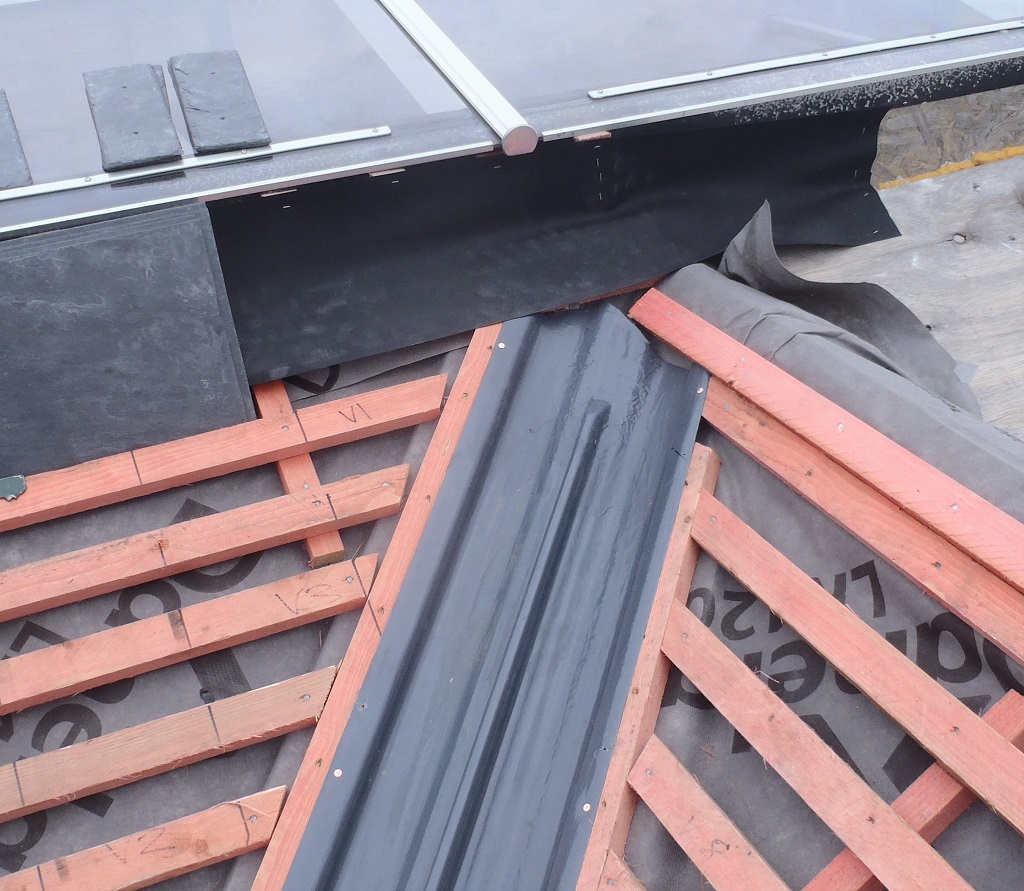
The-Modified-top-of-valley-trough
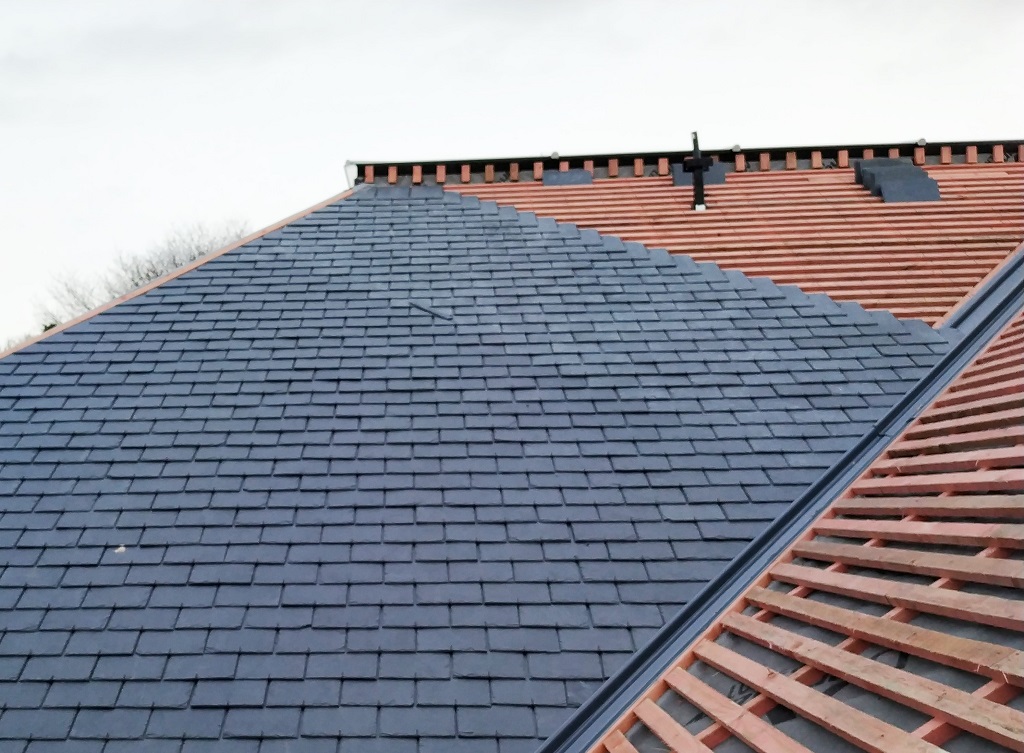
We finally completed the I section of the roof, bar the last five slates which we can do from the other side of ridge when we are doing the L and M roofs, because we can organise the layers of the flashing rubber membrane pieces in such a way to ensure that rain water will always be collected and diverted down the valley trough.
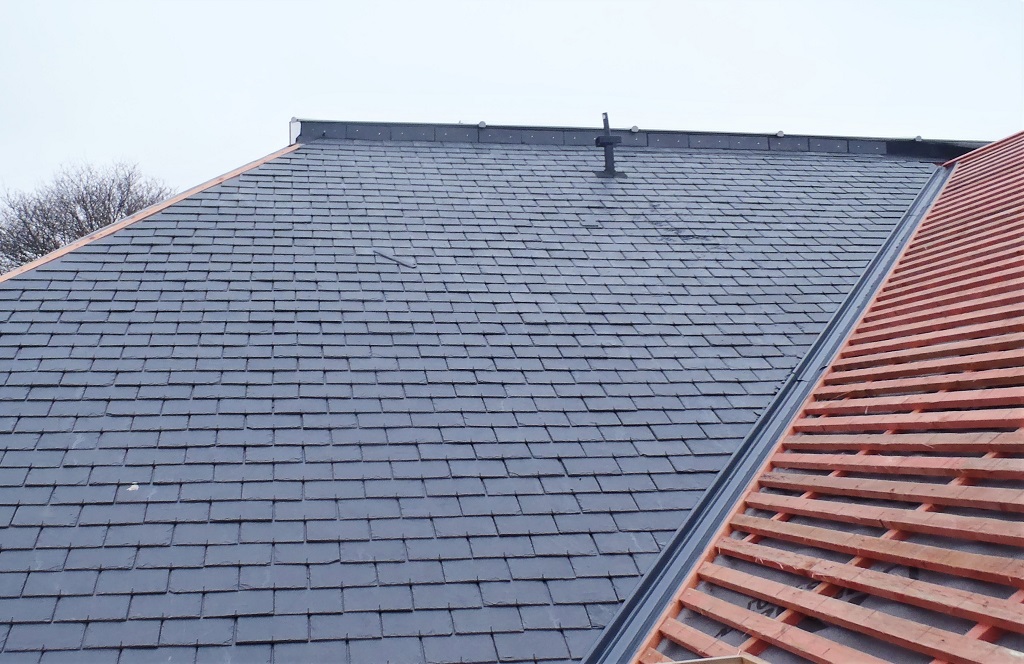
Roof-I-fully-slated
So we now have started the J roof and we have most of the markings drawn on the J roof with the regular 204mm spacings on the tile battens. Next job was the metal mesh inserted to cover up the guttering up to the outside corner and clamped down with the oak thin strips.
And got on with the task of putting on more slates, starting back at the bottom over the gutters, at the valley end and working left to right as usual.
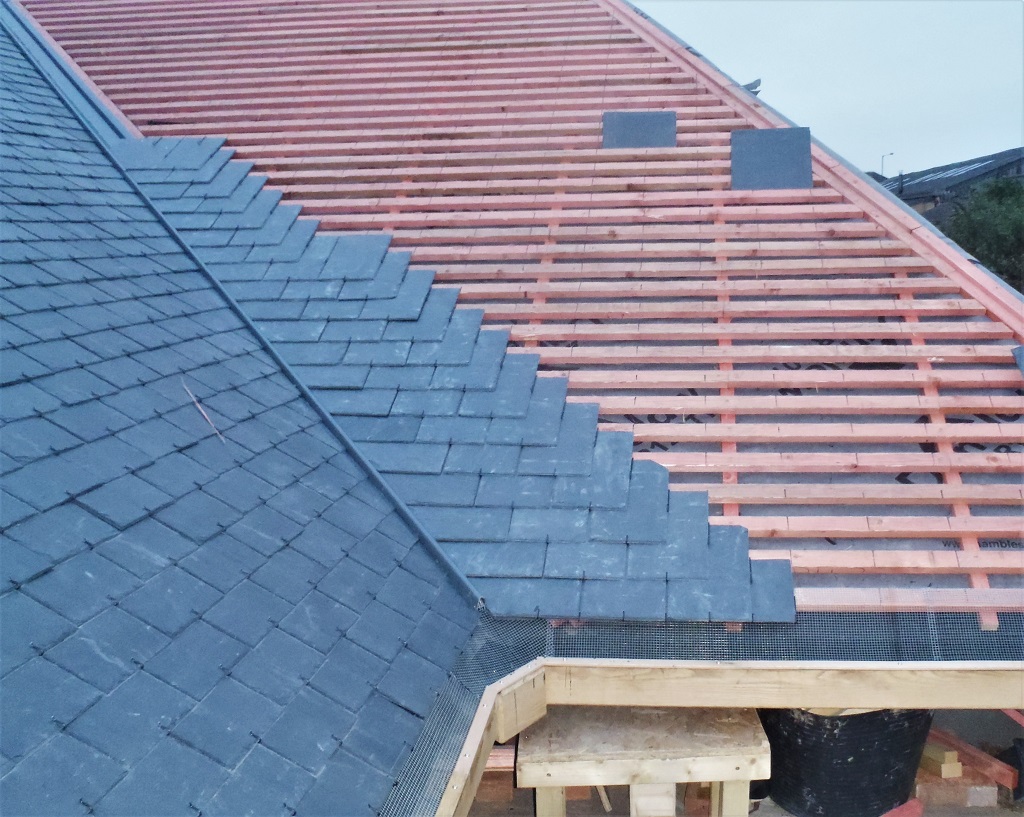
End-og-22nd-March
We will have a small break (Saturday and Monday) as we need to go and visit family down in London but from Tuesday, we will carry on with the J roof, which hopefully won’t take so long because it doesn’t have chimneys or kerb complications to worry about!!
End-of-18th-March

End-of-19th-March-1
End-of-21st-March
Roof-I-fully-slated