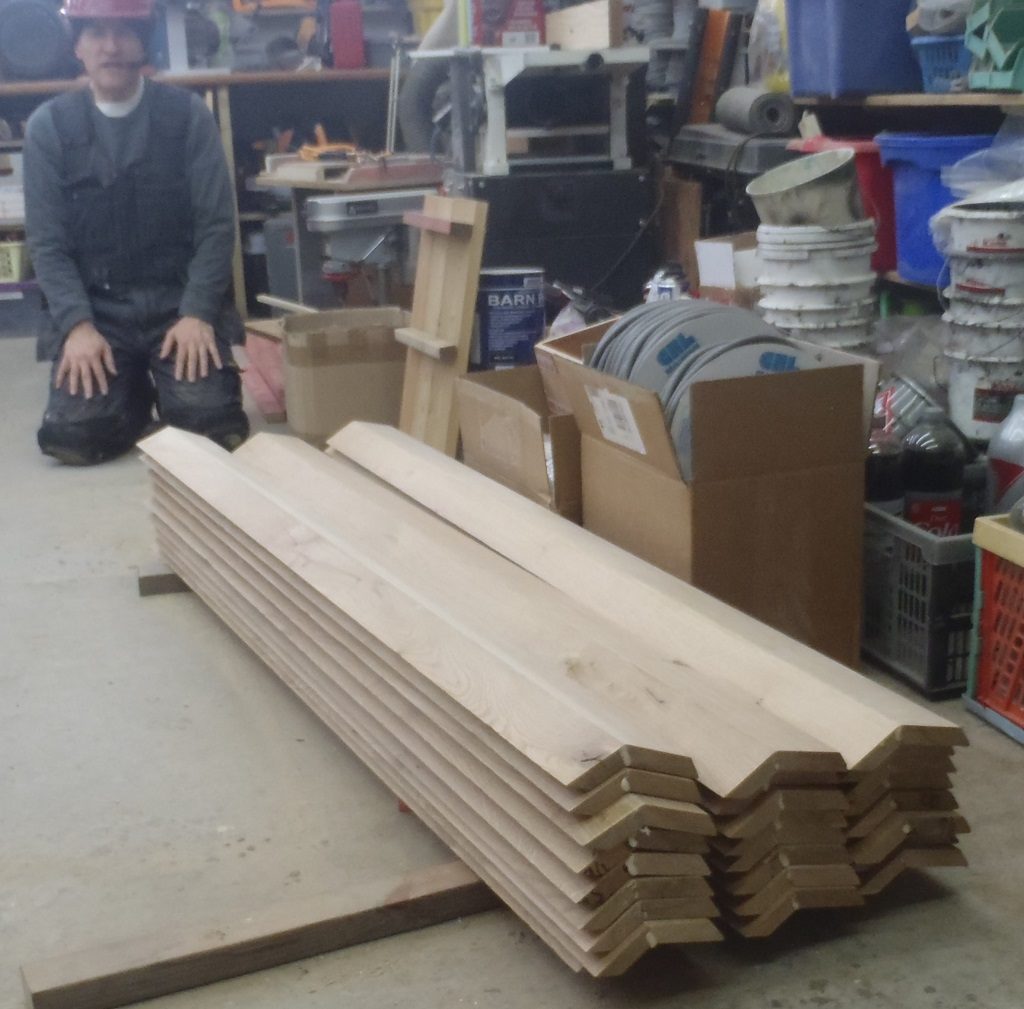
Monday was the day we finished off gluing the octagon “wings” together and we now have a pile of 24 wings (and one spare just in case). They are not yet defined as left-handed or right-handed, they needs the bevelled sliced bottom ends to get them assigned into those two groups.
But we want to make adjustments to our template device first before committing ourselves, and set the height of all the wings etc.
In the meantime, we cleaned up the prototype (narrow) window frame of all the glue residue and tested it for solidness and carried it outside to see if fitted all our twelve holes in our walls. We discovered that the holes along the front of the building, the two side walls (the “P” and “H” sections) were able to take the window frame without trouble, with some millimetres of clearance, but along the back of the building, it was tight and even wouldn’t fit. It had been raining all morning and all day yesterday too, so the woodwork was likely to have swollen. This is not surprising and we can just sand the edges of the hole to get it to fit. We will also apply a 45degree angle chamfer around the edges of the hole too, to allow a decent quantity of sealant to provide a solid plug against rain water etc. and last a long time, even if the building wiggles in the wind, the seal will survive.
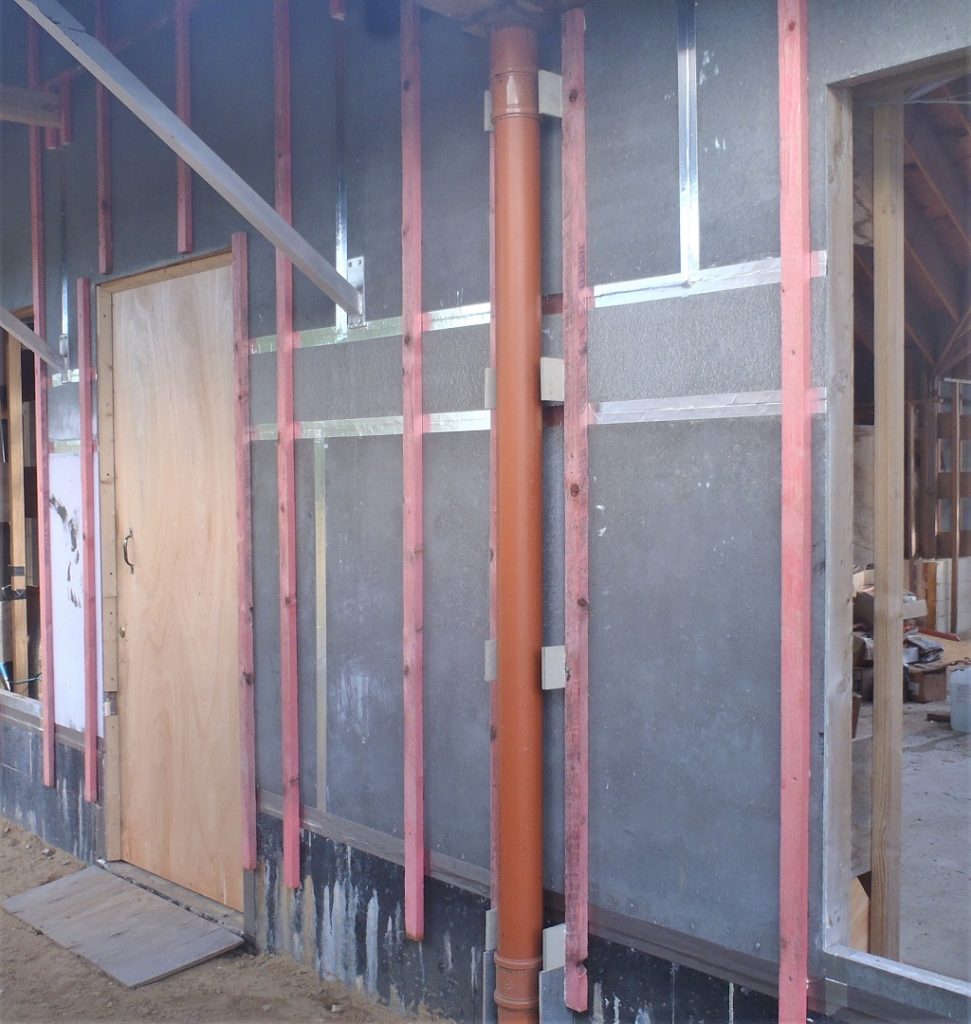
The last job of Monday was to finish off putting the last odd three battens for the cladding, two of them around the “G” plastic downpipe
And the final third piece for the “M-N” downpipe corner where we needed an additional batten to allow for a neat straight vertical line of fixing screws to hold the cladding in place. We also glued little short 200mm pieces on the side of the Porch beams on both the Front and Side door areas.
Over the next couple of days, with some interruptions, we were testing the various timber treatment solutions; Fire Retardant, Timber Oil and the Timber preservative. We wanted to see how much and how slowly the liquid soaked into the test pieces of the Larch timber. It seems that the Larch is a dense wood material and it slows down the absorption rate. For example, leaving a piece in the liquid for 30 minutes, it only absorbed half the amount required to ensure the correct protection as provided by the special liquids, especially the fire retardant one. But if we dipped the timber in for a few seconds and then allow it to dry, repeat this step again another two times, we can reach the proper absorption levels. This is much better use of our time because we can go through our entire stack of timber with the quick dip and dry off in another new stack, and by the time we got through the 600 length of timber, we can start over on the first ones again for their repeat treatment.
The Timber Oil is definitely slower as the oil is thicker and it does need more time than a few seconds, maybe a couple of minutes in a complete ducking, drain and then allow to dry. We think we then can repeat the process a second time and should also get to our required penetration levels to help protect against the effects of the Sun’s UV rays and general weather.
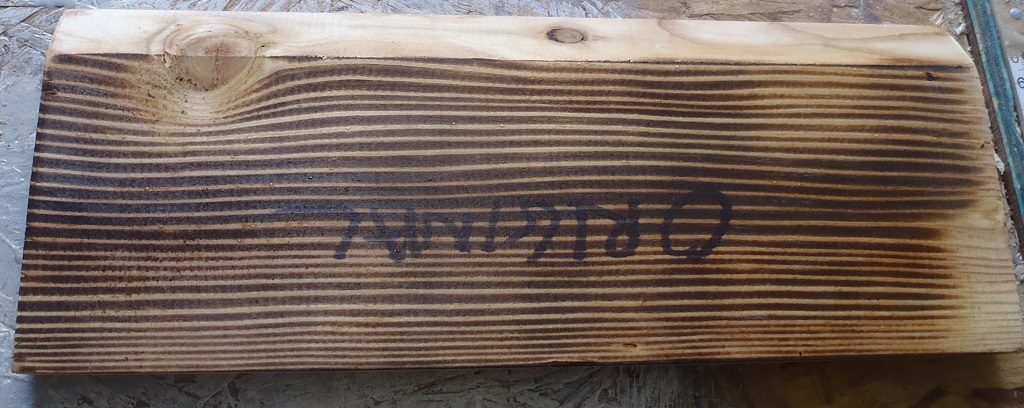
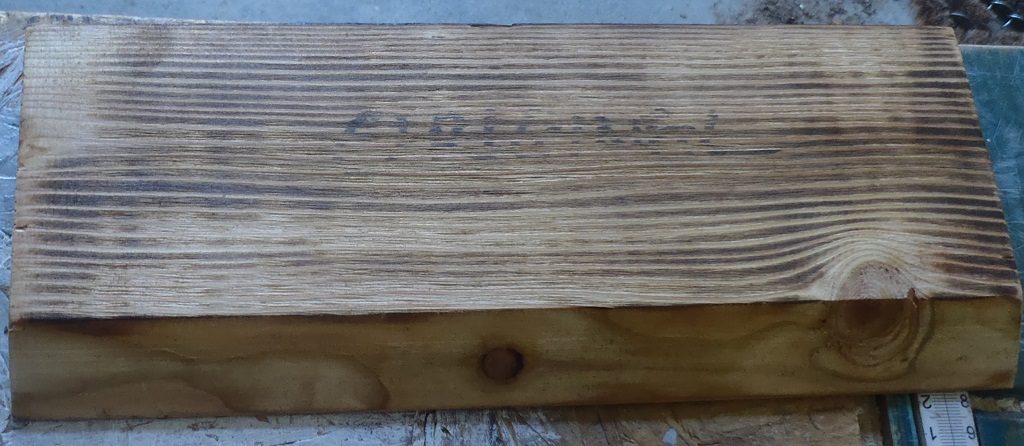
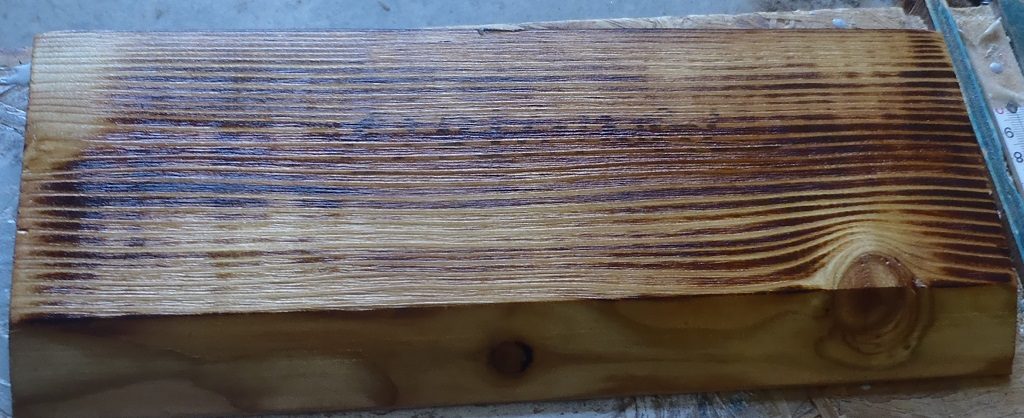
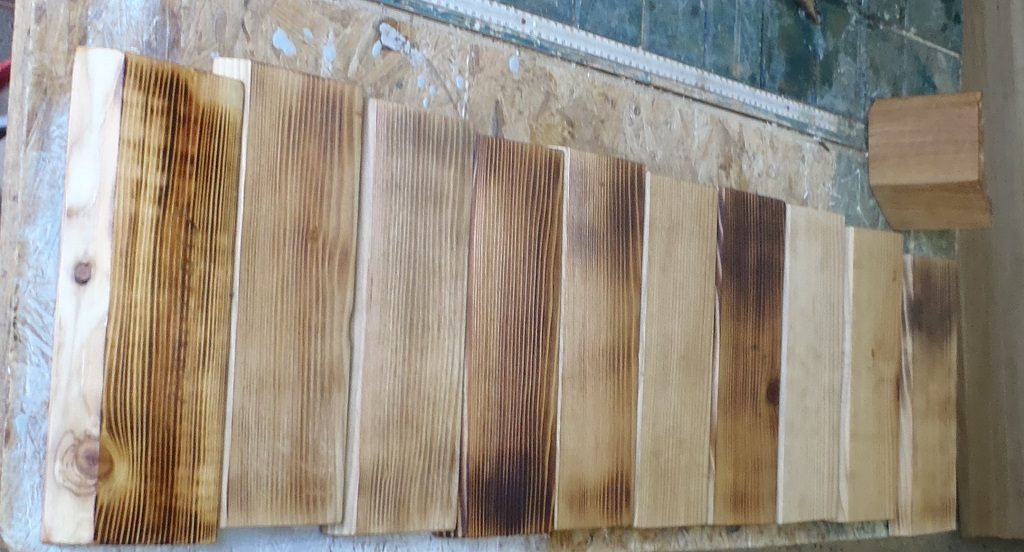
The other area of testing was scorching the surface of the Larch, using a gas burner and then wire-brushing the carbon residues off. We did an initial gentle burn, a mid-level burn and a long burn.
Then started mixing up the combinations, to see the effects to the surface colouration when the liquids were applied in different ways.
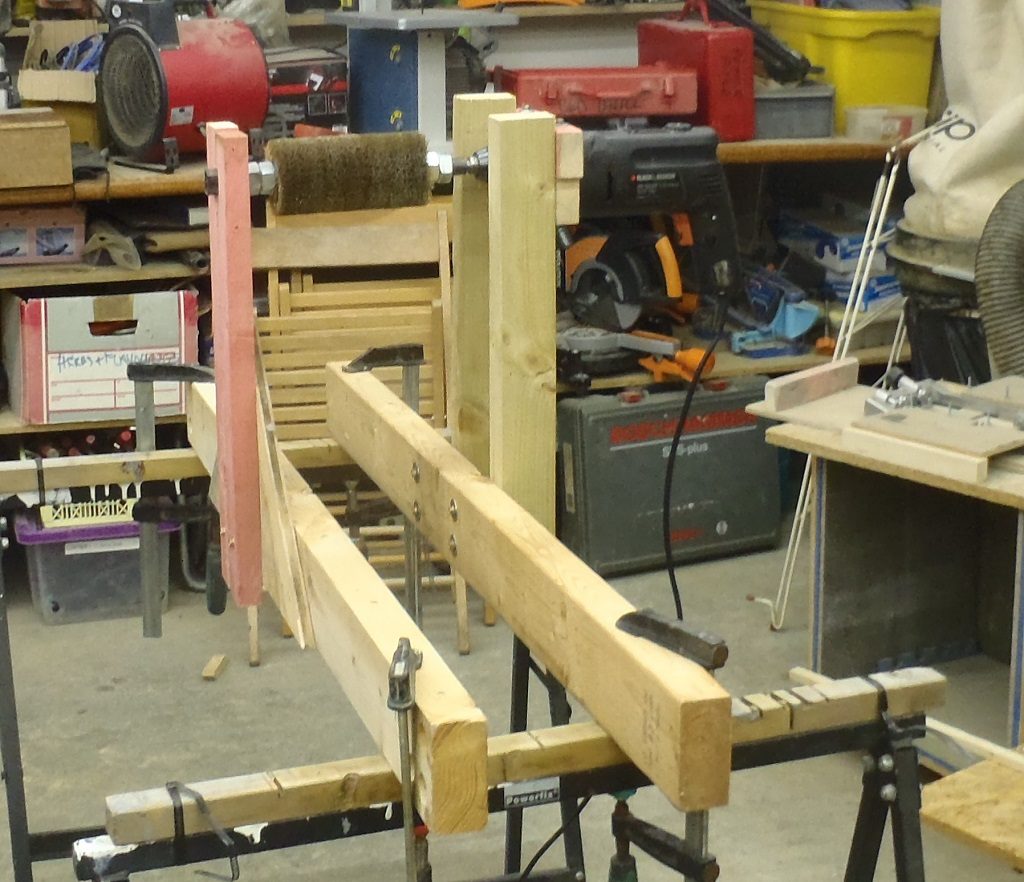
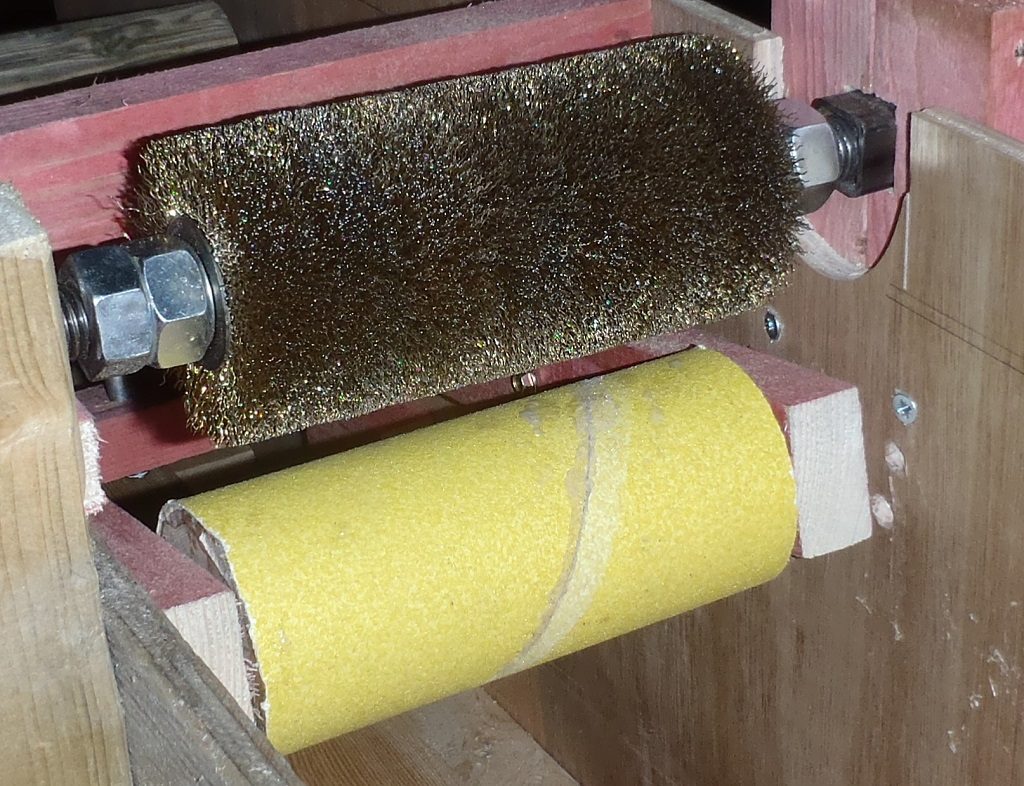
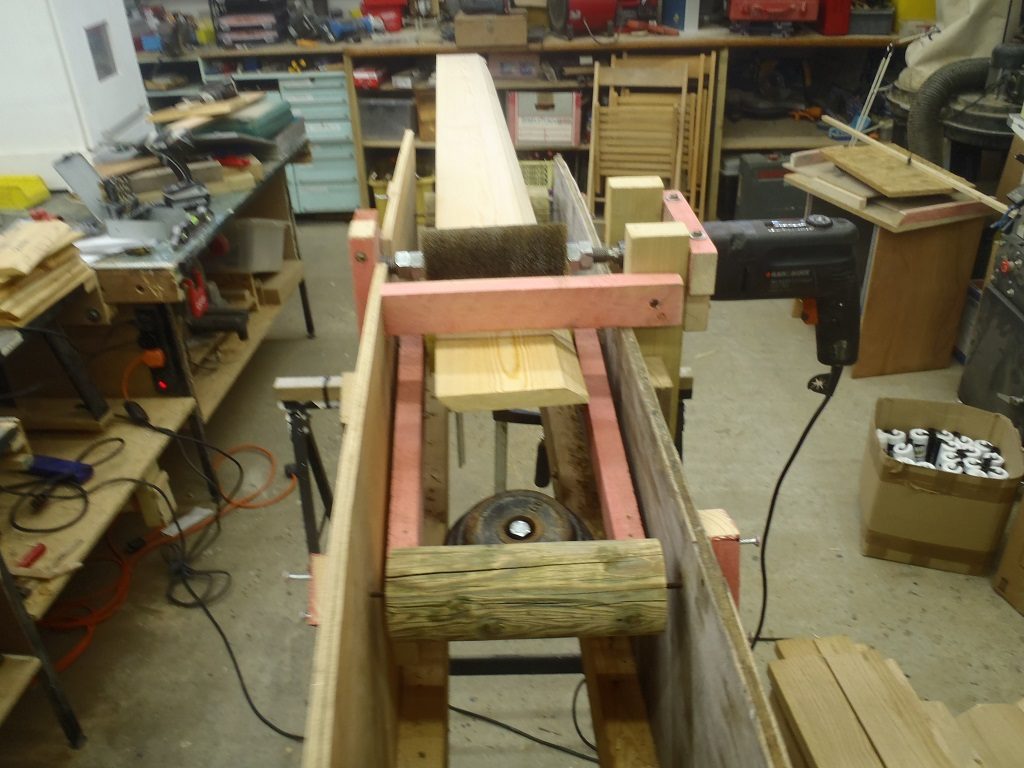
We also started designing a mechanism where we will be able to put one plank of the Larch onto a set of rollers to guide the wood under a gas blow-torch and then through a spinning wire brush cleaner and pass a third roller which is there to slow down the rate of progress of the plank so we can get the desired scorching effects. We built our first version of the machine with the spinning wire brush ‘roller’ powered by a electric drill which had roller underneath which pressed the wood onto the brush and also resisted the forward motion of the wood from the spinning brush.
But after doing some test runs, using real lengths of our Larch timber, we discovered that our spiky wire brush cylinder won’t be able to cope with very slightly warped planks (the technical term is “cup”) and it would only scrub either just the middle bit, or just the two outer edges. We cannot rely on the Larch wood to be dead flat all the time. This puts our design of the Larch Scorching Machine under the spotlight again and come up with something else.
In the meantime, we still can use what we have built, to mount our flame burners, pointing at the timber as it slides pass but we will need a different method of driving the Larch planks through the machine.
The scrubbing task will have to be done manually, probably using the same wire brush cylinder but controlled by hand to cope with the warps etc.
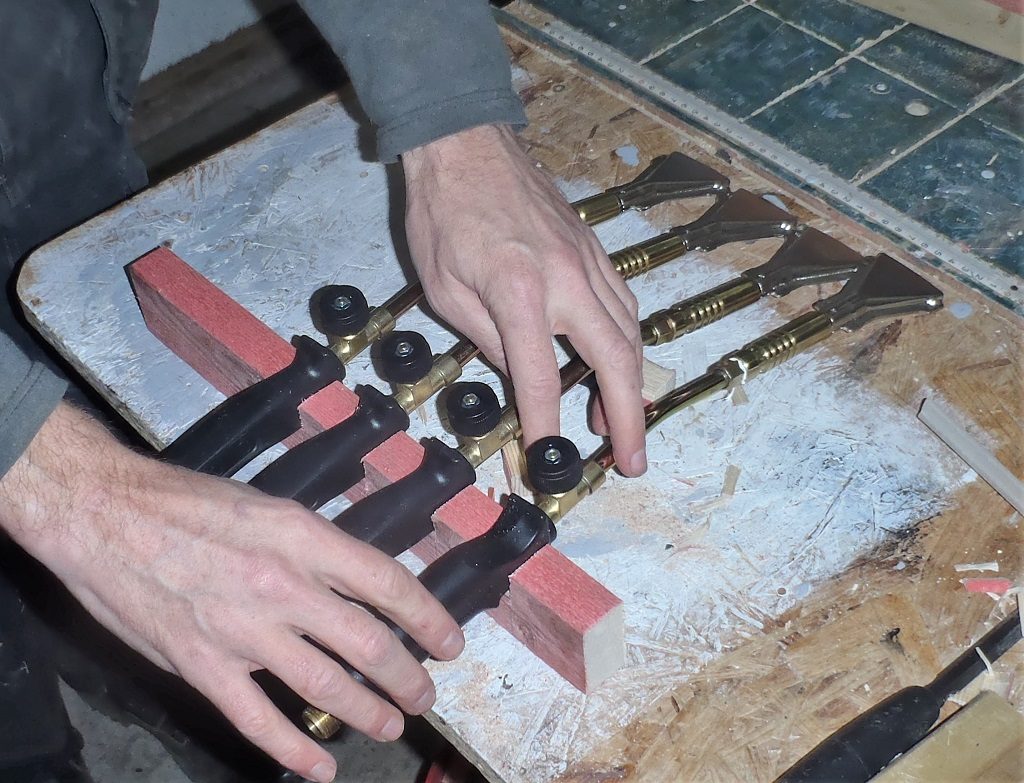
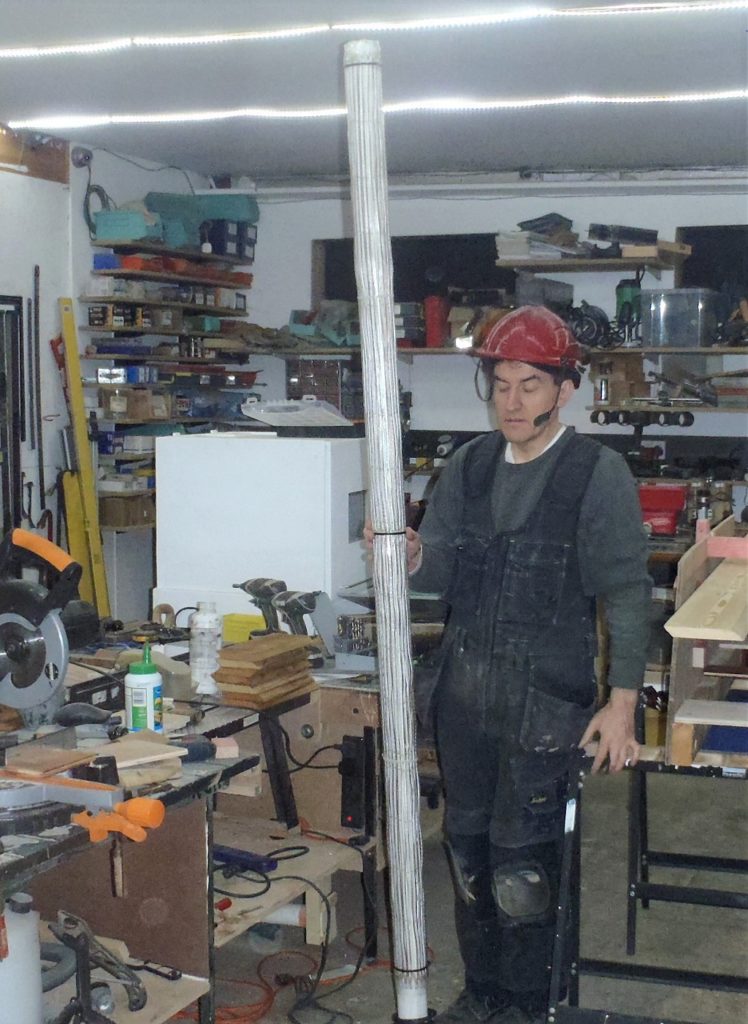
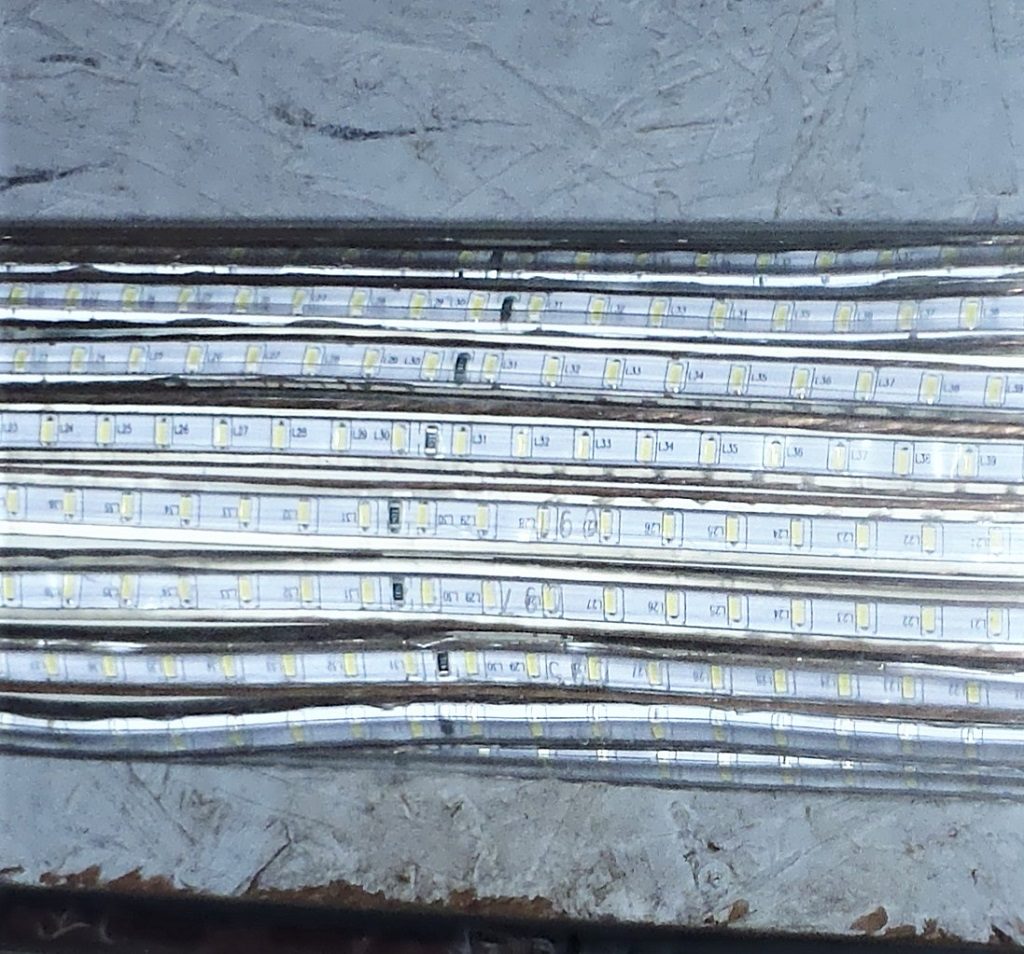
An odd job we did this week, on Friday, was to build our first space illumination device. We got a new supply of LEDs strips in which are mains powered directly off the 230V supply. It doesn’t need any transformers or other control units, just plugs straight into the mains socket. We wanted to have a couple of large space illumination units to help light up areas in the main house while we don’t have any built-in lighting units (especially after the first floor is in). The 20 metres of LED strips were cut up into 2 metres lengths and stuck to a plastic drain pipe. There are ten strips side by side, covering about half the way around the pipe.
These lights are tough so we don’t have to worry about damaging the bulbs or smashing glass covers on commercial lighting units, these strips are protected in a thick layer of rubber material. We will mount the tube to a paving slab as a base to make it stable.
Next week, we will get on with our windows while we wait for new electrical parts come for our 2nd version of our scorching machine and perhaps, if we are lucky with the weather, we may even be able to put down the second layer of the black paint under our Eves too.
