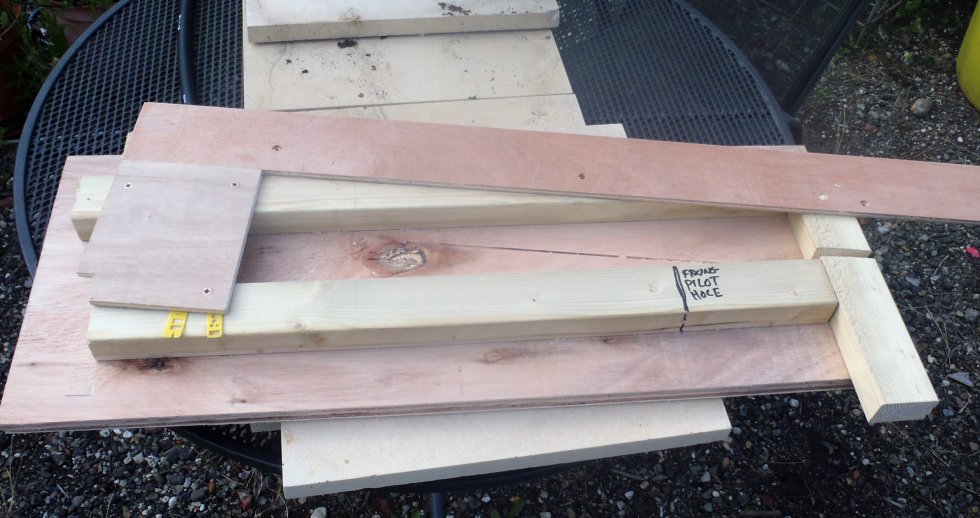
Today, we set out to create several templates to help us measure the distance between the I-Beams up on the top of the roof and down to the walls. Every rafter will be an unique length especially when going down along the diagonal hip or valley rafters.
we started with the 32 degree version and made one for the wall and two for the I-Beam end.
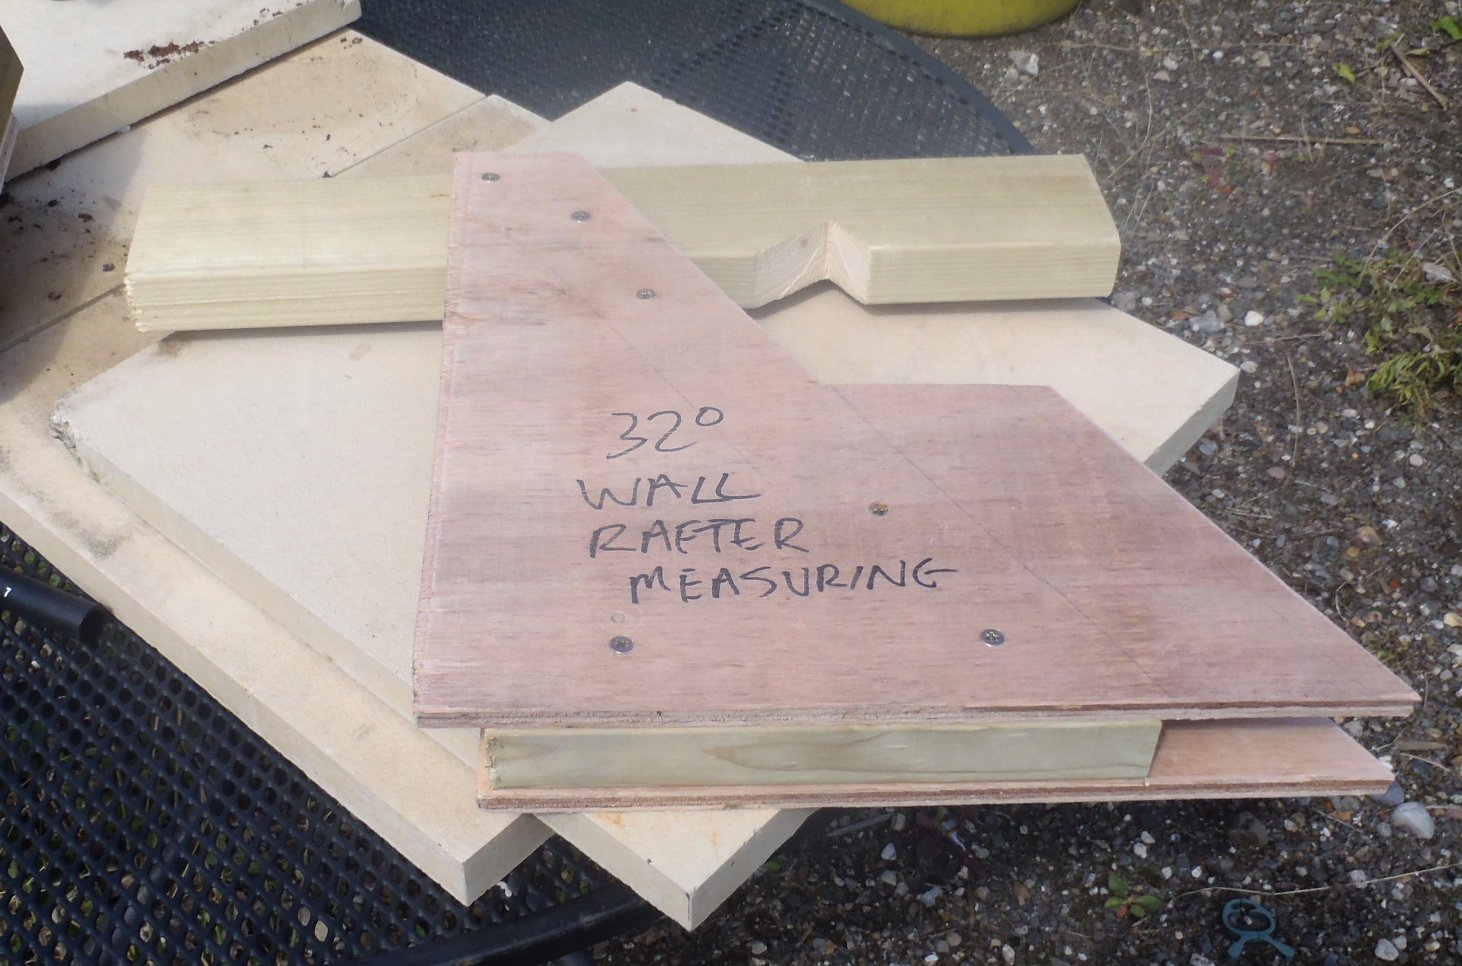
Wall-End-Measuring-Jig
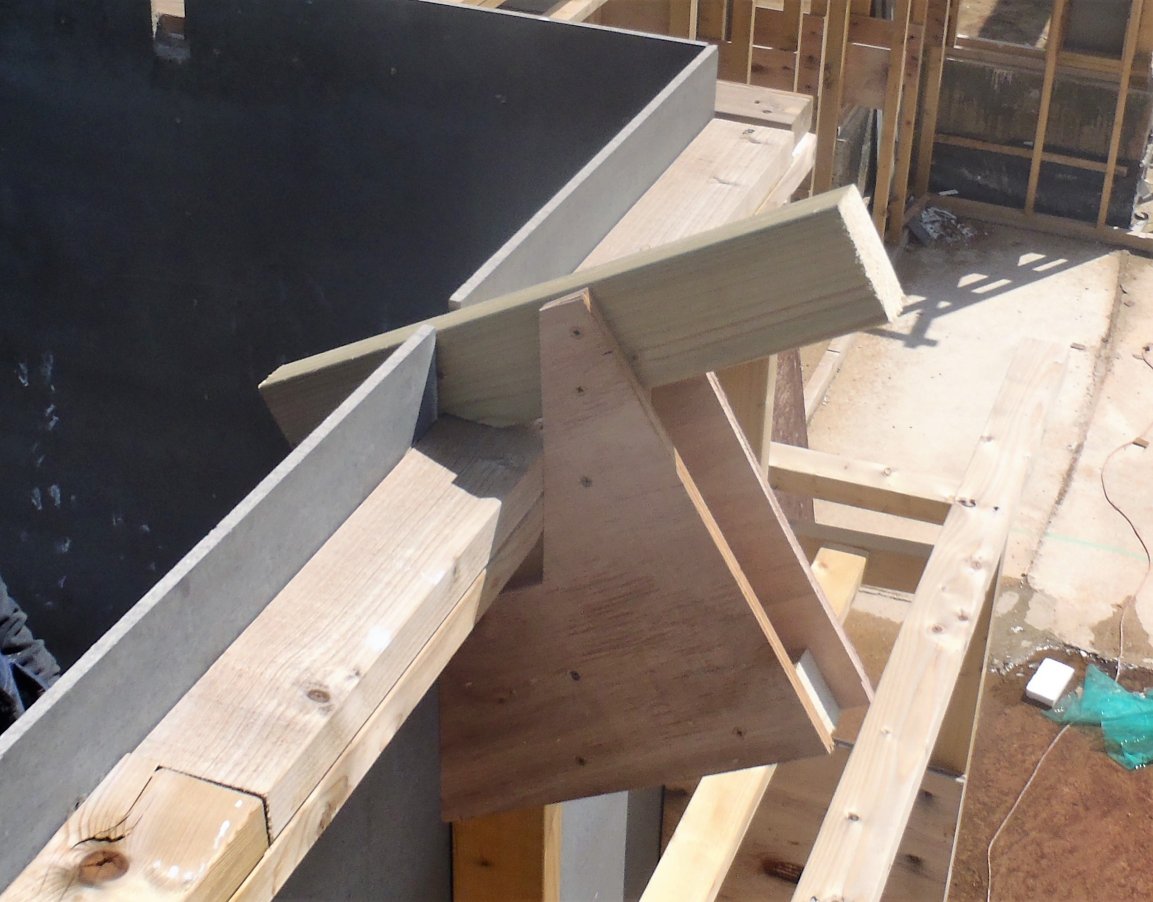
Wall-End-Measuring-Jig-On-the-wall
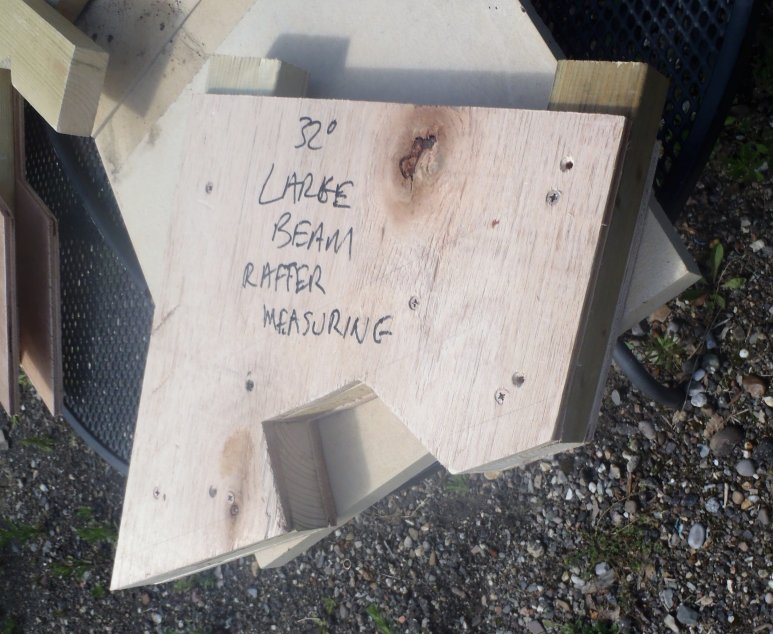
Steel-Frame-End-Measuring-Jig-32Deg-Wide-Beam
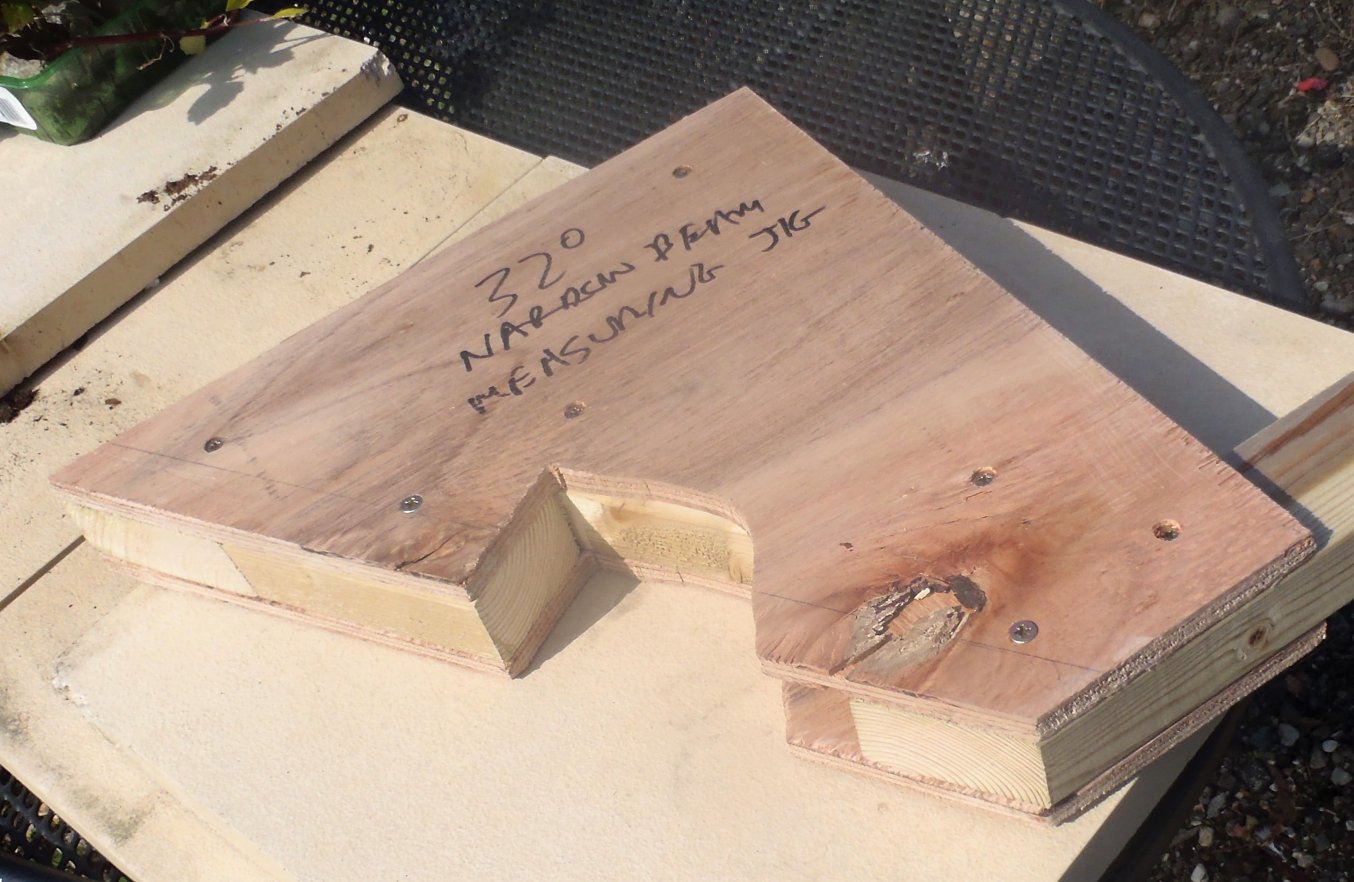
Steel-Frame-End-Measuring-Jig-32Deg-Narrow-beam

Steel-Frame-End-Measuring-Jig-On-the-Beam
We needed two because the steel I-Beams we got are of two different widths so the template needed to hook up and bridge around the steel flange to land flat upright against the Kerb.
Then, to finish off the day, we created a Nibbed Scarf joint maker. This is a very long shallow diagonal cut across the timber with little notch ends. The traditional wisdom is to have at least a 5 to 1 ratio of the length being five times longer than the width of the piece of timber being joined together. We made a jig to help us guide the circular saw to cut across the end of the 89mm CLS timber pieces.
Scarf-Joint-Jig
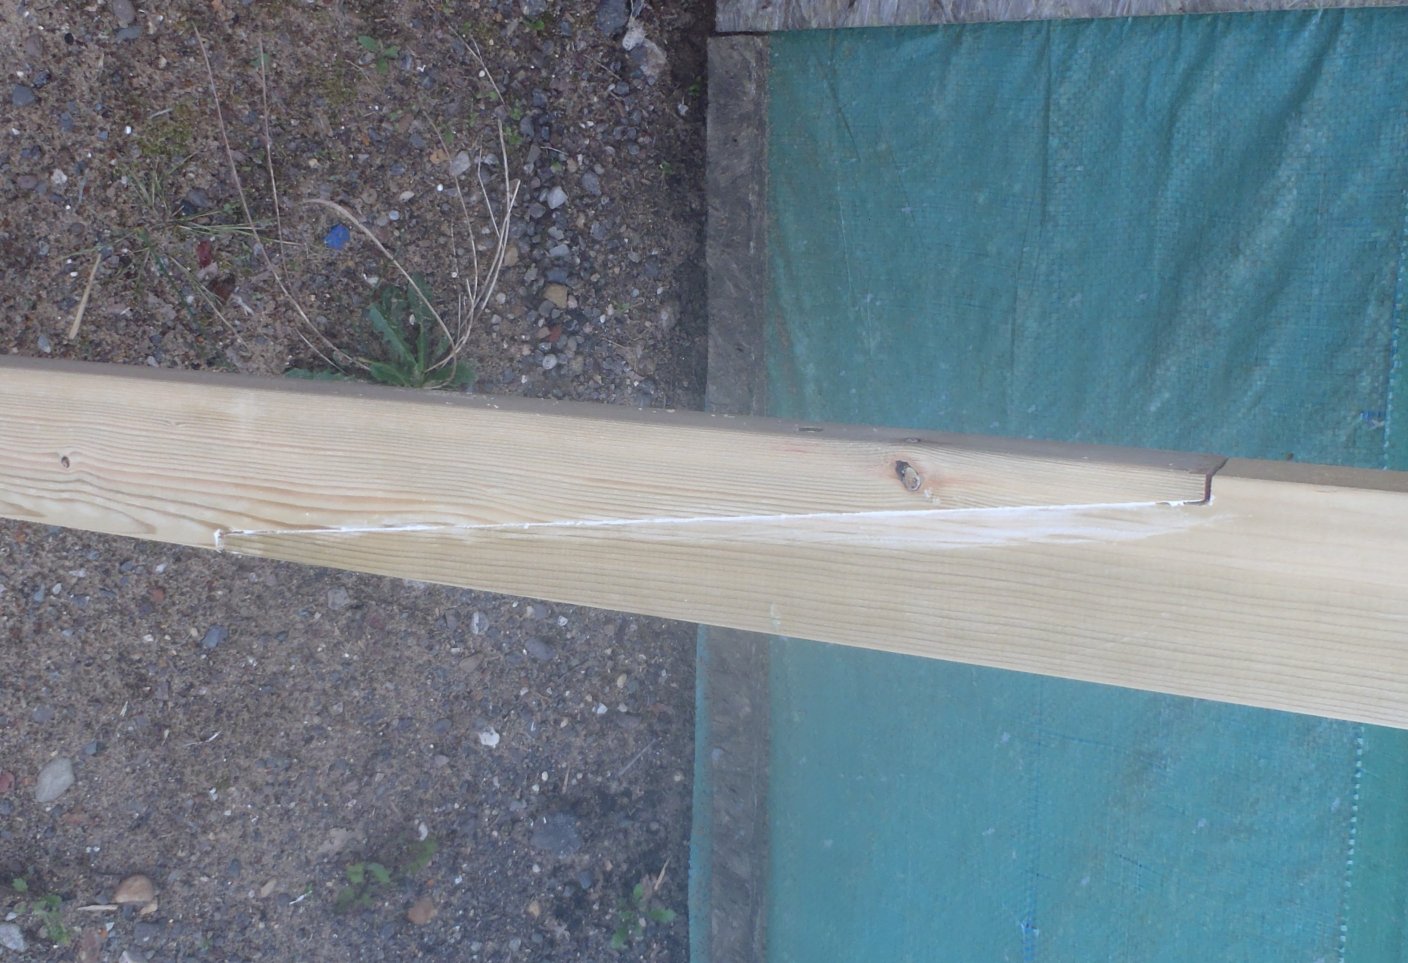
Completed-Test-Scarf-Joint
We tested this out and have glued and screwed together a couple of short pieces of the CLS timber and we will give it a week to dry and cure properly before we try bending the joint against a fresh CLS timber and see what sort of deflection we will get or indeed how much weight before breaking completely!!
Tomorrow, we will continue and make the 40 degrees version of the measuring tool and then carry on with other templates and jig as needed.